Camping under a starlit sky is a magical experience, but the romance quickly fades when rain descends. A well-placed tarp can be the difference between a miserable night huddled in a damp tent and a comfortable, dry sleep. Finding yourself soaked and shivering isn't conducive to enjoying the great outdoors, and a poorly set up tarp will only exacerbate the problem. Proper tarp setup is a crucial skill for any camper, especially those venturing into unpredictable weather. More than just a simple rain cover, a strategically positioned tarp can also provide crucial shade during the day and even serve as a windbreak.
This article will guide you through a step-by-step process for setting up your tarp efficiently, even in challenging conditions. We'll cover various techniques for securing your tarp, choosing the optimal location, and maximizing its effectiveness in protecting you and your gear from the elements. Whether you're a seasoned camper or a novice, mastering the art of tarp setup will significantly enhance your outdoor adventures, transforming rainy camping trips from a potential disaster into a manageable and even enjoyable experience.
Preparation and Safety Guidelines
- 16x20 foot tarp
- 10-foot TP poles (or sturdy branches)
- ropes
- carabiners
- duct tape
- Always prioritize a sturdy, waterproof tarp and secure anchoring points. Loose or inadequate anchoring can lead to tarp failure in strong winds or heavy rain.
- Never sleep directly under a tarp without adequate ventilation. Condensation buildup can create a damp and uncomfortable sleeping environment, and potentially lead to hypothermia.
- Be aware of your surroundings before setting up. Avoid setting up near dead branches or other hazards that could fall on your tarp during a storm.
Step-by-Step Instructions
Site Preparation and Centerline Setup
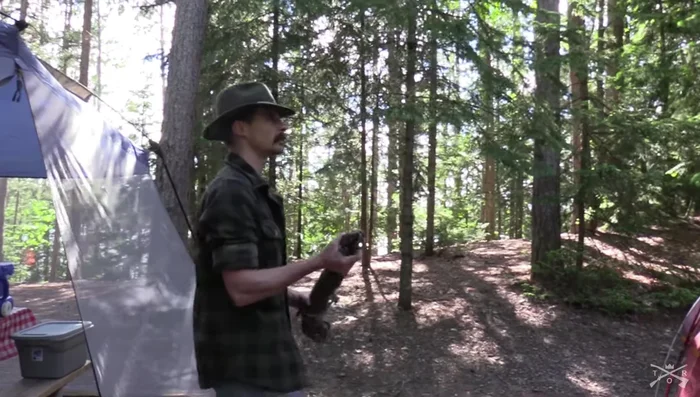
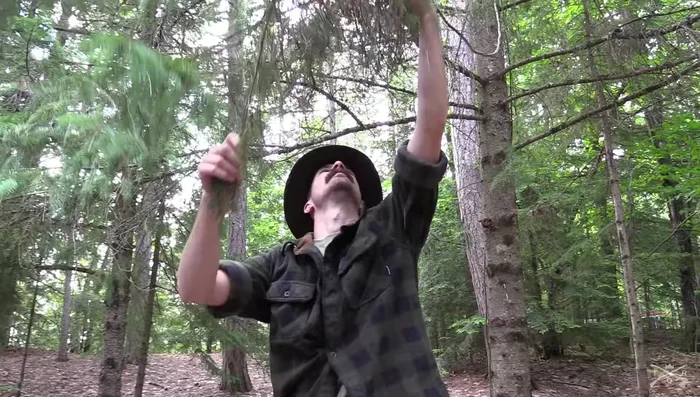
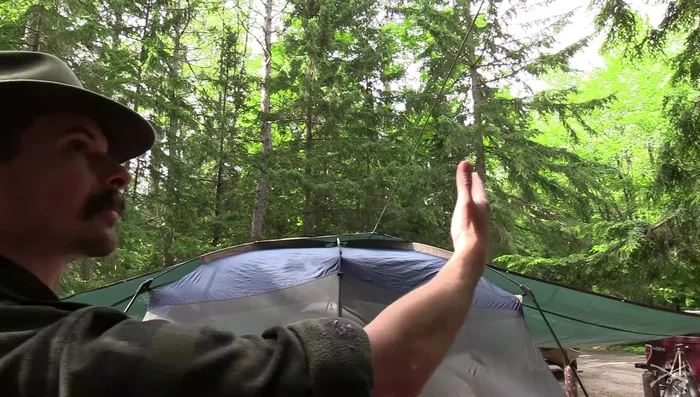
- Locate and secure two anchor trees for the center rope. Ensure your tent and screen tent are positioned underneath the intended area of the tarp.
- Attach the center rope to the anchor trees, aiming for approximately 10 feet high. Stretch the rope across the tents.

Site Preparation and Centerline Setup Tarp Drape and Initial Securing
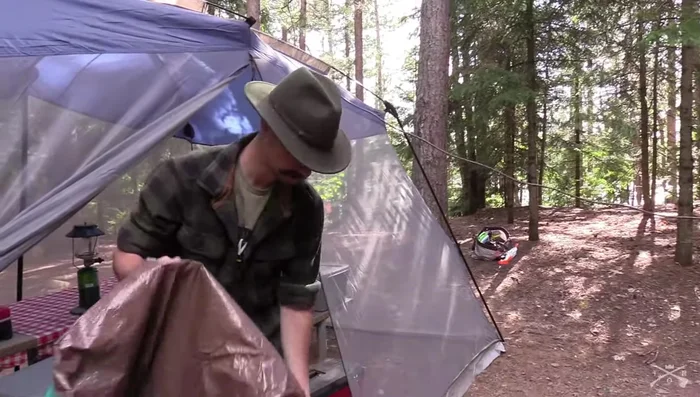
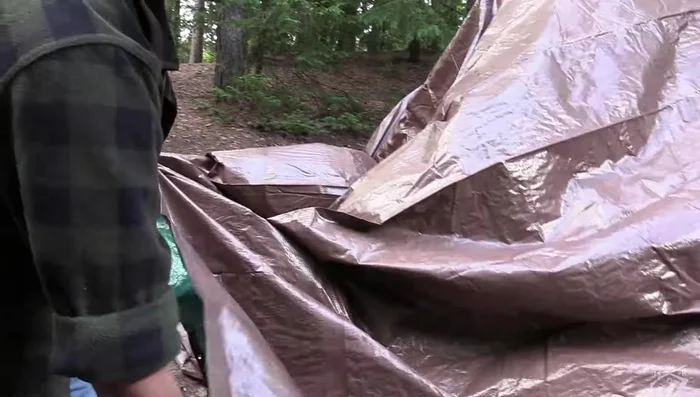
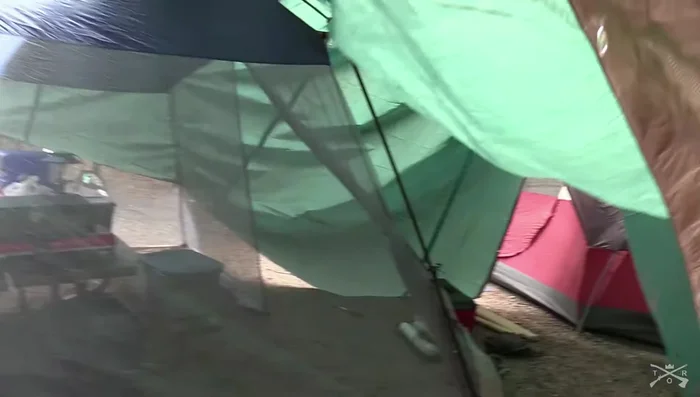
- Drape the tarp over the center rope.
- Secure the tarp to the center rope using a carabiner through the center grommet of the tarp.
Tarp Drape and Initial Securing Initial Tensioning and Adjustment
- Tighten the center rope, ensuring it's not obstructed by branches.
- Attach corner ropes to trees loosely, ensuring the tarp is relatively straight.
- Tighten the side ropes and center rope to straighten the tarp and create a taut setup.
Initial Tensioning and Adjustment Adding Support and Stability
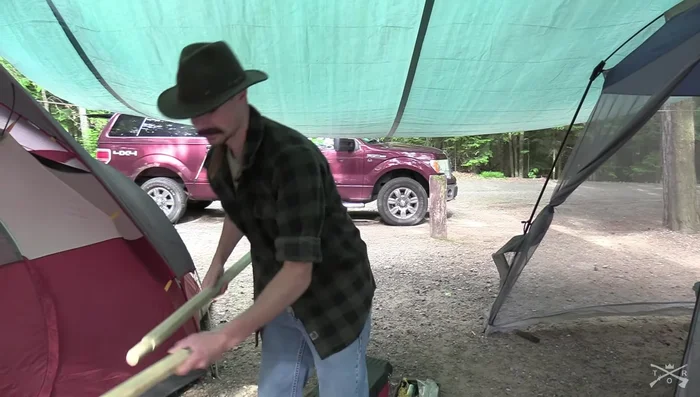
- Install center poles using notches and duct tape to secure them to the center rope for added support.
Adding Support and Stability Water Management
- Address any water-pooling areas by using additional ropes and carabiners to create a drainage system.
Water Management
Read more: Waterproof Your Tent Like a Pro: A Step-by-Step Guide with Kiwi Camp Dry
Tips
- Use brown or green tarps to blend in with the environment.
- Keep ropes off the ground to prevent them from getting wet.
- Regularly check and tighten ropes, especially after rain.