Winter adventures in snowy landscapes offer unparalleled beauty and exhilaration, but navigating challenging terrain requires careful planning and safety precautions. One of the most significant risks is losing your way in whiteout conditions or during sudden blizzards, where even the most experienced mountaineers can become disoriented. This is especially crucial for backcountry skiing, snowboarding, and snowshoeing enthusiasts venturing far from established trails. Improper navigation in such environments can quickly lead to dangerous situations, underscoring the need for reliable route-marking techniques.
This article introduces a proven method for establishing secure guide lines in snowy conditions: the Blizzard Stake method. This technique, utilizing readily available materials and simple steps, allows you to create a reliable and visible trail, even in the harshest weather. For a detailed, step-by-step guide on how to implement the Blizzard Stake method effectively and safely, read on.
Preparation and Safety Guidelines
- Snow Tent Stake
- Guideline
- Tensioners
- Always prioritize your safety. Do not attempt this if blizzard conditions are severe or visibility is extremely limited. Turn back if conditions worsen.
- Use multiple stakes per guideline for redundancy. A single stake can be easily dislodged by wind or shifting snow.
- Ensure stakes are deeply embedded and stable. Loose stakes offer no real protection and can be hazardous.
Step-by-Step Instructions
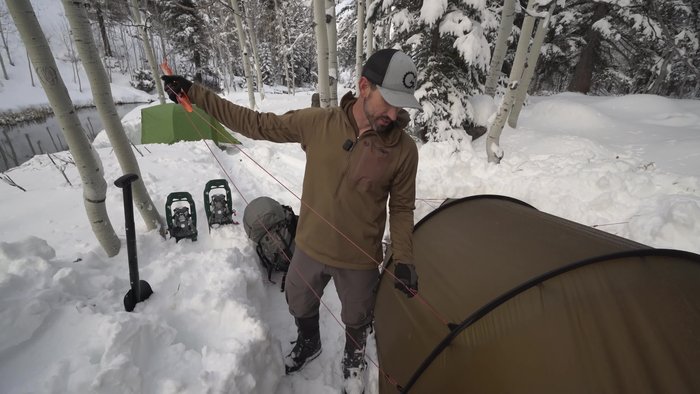
Prepare the Anchor
- Ensure adequate space for tensioning devices.
- Center the tensioners above and below the stake.

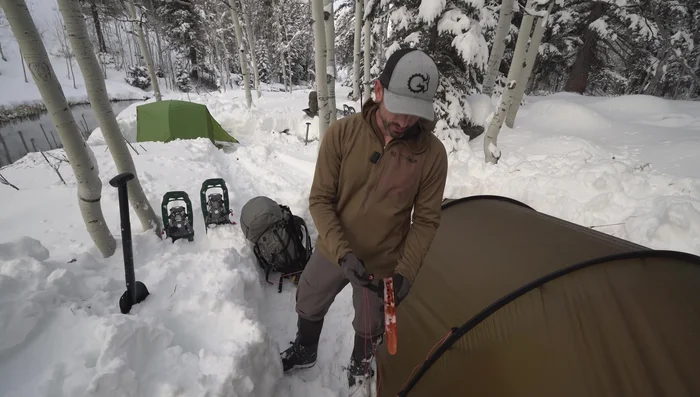
Prepare the Anchor Attach Guideline to Stake
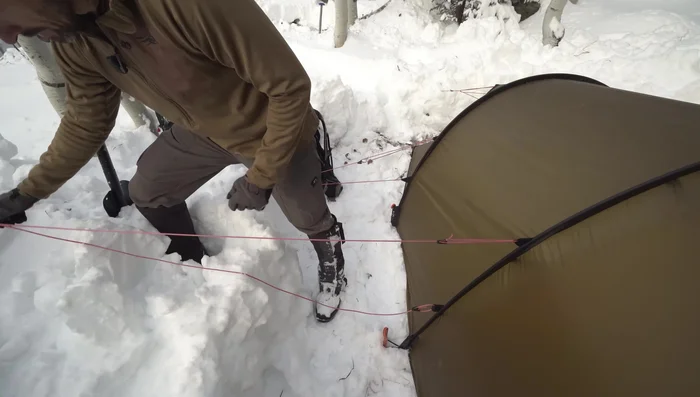
- Feed the guideline through the center hole of the snow tent stake.
- Loop the guideline over each end of the stake, creating an anchoring device.
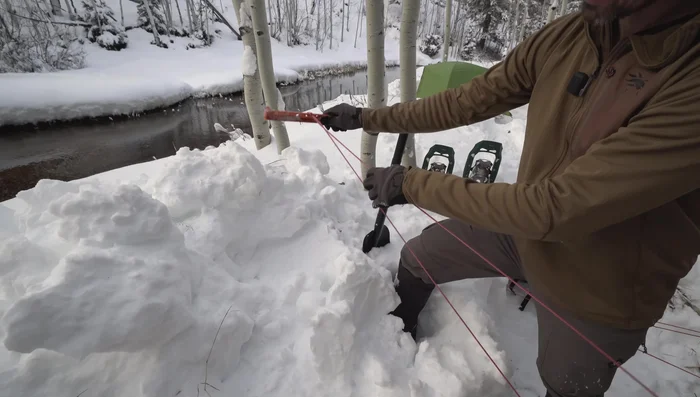
Attach Guideline to Stake Secure the Stake
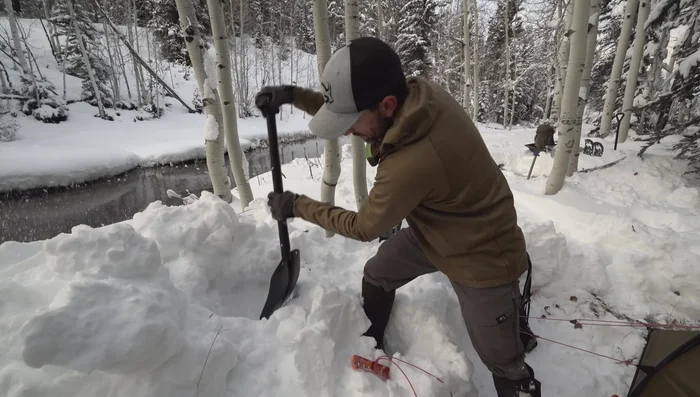
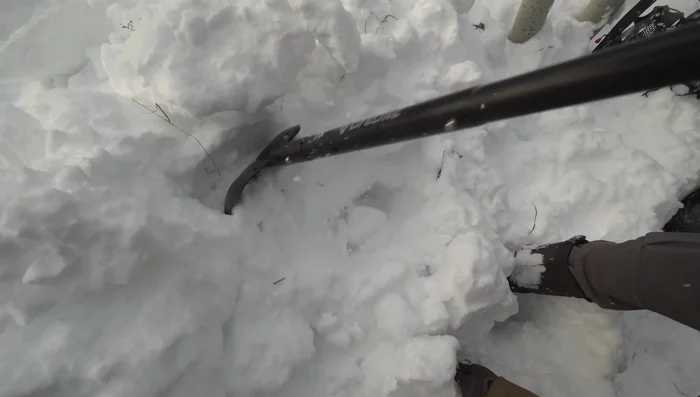
- Dig a small anchoring point in the snow.
- Place the stake into the anchoring point, using the weight of the snow to secure it.
- Add more snow on top for extra stability.
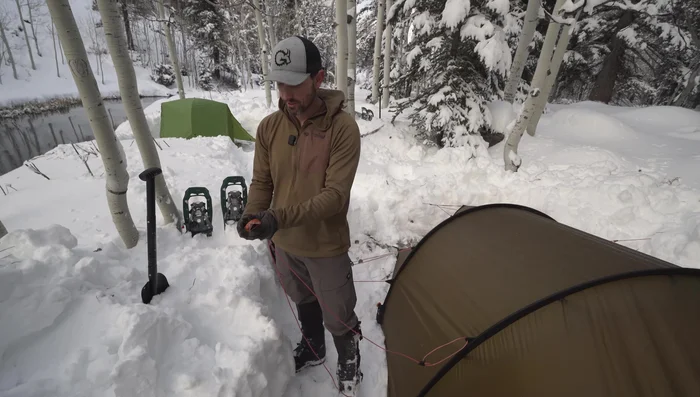
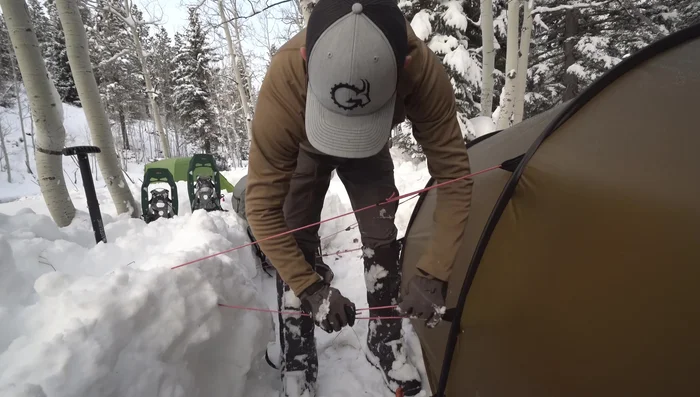
Secure the Stake Adjust Tension
- Adjust tension on the guideline.
Adjust Tension
Read more: Waterproof Your Tent Like a Pro: A Step-by-Step Guide with Kiwi Camp Dry
Tips
- If snow tent stakes aren't available, use a 10-12 inch branch, wrapping the guideline around it and twisting for security.