Camping under the stars is a magical experience, but a downpour can quickly turn that magic into misery. A soaked tent means a sleepless night, damp gear, and a generally unpleasant adventure. Don't let unpredictable weather ruin your next camping trip! Proper waterproofing is crucial for maintaining comfort and ensuring your tent remains a reliable shelter, no matter the conditions. Investing a little time in preventative maintenance can make a huge difference in your overall camping enjoyment. And with the right product, like Kiwi Camp Dry, the process is easier than you might think.
This guide will walk you through a step-by-step process of waterproofing your tent using Kiwi Camp Dry, transforming your flimsy fabric into a robust, water-resistant barrier. We'll cover everything from preparation to application, ensuring you're equipped to tackle any weather the great outdoors throws your way. Get ready to conquer those rainy camping trips and experience the joy of dry, comfortable nights under the stars.
Preparation and Safety Guidelines
- Kiwi Camp Dry Heavy Duty Water Repellent
- Tent
- Spray bottle (if not included with product)
- Always apply Kiwi Camp Dry in a well-ventilated area, away from direct flames and heat sources. Inhaling the fumes can be harmful.
- Ensure the tent fabric is completely dry before applying Kiwi Camp Dry. Moisture will prevent proper penetration and reduce effectiveness.
- Test the waterproofing spray on a small, inconspicuous area of the tent first to check for colorfastness and any adverse reactions to the fabric.
Step-by-Step Instructions
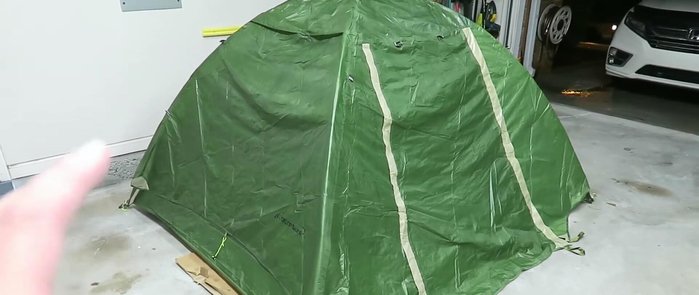
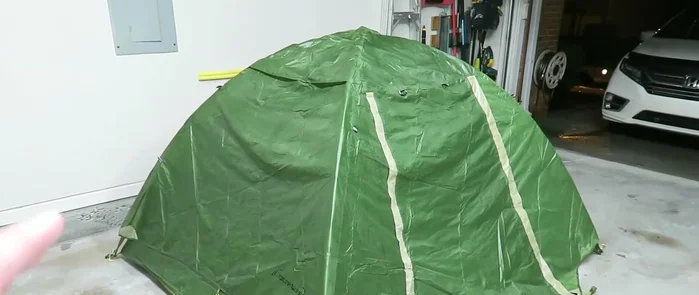
Prepare the Workspace
- Choose a well-ventilated area. The video example uses a garage with open doors.

Prepare the Workspace Prepare the Tent
- Place the rain fly over the tent itself. This allows for easy, complete coverage.
Prepare the Tent Apply the First Coat of Kiwi Camp Dry
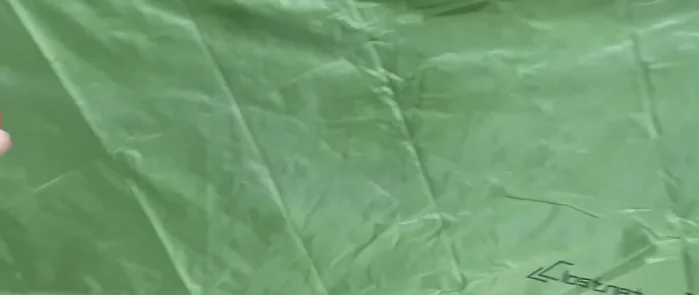
- Shake the Kiwi Camp Dry can well.
- Hold the can 7-10 inches from the tent fabric. Spray a light, even coat, moving back and forth across the entire surface.
Apply the First Coat of Kiwi Camp Dry Apply the Second Coat of Kiwi Camp Dry
- Wait two hours before applying a second light coat.
Dry the Tent
- Let the tent dry completely for 24-48 hours.
Dry the Tent


Tips
- Runs are normal: Don't worry if you see some runs in the product after application.
- Product quantity: One bottle of Kiwi Camp Dry is sufficient for two coats on a three-person tent.