Winter camping in the high country presents unique challenges, not least of which is battling the elements and keeping warm within your tent. While a sturdy tent is essential, unexpected blizzards and extreme cold can still compromise even the best equipment. This is where resourceful modifications can make all the difference between a comfortable night and a truly miserable experience. One surprisingly effective and easily implemented upgrade involves utilizing emergency blankets to create an additional insulating layer on your tent's roof. This inexpensive and lightweight solution can significantly boost your tent's warmth retention, especially in critical areas prone to heat loss.
This article details a simple, step-by-step process for adding an emergency blanket roof modification to your high-country tent, transforming it into a much more resilient shelter against winter's harshest conditions. We’ll guide you through the materials you'll need, the crucial steps to ensure a secure and effective installation, and provide helpful tips for maximizing the benefits of this life-saving upgrade. Let's get started!
Preparation and Safety Guidelines
- Emergency blanket
- Electrical fish poles (Harbor Freight)
- Hobby sewing machine
- Straps
- Never attempt this modification in high winds or during snowfall. Wait for calm, stable weather conditions.
- Ensure the emergency blanket is securely fastened to prevent tearing or slippage in strong winds or heavy snow. Use strong cordage and multiple tie-off points.
- This modification provides supplemental insulation; it does not replace the need for proper winter camping gear and skills. Understand the limitations of this emergency fix.
Step-by-Step Instructions
Prepare the Emergency Blanket
- Cut the emergency blanket to the desired size (52 inches x 73 inches in this example) to fit your tent.
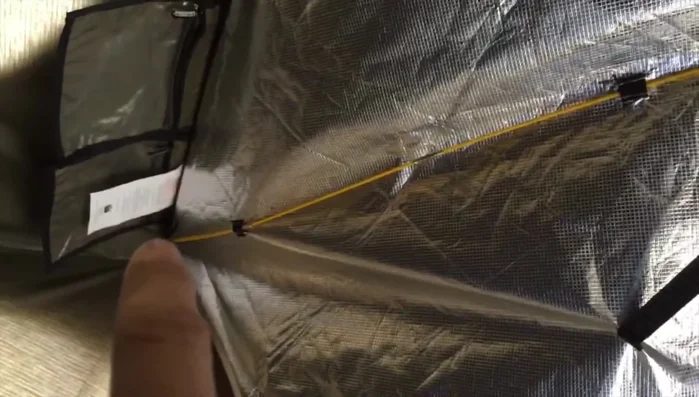
- Sew tabs onto the emergency blanket at approximately 11-inch intervals. These tabs will be used to attach the support poles.
- Sew small pockets into the corners of the emergency blanket to further secure the support poles.

Prepare the Emergency Blanket Assemble the Support Structure
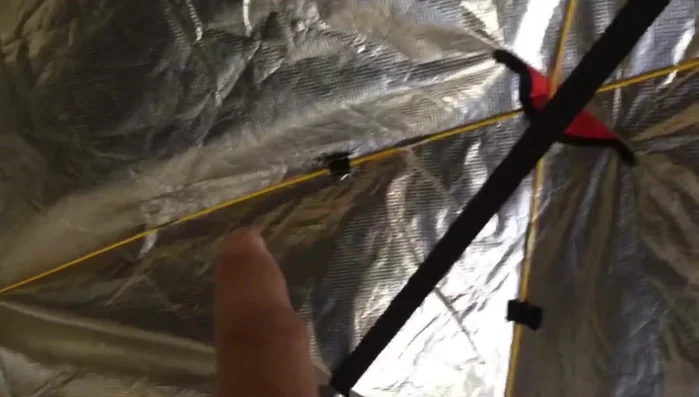
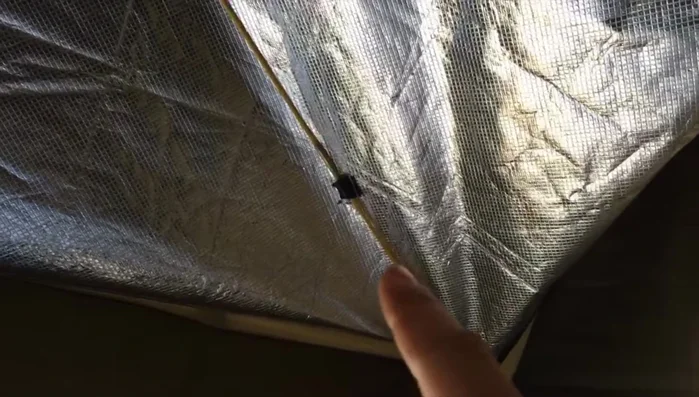
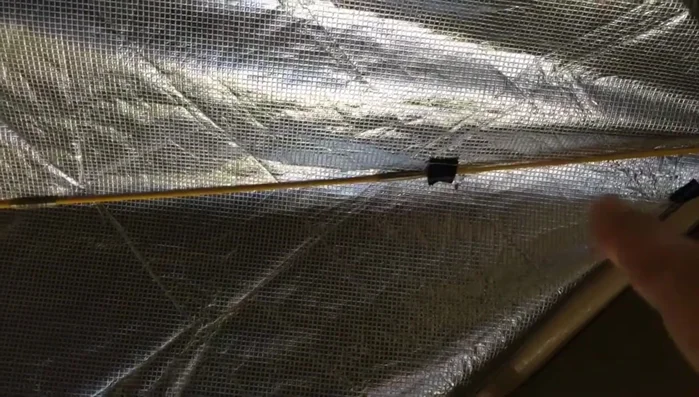
- Crisscross the electrical fish poles inside the tent, creating a support structure for the emergency blanket.
- Use a strap or similar fastener to pull the center of the pole structure upwards, creating an arched shape to maximize space and prevent sagging.
Assemble the Support Structure Attach the Blanket to the Structure
- Attach the emergency blanket to the crisscrossed poles using the sewn tabs.
Attach the Blanket to the Structure
Read more: Waterproof Your Tent Like a Pro: A Step-by-Step Guide with Kiwi Camp Dry
Tips
- Use stretchy tabs to help retain the poles securely.