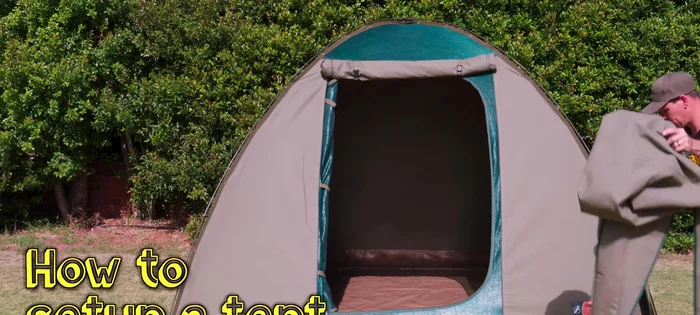
Canvas dome tents: romantic, rugged, and undeniably spacious. But their size and intricate construction can make packing them a daunting task, often leading to frustration and a jumbled mess upon arrival at your campsite. Forget wrestling with fabric and poles – mastering the art of packing a canvas dome tent efficiently is key to a smooth and enjoyable outdoor experience. Proper packing not only saves you time and effort but also protects your valuable equipment from damage during transport.
This ultimate guide will transform you from a tent-packing novice into a seasoned pro. We’ll walk you through a detailed, step-by-step process, ensuring your canvas dome tent is packed neatly, securely, and ready for your next adventure. Ready to ditch the crumpled chaos and embrace streamlined organization? Let's begin!
Preparation and Safety Guidelines
- Always ensure the tent is completely dry before packing. Moisture can lead to mildew and damage.
- Carefully inspect the tent for any tears or damage before and after each trip. Repair any issues promptly.
- Pack the tent in its original stuff sack or a similarly sized bag to avoid compression damage and ensure proper storage.
Step-by-Step Instructions
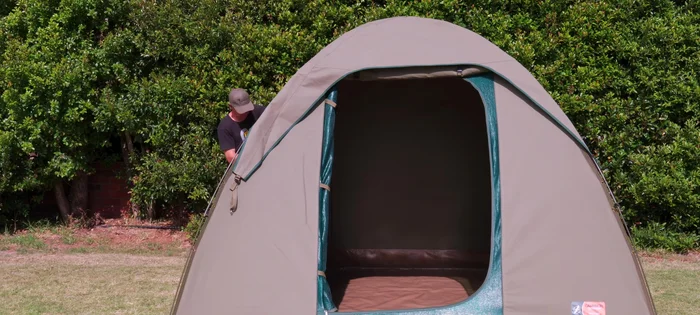
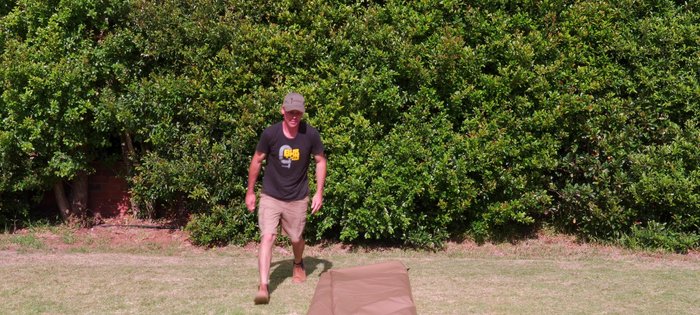
Prepare the Tent
- Remove the rain fly (skull cap) and set it aside.
- Unroll and partially zip close the inner and outer doors. Don't fully zip them yet.

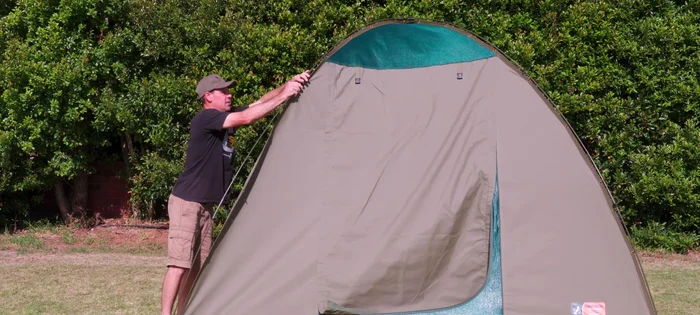
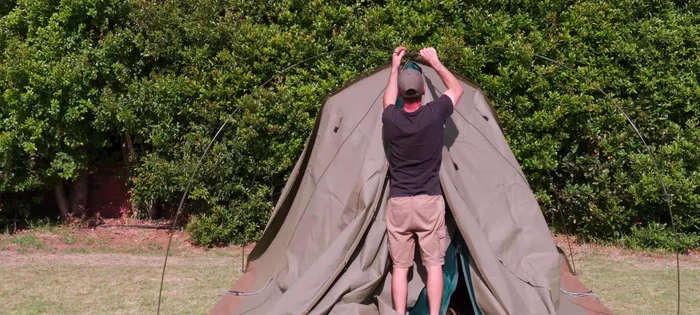
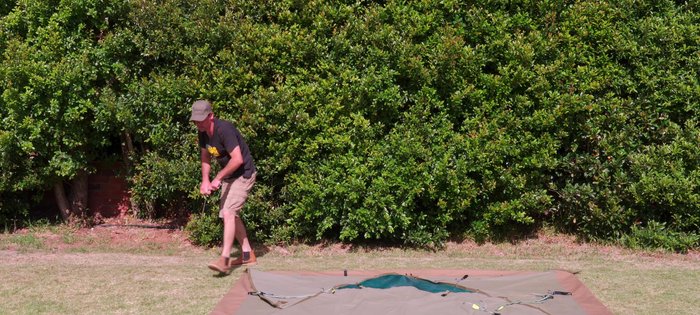
Prepare the Tent Detach the Tent from the Frame
- Unclip the tent from the frame, starting from the bottom of each pole and working upwards.
- Remove pegs from the sides (leave corner pegs for now).
- Stand in the doorway, pull down the center of the tent, and remove remaining clips.
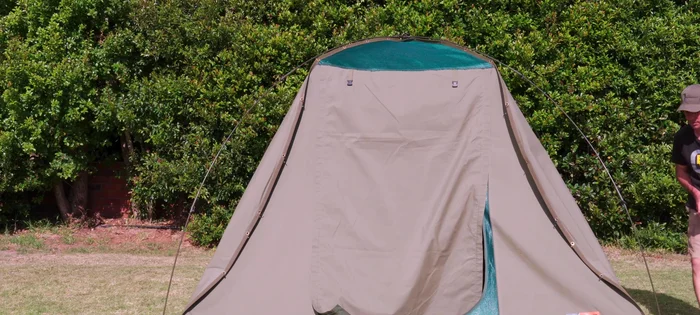
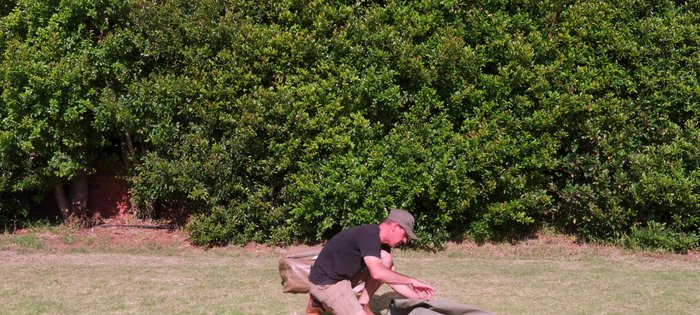
Detach the Tent from the Frame Pack the Frame
- Lower the frame carefully, pull it apart, fold it, and pack it into its bag.
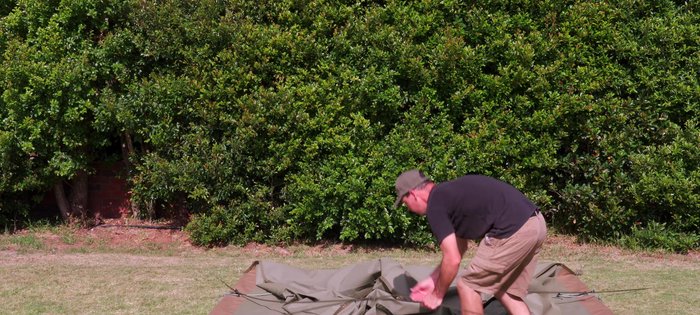
Pack the Frame Prepare the Tent for Folding
- Zip the inner and outer doors closed (leave the bottom of the inner door open).
- Grab the center top of the tent, pull it to one side, shake it to flatten, and repeat for the other sides.
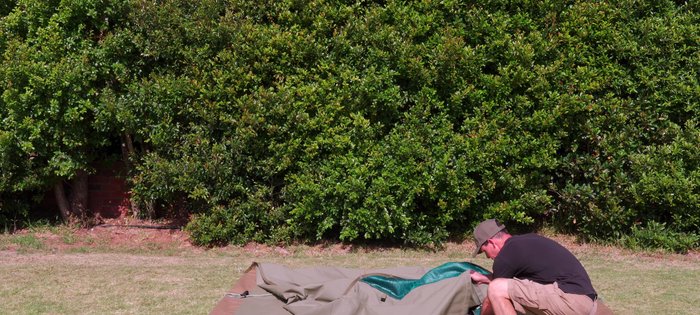
Prepare the Tent for Folding Fold the Tent
- Fold one side over to the center, then the other side, ensuring everything is neat and flat.
- Fold one half completely over the other half.
- Make a small fold at the back, then repeatedly fold/roll the tent, pressing down to remove air.
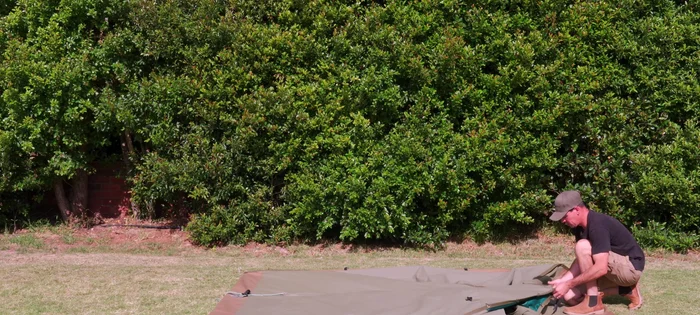
Fold the Tent Pack Accessories
- Remove the corner pegs and pack them.
- Fold the rain fly neatly and pack it.
Pack Accessories

Read more: Waterproof Your Tent Like a Pro: A Step-by-Step Guide with Kiwi Camp Dry
Tips
- Remove clips from the bottom and work upwards for easier removal.
- Leave corner pegs in until after folding for a stable base.
- Be careful when lowering the frame to avoid injury or spills.
- Keep folds neat and flat to ensure compact packing.
- Leave the bottom of the inner door unzipped to allow air to escape during folding.