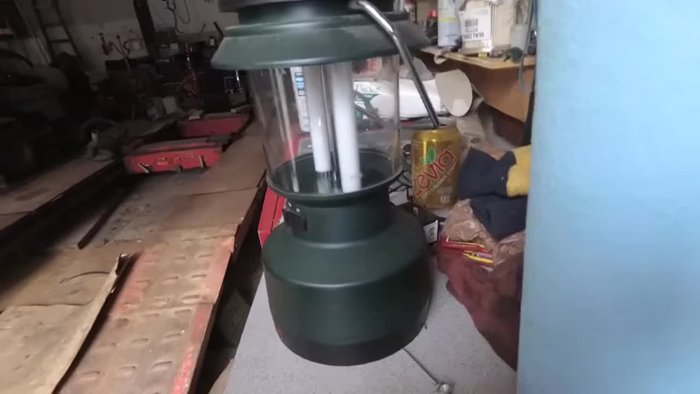
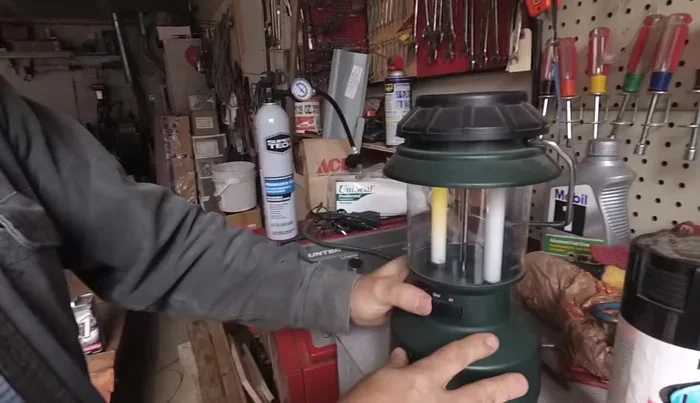
Coleman lanterns, with their reliable illumination, are essential for camping, power outages, or any situation demanding dependable light. However, when the battery pack finally gives out, the sudden darkness can be unsettling. Fortunately, replacing the battery pack in your Coleman lantern is a straightforward process that requires minimal tools and effort, ensuring you're back in the light in no time. This isn't a complex repair job that necessitates professional help; it's a simple fix easily manageable at home.
This quick guide will walk you through each step, providing clear instructions and helpful tips to ensure a smooth and successful battery replacement. Forget fumbling in the dark – let's get started with a step-by-step process that will have your Coleman lantern shining bright again in minutes.
Preparation and Safety Guidelines
- Coleman Lantern
- Phillips head screwdriver
- Pliers (optional)
- Always disconnect the lantern from any power source (like the battery pack) before handling it or its components.
- Ensure the replacement battery pack is the correct voltage and type specified for your Coleman lantern model. Using an incorrect battery pack can damage the lantern or create a fire hazard.
- Never attempt to charge or use a damaged battery pack. Dispose of it properly according to local regulations.
Step-by-Step Instructions
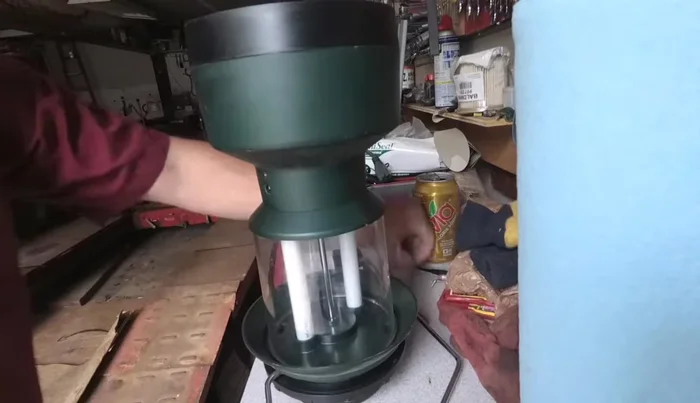
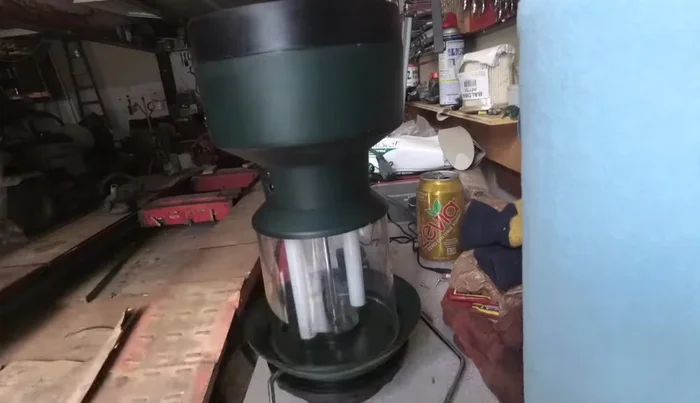
Prepare the Lantern
- Flip the lantern over and locate the three screws on the bottom.
- Unscrew the three small screws on the bottom of the lantern.
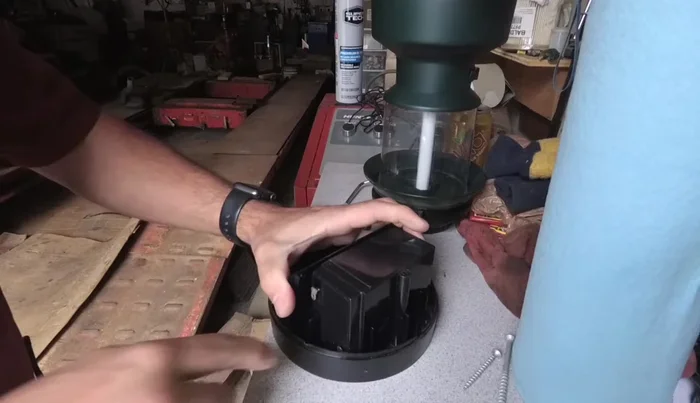
- Gently remove the bottom base from the lantern body. Wiggle it until it comes loose.

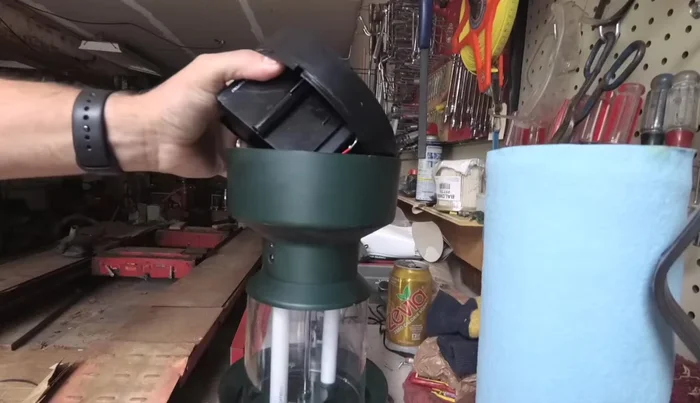
Prepare the Lantern Remove the Old Battery Pack
- Remove the charging pack (both 110V and 12V chargers).
- Disconnect the power wires (red positive, black negative). Gently pull them off; pliers may be helpful.
- Carefully pry the battery pack from the base. It's held in place by adhesive. Use a flat object to pry gently from behind, avoiding damage to the lantern.
Remove the Old Battery Pack Install the New Battery Pack
- Obtain a replacement battery pack with the correct specifications (information provided on the old pack).
- Position the new battery pack and press it firmly onto the adhesive.
- Reconnect the power wires, ensuring the positive (red) and negative (black) wires are correctly attached.
Reassemble the Lantern
- Reattach the base and screw in the three screws, being careful not to overtighten.
Final Steps
- Charge the lantern fully.
Final Steps
Read more: Restore Your Coleman 275 Lantern: A Comprehensive Guide
Tips
- Use a small Phillips head screwdriver for the screws.
- Don't pry on the lantern's edges when removing the battery. Pry gently from behind.
- Don't overtighten the screws when reassembling.