The Coleman 275 lantern, a classic symbol of outdoor adventures and reliable illumination, can withstand the test of time with proper care. However, even the most durable equipment can benefit from a little TLC, especially after years of faithful service. Whether your lantern is simply dusty or suffering from more significant malfunctions, restoring it to its former glory is achievable with the right knowledge and a bit of patience. This iconic lantern, with its distinctive design and powerful light, deserves a second life, and this guide will help you provide it.
This comprehensive guide will walk you through a step-by-step process of restoring your Coleman 275 lantern, from a simple cleaning to more involved repairs. We’ll cover everything from identifying common problems and sourcing necessary parts to the precise techniques needed to ensure a safe and successful restoration. Prepare to bring your cherished Coleman 275 back to life, ready to illuminate countless nights of camping, backyard gatherings, or power outages.
Preparation and Safety Guidelines
- Coleman 275 Lantern
- 11/16 nut
- 3/4 nut
- 7/16 nut
- Screwdriver
- Cleaning supplies (alcohol, brush)
- Drill
- Sandpaper
- Needle nose pliers
- Geiger counter (for mantle safety check)
- White gas/Coleman fuel
- Scissors
- Always ensure the lantern is completely cool before handling or performing any maintenance. Hot mantles and metal parts can cause serious burns.
- Never use gasoline or any other flammable liquid other than Coleman fuel in your Coleman 275 lantern. Using the wrong fuel is extremely dangerous and can lead to explosions or fires.
- Work in a well-ventilated area when cleaning, refilling, or repairing your lantern. Fumes from fuel can be harmful if inhaled.
Step-by-Step Instructions
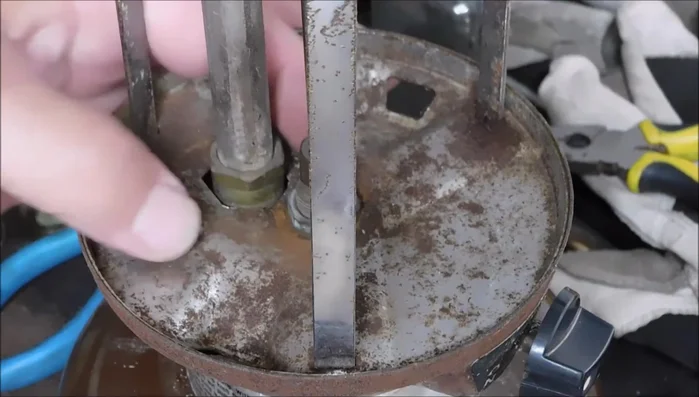
Disassembly
- Remove the generator.

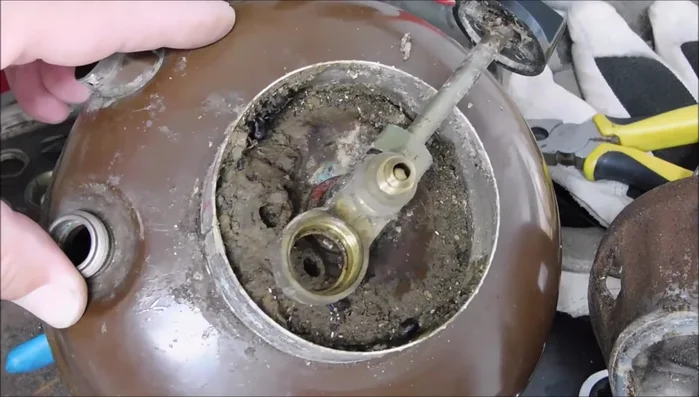
Disassembly Cleaning
- Remove rust, dust, and debris from all components.
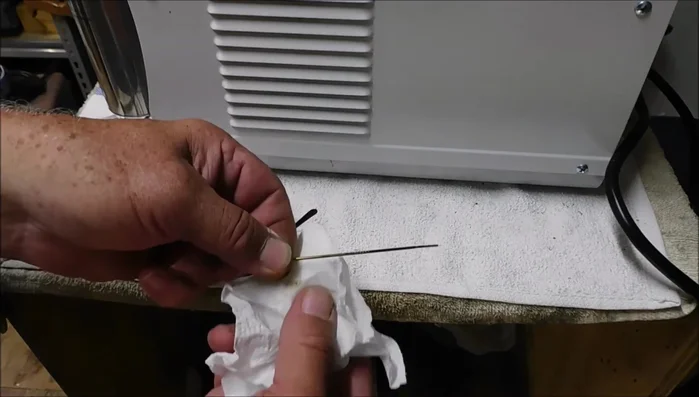
- Carefully clean the needle with alcohol, using a single direction to avoid bending.
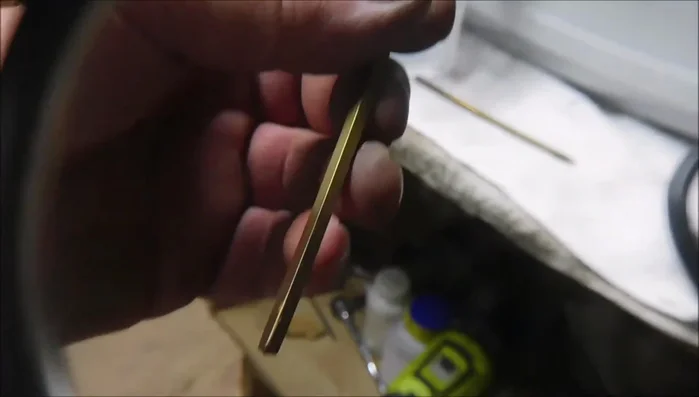
Cleaning Needle Valve Repair
- Use a drill with sandpaper to smooth out any ridges or indentations that prevent proper sealing.
Needle Valve Repair Reassembly
- Carefully place the generator back in, ensuring all components are properly aligned and seated.
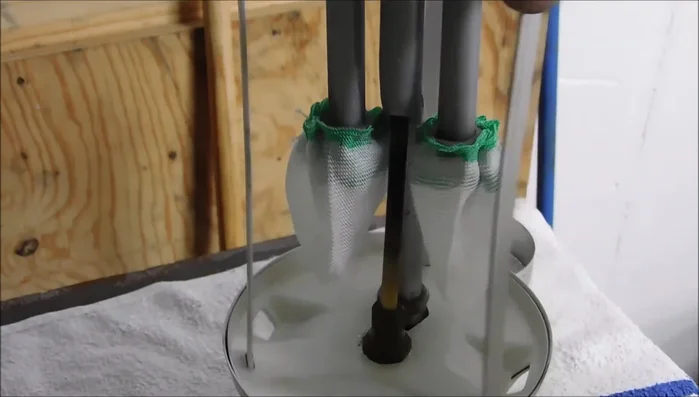
Reassembly Mantle Installation
- Carefully attach the mantles using a simple knot, ensuring the thread is in the groove.
Mantle Installation Fueling
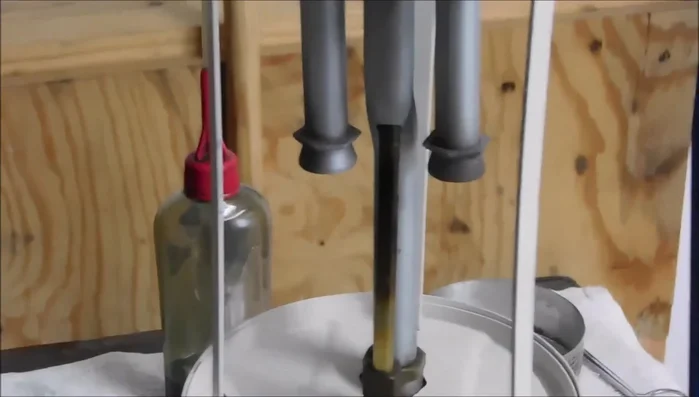
- Add Coleman fuel to the tank.
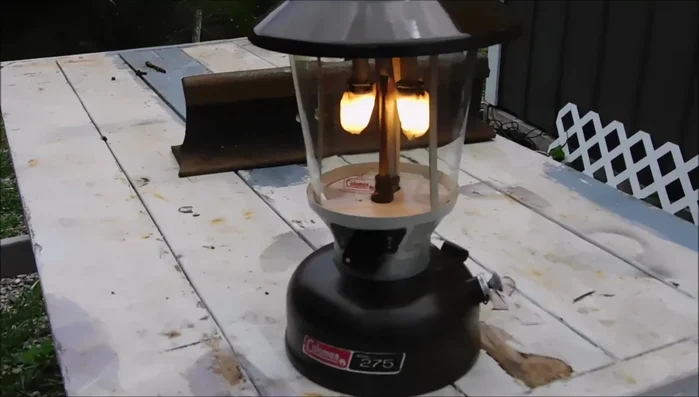
Fueling Lighting
- Pump up the lantern and light the mantles.
Lighting

Read more: Repairing a 90s Vibe CFL Camping Lantern: A Step-by-Step Guide
Tips
- Be careful when removing the generator; there is a small spring and cardboard piece.
- Be gentle with the needle valve; it is very fragile.
- When cleaning the needle, rub in one direction to avoid bending.
- Use a magnifying glass to carefully inspect and clean the small parts.
- Use pre-lubrication oil for the needle valve and pump components before reassembly.