The Coleman Premium Dual Fuel Lantern is a reliable and versatile light source, perfect for camping, power outages, or any situation requiring bright, dependable illumination. Its ability to run on both gasoline and Coleman fuel offers unparalleled flexibility, making it a favorite among outdoor enthusiasts and preparedness advocates. This robust lantern, however, requires proper handling and understanding to ensure safe and efficient operation. Knowing how to properly prime, ignite, and maintain your lantern is crucial for maximizing its lifespan and enjoying its benefits.
This guide will equip you with the knowledge and confidence to use your Coleman Premium Dual Fuel Lantern effectively and safely. We will walk you through a detailed, step-by-step process, covering everything from initial fuel preparation to proper shutdown procedures, ensuring you can illuminate your adventures with ease and peace of mind. Let's get started!
Preparation and Safety Guidelines
- Coleman Premium Dual Fuel Lantern
- Fuel (Coleman Fuel)
- Funnel
- Butane Lighter
- Match
- Always operate the lantern in a well-ventilated area. Never use it indoors or in enclosed spaces due to carbon monoxide risk.
- Ensure the fuel valve is completely closed before lighting and after extinguishing the lantern. Never attempt to refill the lantern while it is lit or warm.
- Keep the lantern away from flammable materials. Maintain a safe distance to prevent accidental burns or fires.
Step-by-Step Instructions
Fueling the Lantern
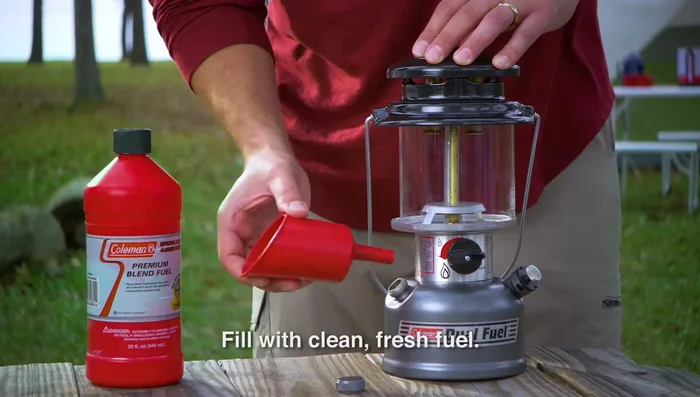
- Fill the lantern with fuel outdoors, away from flames and ignition sources.
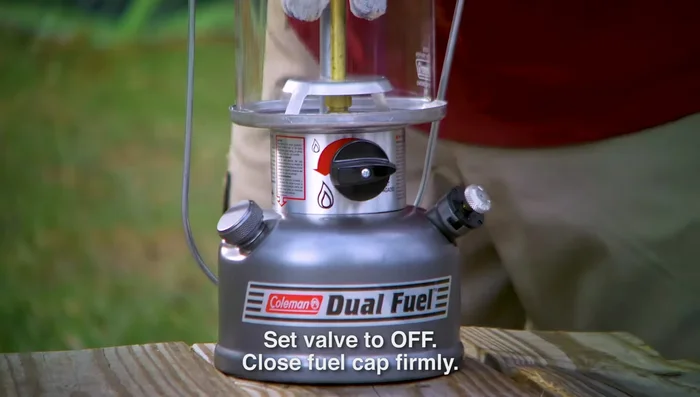
- Turn the fuel valve to 'off', close the pump knob firmly, and turn it clockwise.
- Remove the fuel cap and fill the lantern with clean, fresh fuel using a funnel.
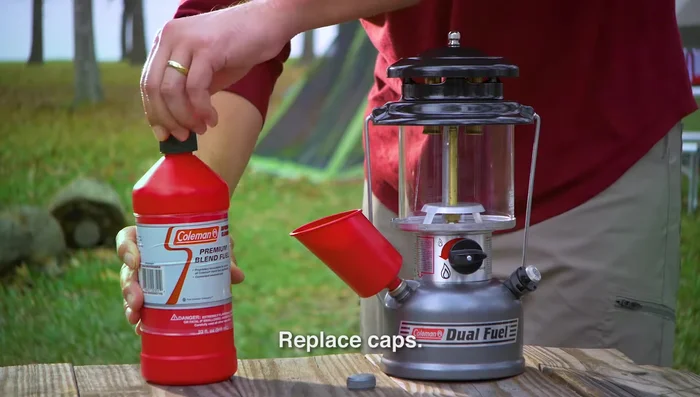
- Replace and tighten the fuel caps on the lantern and fuel container. Wipe up any spilled fuel.

Fueling the Lantern Installing the Mantles
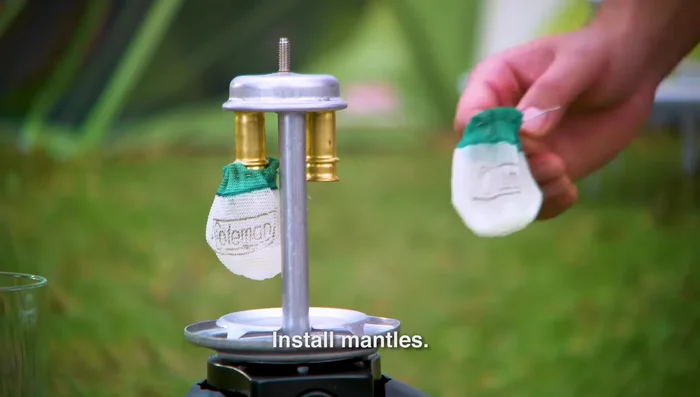
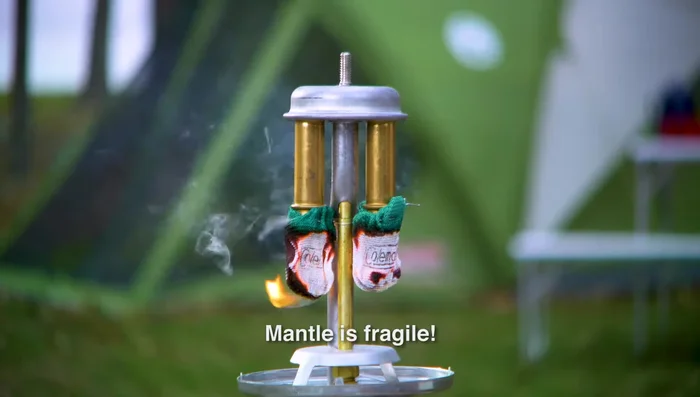
- Install the mantles onto the burners, ensuring the clips engage the groove.
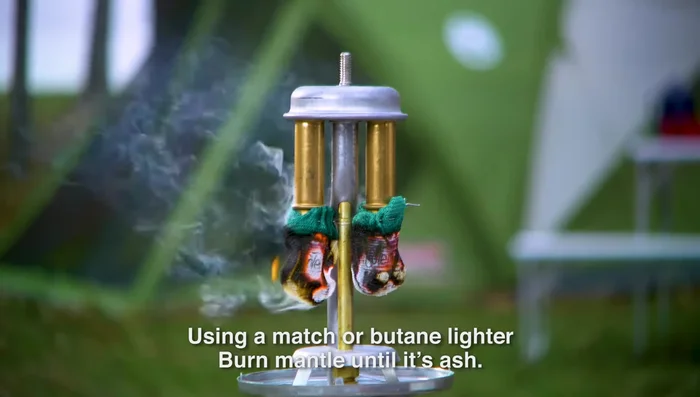
- Using a butane lighter, light the bottom of the mantle evenly until only white ash remains. Handle with care as it's fragile after burning.
- Replace the glass globe, ventilator, and nut.
Installing the Mantles Pumping and Leak Test
- Pump the lantern approximately 30 times with the fuel valve off and fuel cap closed. Open the pump knob one full turn to the left, cover the hole with your thumb, and pump.
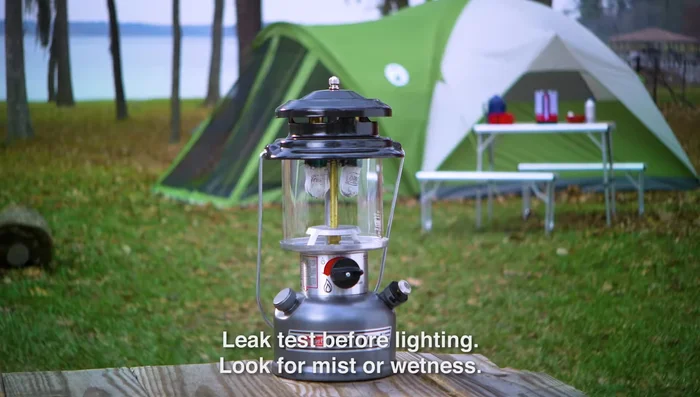
- Perform a gas leak test. Check for fuel mist, wet surfaces, hissing sounds, or fuel odor. Never use a flame to check for leaks.
Pumping and Leak Test Lighting the Lantern
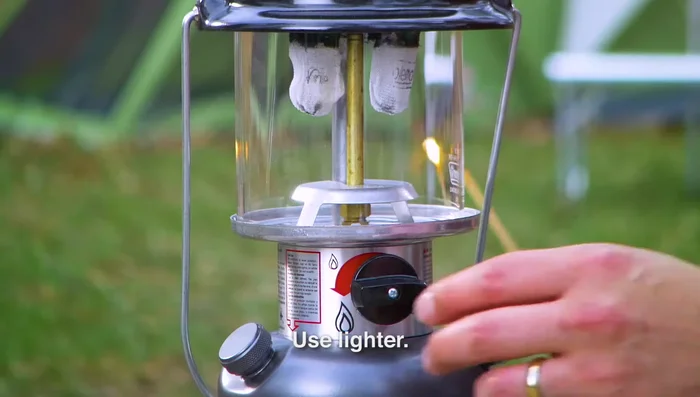
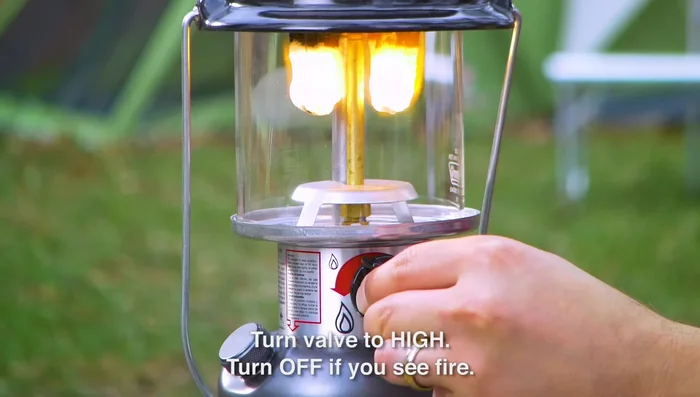
- Light the lantern by pushing a lit match through the lighting hole and turning the fuel valve to 'high'. If fire appears outside the mantles, there's a leak; turn the fuel valve off immediately.
Lighting the Lantern Adjusting Brightness and Shut Down
- Adjust the fuel valve to achieve desired brightness. The mantles should burn bright white. If not, clean the generator tip.
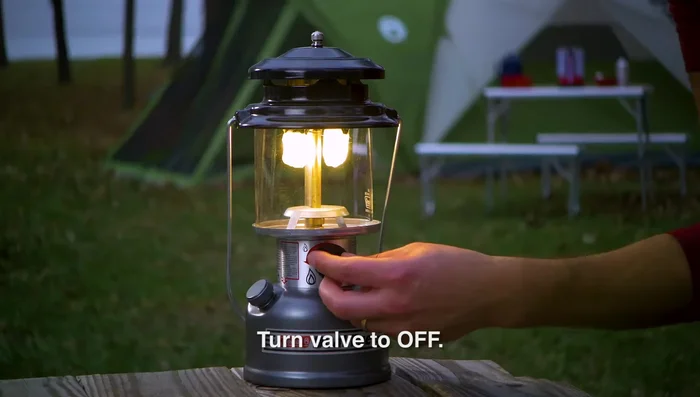
- When finished, turn the fuel valve off. The light will dim and go out in a couple of minutes. Allow the lantern to cool before packing.
Adjusting Brightness and Shut Down

Read more: Restore Your Coleman 275 Lantern: A Comprehensive Guide
Tips
- Always fill the lantern with fuel outdoors.
- Never use a flame to check for leaks.
- Handle the mantles carefully after burning, as they are fragile.
- Clean the generator tip if the mantles don't burn bright white.