Camping shouldn't be synonymous with complicated setups. A foldable camping table offers the perfect blend of convenience and practicality, providing a stable surface for meals, games, or simply organizing your gear. But what if assembling your table feels more like a puzzle than a pleasure? Fear not, fellow adventurers! This guide simplifies the often-overlooked process of setting up your foldable camping table, ensuring a quick and hassle-free experience every time. We’ll demystify the process, turning potential frustration into efficient preparation.
Imagine effortlessly unfolding your table and enjoying your outdoor experience sooner, instead of wrestling with confusing instructions. This step-by-step guide provides clear and concise instructions, accompanied by helpful visuals, making assembly a breeze. Ready to ditch the struggle and embrace the ease? Let’s dive into the straightforward steps that will have your foldable camping table ready in minutes, so you can get back to enjoying the great outdoors.
Preparation and Safety Guidelines
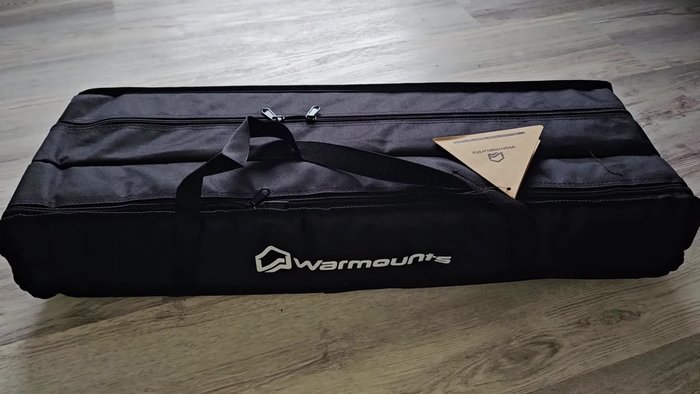
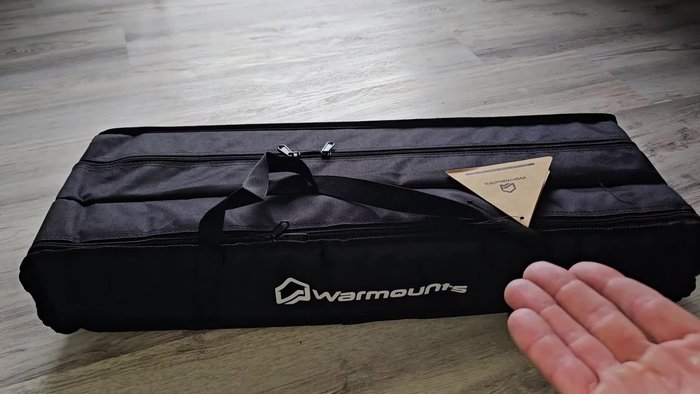
- Foldable Camping Table (49in)
- Utility Knife (Caution!)
- Always ensure the table is fully unfolded and locked into place before placing any weight on it. Improper locking can lead to collapse and injury.
- Avoid overloading the table. Check the manufacturer's weight limit and do not exceed it. Overloading can cause damage or instability.
- Inspect the table for any damage or loose parts before each use. Do not use a damaged table.
Step-by-Step Instructions
Unpacking and Preparation
- Carefully open the package. The manufacturer's box is thin, so avoid using excessive force with a knife.

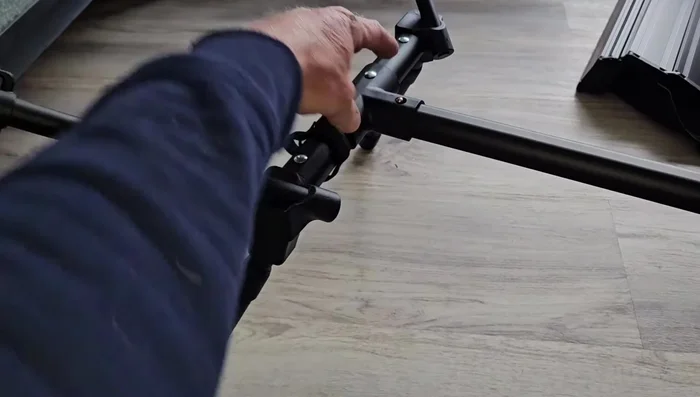
Unpacking and Preparation Attaching Leg Brackets
- Locate the leg brackets. Each bracket has a sliding piece that fits into the corresponding slots on the table frame.
- Secure the leg brackets using the push tabs.
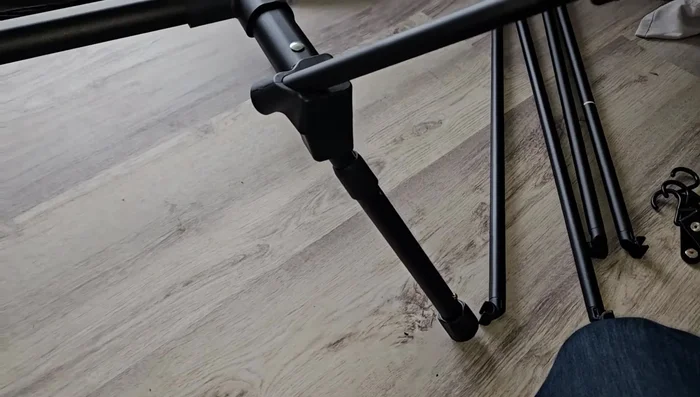
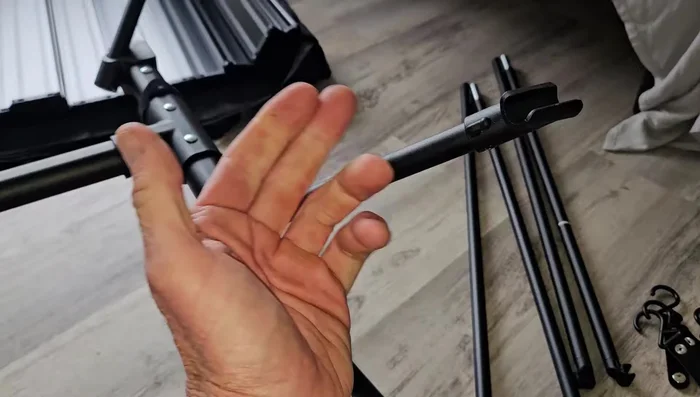
Attaching Leg Brackets Attaching Table Legs
- Attach the table legs. Flip the leg bracket, insert legs, and secure with push tabs.
Attaching Table Legs Adjusting Leg Height
- Adjust the height of the table legs using the adjustable feet.
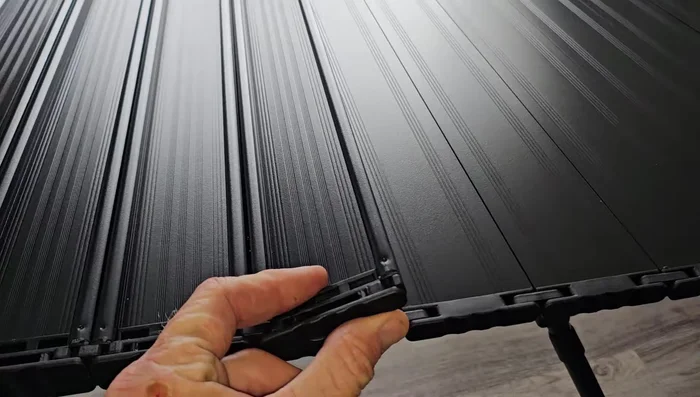
Adjusting Leg Height Attaching Tabletop
- Attach the upper brackets to the tabletop.
- Connect the tabletop to the frame using the clip-in tabs on the underside of the tabletop and the ridge on the frame.
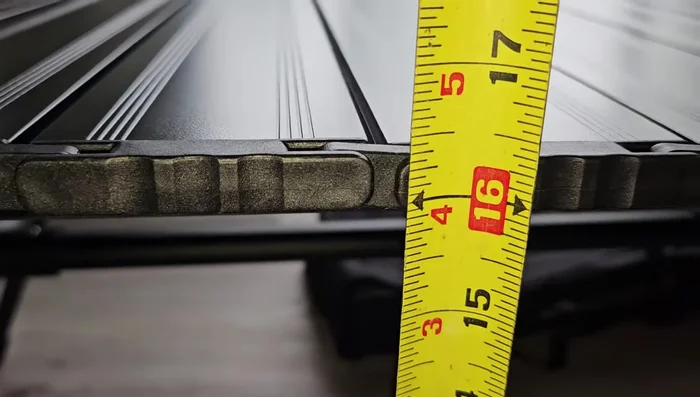
Attaching Tabletop Final Height Adjustment
- Adjust the table height to either the lower (approx. 16-16.5 inches) or higher (approx. 21 inches) setting.
Final Height Adjustment

Read more: DIY Camping Table Upgrade: Build a Stronger, Taller Table
Tips
- Be cautious when opening the box to avoid damaging it with a knife.
- The table has two height settings; choose the setting that best suits your needs.
- Utilize the included hooks on the underside of the table for added storage.