The Coleman 425 stove, a stalwart companion for countless camping trips and outdoor adventures, offers reliable performance and unmatched portability. However, unlocking its full potential requires understanding its nuances – from optimal fuel usage and efficient setup to mastering consistent flame control for perfect cooking results. Many find themselves struggling with uneven heating or frustratingly slow boil times, impacting their outdoor culinary experiences. This guide aims to change that.
This ultimate guide will empower you to conquer the Coleman 425 stove, transforming you from a novice to a seasoned outdoor chef. We’ll delve into every aspect of its operation, from pre-trip preparation and fuel selection to troubleshooting common problems and achieving consistent, reliable cooking. Ready to elevate your camping cuisine? Let's jump into the step-by-step process to mastering your Coleman 425 stove.
Preparation and Safety Guidelines
- Coleman 425 Stove
- Always ensure the stove is placed on a stable, level, and non-flammable surface. Never use it near flammable materials.
- Never leave the stove unattended while in operation. Turn off the stove and allow it to cool completely before handling or storing.
- Use only Coleman-approved fuel with your Coleman 425 stove. Using incorrect fuel can lead to malfunction or fire.
Step-by-Step Instructions
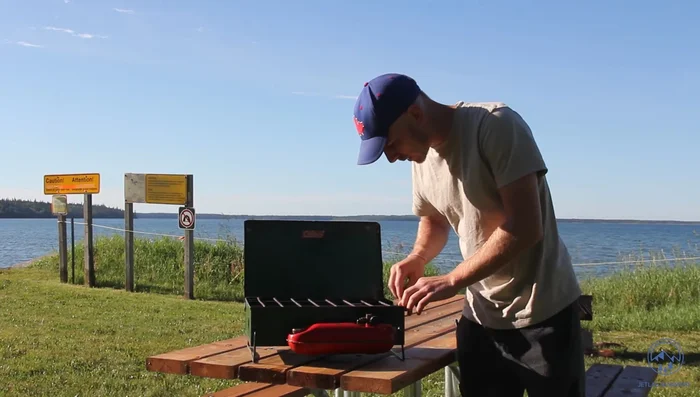
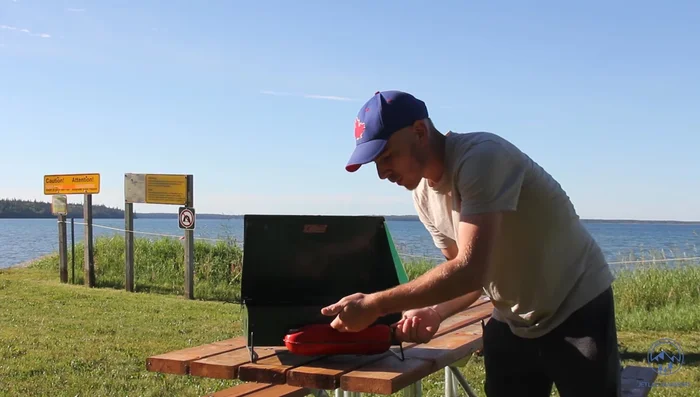
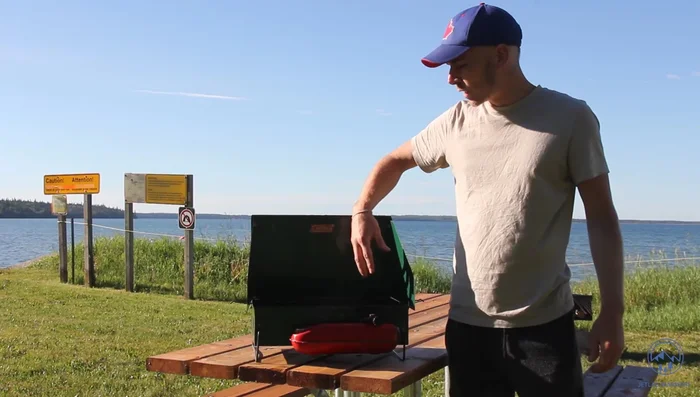
Setup
- Lay the stove down, pop up the legs.
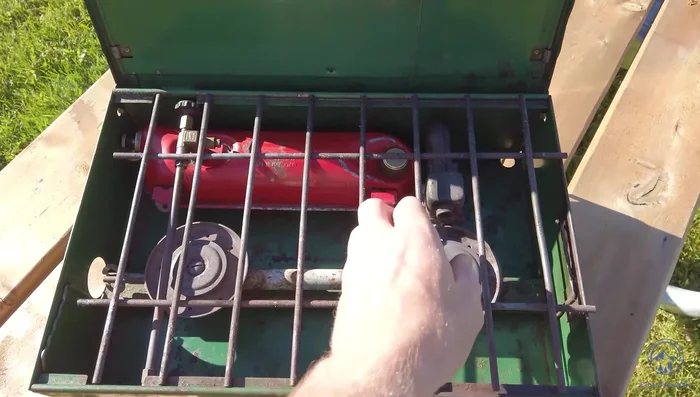
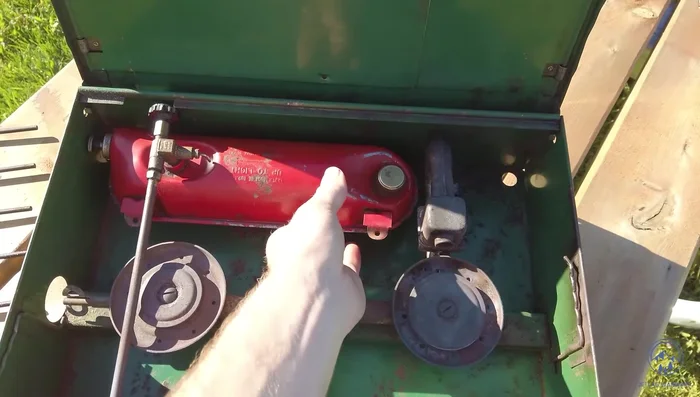
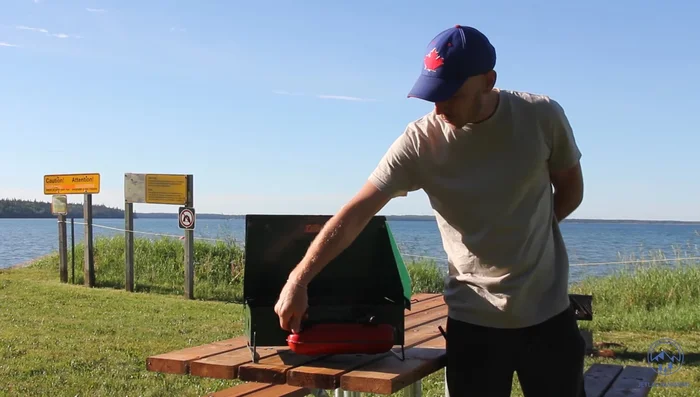
- Pop out the grill and fuel tank.
- Hang the fuel tank on the front of the stove, ensuring the fuel line is connected to the main burner.
- Put the grill back in and use the wind blockers if needed.

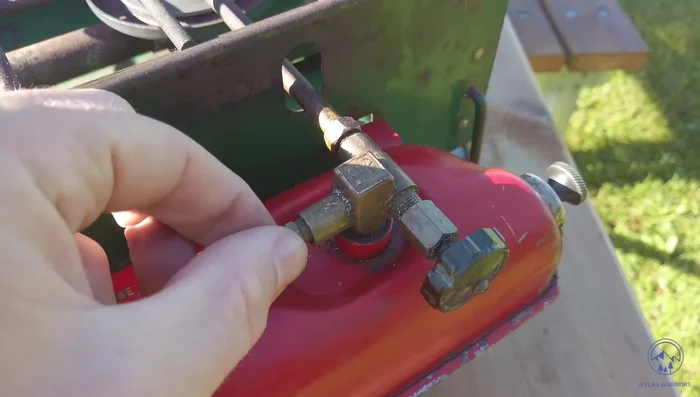
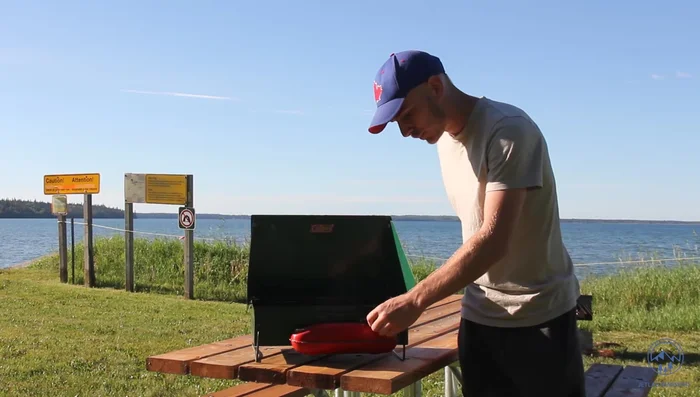
Setup Fueling
- Unscrew the fuel cap and add fuel (60-70% capacity).
- Pump the fuel tank until you feel resistance. (Avoid overfilling.)
Fueling Lighting the Main Burner
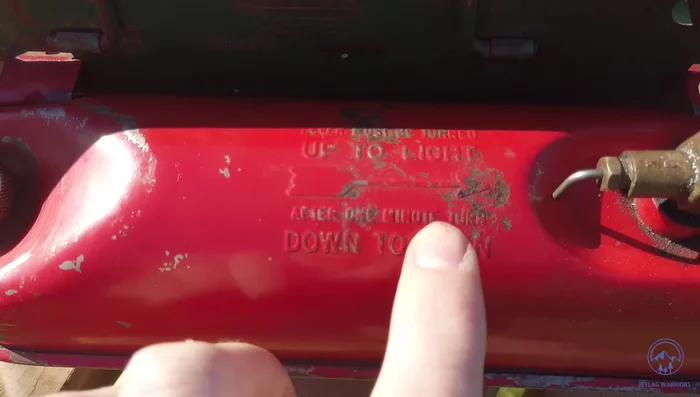
- Turn the throttle knob left (1.5 turns) and the choke knob up to light the stove.
- After one minute (or sooner if conditions allow), turn the choke knob down. The flames should turn blue.
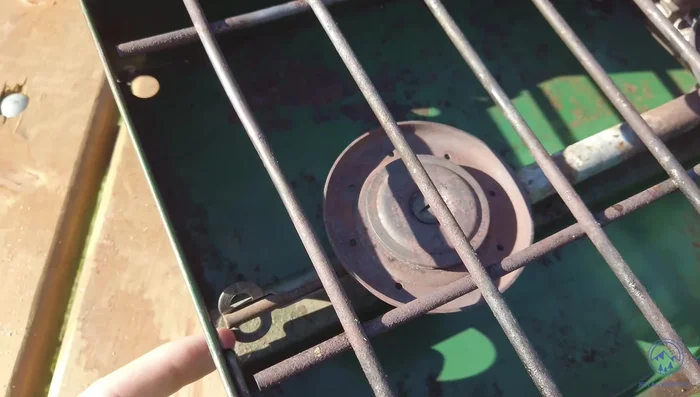
Lighting the Main Burner Lighting the Second Burner (if applicable)
- Adjust the second burner's knob *before* lighting it to avoid burning your fingers.
Lighting the Second Burner (if applicable) Cooking
- Use the main burner for dishes requiring higher heat (e.g., boiling water).
Cooking Shutdown and Safety
- Turn the throttle knob to the right to shut off the stove.
- Drain pressure from the tank after each use for safety and storage, especially if storing in an enclosed space.
Shutdown and Safety
Read more: DIY Camping Table Upgrade: Build a Stronger, Taller Table
Tips
- Fill the fuel tank to only 60-70% capacity to prevent over-pressurization.
- The second burner is less powerful than the main burner; prioritize higher heat dishes on the main burner.
- Always drain pressure from the fuel tank after use for safety, particularly if storing the stove.