Tired of wobbly camping tables that barely hold your coffee cup, let alone a feast under the stars? Many commercially available camping tables, while convenient, often lack the sturdiness and height needed for comfortable outdoor dining. This is especially true if you're a serious camper who enjoys cooking elaborate meals or simply appreciates a more ergonomic eating experience in the wilderness. A flimsy table can quickly turn a relaxing camping trip into a frustrating ordeal. Thankfully, upgrading your existing camping table is easier than you think!
This guide offers a straightforward DIY approach to transforming your rickety camping table into a stronger, taller, and more reliable companion for all your outdoor adventures. We'll walk you through a simple yet effective build, using readily available materials and tools. Ready to build a camping table that can withstand anything you throw at it (metaphorically speaking, of course)? Let's get started with the step-by-step instructions below.
Preparation and Safety Guidelines
- workbench
- welder (optional)
- drill
- bolts
- screws
- wood (cedar)
- bandsaw
- chisel
- measuring tools
- wood stain
- oil finish
- pocket hole jig
- Always use appropriate safety gear, including eye protection and work gloves, when using power tools or sharp objects.
- Ensure all screws and fasteners are securely tightened to prevent collapse or instability of the table. Over-tightening can also cause damage, so use appropriate torque.
- Inspect the finished table thoroughly before use to identify and address any potential hazards, such as splinters, sharp edges, or loose components.
Step-by-Step Instructions
Assessment and Redesign
- Assess the damaged table. Note broken welds, misaligned brackets, and low height.
- Instead of directly repairing the welds, choose to build a completely new table with improved design.

Assessment and Redesign Frame Design and Construction
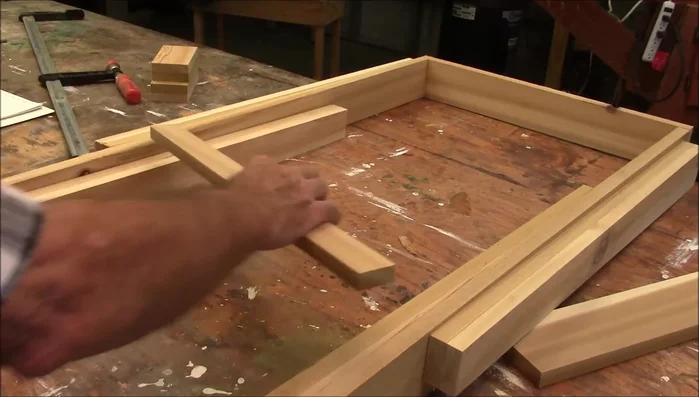
- A rectangular frame (4ft long, 2ft wide) with pivoting, collapsible legs. Use cedar boards for the tabletop instead of plywood.
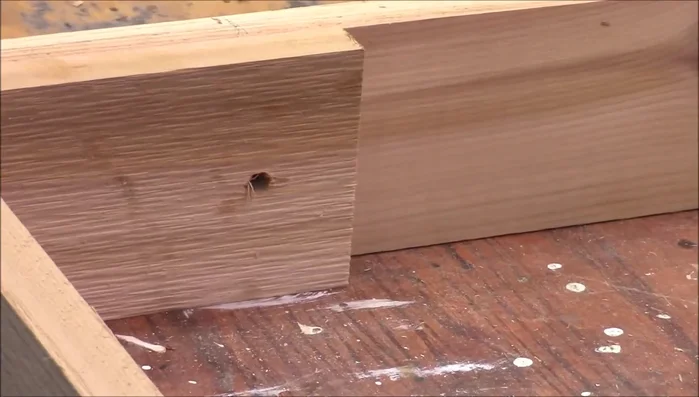
- Cut and shape the legs. Create dados for the cross pieces and add a slight taper to one side of each leg for easier folding.
- Assemble the frame. Attach legs using carriage bolts, ensuring smooth rotation.
- Add angled oak supports to assist leg folding and frame rigidity.
Frame Design and Construction Tabletop Preparation and Attachment
- Prepare and attach the cedar tabletop. Use pocket holes and coated deck screws for a strong, hidden fastener design.
Tabletop Preparation and Attachment Finishing Touches
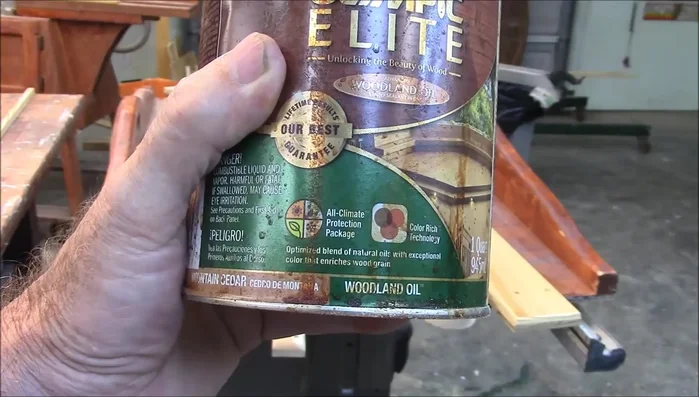
- Finish the table. Apply a wood oil for protection and desired color.
Finishing Touches


Tips
- Oil the metal parts to reduce friction.
- Use coated deck screws for outdoor durability.
- Consider using a jig to accurately position holes for the legs.
- Pre-drill holes for long screws to prevent wood splitting.