Tired of overflowing recycling bins and the constant stream of discarded plastic? Upcycling offers a fantastic solution, transforming unwanted items into something beautiful and functional. Today, we're tackling a common household item with surprising potential: the humble 5-gallon bucket. Often relegated to the garage or trash heap, these sturdy containers possess hidden strength and versatility, perfect for crafting a surprisingly comfortable and unique seat. Imagine transforming a discarded bucket into a charming addition to your patio, garden, or even workshop. This isn't just about reducing waste; it's about creating something truly special with your own hands.
This project showcases the magic of upcycling, combining practicality with a touch of creative flair. We'll guide you through a simple, step-by-step process that requires minimal tools and materials, making this a perfect project for beginners. Get ready to unleash your inner maker, because in the following guide, we'll show you exactly how to upcycle that old 5-gallon bucket into a stylish and surprisingly sturdy DIY seat.
Preparation and Safety Guidelines
- 5-gallon bucket
- lid (may need to purchase separately)
- wood disc
- cotton batting
- 15x15 inch cotton fabric
- piece of plastic (same size as wood disc)
- 1-inch upholstery foam
- bolts
- drill
- staple gun
- scissors
- marking pens
- Always wear appropriate safety glasses and gloves when working with sharp objects, power tools, and potentially abrasive materials like paint or sealant.
- Ensure the bucket is thoroughly cleaned and free of any residue before beginning the upcycling process. Residual chemicals could be harmful.
- If using power tools, ensure they are in good working condition and you are familiar with their safe operation. Never rush the process.
Step-by-Step Instructions
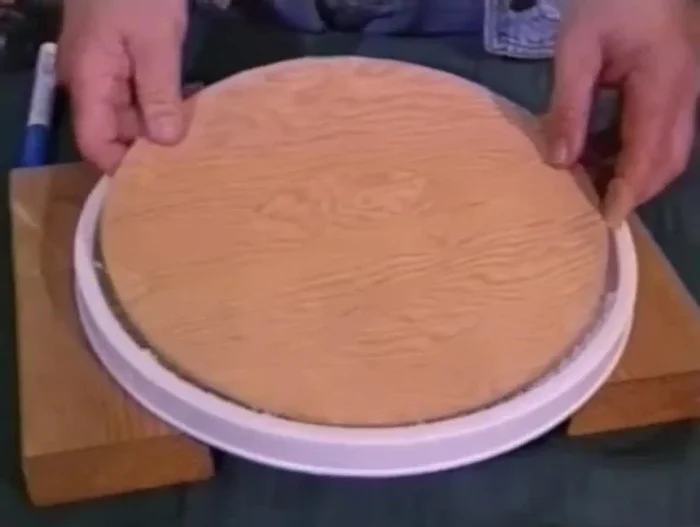
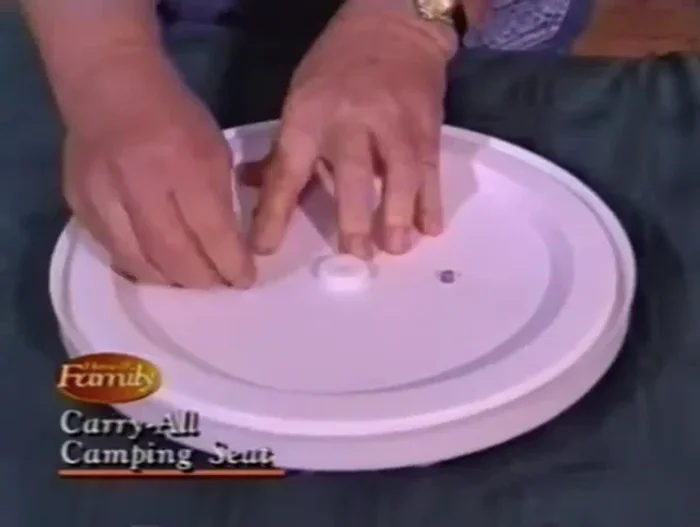
Prepare the Base
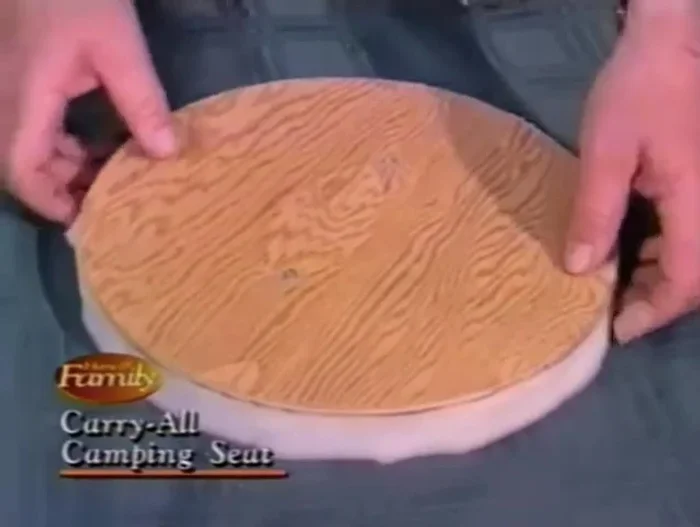
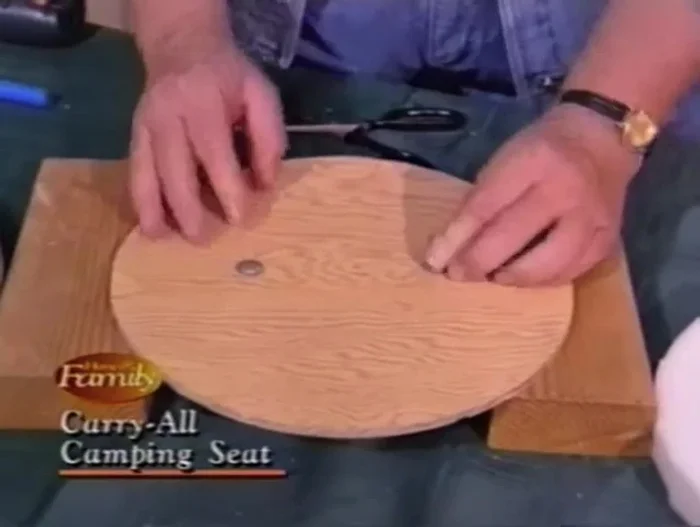
- Cut a plywood disc slightly smaller than the bucket lid.
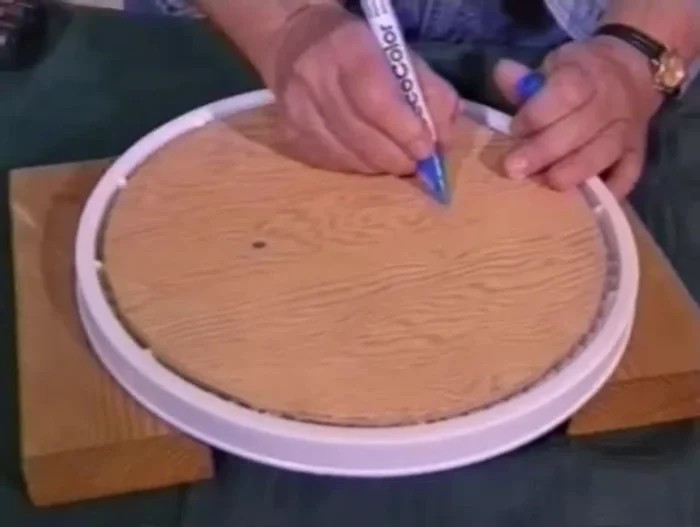
- Drill two holes through the plywood and into the plastic lid.

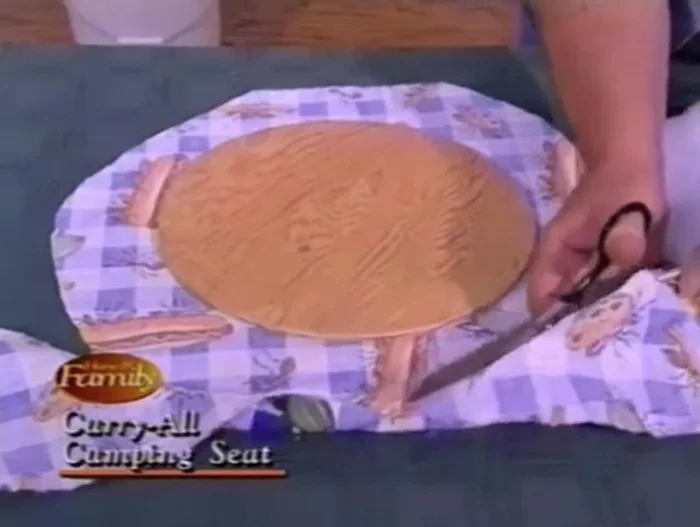
Prepare the Base Cut Fabric and Padding
- Cut the top fabric 3 inches wider than the plywood on all sides.
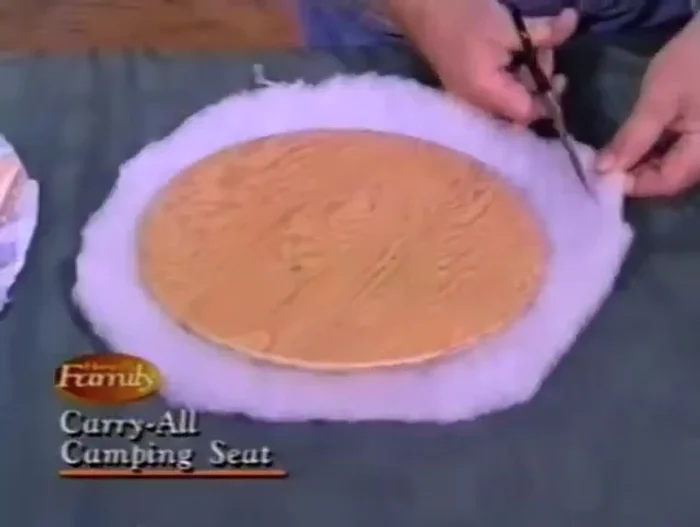
- Cut the cotton batting 1 inch wider than the plywood on all sides.
- Cut the foam to the exact size of the plywood.
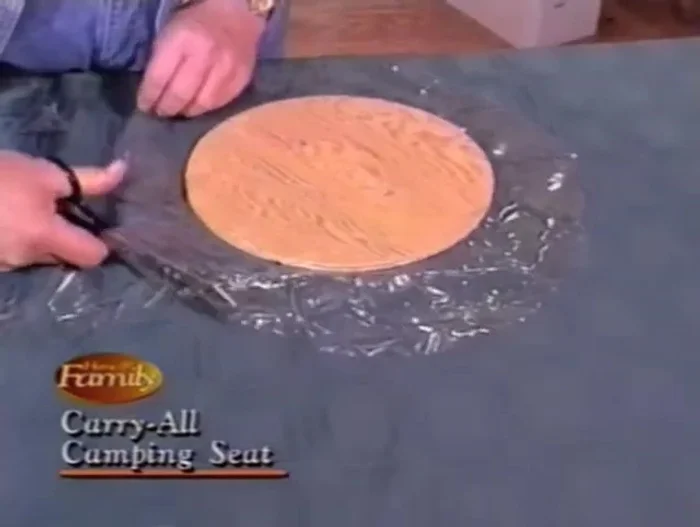
- Cut the plastic piece to the exact size of the plywood.
Cut Fabric and Padding Assemble the Seat Cushion
- Layer the foam, batting, and fabric on top of the plywood, leaving extra fabric to wrap around the sides.
- Place the plastic piece over the layered materials.
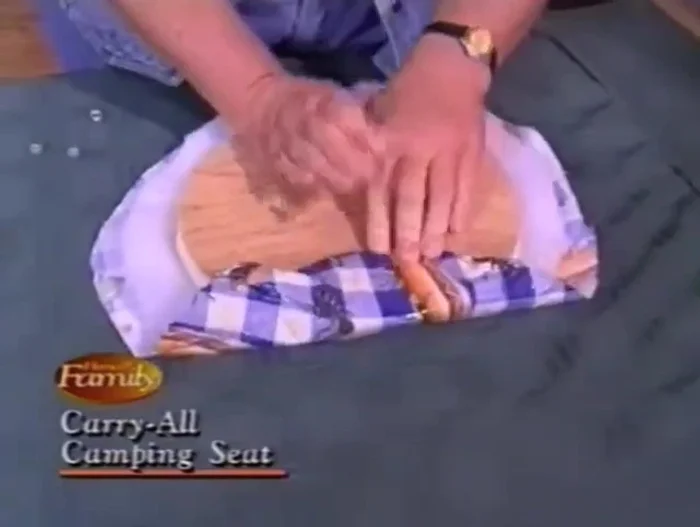
Assemble the Seat Cushion Secure and Finish
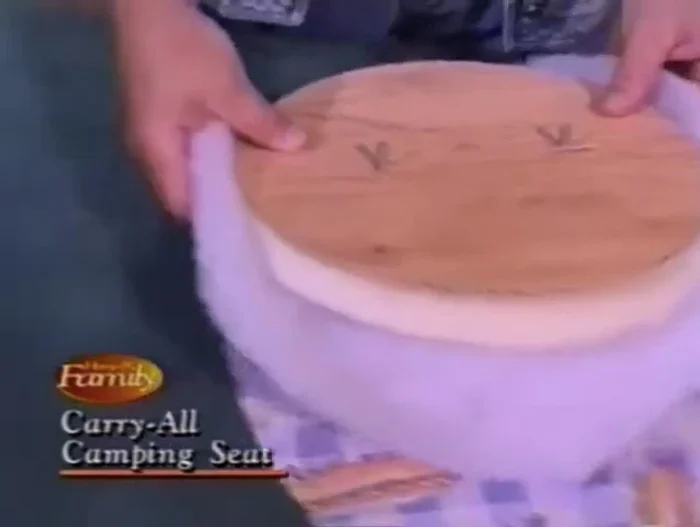
- Pull the fabric tightly around the sides and staple it to the plywood.
- Insert bolts through the holes, then attach the plastic lid. Tighten the bolts securely.
Secure and Finish
Read more: DIY Camping Folding Stool: A Step-by-Step Guide
Tips
- Use a sturdy table or two-by-fours to protect your work surface while drilling.
- Push the staple gun firmly to secure the fabric.