Camping is a fantastic way to reconnect with nature, but hauling heavy gear can quickly dampen the spirit of adventure. One often-overlooked item that adds significant weight to your pack is a camping stool. Why struggle with uncomfortable rocks or damp ground when you can have your own portable seating solution? This guide will show you how to construct a sturdy yet lightweight folding camping stool entirely from readily available materials, saving you money and making your next trip significantly more comfortable. Forget expensive store-bought options; with a little DIY ingenuity, you can craft a custom stool perfectly suited to your needs.
Building your own camping stool is easier than you might think, requiring only basic tools and materials. This step-by-step guide will walk you through each stage of the process, from selecting the right wood to the final assembly, ensuring even beginners can achieve a functional and aesthetically pleasing result. Let's get started and create the perfect companion for your next outdoor adventure!
Preparation and Safety Guidelines
- Ash wood
- Dowels
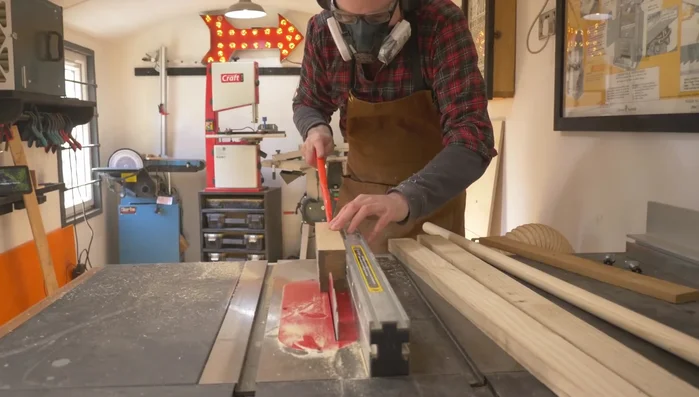
- Crosscut sled
- Drill press
- Forstner bit
- Bobbin sander
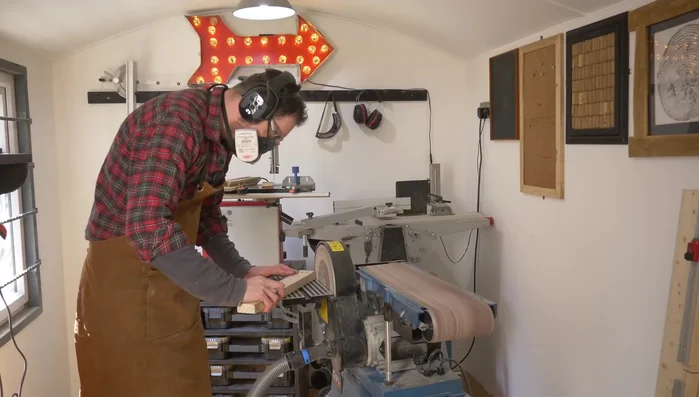
- Disc sander
- Router table
- Round over bit
- Random orbital sander
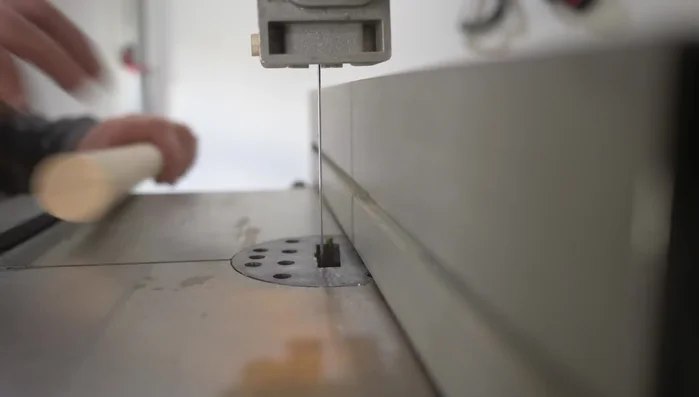
- Bandsaw
- Miter gauge
- Auxiliary fence
- Oak wood
- PVA wood glue
- Japanese saw
- Tongue oil
- Leather
- Stanley knife
- Rivets
- Rotary punch
- Setting tool
- Mallet
- Side cutters
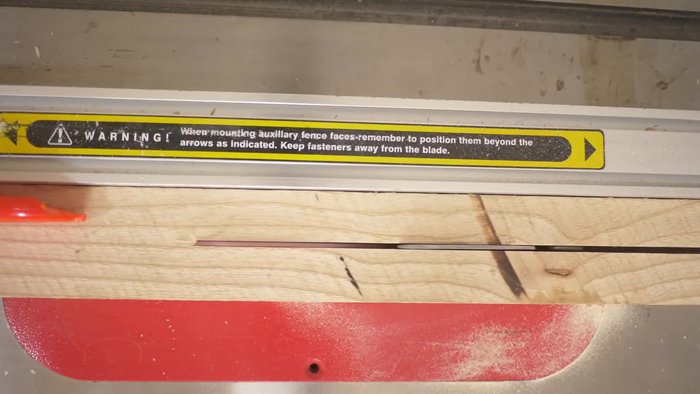
- Always use appropriate safety glasses when using power tools like saws or drills. Wood splinters and flying debris can cause serious eye injuries.
- Ensure all screws and joints are securely fastened before using the stool. A poorly constructed stool can collapse under weight, leading to injury.
- Inspect the finished stool thoroughly before each use. Check for any loose screws, cracks in the wood, or other signs of damage that could compromise its stability.
Step-by-Step Instructions
Prepare the Wood
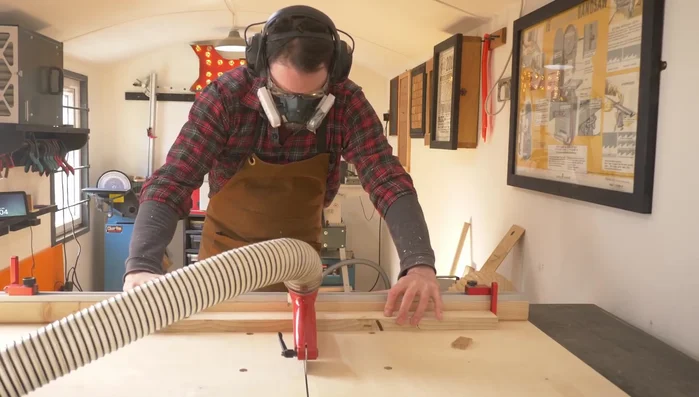
- Rip the ash wood into two pieces.
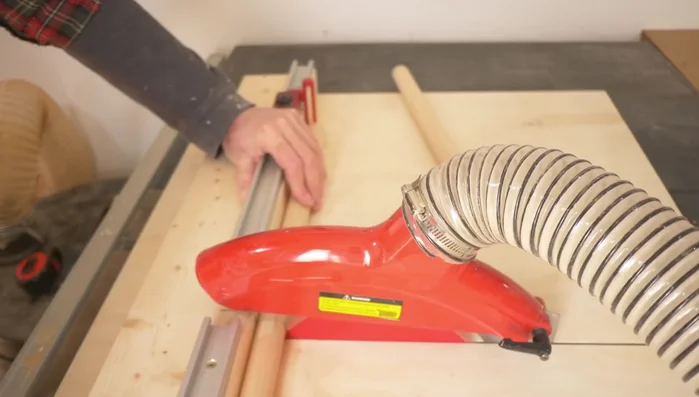
- Cut the wood to length using a crosscut sled.
- Cut dowels to size using the crosscut sled.

Prepare the Wood Prepare the Joints
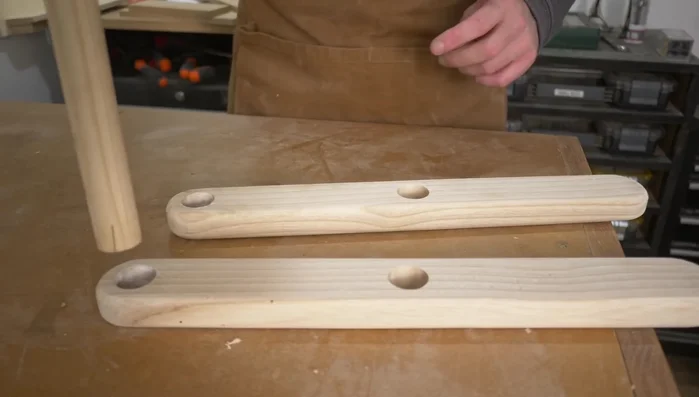
- Mark and drill holes for the dowels.
- Widen holes using a bobbin sander to accommodate dowels.
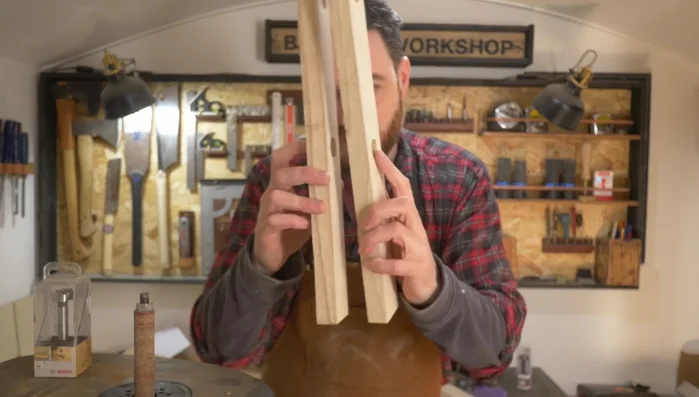
- Round over the ends of the wood pieces using a disc sander and router table.
- Cut slots on the bandsaw to accommodate wedges for locking the dowels.
Prepare the Joints Prepare the Wedges
- Cut wedges from oak wood.
Prepare the Wedges Assemble the Stool
- Assemble the stool by gluing and wedging the dowels in place.
- Trim the wedges flush using a Japanese saw.
Assemble the Stool Finishing Touches
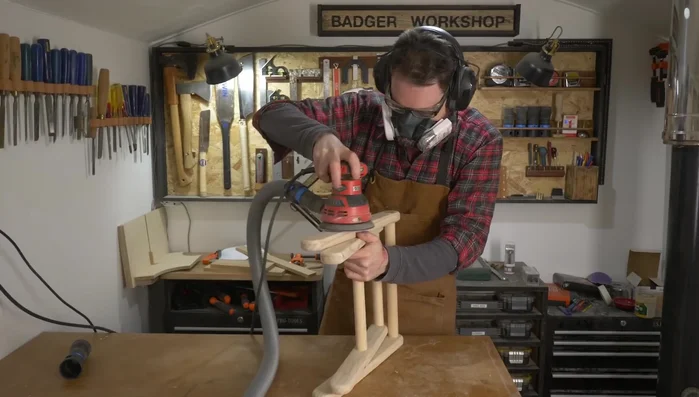
- Sand the stool down.
- Apply three coats of tongue oil.
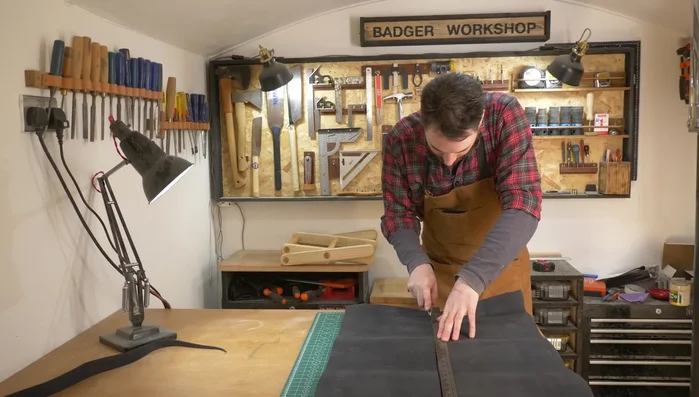
- Cut and attach the leather seat using rivets.
Finishing Touches
Tips
- Cut slots for wedges in the opposite direction of the wood grain to prevent splitting.
- Use contrasting color wedges for aesthetic appeal.
- Make the legs slightly longer for improved comfort.