Camping trips shouldn't be marred by hours spent wrestling with cumbersome equipment. For comfortable and convenient outdoor adventures, a cot that's quick to set up and take down is essential. Teton Sports cots, known for their durability and affordability, offer a compelling solution for campers seeking a balance between comfort and practicality. Their intuitive design allows for effortless assembly and disassembly, even in challenging conditions, saving you precious time and energy for what truly matters – enjoying the outdoors.
This guide dives deep into the process, offering a comprehensive walkthrough of setting up and taking down various Teton Sports cot models. From understanding the components to mastering the efficient techniques, we'll equip you with the knowledge to effortlessly assemble and dismantle your cot, minimizing setup time and maximizing your camping experience. Let's get started with our step-by-step instructions!
Preparation and Safety Guidelines
- Always ensure the cot legs are securely locked into place before applying weight. Failure to do so can result in collapse and injury.
- Inspect the cot for any damage or wear before each use. Replace any broken or weakened parts immediately.
- Avoid overloading the cot. Exceeding the weight limit can cause structural failure and potential injury.
Step-by-Step Instructions
Cot Removal and Initial Setup
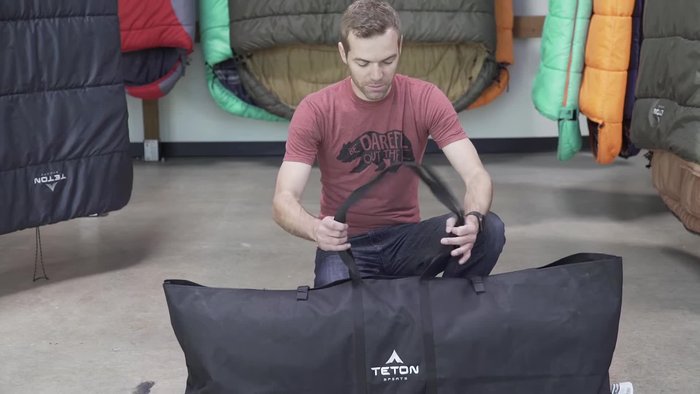
- Unzip and open the carry bag, undoing the two side velcros.
- Remove the end bars and set them aside.
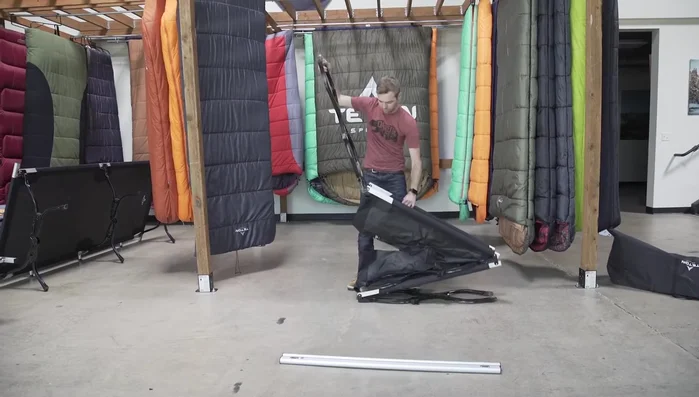
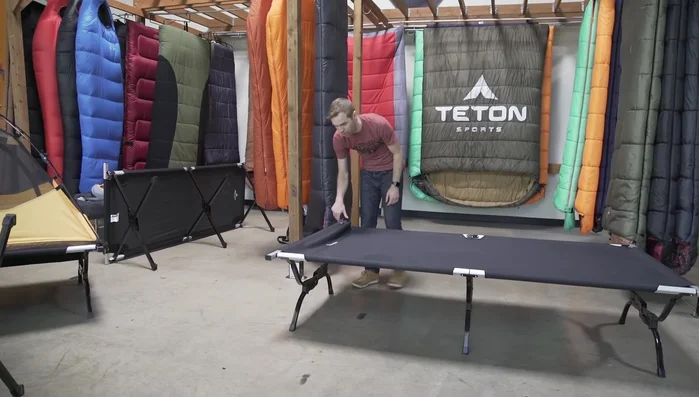
- Pull the cot out of the bag, lifting it from the side with the center foot facing the ground for stability.
- Lift one end of the cot and set the other end down, folding it over. Repeat for the other side.

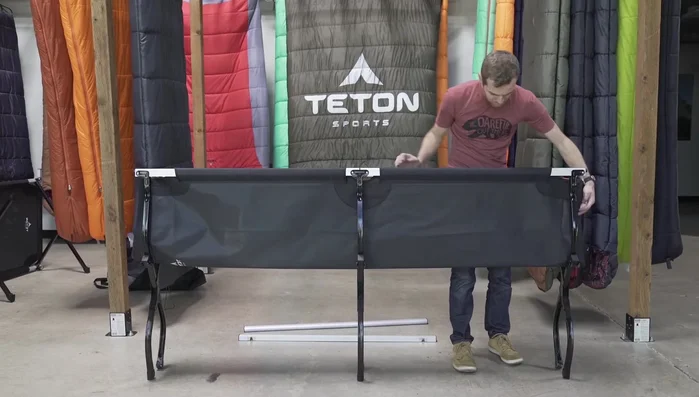
Cot Removal and Initial Setup Leg and Bushing Alignment
- Push down on each leg to help seat the leg into its bushing and wings, ensuring the cot is the correct width.
Leg and Bushing Alignment Attaching End Bars
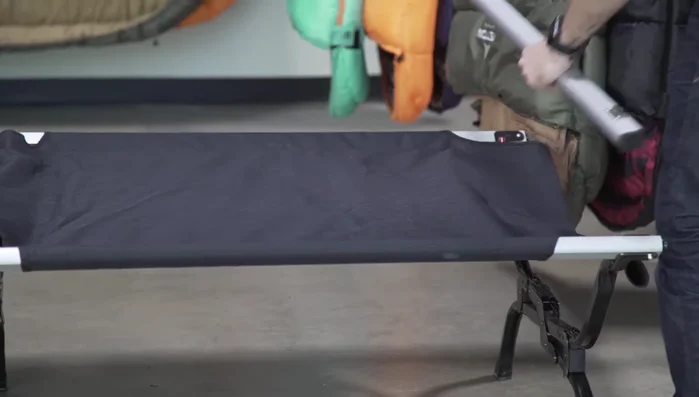
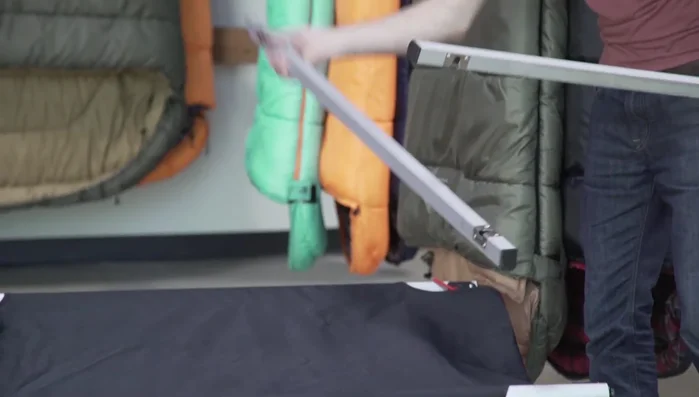
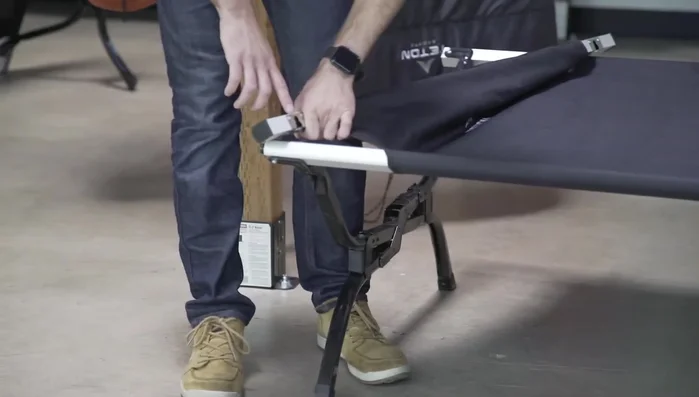
- Place the end bars above their respective positions.
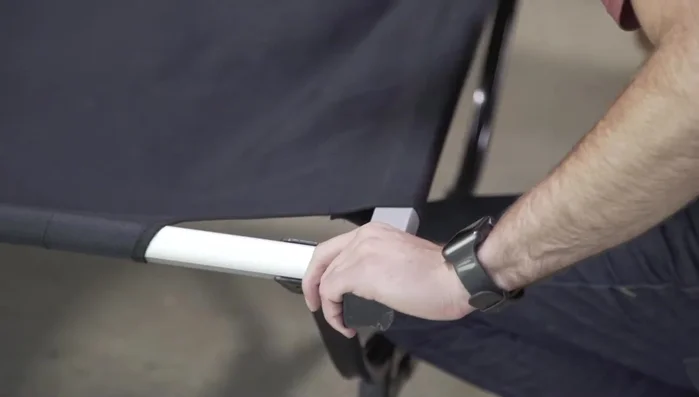
- Align the red tab on the end bar with the pivot arm in the corner. Ensure the notch on the end bar is at the top, aligned with the nub on the side rail.
- Slide the end bar into place, making sure the notch is facing up.
- Repeat steps 7 and 8 for the remaining corners, using the pivot arm for the final corner.
Attaching End Bars Takedown: Initial Steps
- Start by popping off the end bars to release the tension.
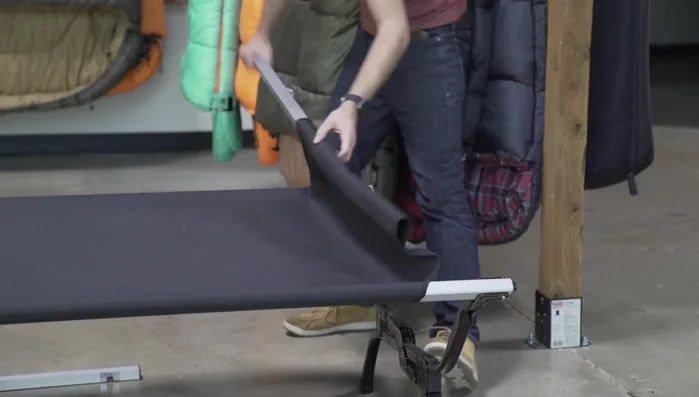
- Fold the outer legs and roll the top of the cot to prevent pinching.
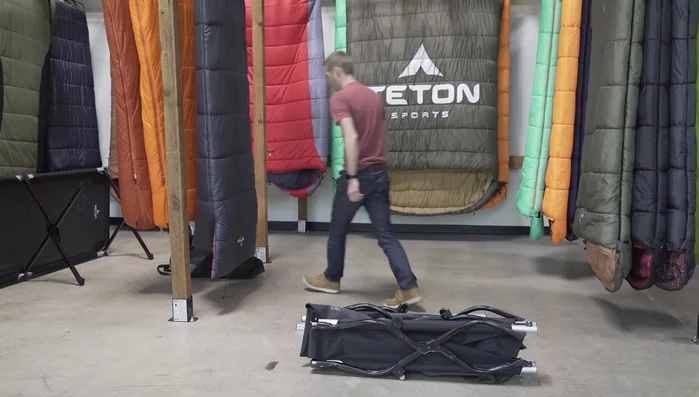
Takedown: Initial Steps Folding the Cot
- Continue folding the cot until it's compact enough to fit in the carry bag.
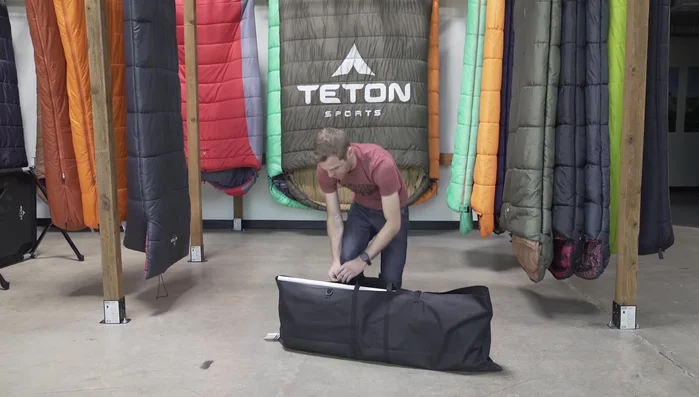
Folding the Cot Packing the Cot
- Place the cot into the carry bag through the side opening.
- Secure the end bars and close the velcros.
Packing the Cot


Read more: Nature Hike Army Wild Cot: Setup & Review - Two-Level Camping Comfort
Tips
- Keep the center foot of the cot facing the ground during setup for better stability.
- Properly seating the legs into their bushings and wings ensures the cot's width.
- Align the notch on the end bars with the nubs on the side rails during setup to prevent them from popping off.
- Rolling the top of the cot during takedown prevents creasing.
- Using the side opening of the carry bag simplifies packing.