Tired of wrestling with tangled poles and flimsy fabric, only to end up with a crooked, uncomfortable camping cot? We’ve all been there – the frustration of a late-night arrival, battling a temperamental cot setup under the weak beam of a headlamp, while nature's symphony plays on. Forget the image of struggling with complex instructions and ending up with a twisted metal mess. Effortless camping cot setup is entirely achievable, leading to a comfortable night's sleep under the stars. Gone are the days of pre-trip anxieties and fumbling in the dark.
This article will guide you through a simplified, step-by-step process to ensure your camping cot is assembled quickly and correctly, every single time. We'll cover common pitfalls and offer simple tricks to make setup a breeze, leaving you with more time to enjoy the great outdoors. Ready to say goodbye to cot-related camping chaos? Let's get started!
Preparation and Safety Guidelines
- Always ensure the cot is set up on a level surface to prevent tipping and injury. Avoid uneven ground or slopes.
- Check all locking mechanisms and leg joints are securely fastened before use. A poorly assembled cot can collapse under weight.
- Inspect the cot regularly for wear and tear, especially on fabric and joints. Replace the cot if you notice significant damage.
Step-by-Step Instructions
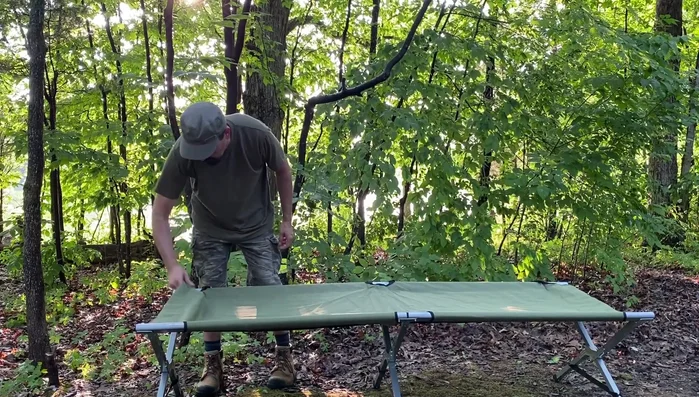
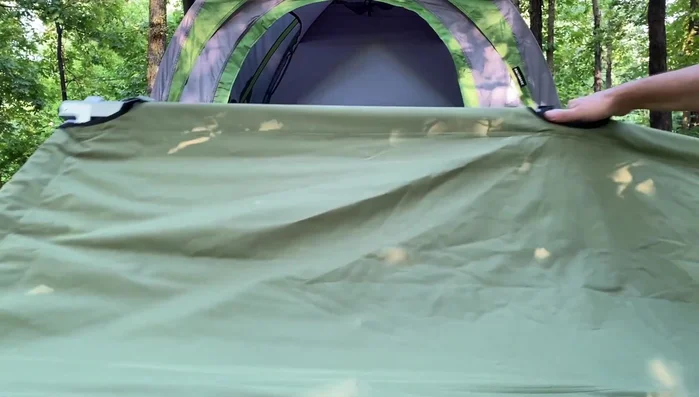
Prepare the Cot
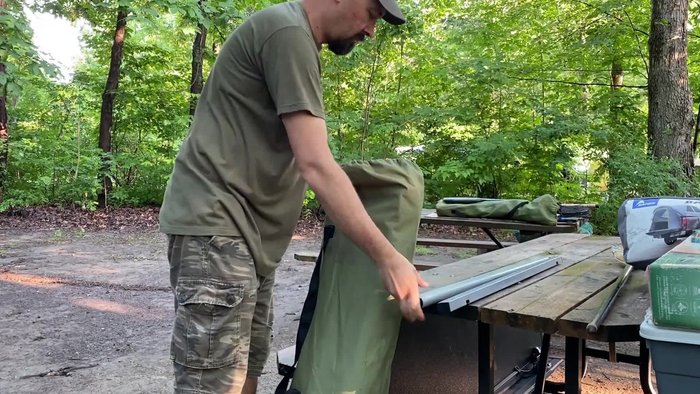
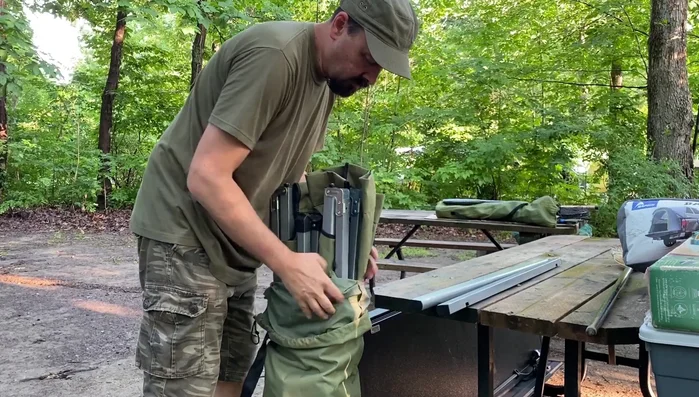
- Remove the two loose bars from the bag and set them aside.
- Take the cot out of the bag, holding it in the middle for easier handling.

Prepare the Cot Unfold the Cot
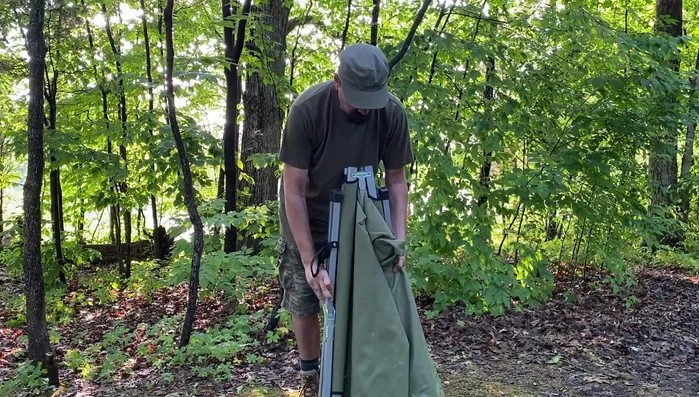
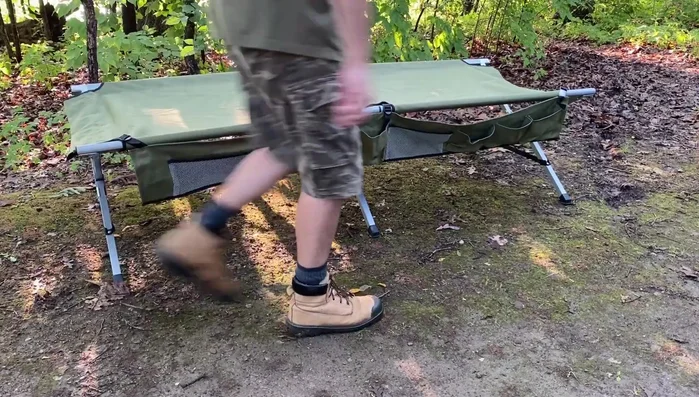
- Set the middle set of legs on your foot and unfold the outer legs, ensuring the cot lies flat on the ground.
- If fabric gets stuck, carefully refold the cot to free it without tearing.
- Stretch the fabric taut to ease crossbar insertion.
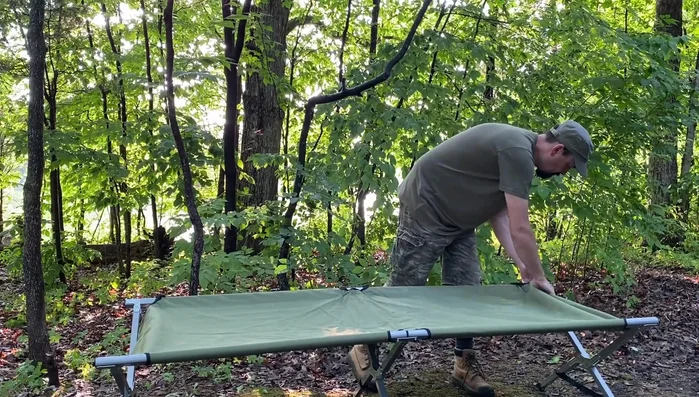
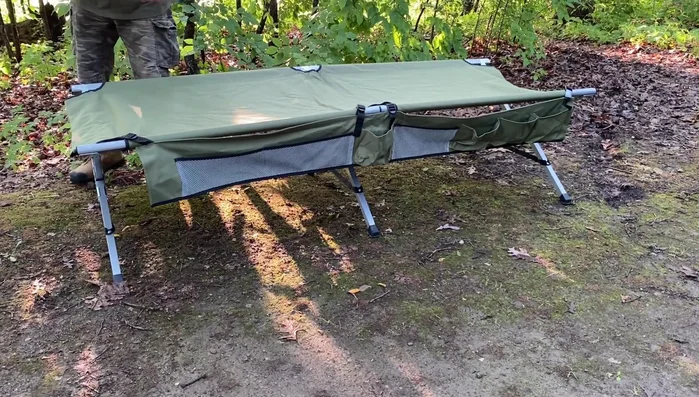
Unfold the Cot Orient and Insert Crossbars
- Determine the cot's orientation in the tent (legs vs. head).
- Insert the shorter loose bar where the legs will go, clipping it on one side, pushing it down, and inserting the other end.
- For the head-end bar, place it *underneath* the two long bars instead of forcing it into the bolts. This prevents frustration and makes the cot more comfortable.
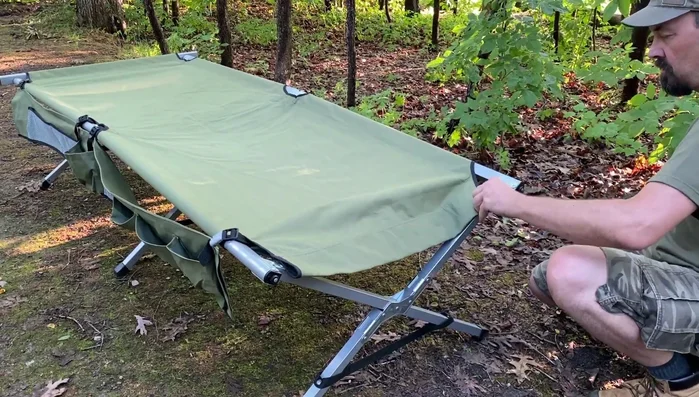
Orient and Insert Crossbars Position in Tent/Truck
- If using a truck tent, lift the cot, place the front legs onto the truck bed, then carefully walk the cot into the truck.
Position in Tent/Truck
Read more: Nature Hike Army Wild Cot: Setup & Review - Two-Level Camping Comfort
Tips
- Setting aside the loose bars beforehand simplifies the process.
- Holding the cot in the middle while removing it from the bag makes it easier to manage.
- Stretching the fabric makes inserting crossbars much easier.
- Avoid forcing the head-end bar into the bolts; placing it underneath is significantly easier and improves comfort.