Camping under the stars is a magical experience, but chilly nights can quickly dampen the fun. Forget shivering in your sleeping bag! This guide introduces you to the ingenious DIY Tippy Tent Heater, a simple yet effective solution to keep you toasty warm on your next adventure, no matter how low the temperature dips. This low-cost, easily assembled heater utilizes readily available materials, minimizing your environmental impact while maximizing your comfort. It's perfect for backpackers, seasoned campers, or anyone looking for a reliable, affordable warmth boost.
Forget bulky, expensive propane heaters! This ingenious design uses readily available materials and a clever method to create a safe and effective source of heat within your tent. Ready to transform your camping experience and say goodbye to cold nights? Let's dive into the step-by-step instructions and build your own DIY Tippy Tent Heater.
Preparation and Safety Guidelines
- Cooking gate
- Outdoor cooking pot
- Wood gas stove
- Tea lights
- Lid
- Pebbles
- Sock
- Gloves
- Never leave the heater unattended. Always supervise its operation.
- Ensure adequate ventilation to prevent carbon monoxide buildup. A well-ventilated tent is crucial.
- Use only approved fuels and follow the manufacturer's instructions for your chosen heater type. Improper fuel use can lead to fire or explosion.
Step-by-Step Instructions
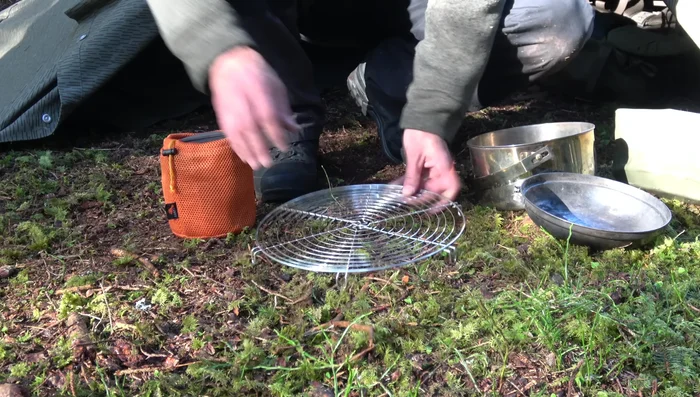
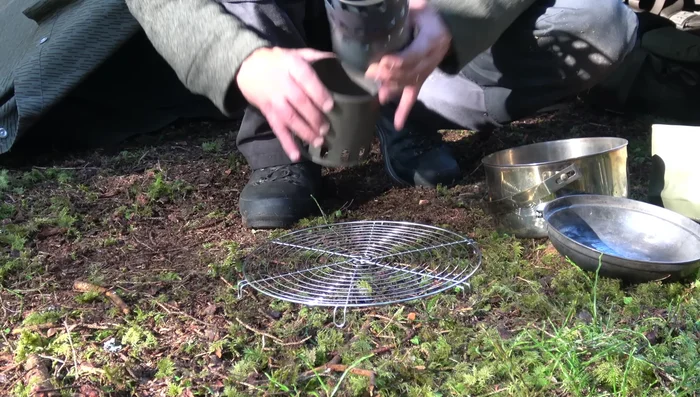
Prepare the Base
- Set up the cooking gate for stability.
- Place the wood gas stove in the center of the gate.
- Position the cooking pot around the wood gas stove.

Prepare the Base Set up the Heater
- Place tea lights around the wood gas stove, ensuring sufficient distance to prevent fire hazards.
- Use a small wire or similar object to keep the pot handle away from the candle flames.
Set up the Heater Add Heat Storage
- Place the lid on top of the cooking pot and fill it with pebbles to store heat.
Ignite the Heater
- Light the tea lights.

Read more: DIY Copper Candle Lantern: A Compact & Portable Lighting Solution
Tips
- Maintain a safe distance between tea lights and the pot to prevent fire hazards. Never pour water on a grease fire.
- Ensure adequate ventilation in your tent by opening the top or entrance from time to time.
- Keep gloves nearby in case you need to adjust the setup safely.