In the quest for charming and functional lighting solutions, few materials offer the same rustic elegance and warm glow as copper. This DIY project introduces a simple yet stunning method for crafting a compact and portable copper candle lantern, perfect for adding a touch of ambiance to any setting – from cozy evenings at home to romantic outdoor gatherings. Its small size makes it ideal for camping trips, power outages, or simply enhancing a tabletop display. The beauty of this project lies not only in its final aesthetic appeal but also in the satisfying process of transforming readily available materials into a unique piece.
Forget expensive, mass-produced décor! This guide provides a detailed, step-by-step walkthrough, empowering you to create your own beautiful copper candle lantern. We'll cover everything from selecting the right materials to assembling the lantern and ensuring its safe and effective use. Prepare to be amazed at how easily you can create this sophisticated and versatile lighting solution, all from the comfort of your own home.
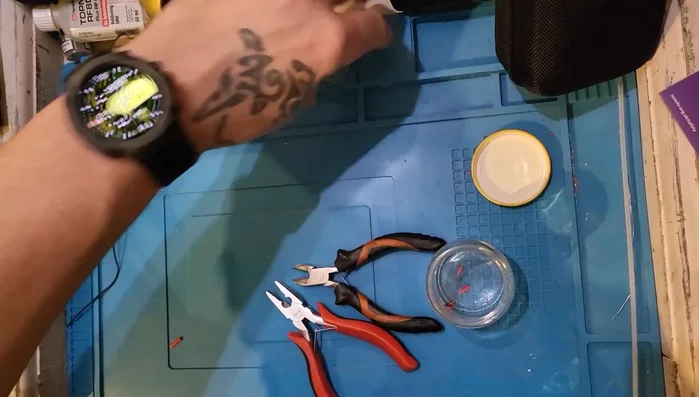
Preparation and Safety Guidelines
- Snips
- Pliers (needle-nose preferred)
- Copper wire
- Baby food jar (Heinz Lamb)
- Tea lights
- Matches
- Always use a heat-resistant surface under the lantern to prevent fire hazards. Copper can get hot.
- Never leave a lit candle unattended. Extinguish the candle completely before leaving the area or going to sleep.
- Keep the lantern away from flammable materials such as curtains, paper, or dry leaves.
Step-by-Step Instructions
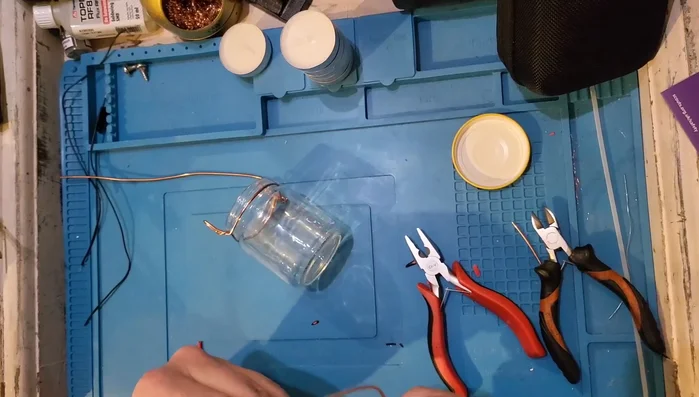
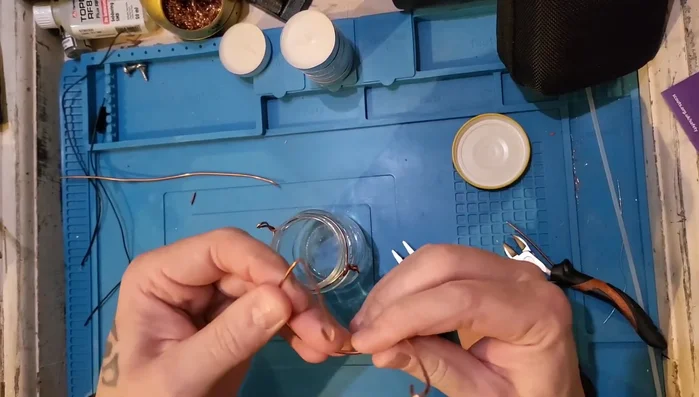
Prepare the Copper Wire
- Measure and cut a length of copper wire to fit around the jar's rim.
- Cut excess copper wire, leaving enough for the handle and to prevent sharp edges.

Prepare the Copper Wire Create the Base Loop
- Bend the wire to create a loop that will sit snugly under the jar's rim.
- Twist the loop to secure it.
- Shape and adjust the wire to ensure it fits the jar comfortably and the handle is secure.
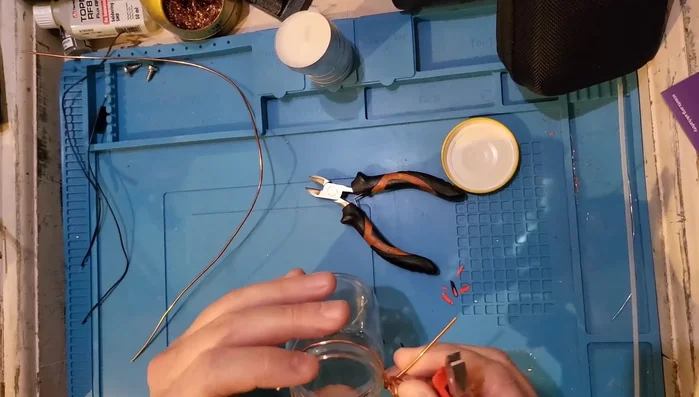
Create the Base Loop Create the Handle
- Create a small handle loop on the opposite end of the wire.
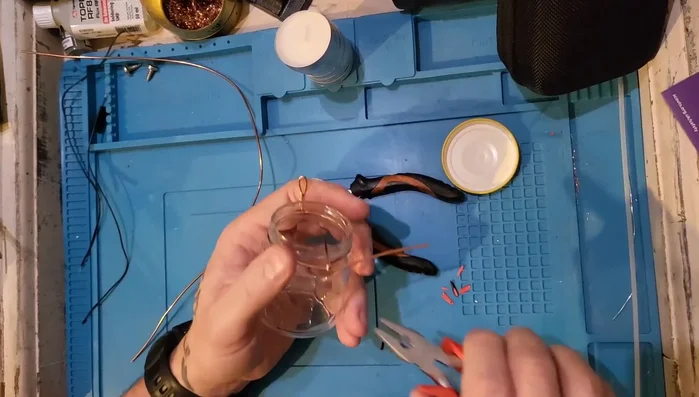
Create the Handle Assemble the Lantern
- Place the wire around the jar's rim, ensuring the handle faces upwards.
Assemble the Lantern Add the Candles
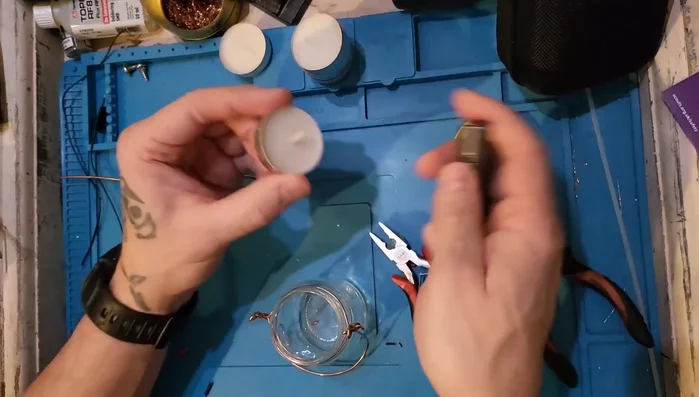
- Insert tea lights into the jar.
Add the Candles


Tips
- Use needle-nose pliers for more precise shaping.
- Take your time and adjust the wire until you achieve the desired fit.
- This design allows for stacking up to six tea lights for extended burn time.