Setting up your Vango Hush Camp Bed shouldn't be a struggle. This step-by-step guide simplifies the process, ensuring a quick and easy assembly. Whether you're a seasoned camper or a first-timer, this guide will walk you through each stage, from unpacking the components to securing the final leg. We'll cover inserting the side supports, aligning the legs with the larger holes, and firmly attaching the end caps. Clear instructions and helpful tips will make light work of what can sometimes feel like a fiddly task.This detailed walkthrough provides visual clarity, eliminating any confusion about the correct alignment of parts and ensuring a stable and comfortable camp bed. We'll cover potential challenges and offer solutions, leaving you with a confidently assembled bed ready for a restful night's sleep under the stars. By the end of this guide, you'll be a Vango Hush Camp Bed assembly expert!
Pros And Cons
- Portable
- Assembly is fiddly and difficult, particularly inserting the legs.
- Components can easily come unattached during assembly.
- Requires significant force to assemble.
Read more: Top 5 Camping Cots for Your Dog
Unpacking and Initial Setup
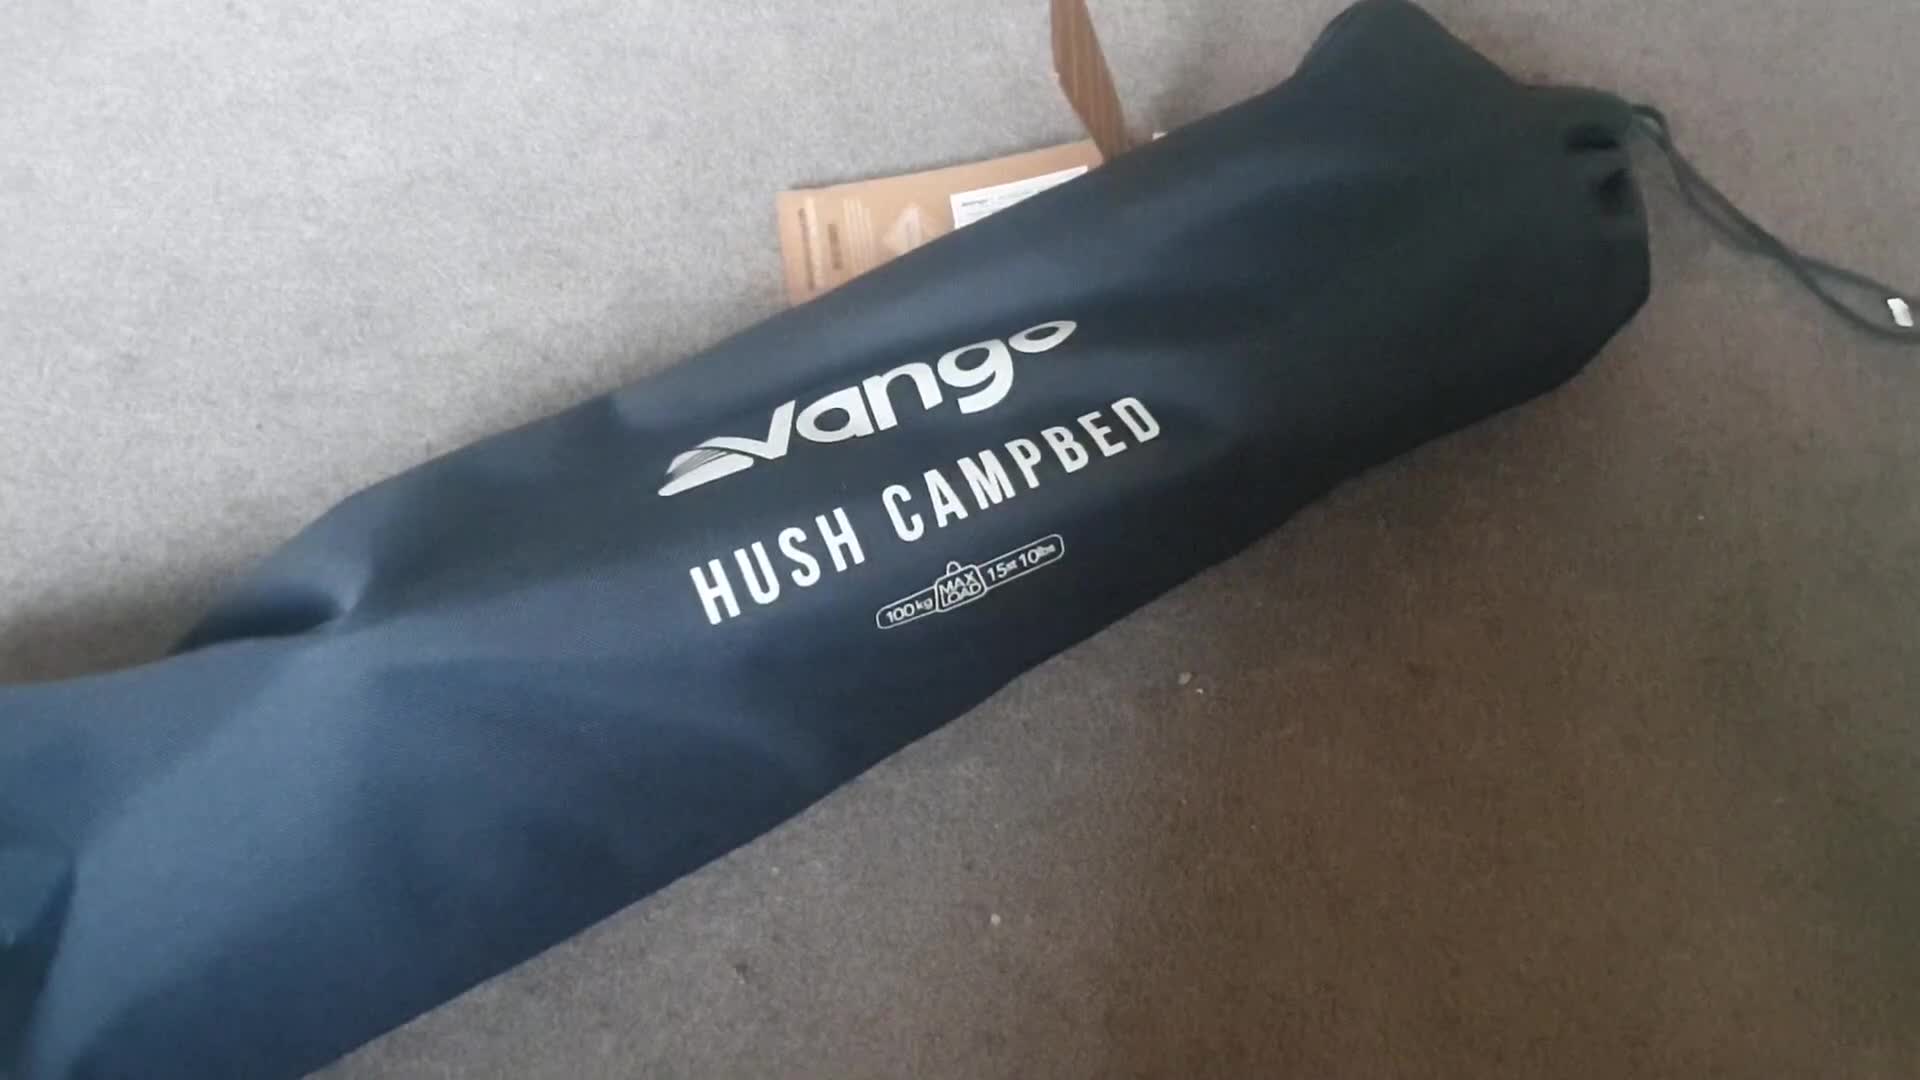
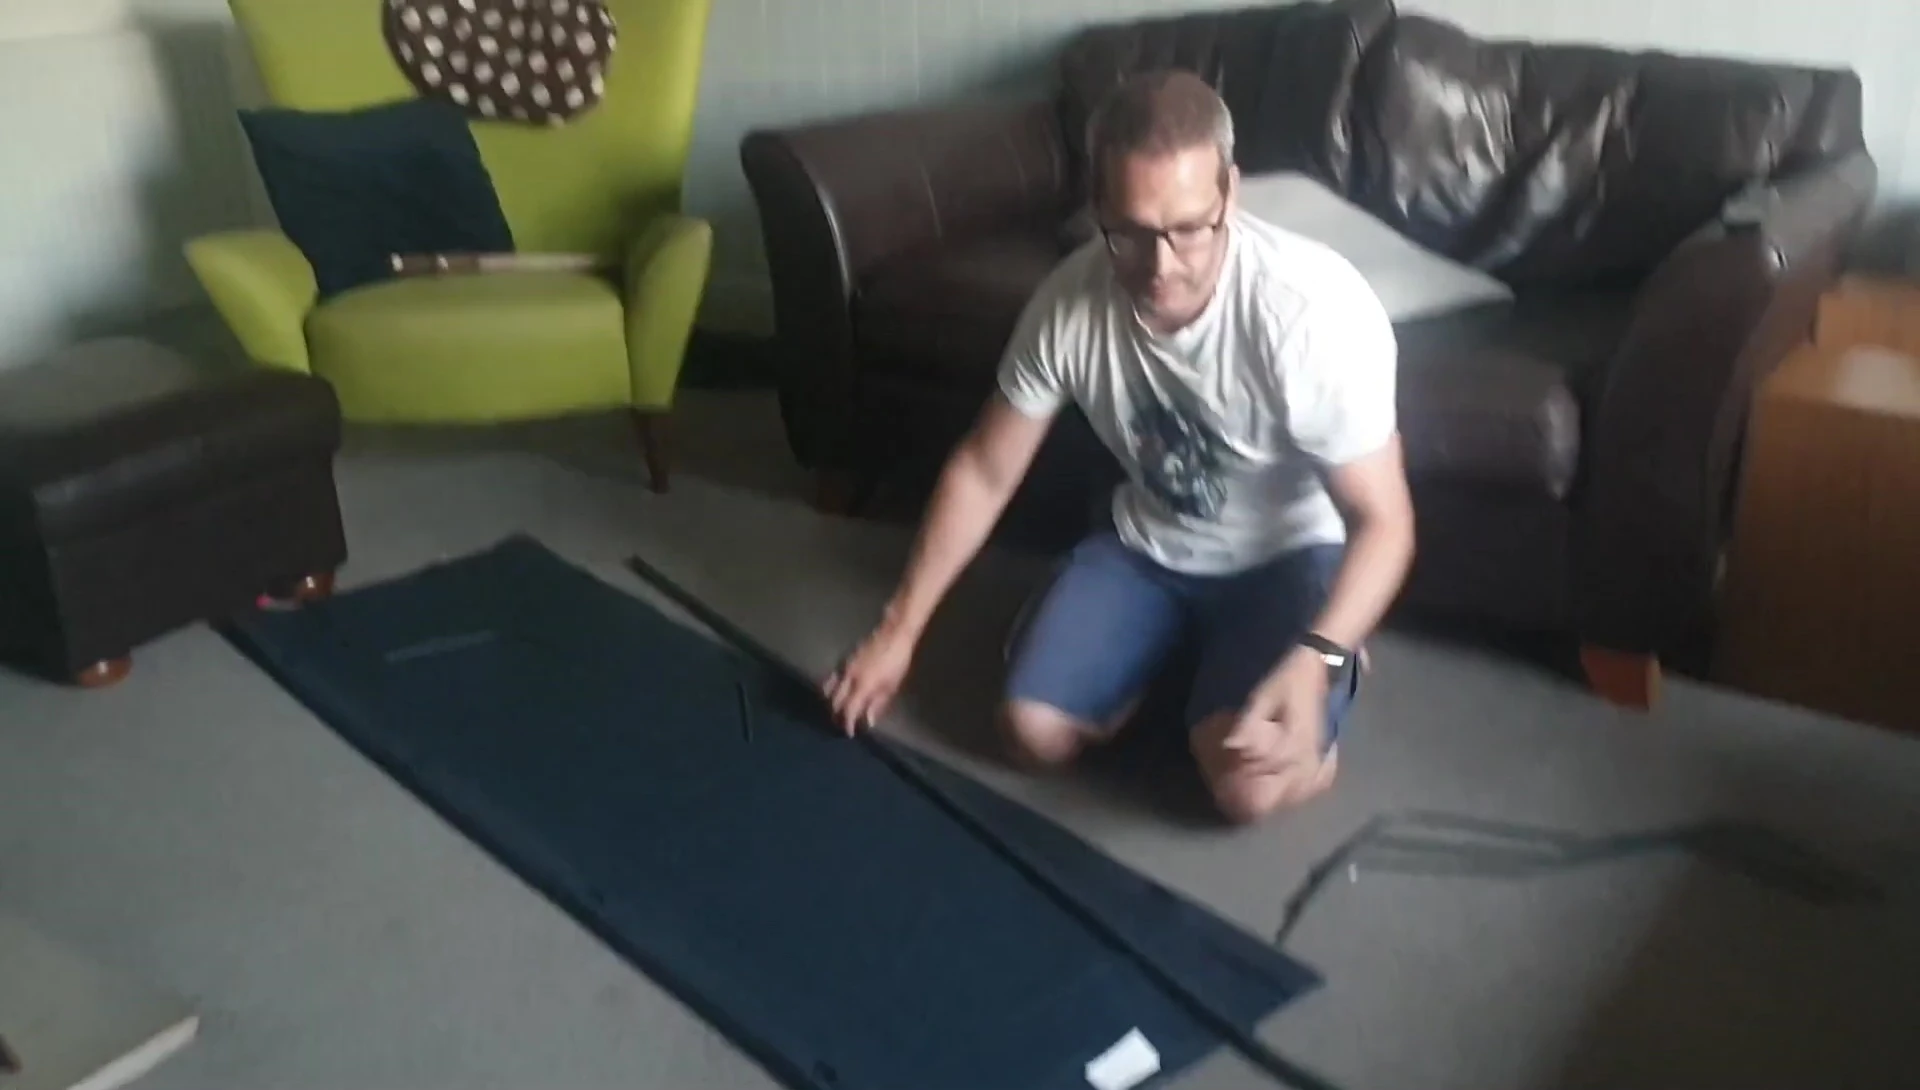
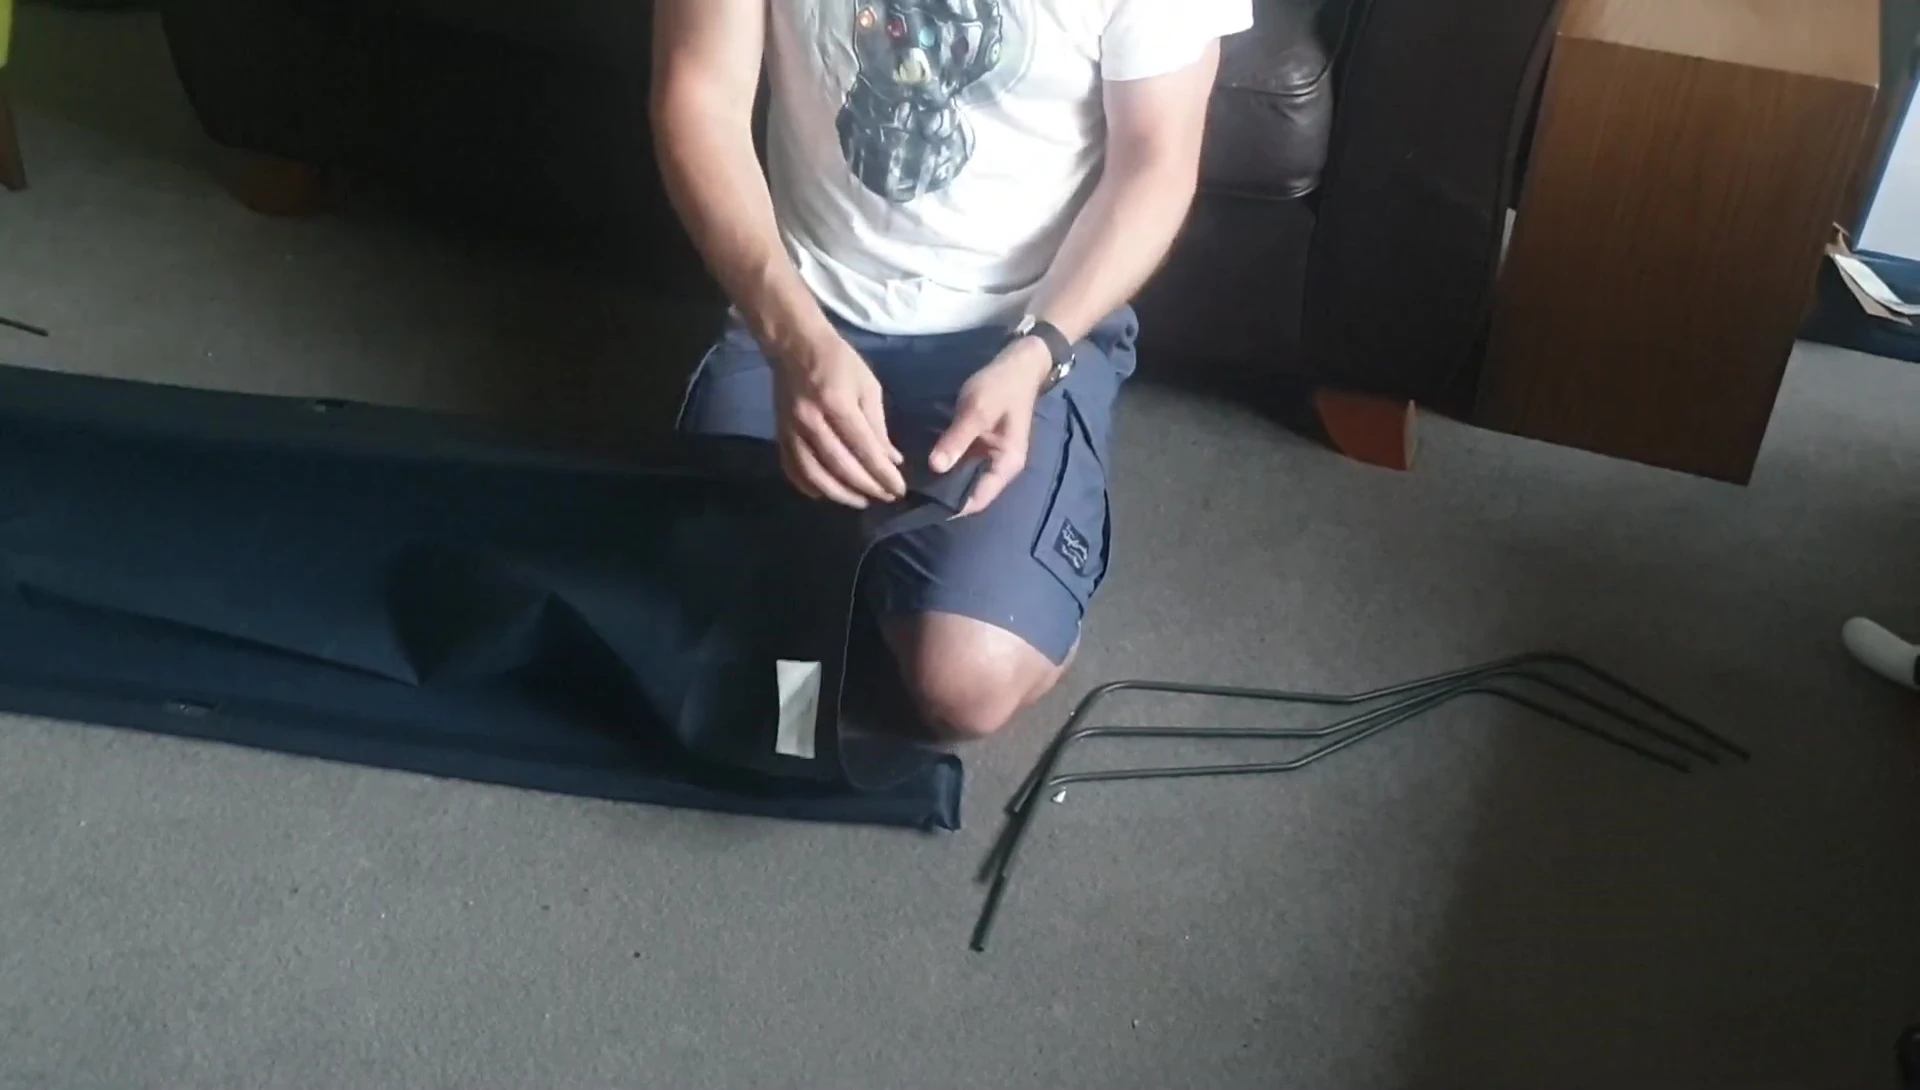
Begin by unpacking the Vango Hush Camp Bed. You'll find three main components: the legs, the camp bed cloth, and the side supports.
Lay out the camp bed cloth ensuring the holes face upwards. One end of the cloth will be open.
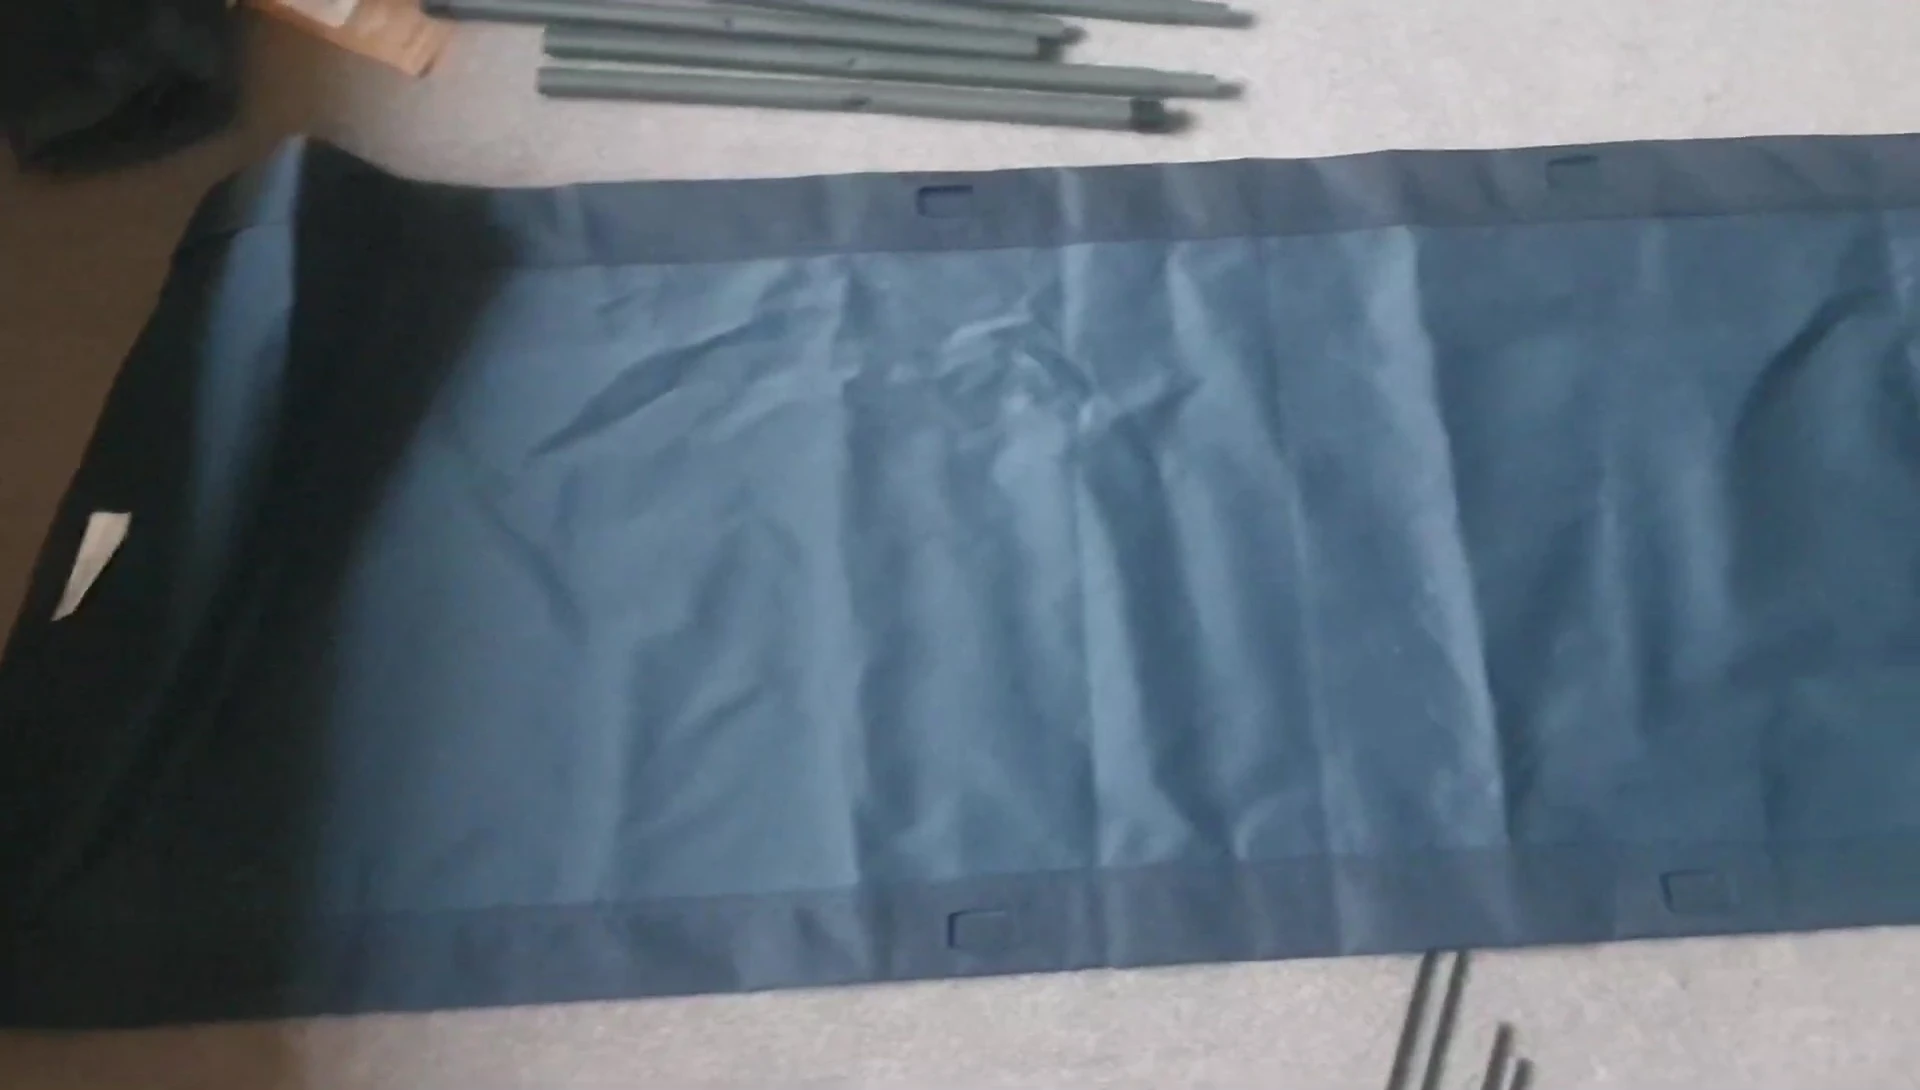
This open end is where the side supports will be inserted.
Attaching the Side Supports
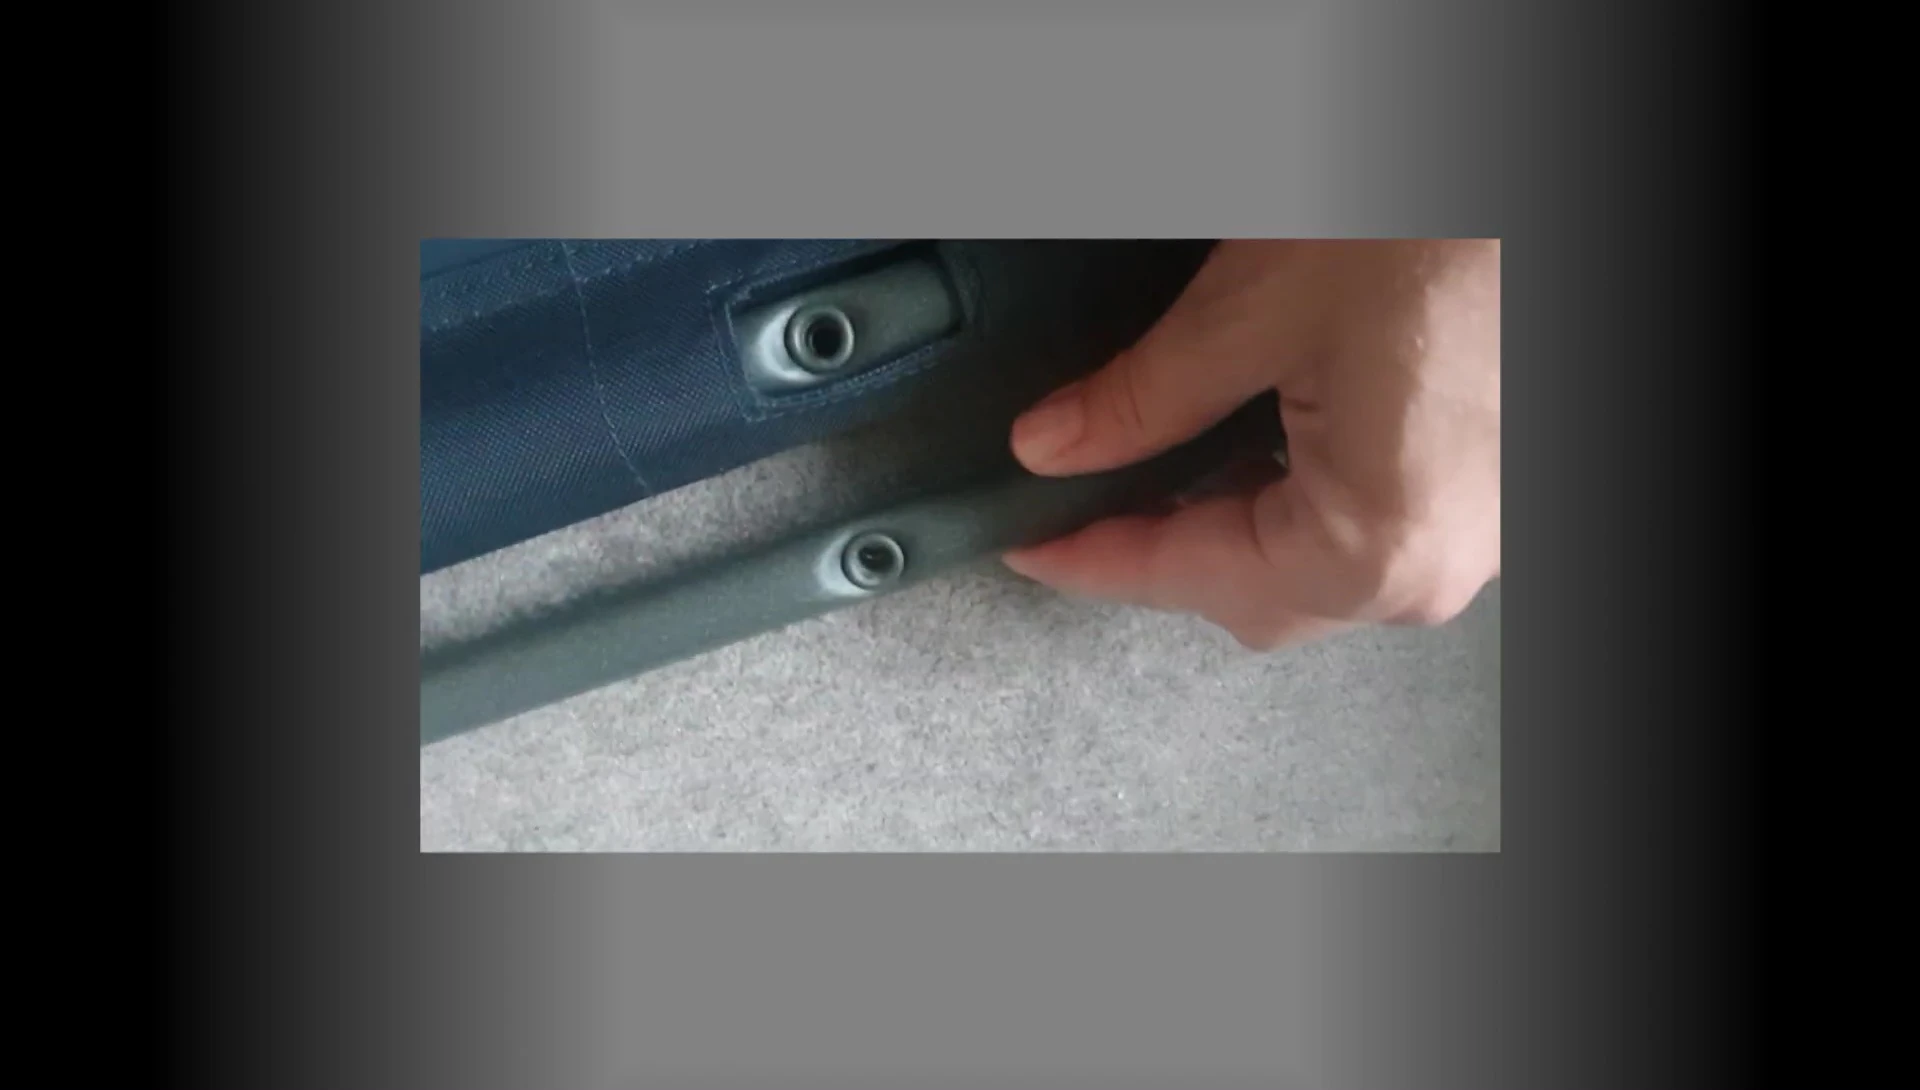
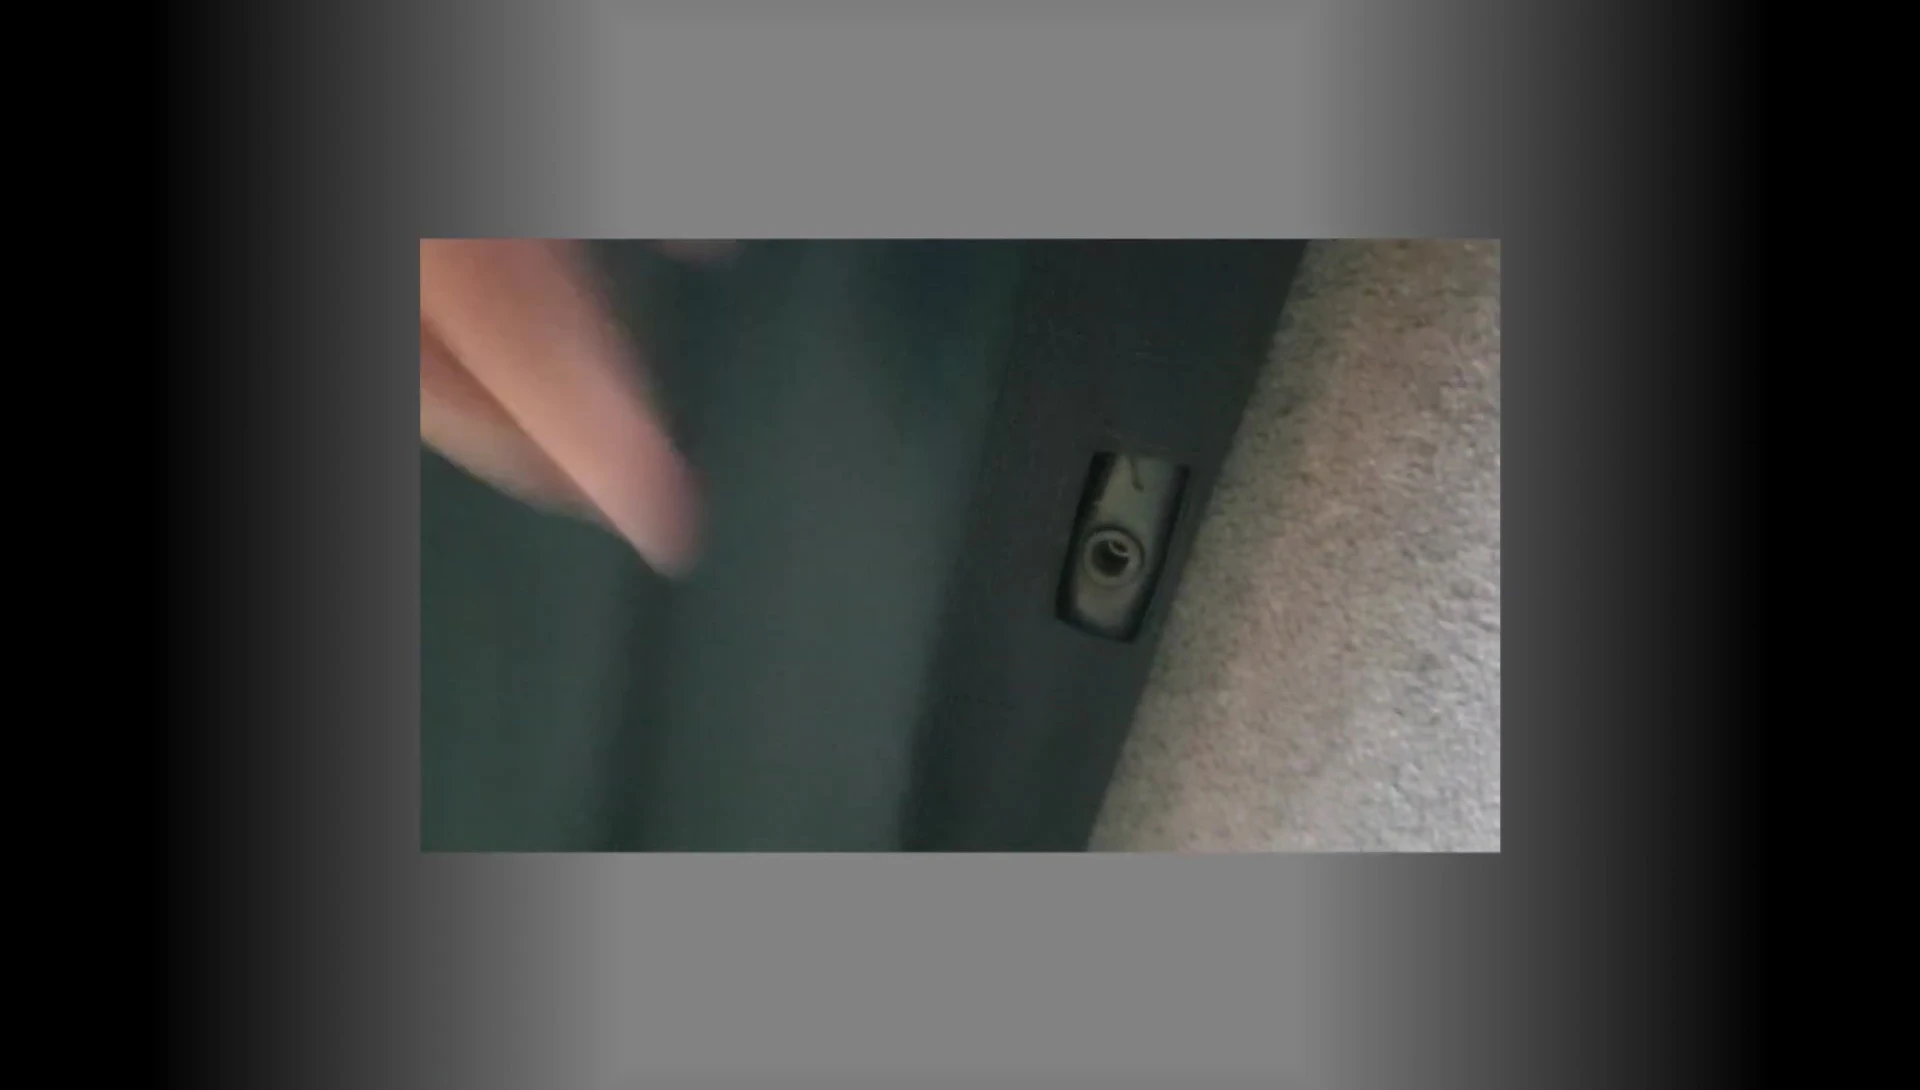
The side supports have rubber mounts on the ends. There are four in total.
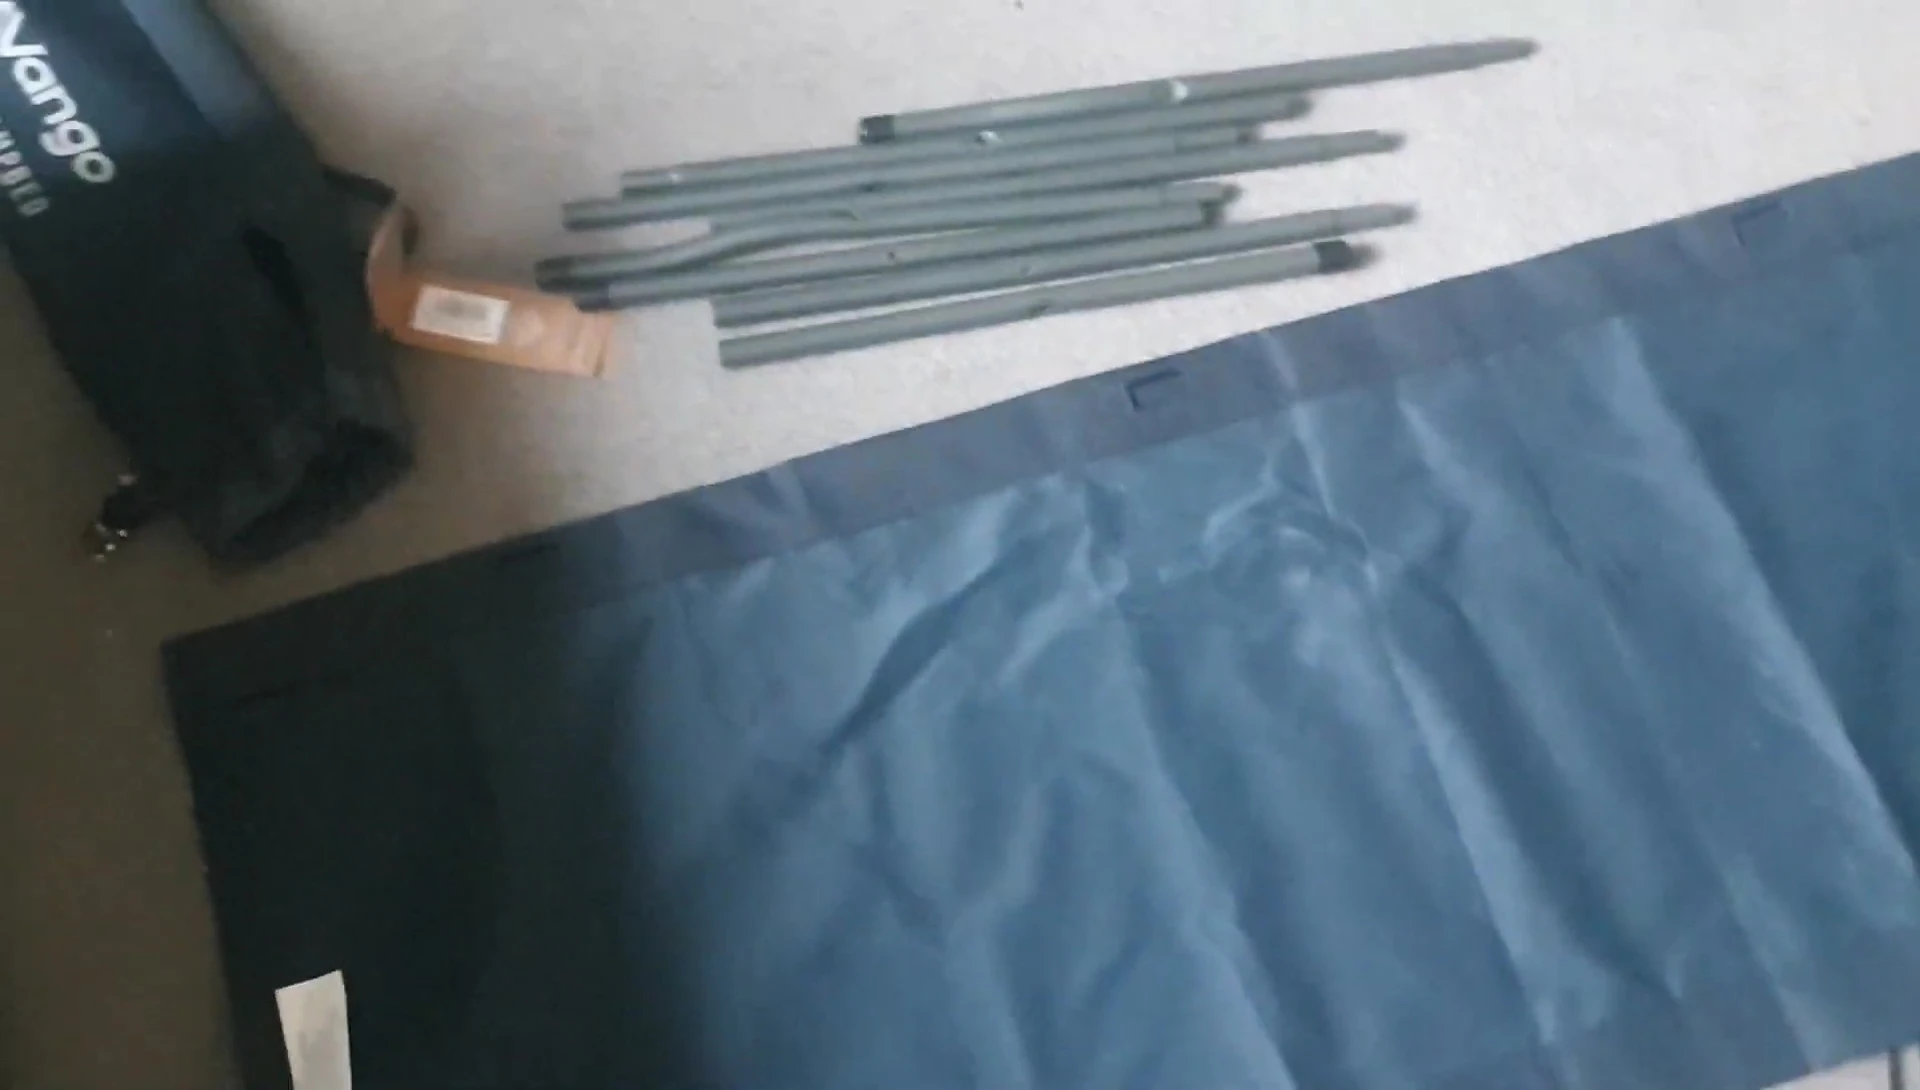
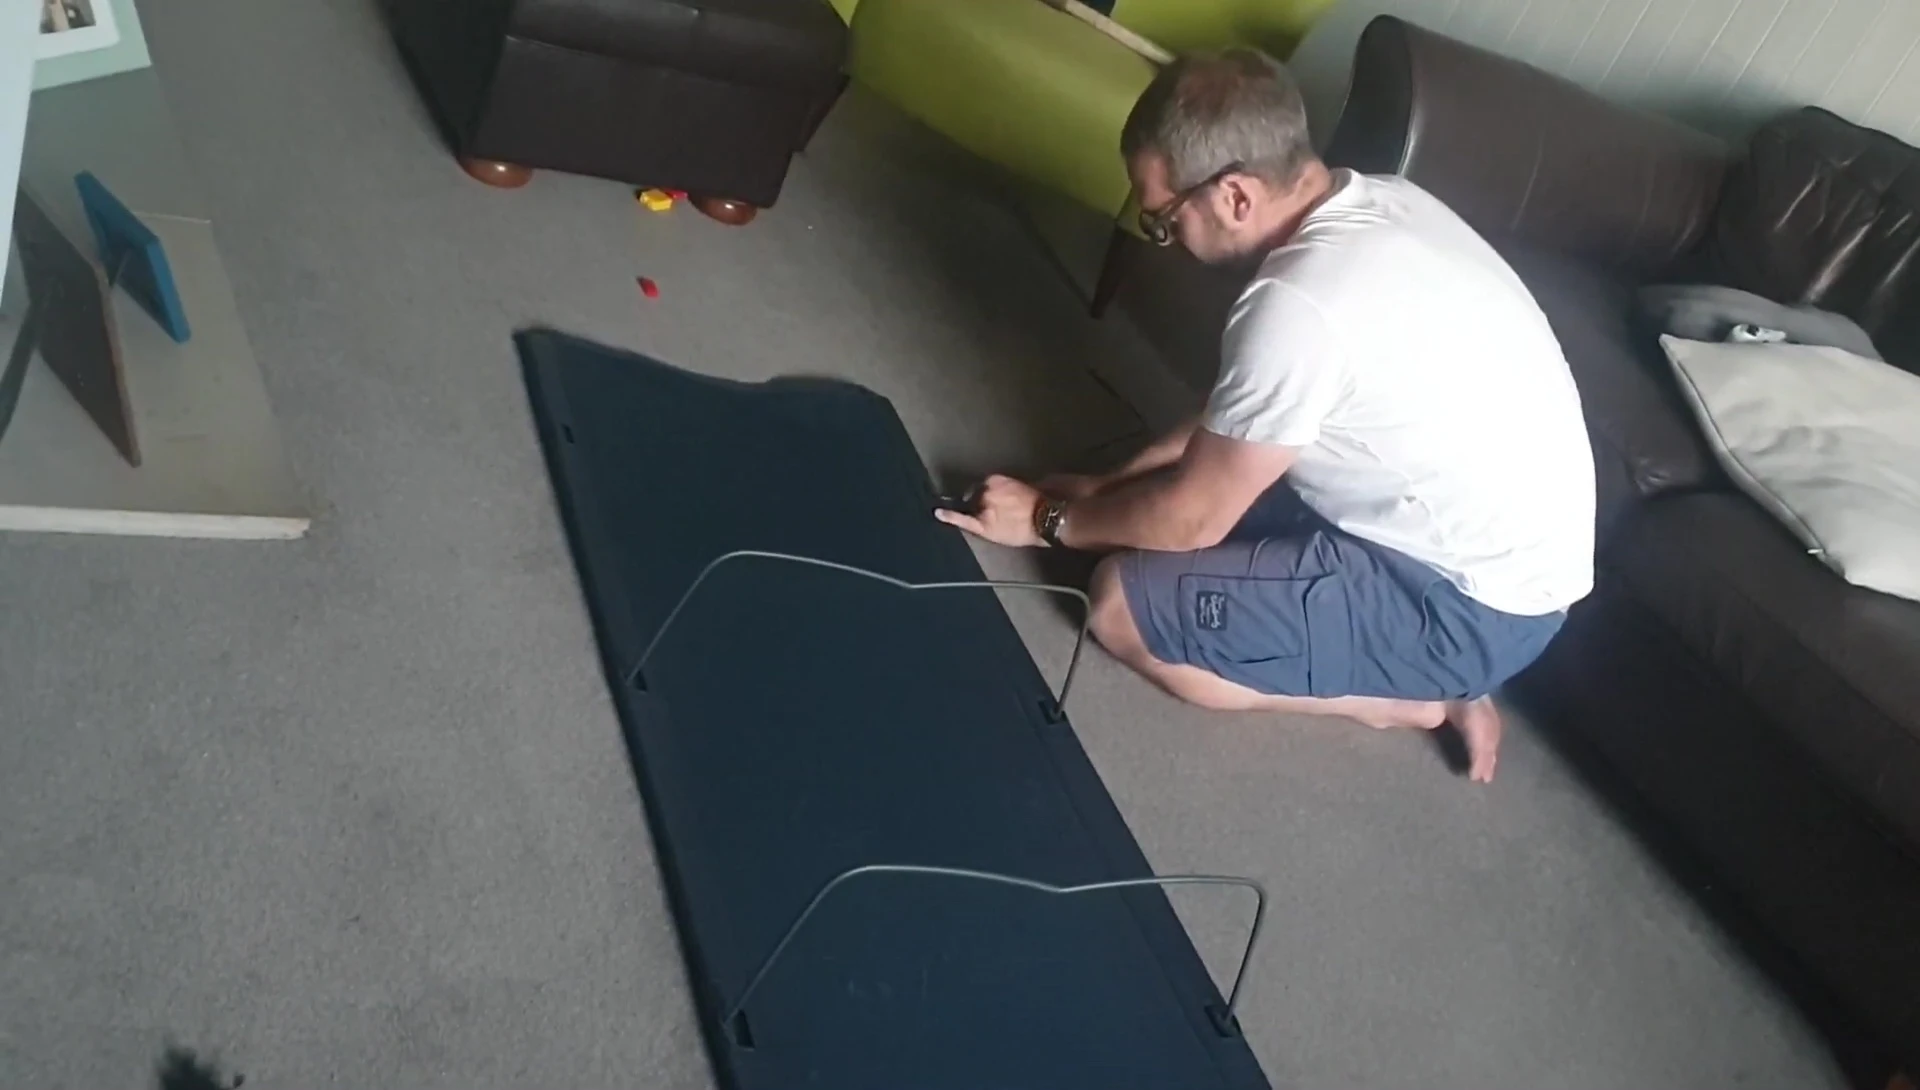
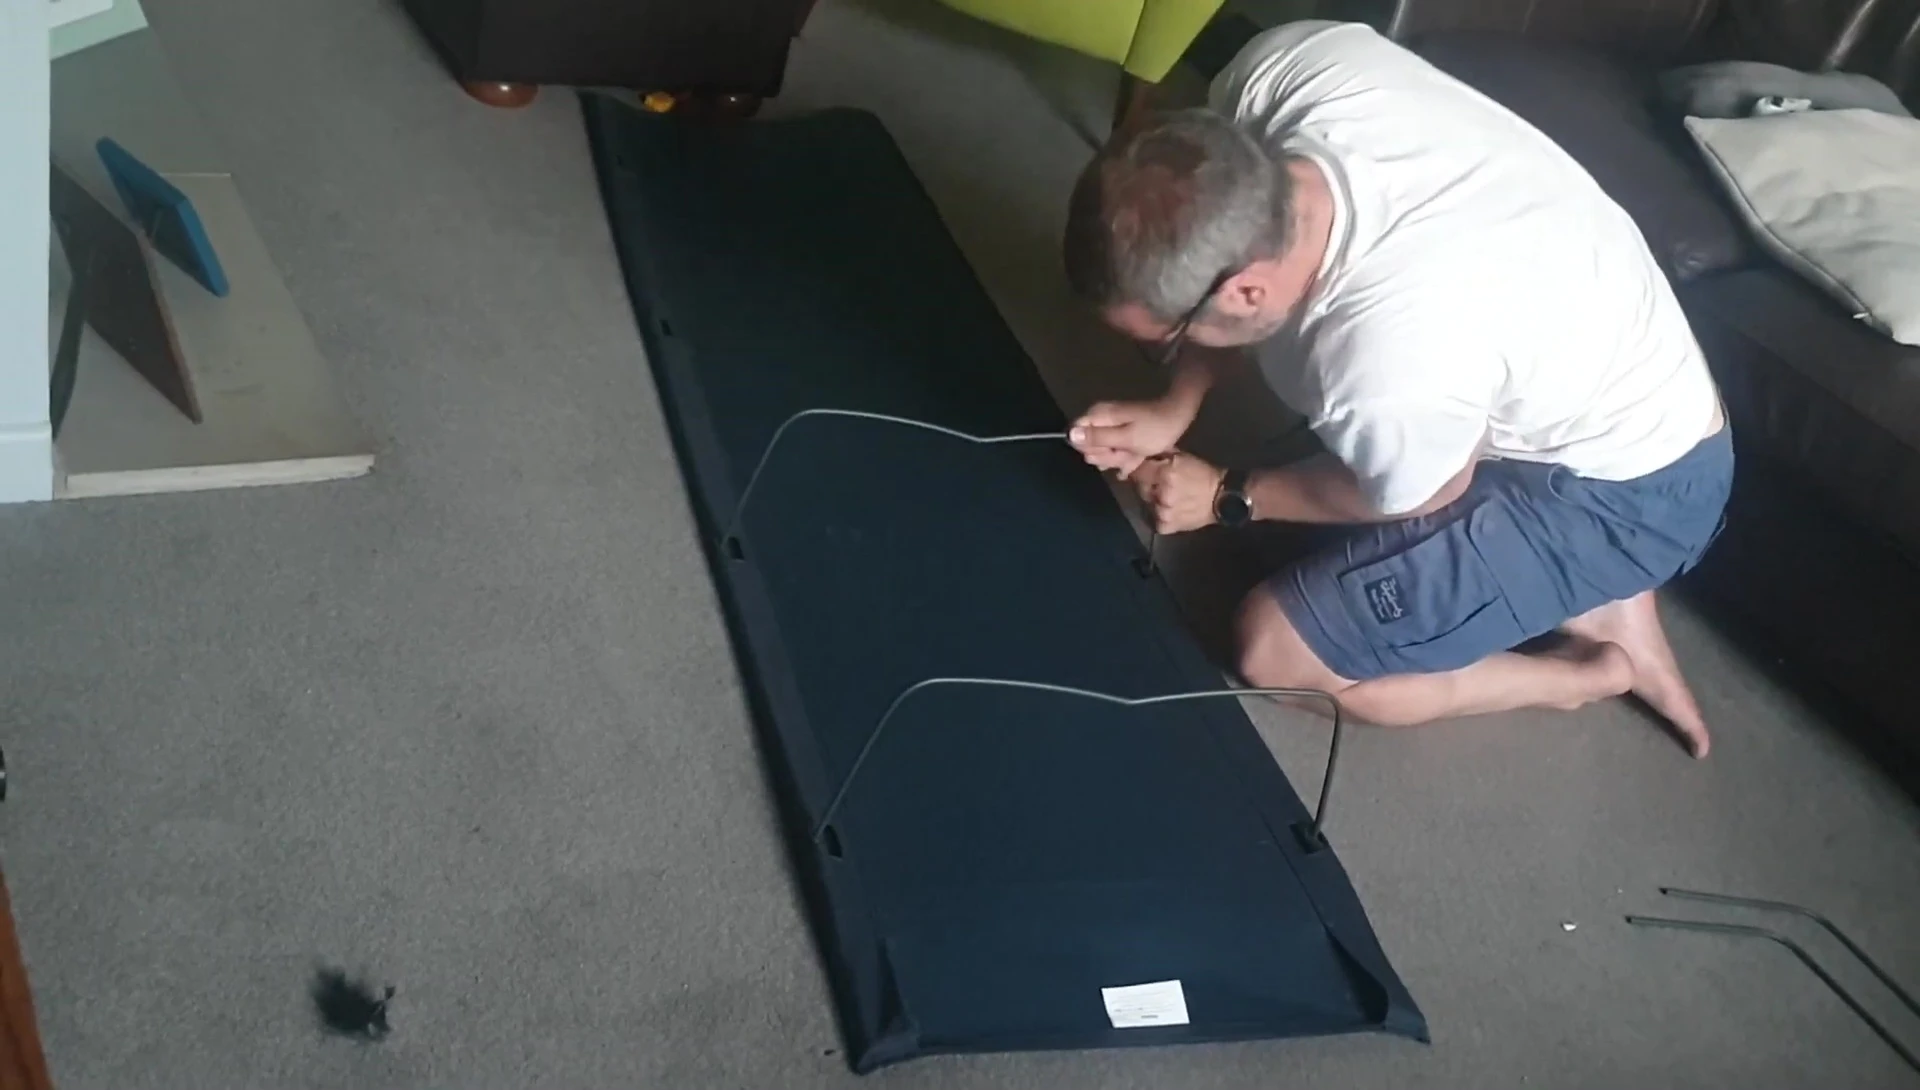
Insert two side supports into the pockets along each side of the camp bed cloth.
Slide the supports along the inside of the cloth until they reach the end.
Inserting the Legs
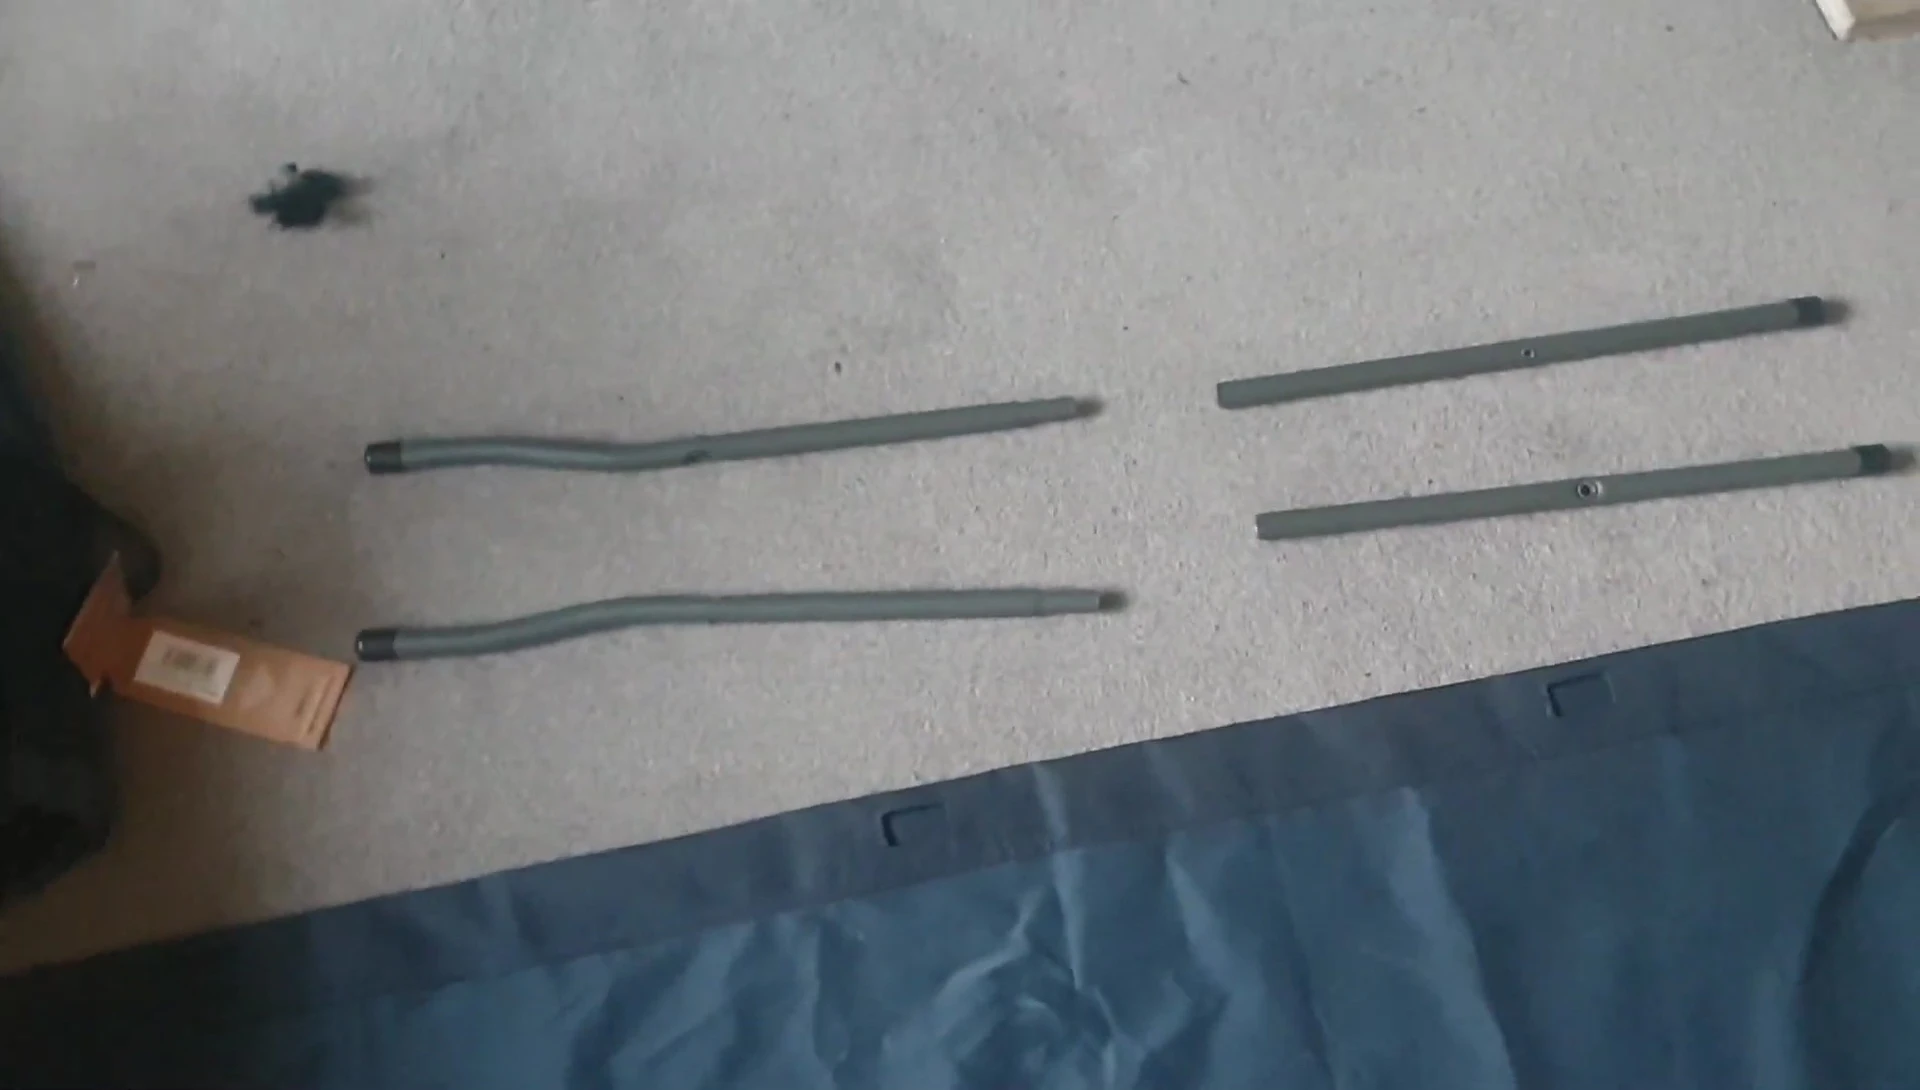
Each side support has a larger and a smaller diameter hole. The legs fit into the larger holes.
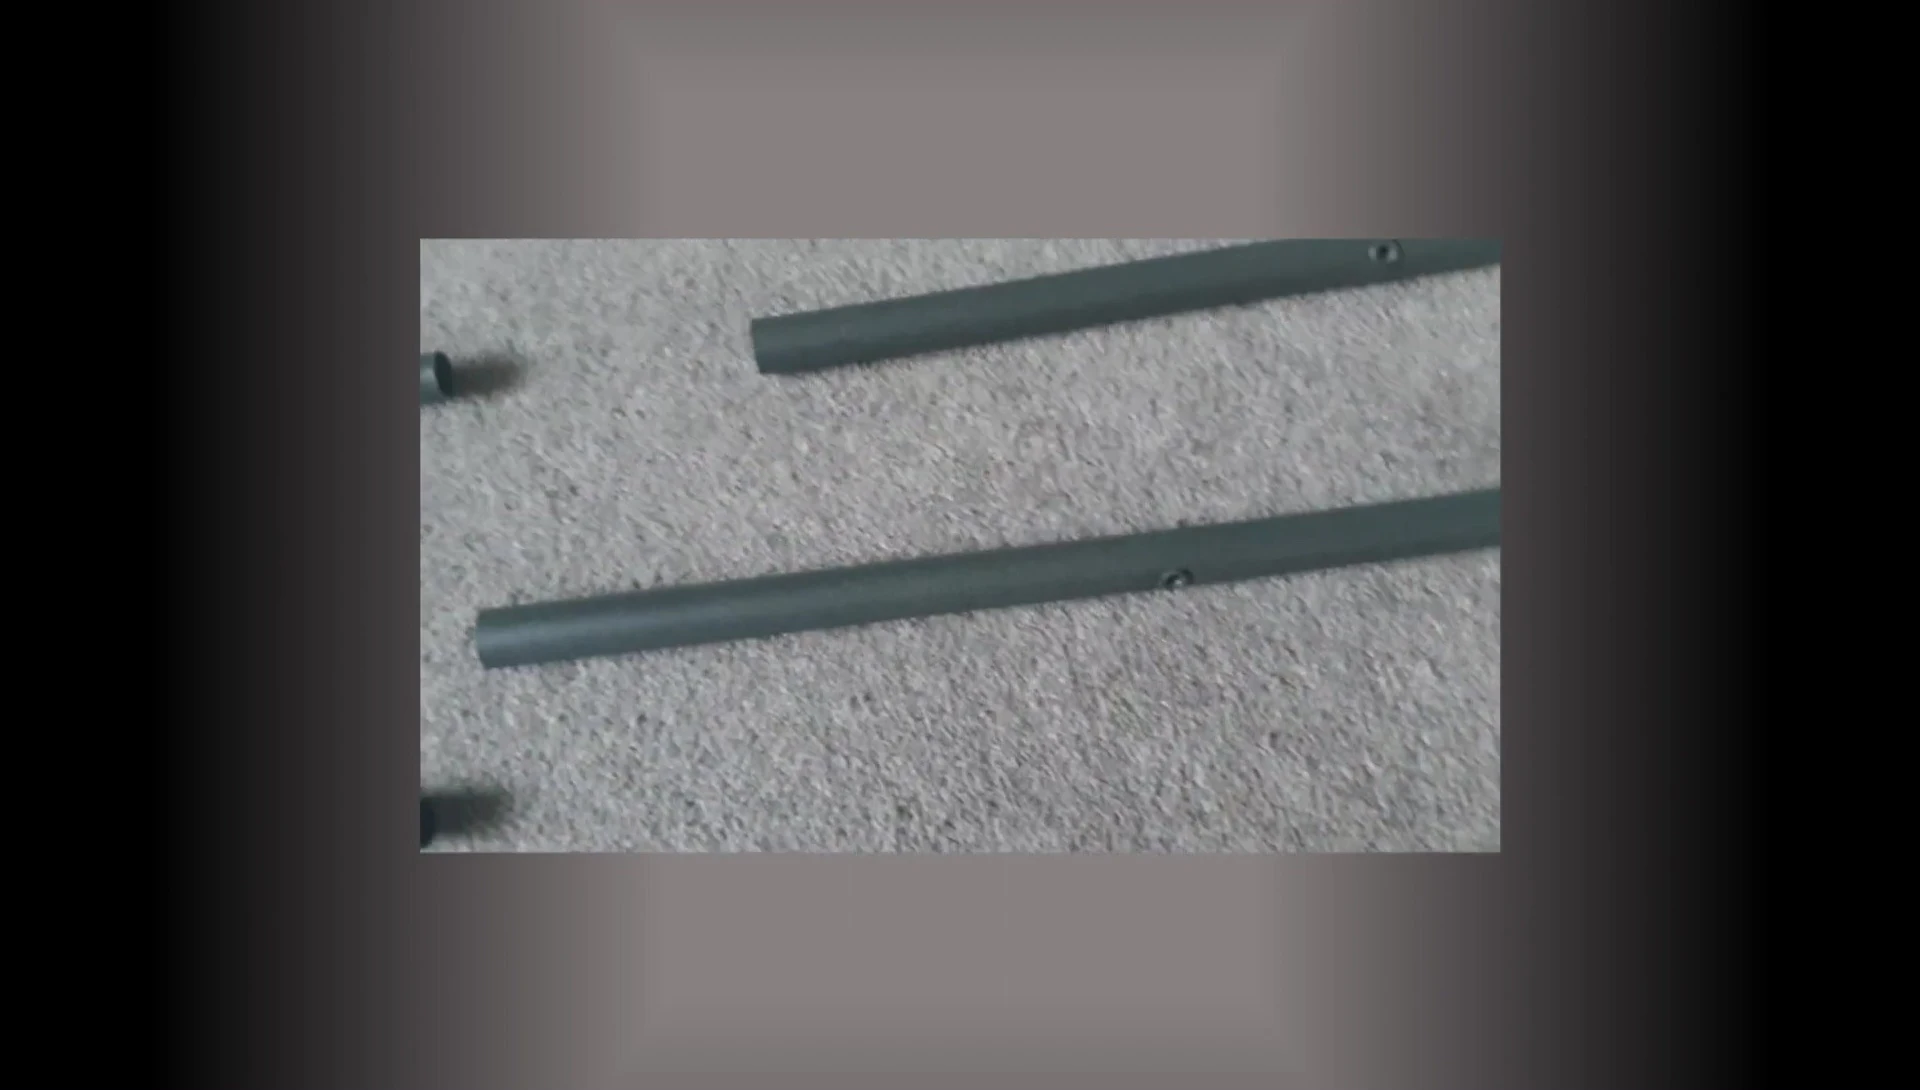
Position the side supports so that the larger holes align with the legs. This might require some maneuvering.
Insert the legs into the larger holes of the side supports and firmly push them through to the other side of the camp bed
Securing the End Caps
Once the legs are inserted, the end caps need to be secured.
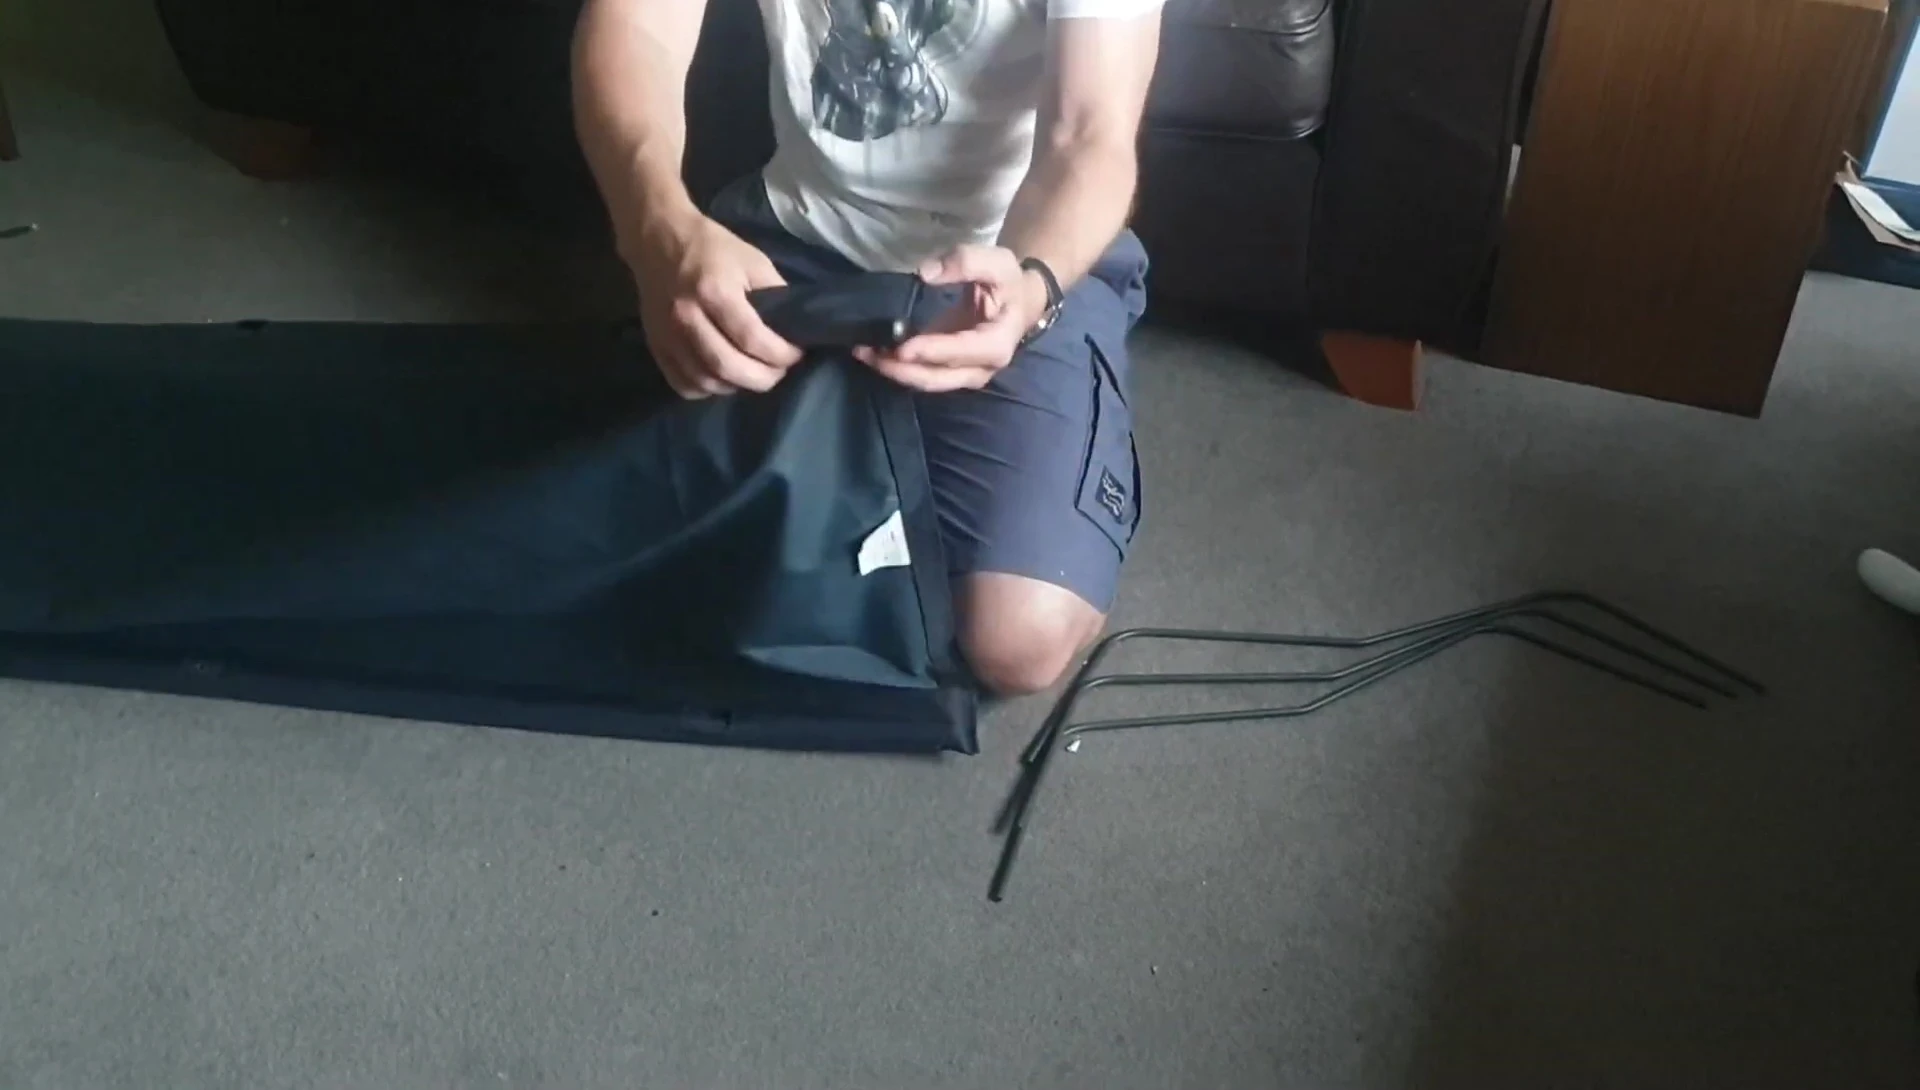
Push the end caps firmly to the end of the supports to close it.
This might require some force, but ensure it clicks securely into place.
Final Assembly and Adjustments
The final step involves ensuring all legs are securely attached and the bed is stable.
Check that each leg is firmly in place and the frame is stable.
If any legs feel loose or unstable, double check the alignment and push them in more firmly.
Conclusion
The Vango Hush Camp Bed assembly can be a bit fiddly, especially securing the legs.
Take your time and carefully follow the instructions, paying close attention to the alignment of the larger holes in the side supports.
Once assembled, the bed is sturdy and provides comfortable sleeping accommodation. Disassembly follows the same steps in reverse, but exercise caution when removing the legs to prevent them from springing out unexpectedly.