Camping in stormy weather requires a reliable shelter, and tarps offer a lightweight, adaptable solution. This guide explores several tarp setup techniques specifically designed to withstand strong winds, providing crucial protection during adverse conditions. We'll cover various configurations, from simple four-corner setups to more advanced designs utilizing trees and improvised stakes. Each technique emphasizes maximizing stability and minimizing wind vulnerability, ensuring a safe and dry camping experience even in the fiercest storms. Whether you're a seasoned camper or a beginner, these methods will equip you with the knowledge to build a sturdy and reliable tarp shelter in challenging weather.This article details practical, step-by-step instructions for each setup, including tips for efficient deployment and utilizing readily available materials. We'll highlight the advantages and disadvantages of each configuration, helping you choose the best option based on your specific circumstances and available resources. Learn how to effectively utilize guy lines, choose optimal anchoring points, and adapt your shelter to changing wind conditions. Prepare for your next storm camping adventure with confidence, knowing you have the skills to build a dependable and wind-resistant tarp shelter.
Read more: 5 Best PVC Camping Tarps for Your Next Adventure
Fundamental Tarp Setup Tips
Always pre-tie guy lines to at least four corners of your tarp. This significantly speeds up setup in adverse weather.
I use a square tarp (approximately 3x3 meters) with pre-attached guy lines. This setup remains consistent throughout the year.
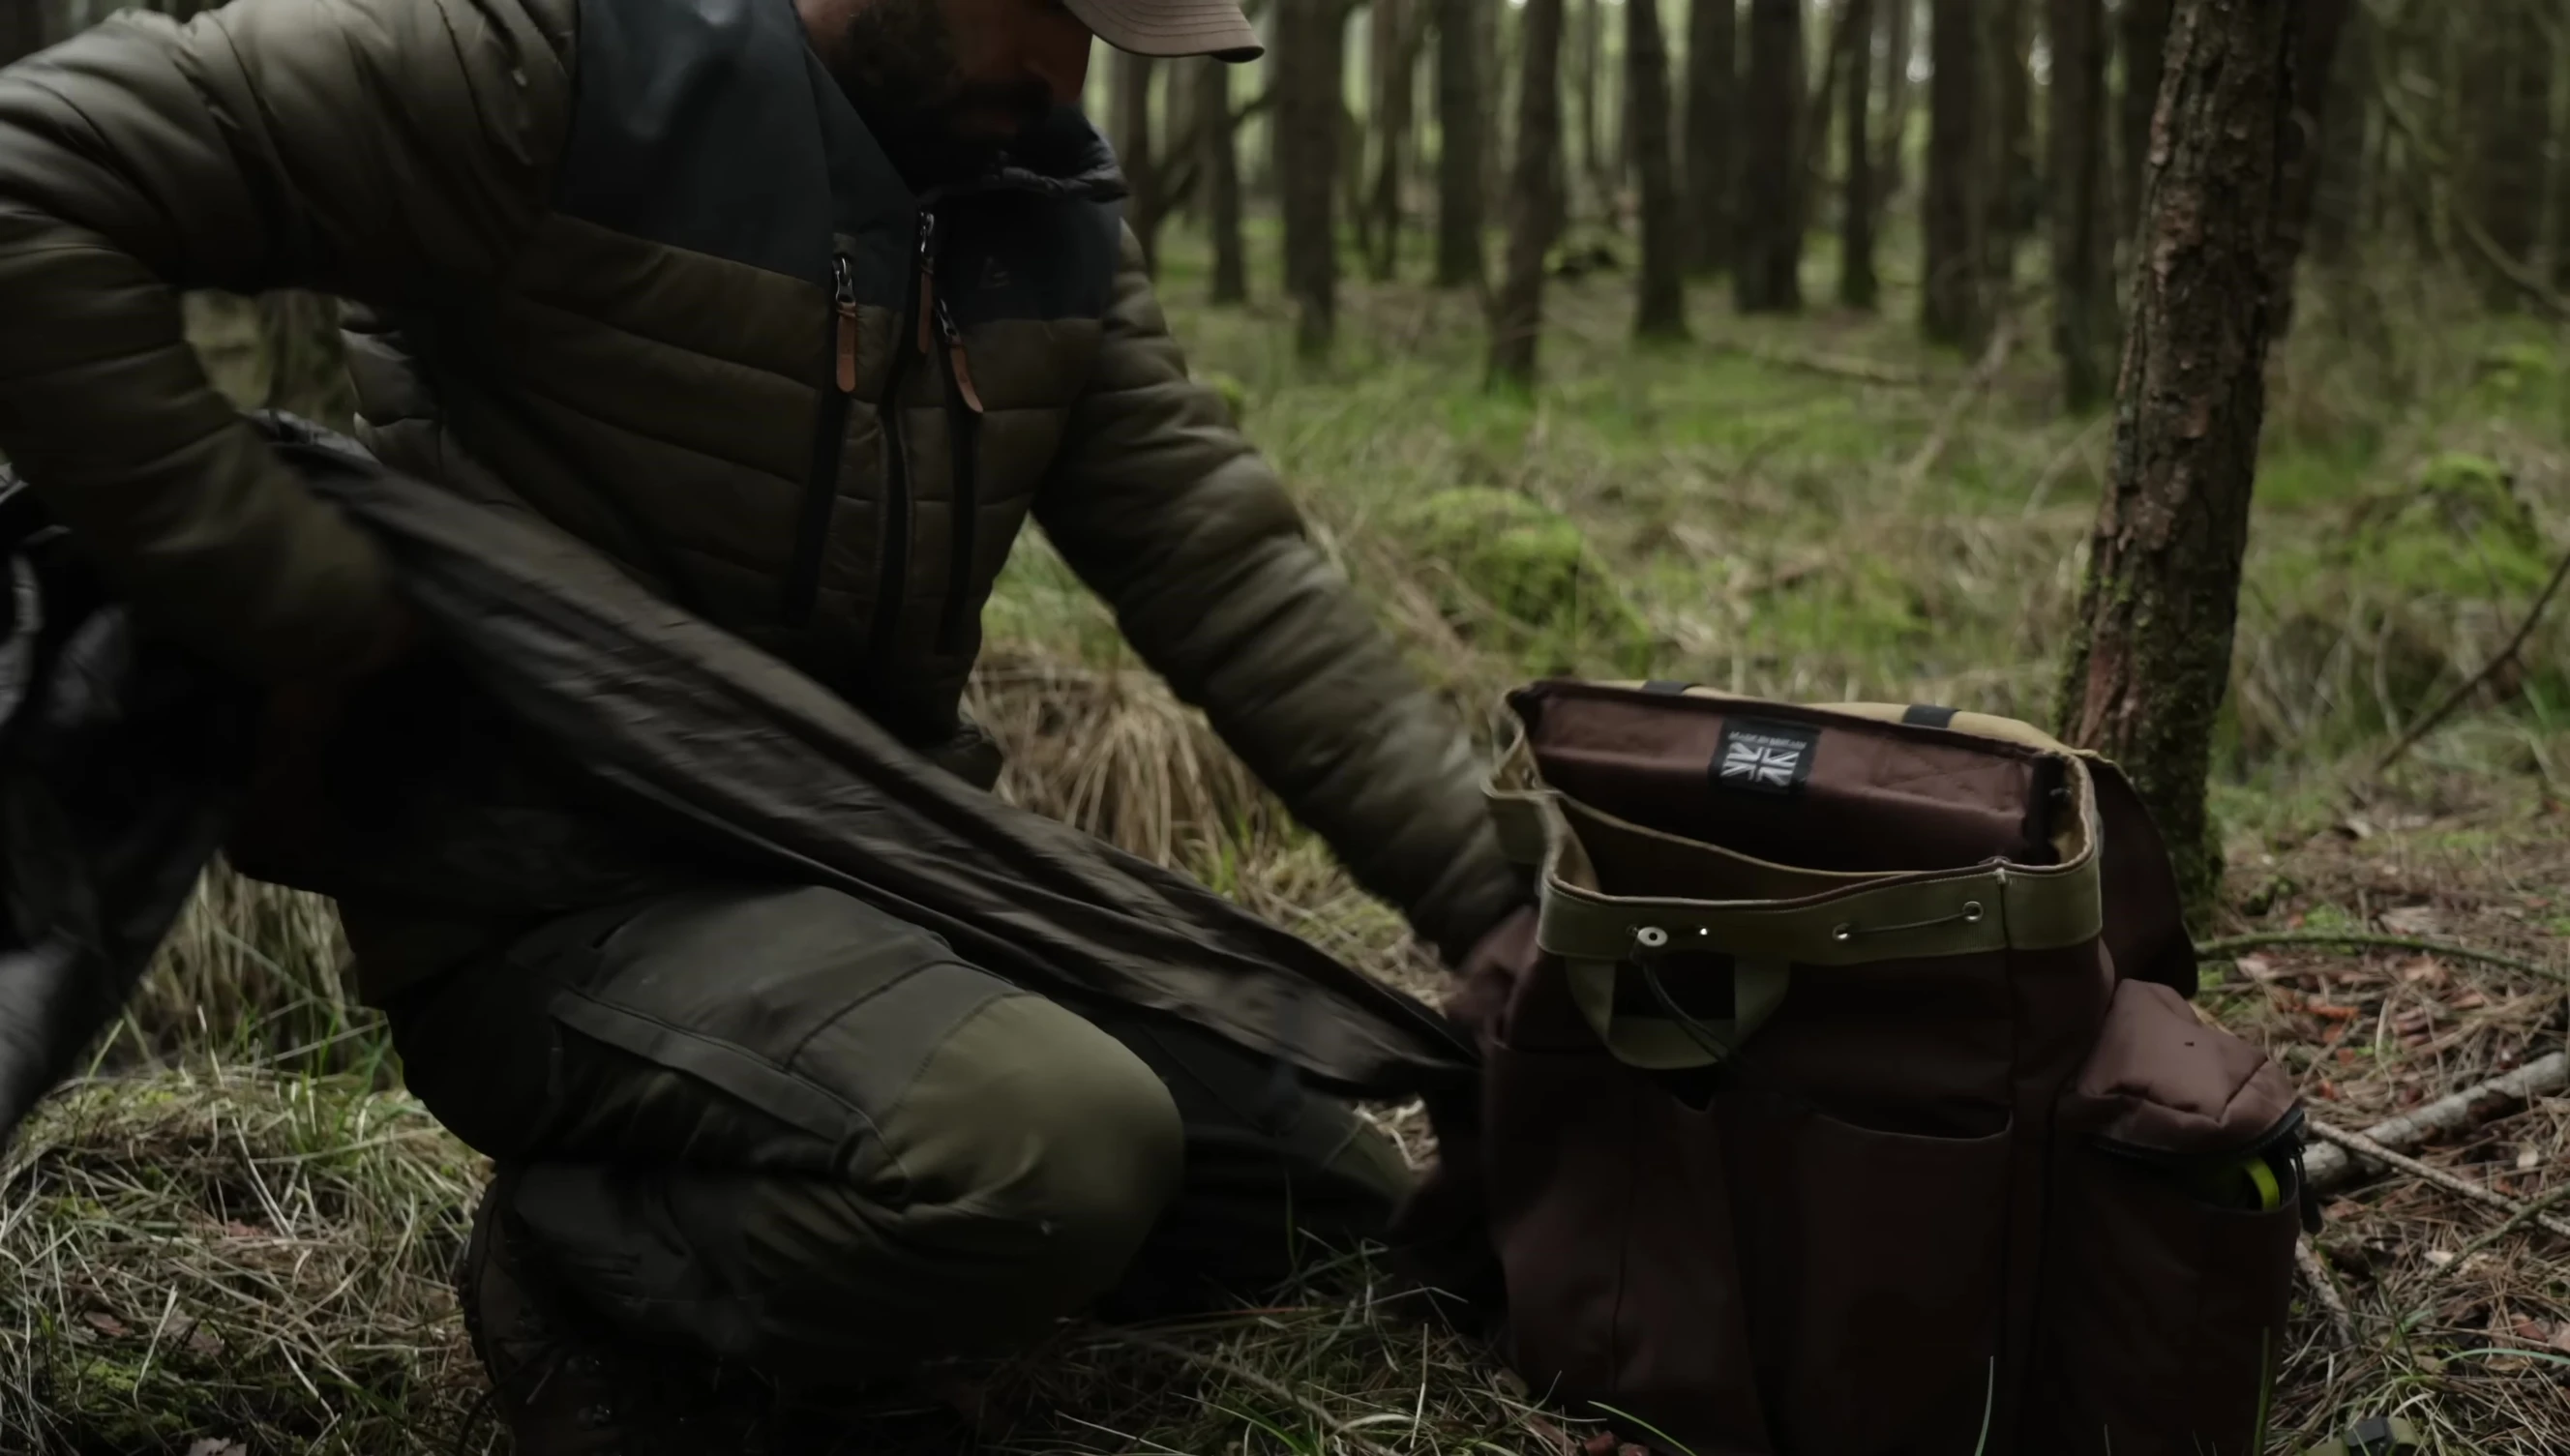
Store your tarp in a backpack's side pocket for quick deployment. This prevents flapping and loss in strong winds. The last tie-out point is secured to the backpack zip for added security.
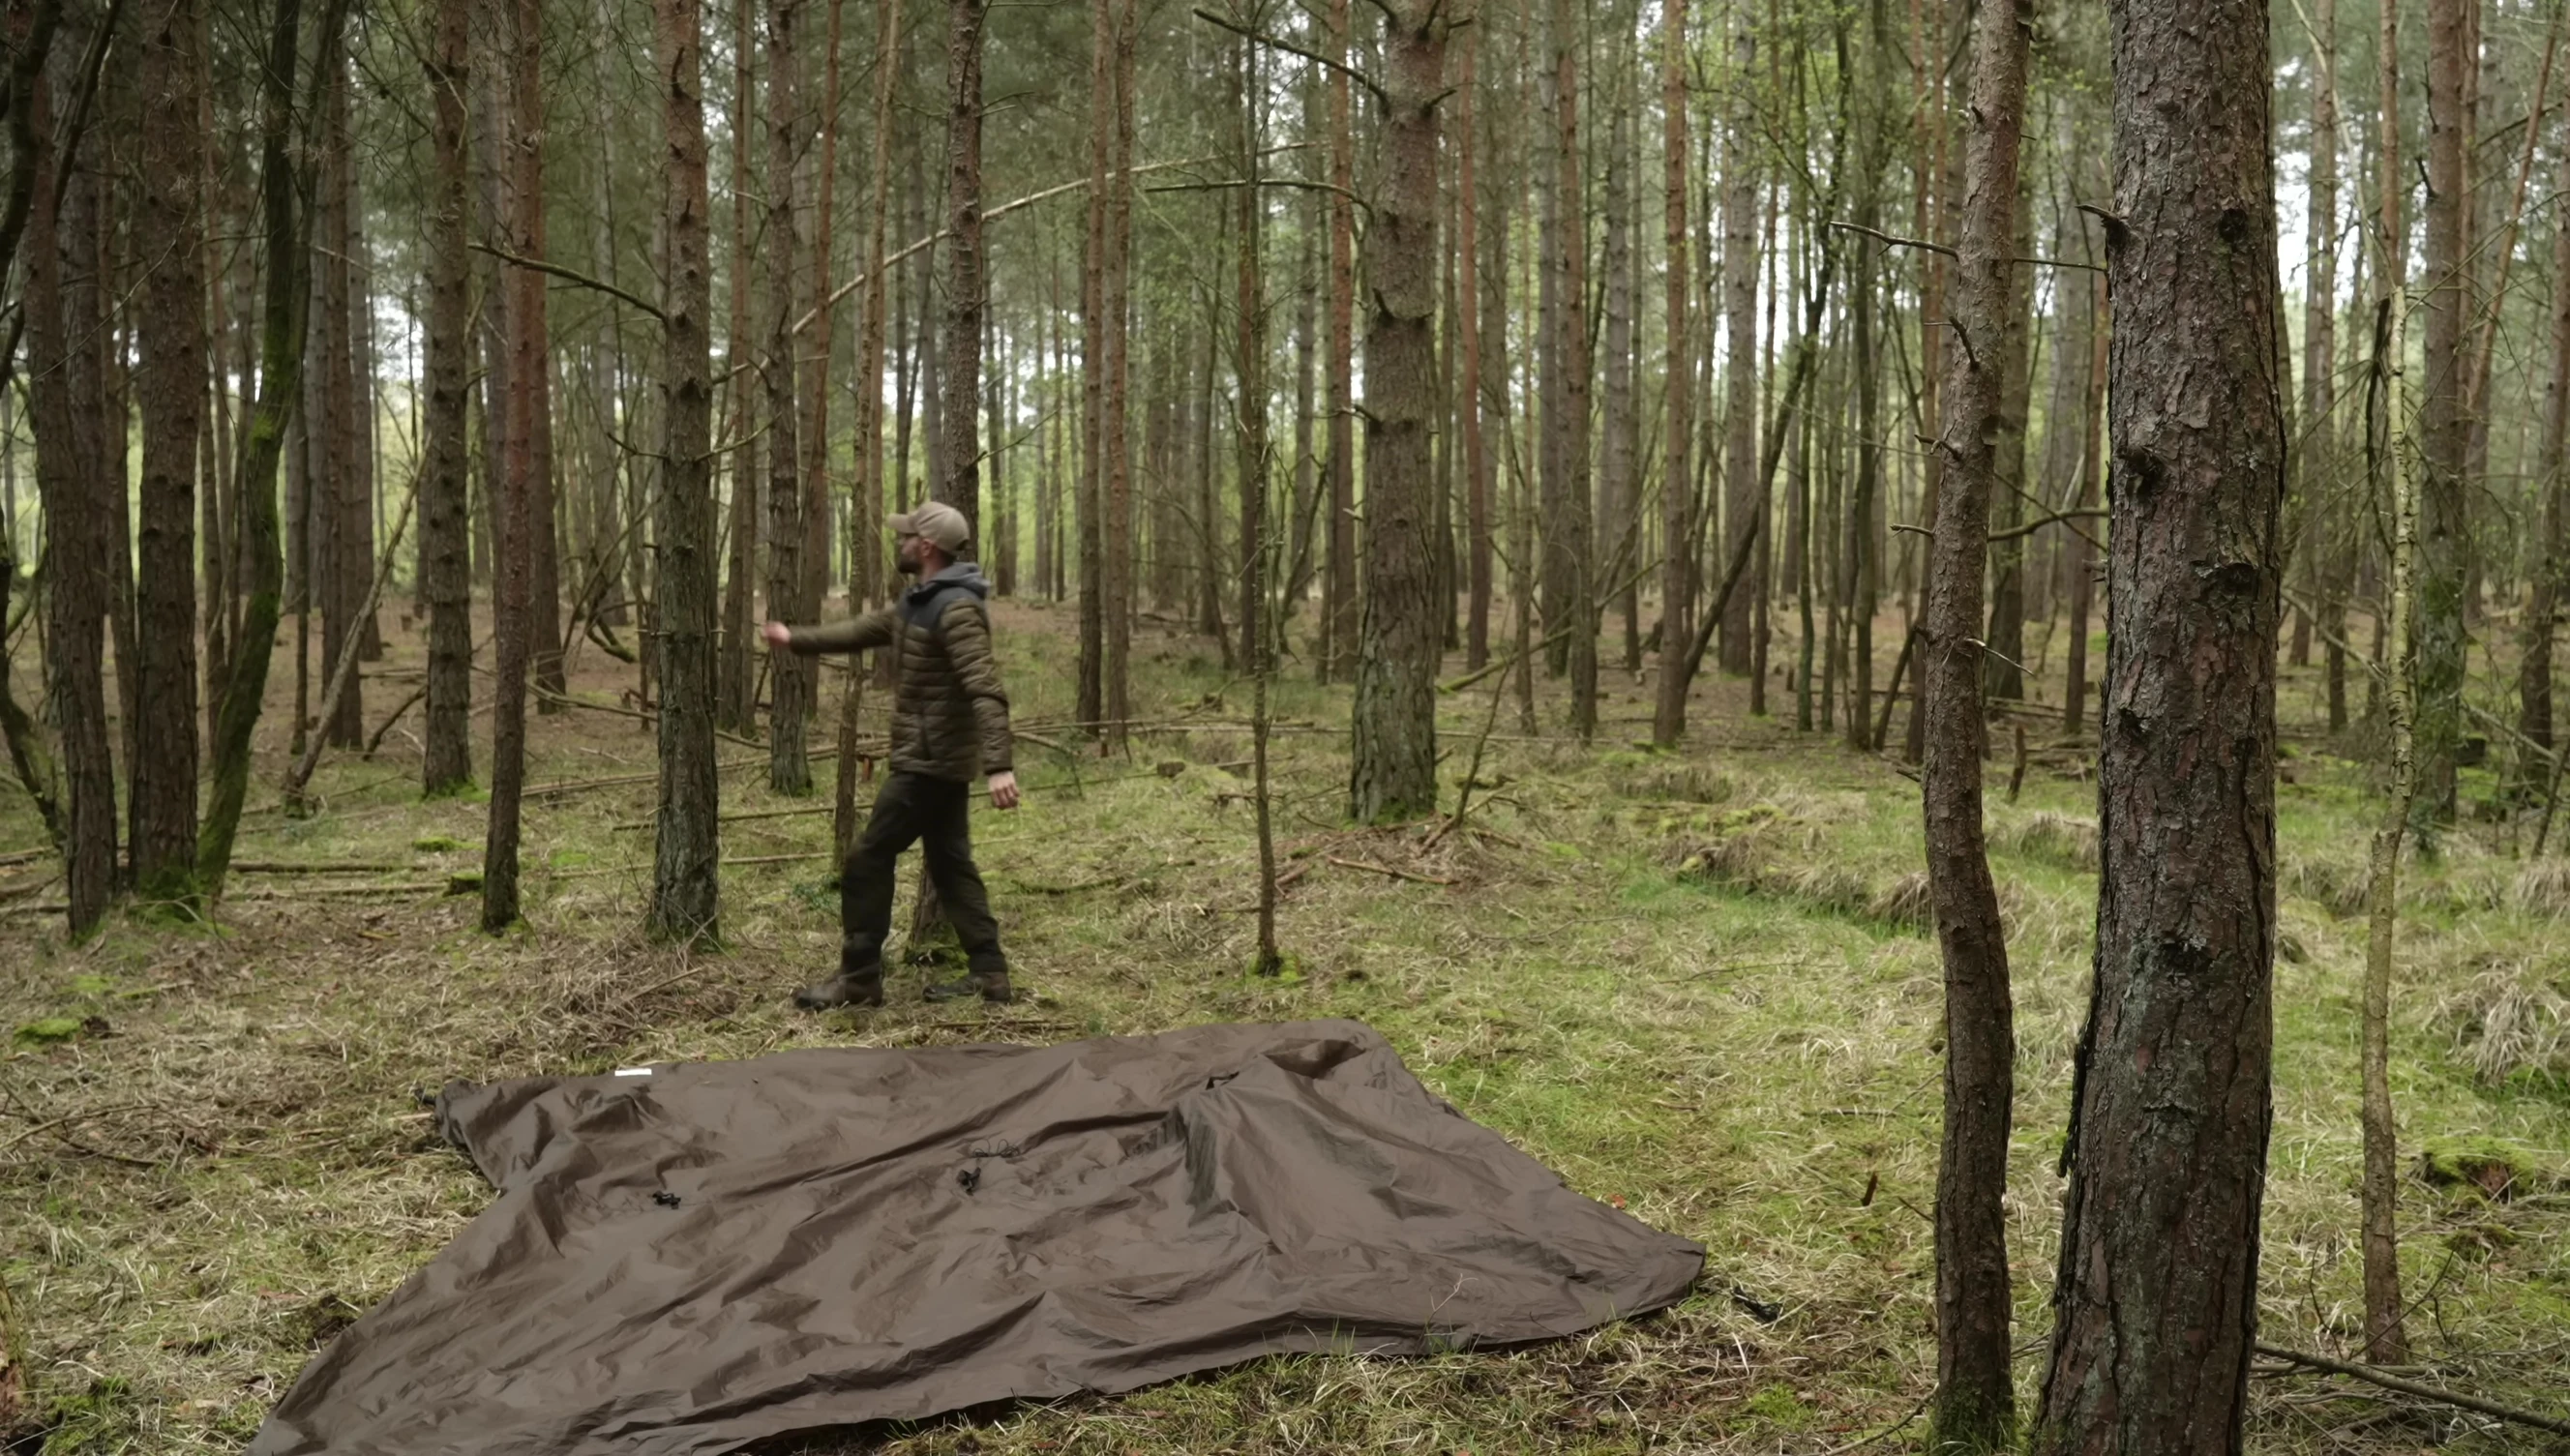
Square Tarp Shelter for Strong Winds
This shelter uses a square tarp setup, pegged at all four corners for ground stability. This configuration effectively resists wind uplift.
Additional guy lines are attached to points adjacent to the corners, creating tension across the tarp. This adds stability.
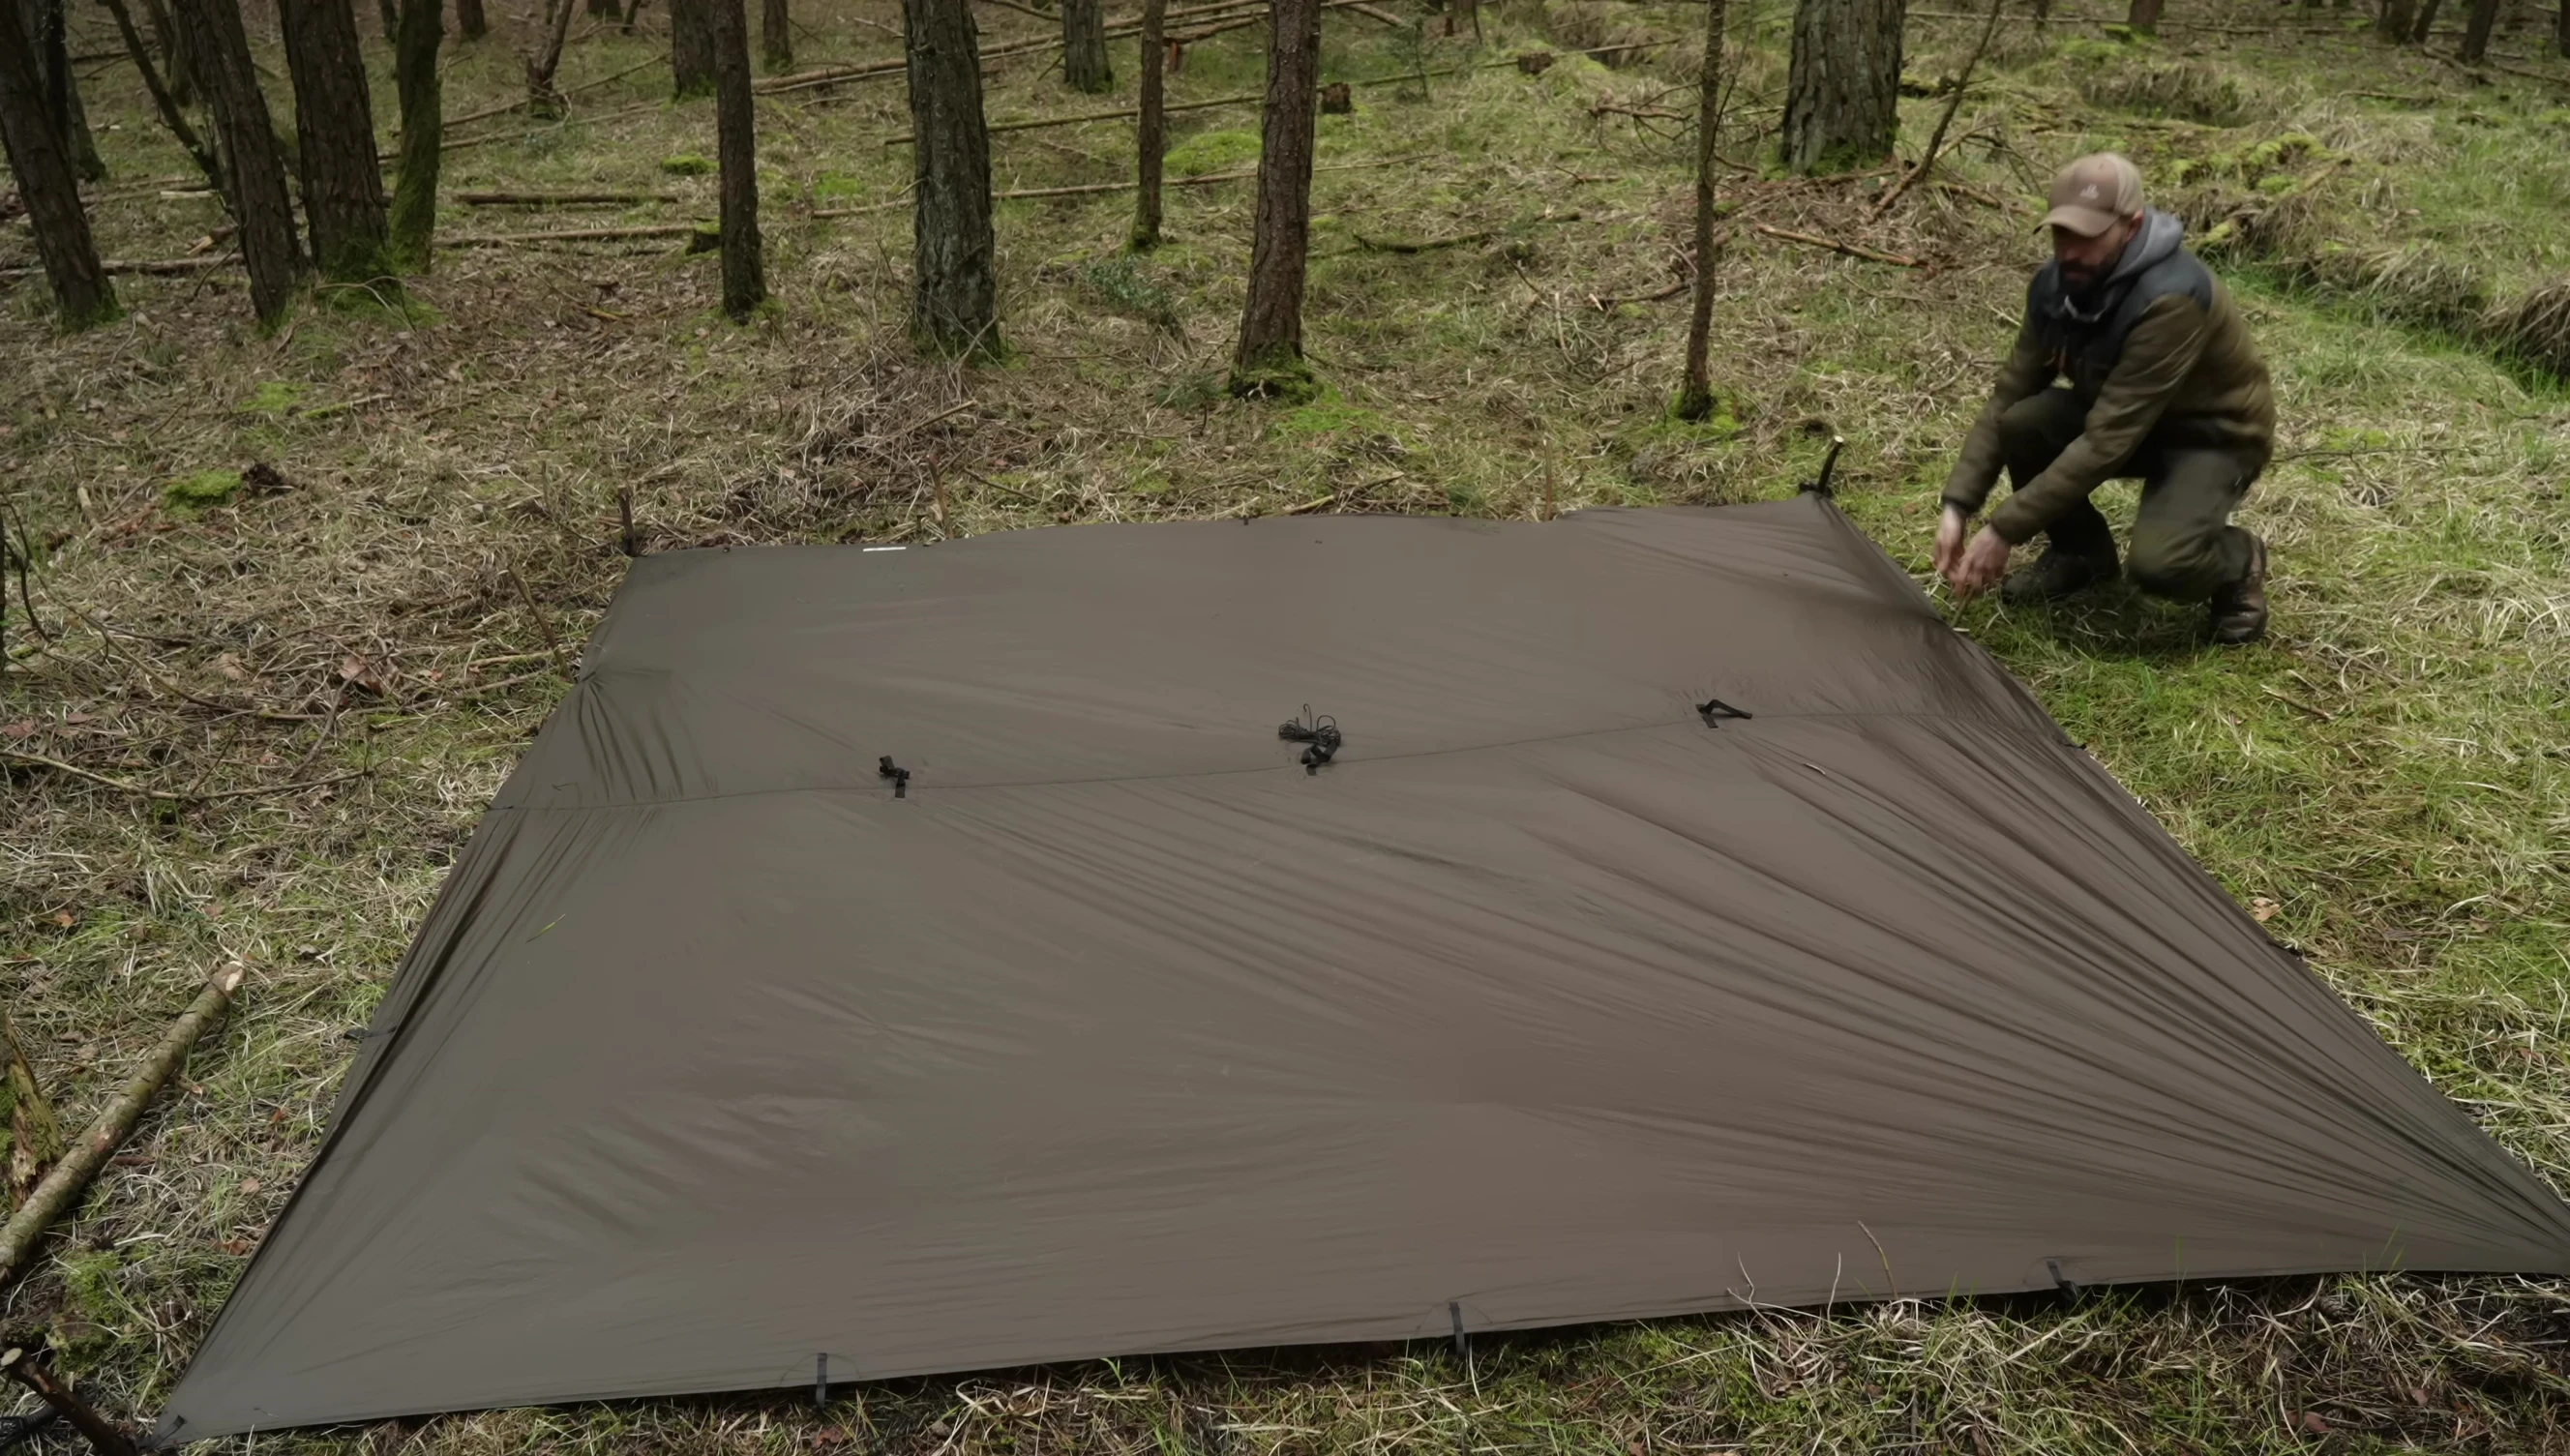
The rear of the shelter faces the wind, allowing wind to flow over rather than directly into the shelter. Tucking the back corners under further enhances this effect.
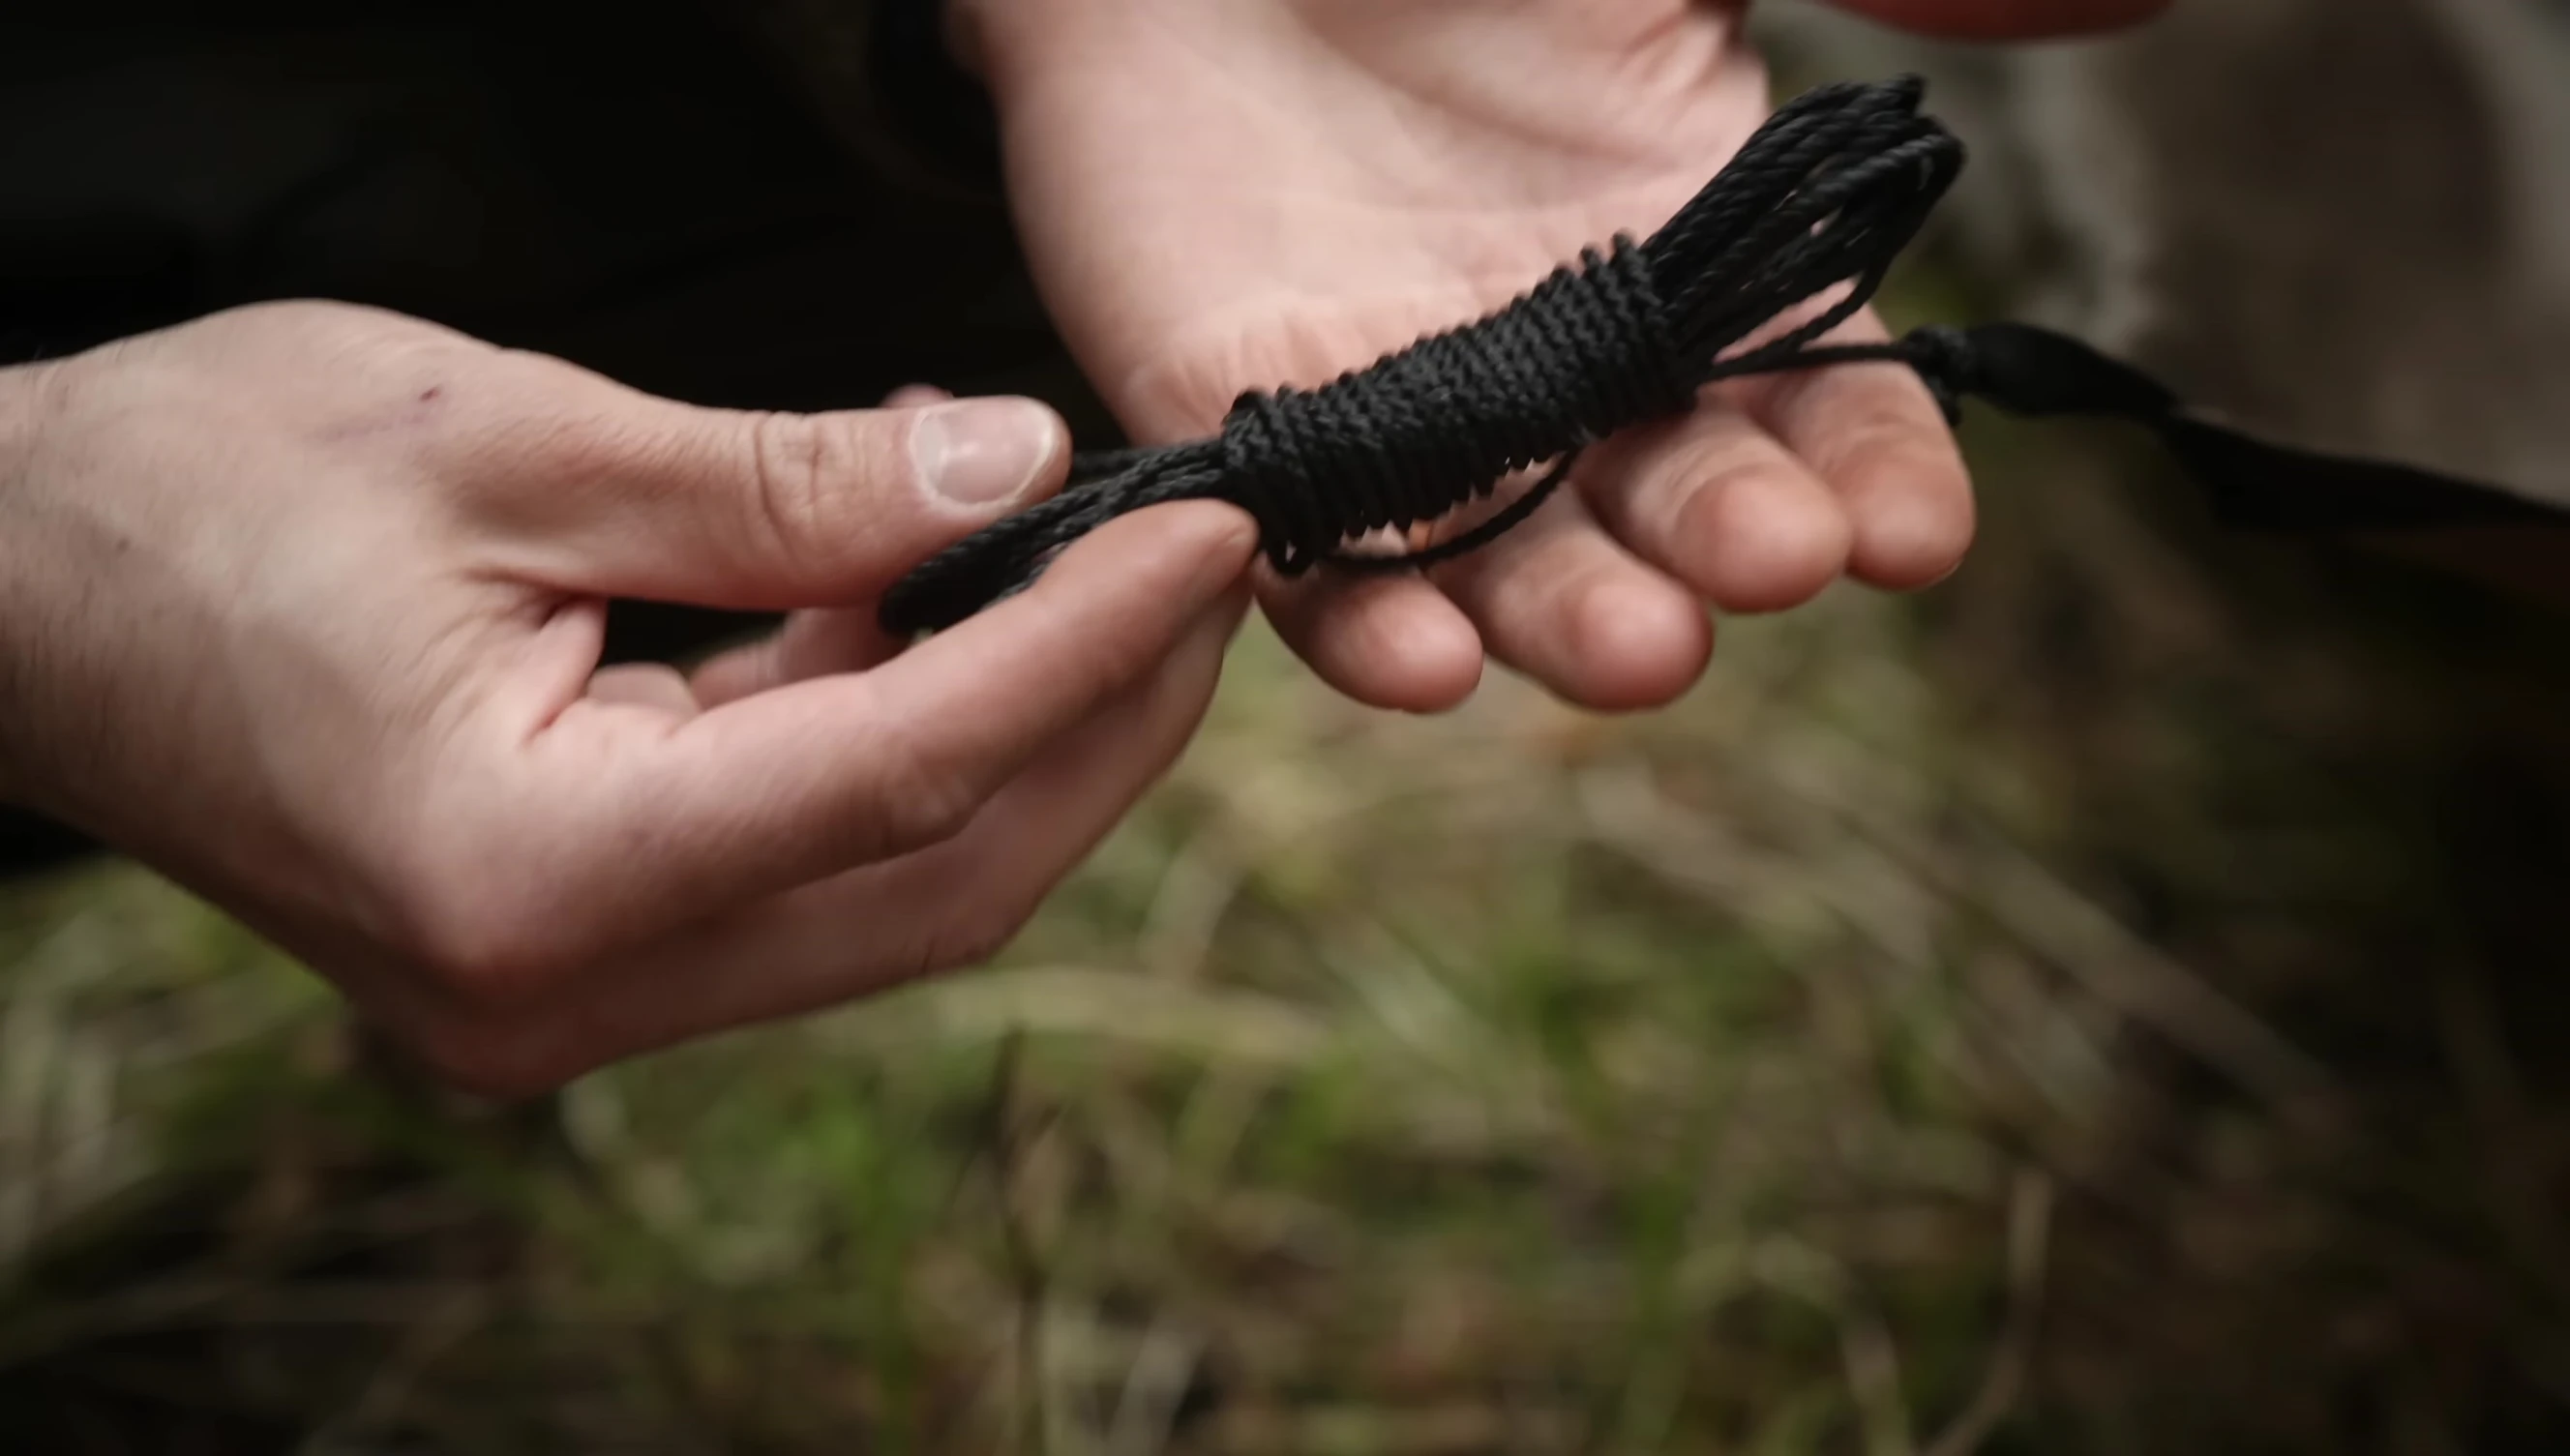
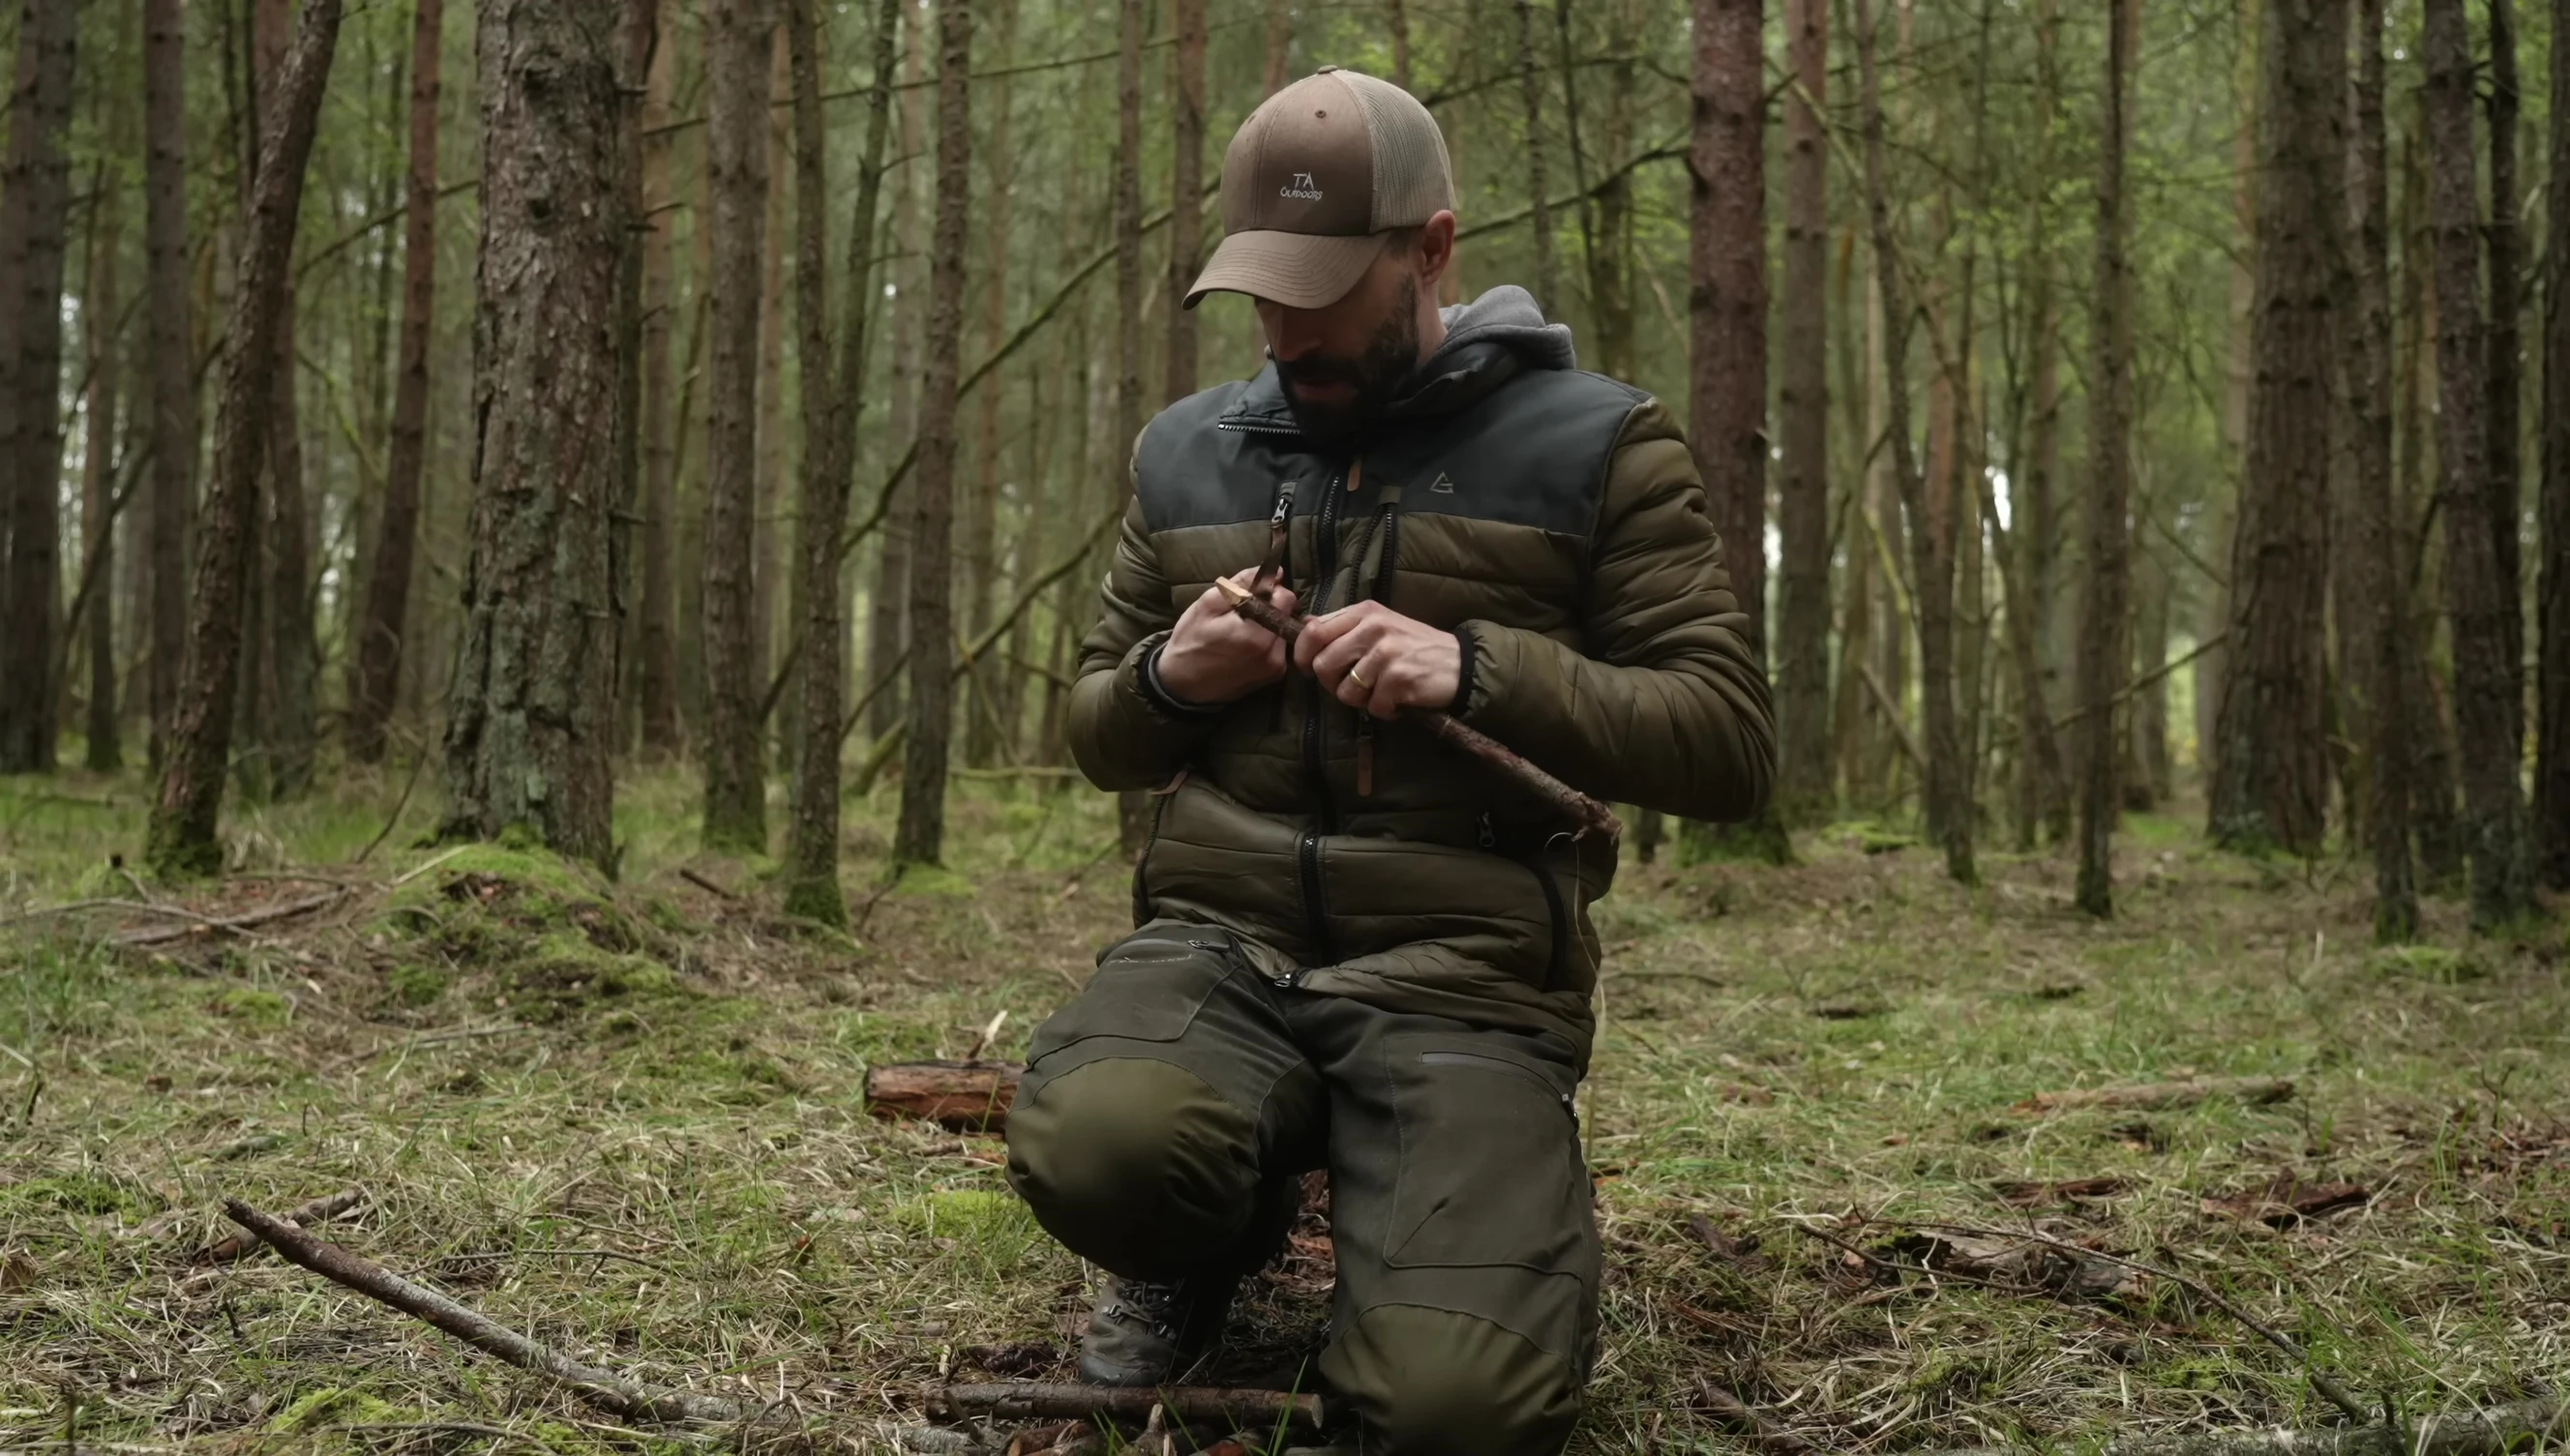
Creating Homemade Stakes
To save weight and space, create your own stakes from readily available materials found in the wilderness.

Look for thin sticks with natural knots or broken branches which will provide a hook to secure the guy lines.
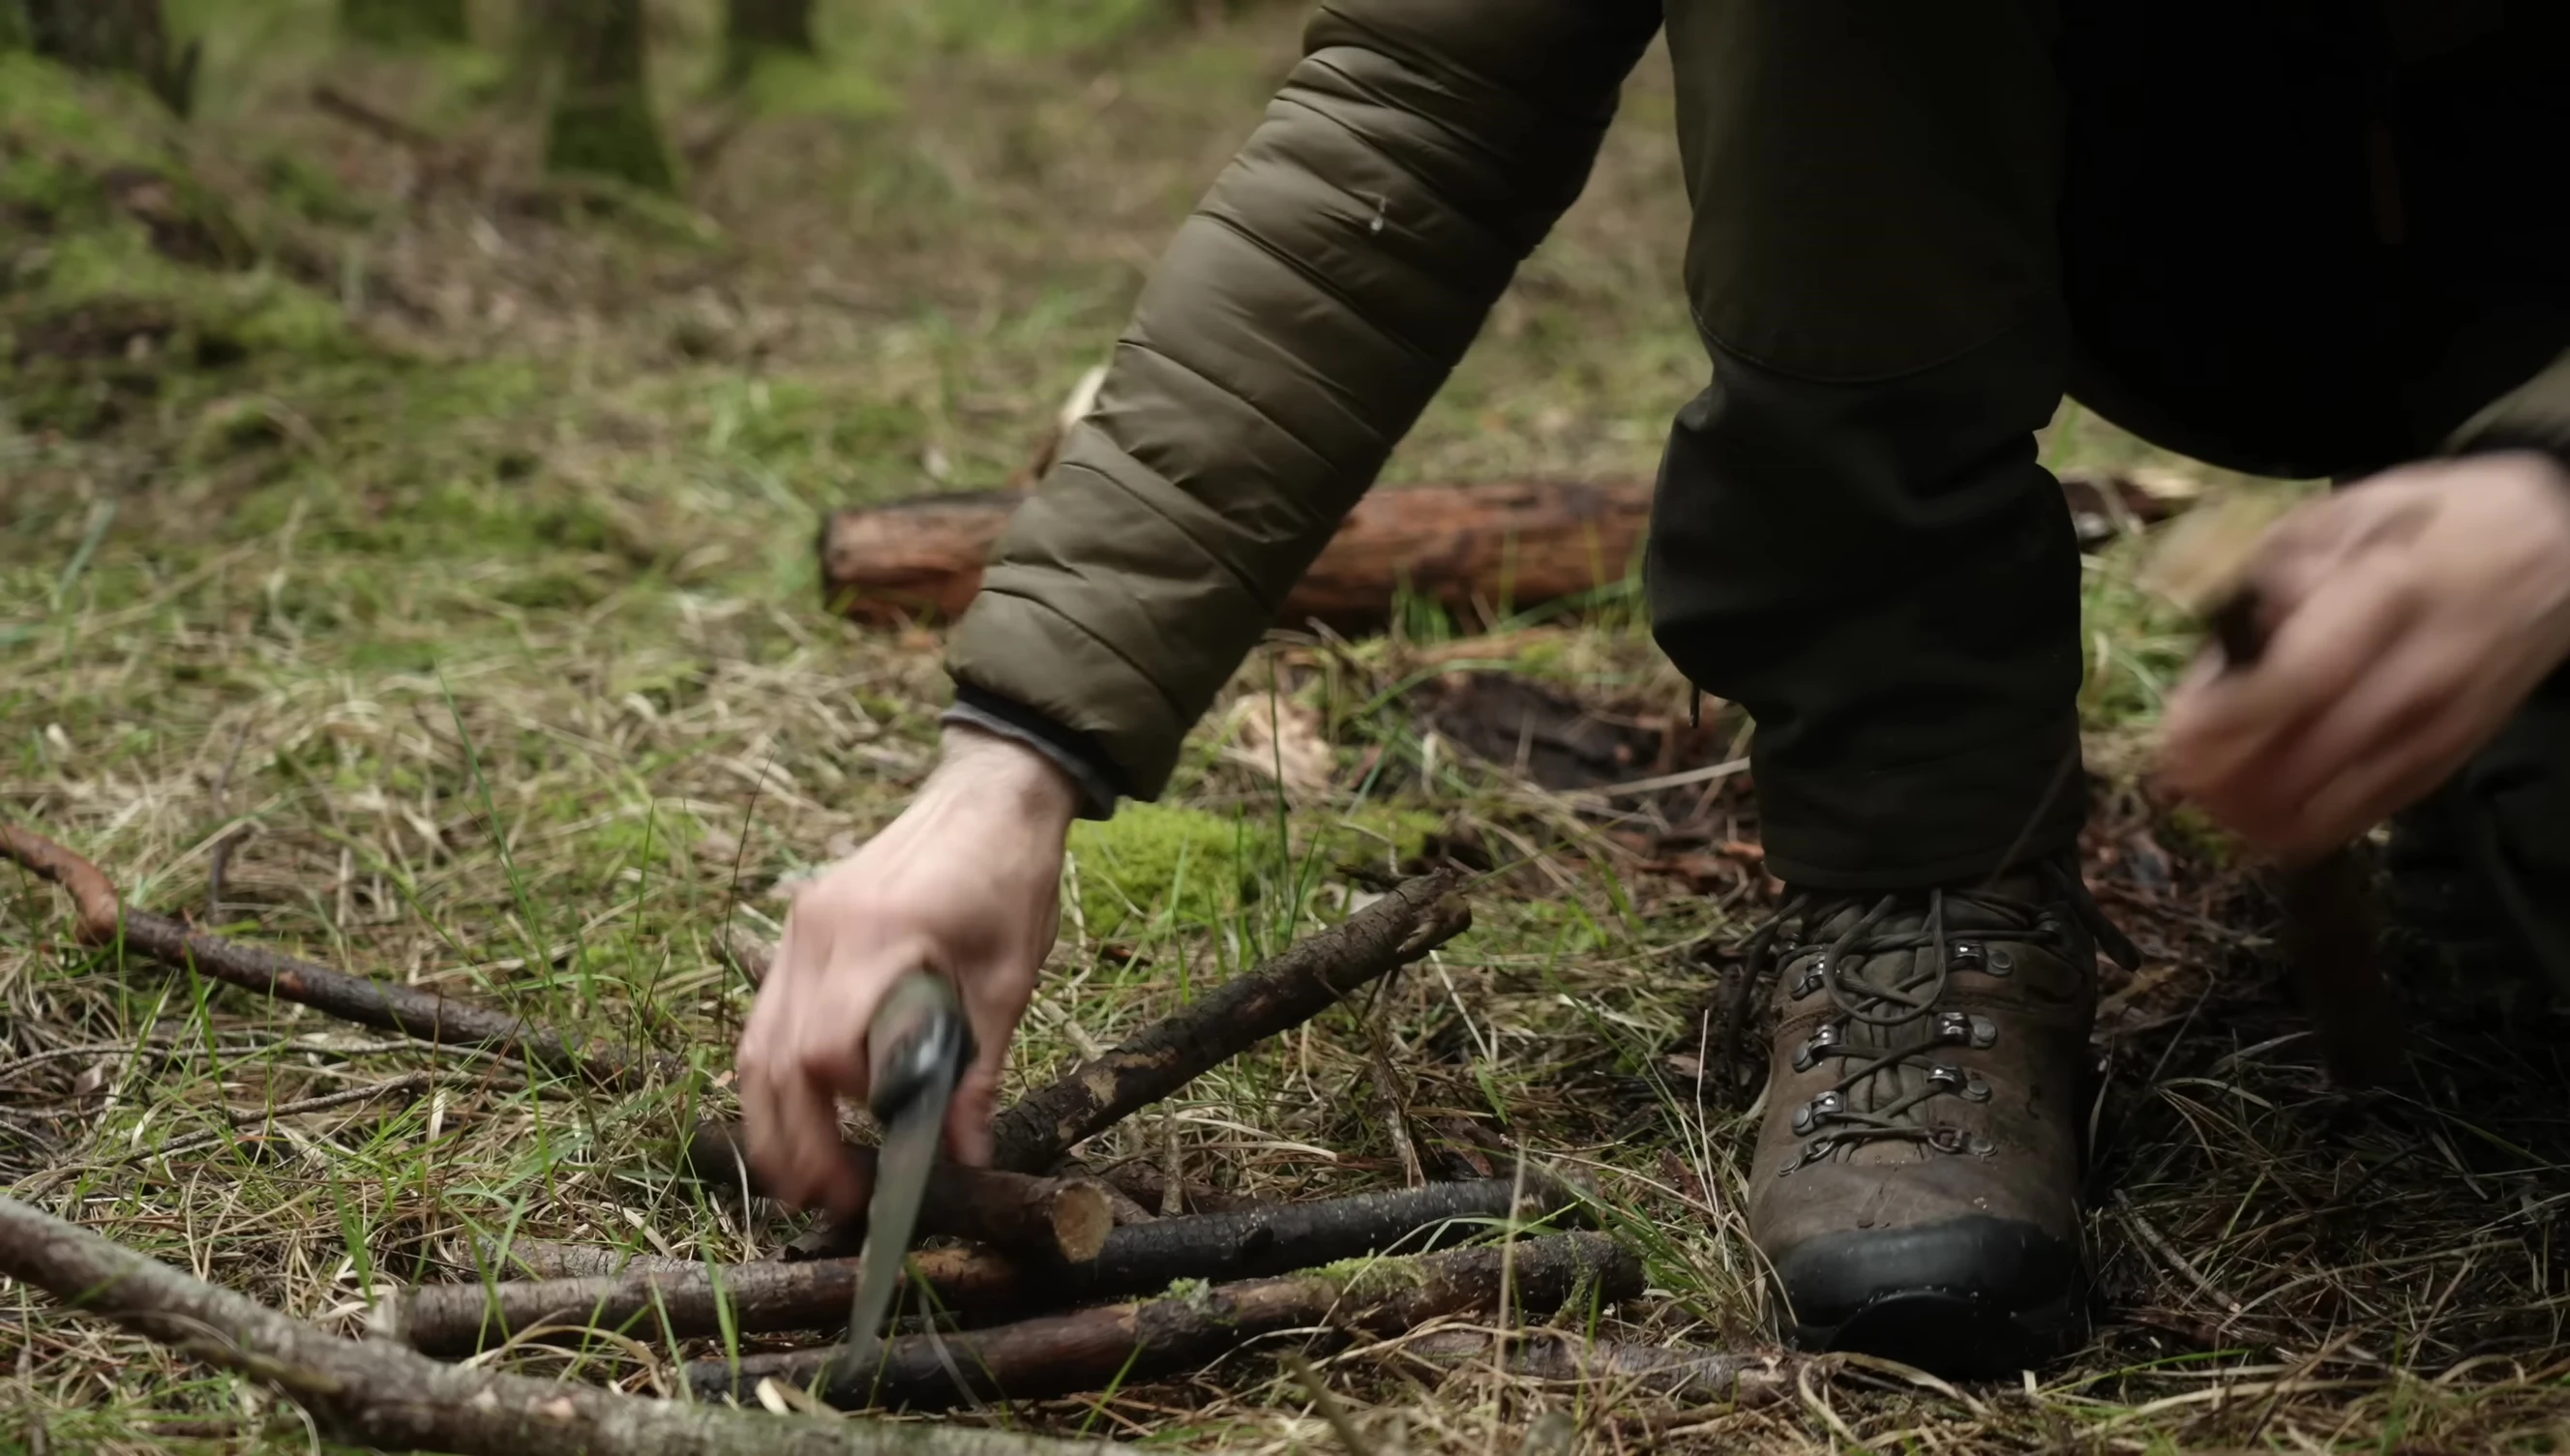
Sharpen the ends of your improvised stakes for easy insertion into the ground. The knots act as a natural hook to prevent the guy lines from slipping off.
Hammock Shelter Setup
This setup utilizes two trees slightly wider than the tarp's width. Opposite corners of the tarp are tied to each tree using a Siberian hitch.
The remaining two guy lines are pegged out to create tension and secure the tarp. Adjustable guyline hitches allow for fine-tuning tension.
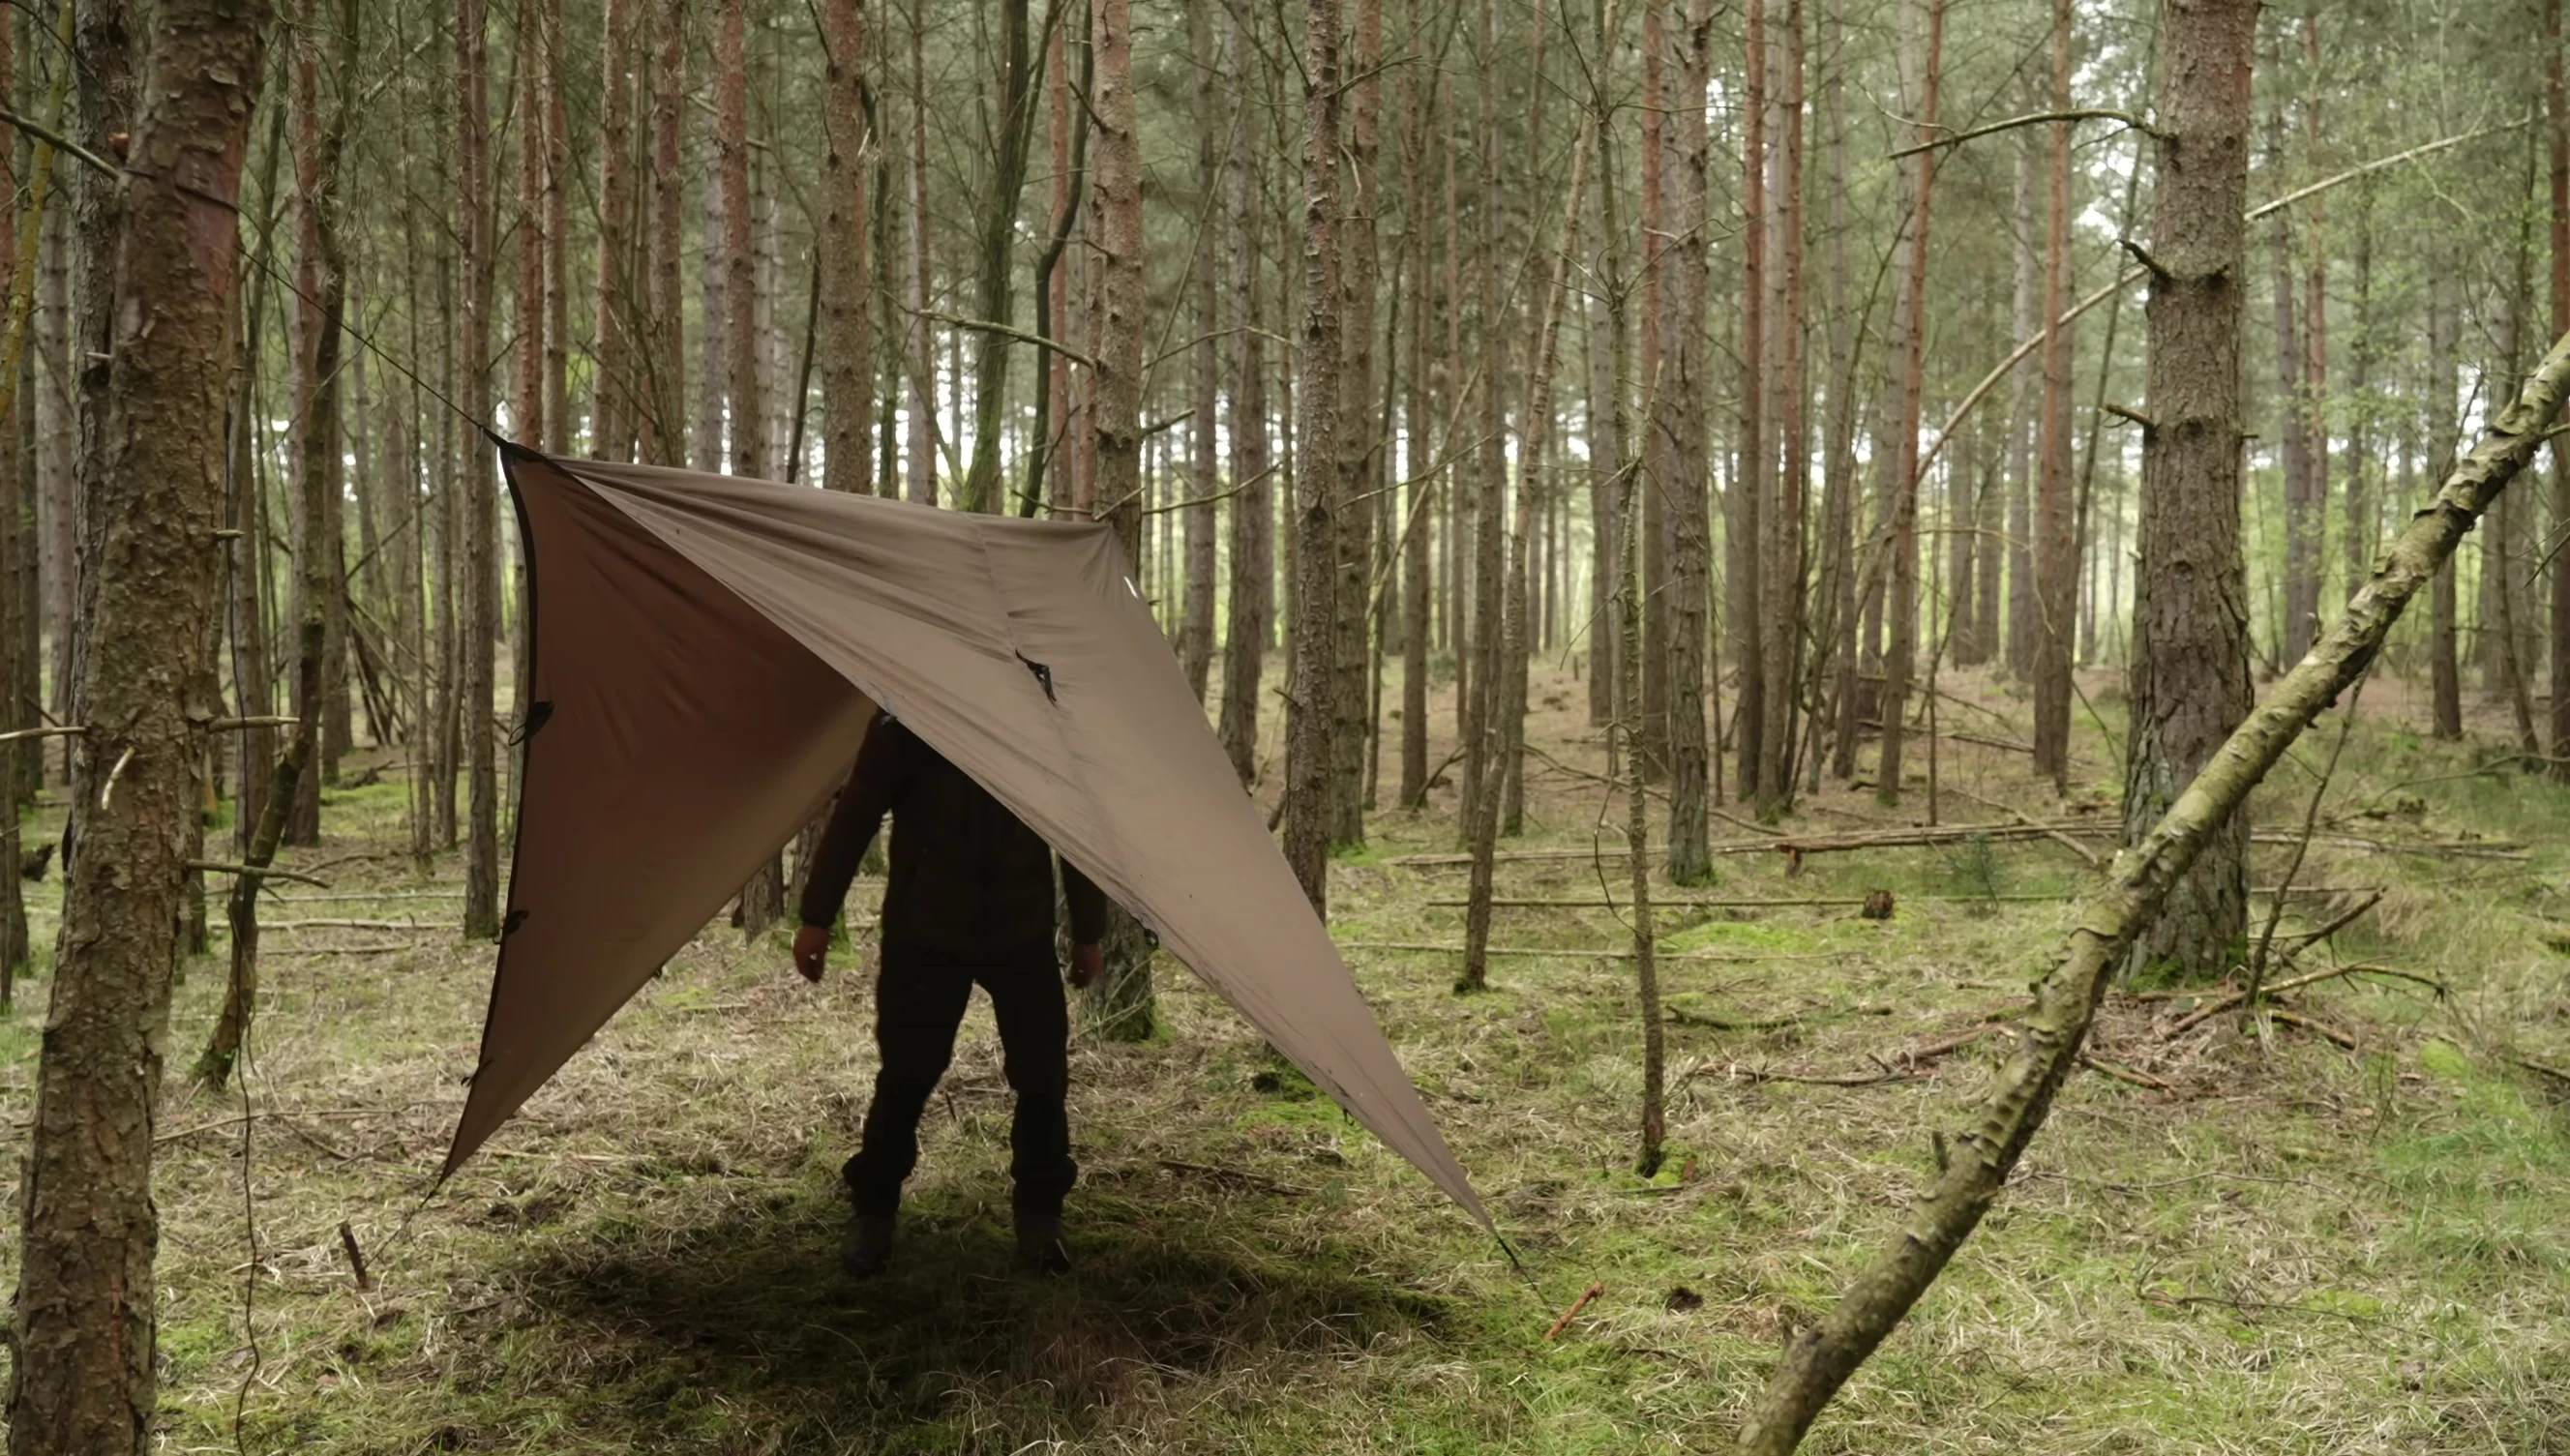
This diamond-shaped shelter is excellent in strong winds. It can be easily adapted for a more spacious setup in calmer conditions.
Plow Point Shelter
The plow point shelter is a fast and effective option for windy conditions. Deploy the tarp quickly from your backpack.
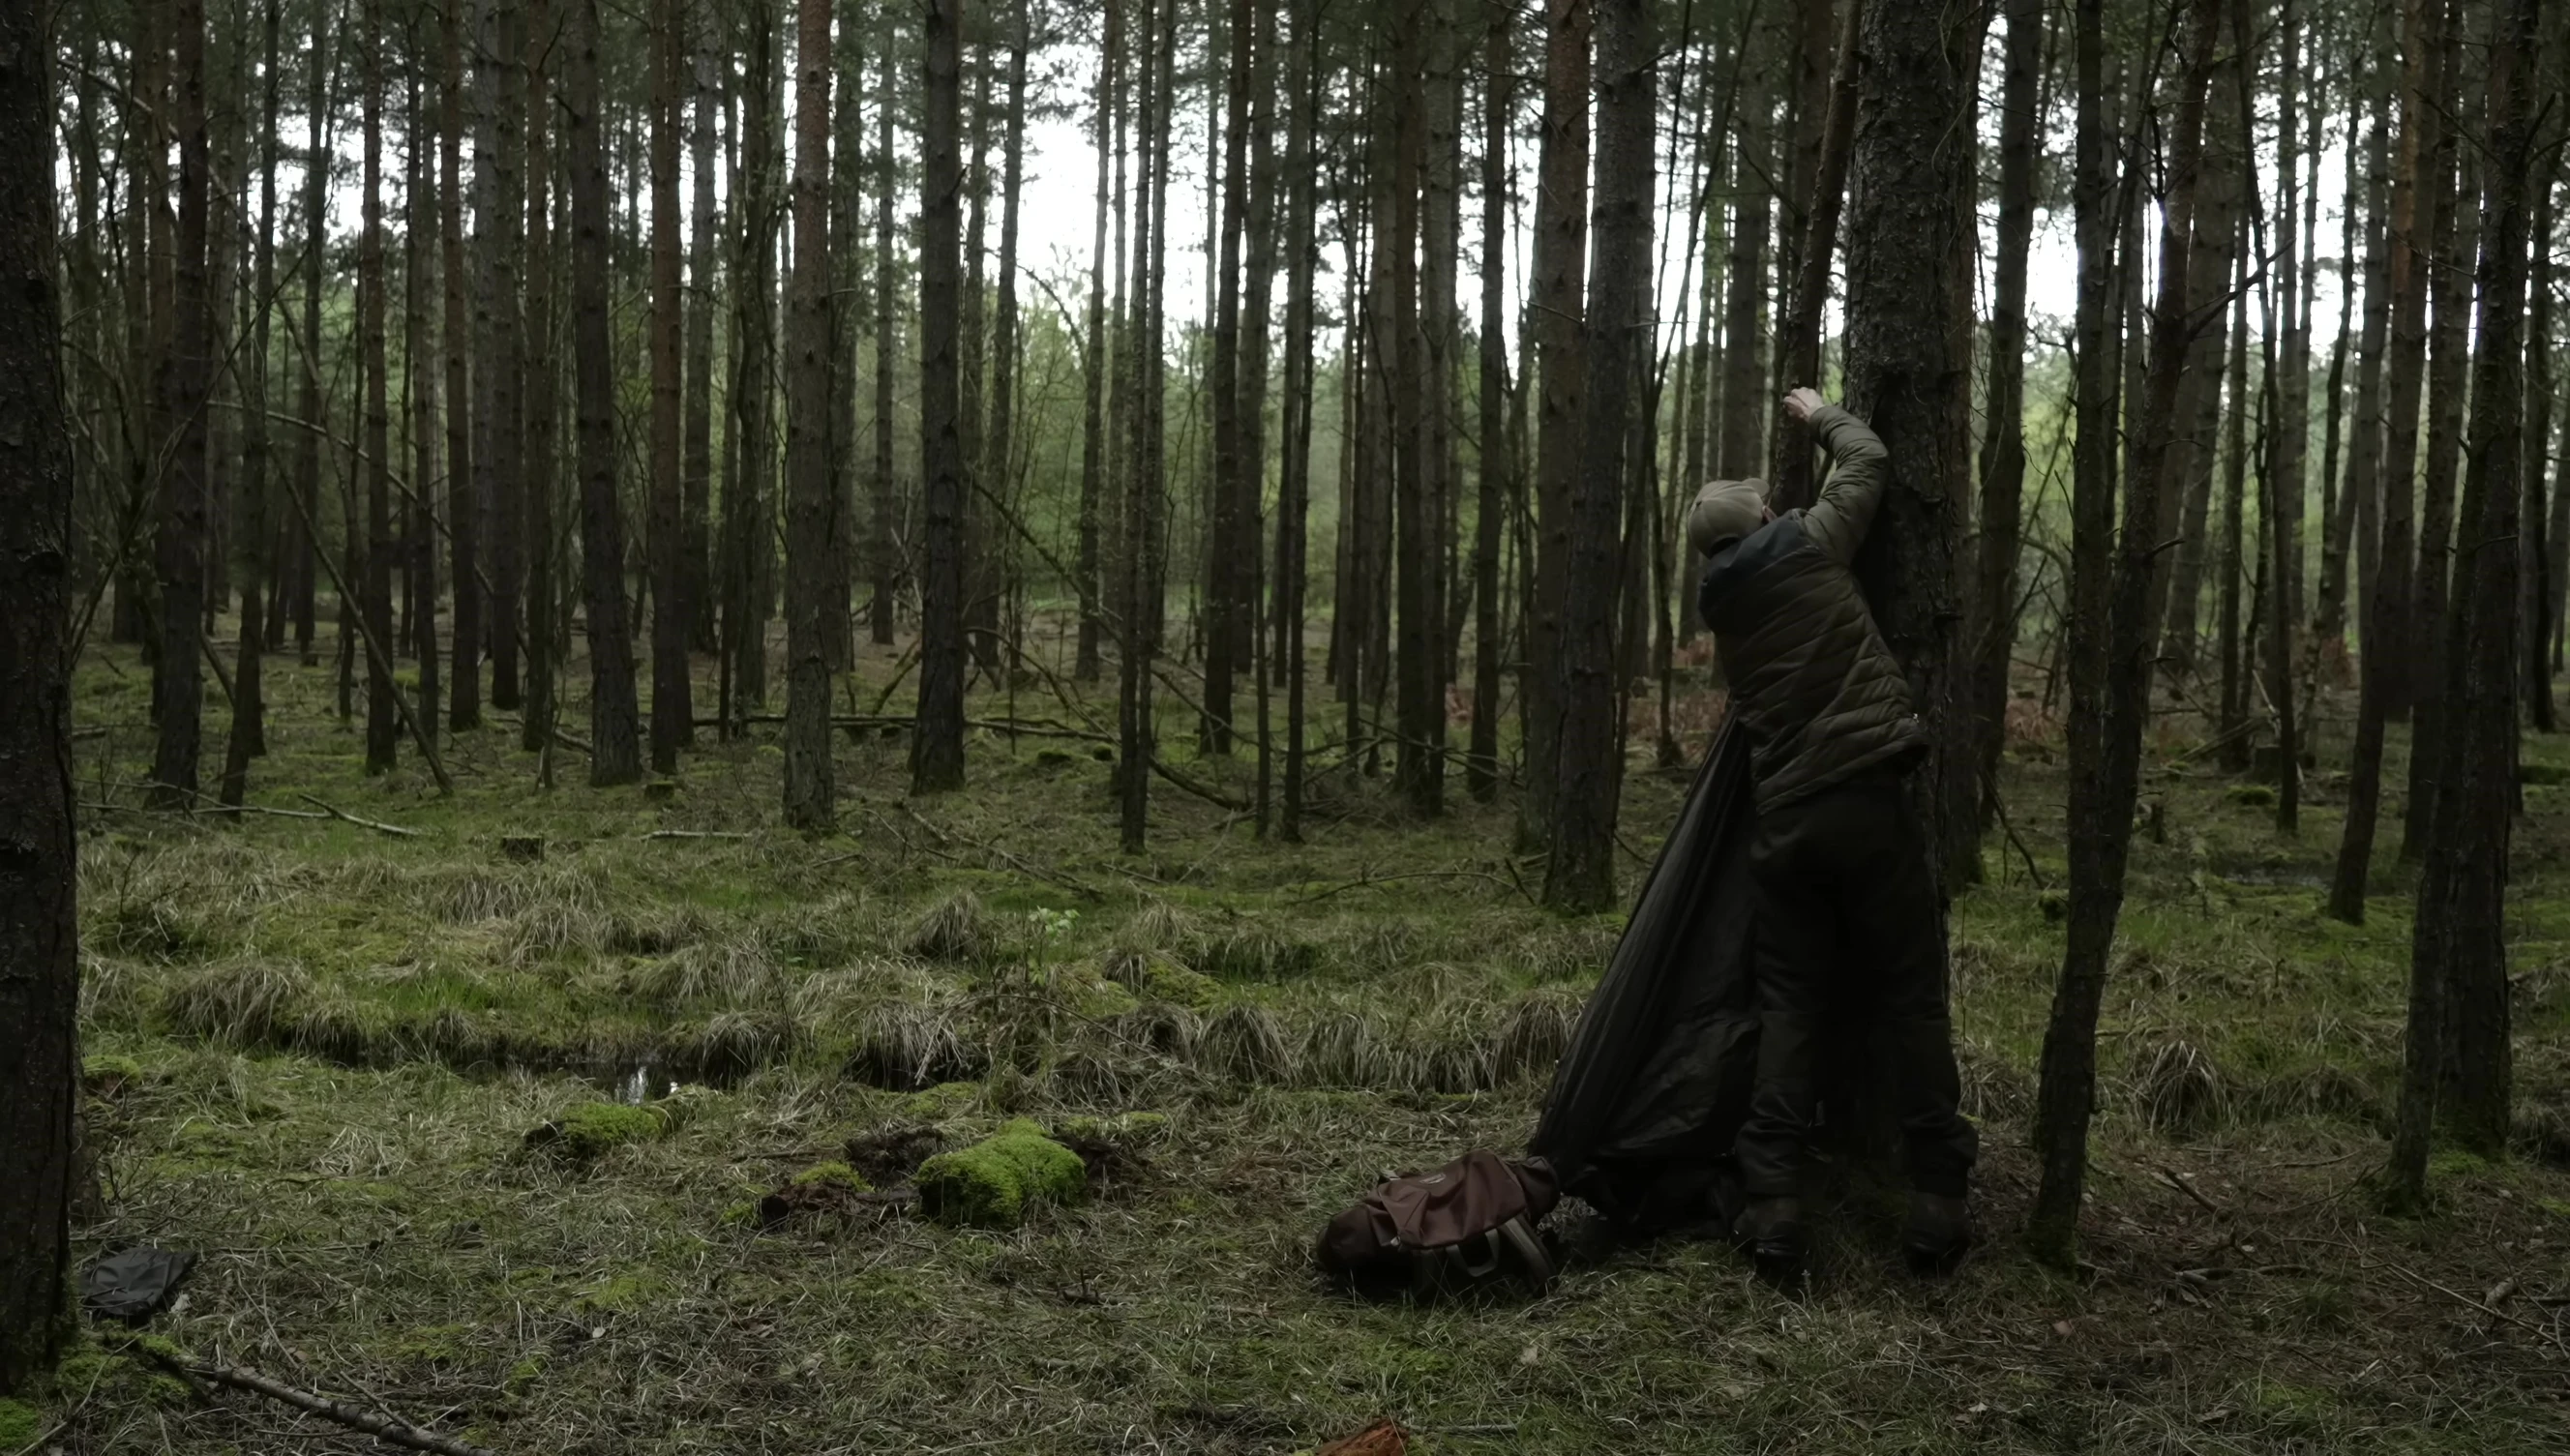
One corner is tied to a tree, and the remaining corners are pegged out. The final corner, secured to the backpack, provides tension.
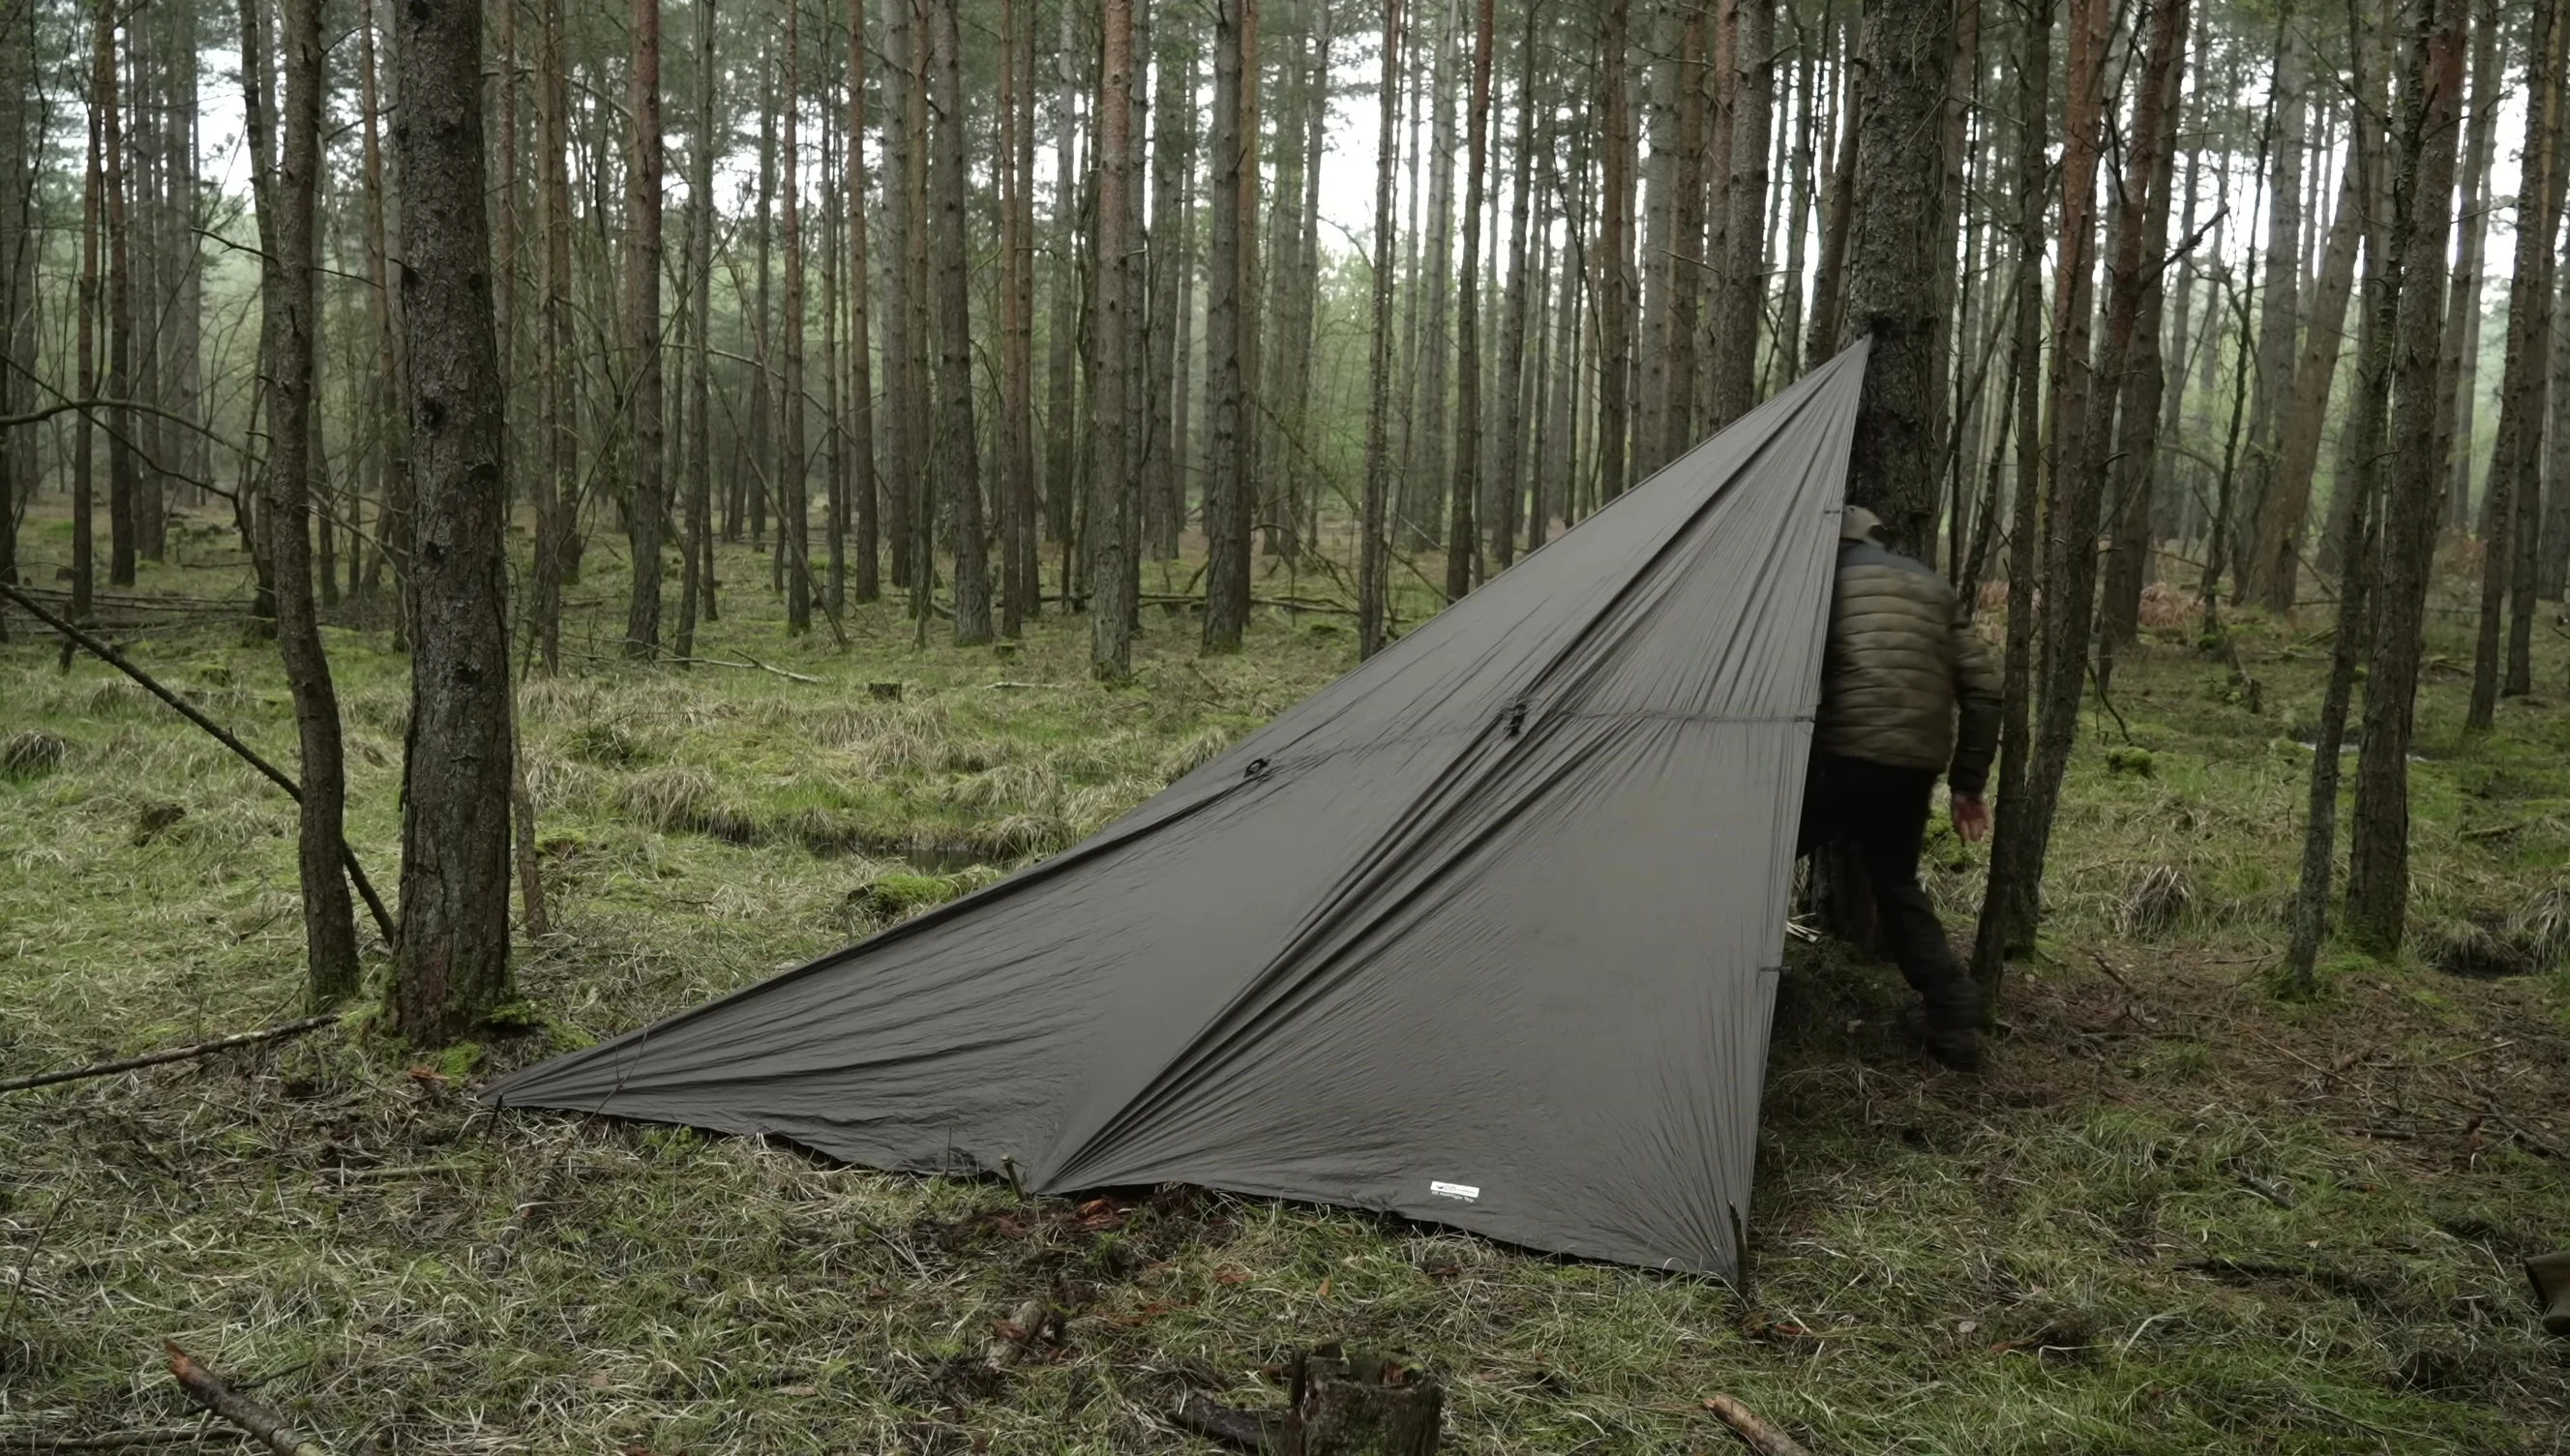
This shelter is easily adaptable. If the wind changes, simply rotate the tarp around the tree and re-peg it for optimal wind protection.
Conclusion: Choosing the Right Shelter
Tarps offer versatility in shelter construction, allowing for various setups based on conditions. They pack down smaller and require no tent poles.
Tents provide a more structured, potentially more comfortable shelter, but require additional components and are less adaptable.
Ultimately, the best choice depends on personal preference, conditions, and priorities. Weigh the advantages of each type carefully before your next storm camping adventure.