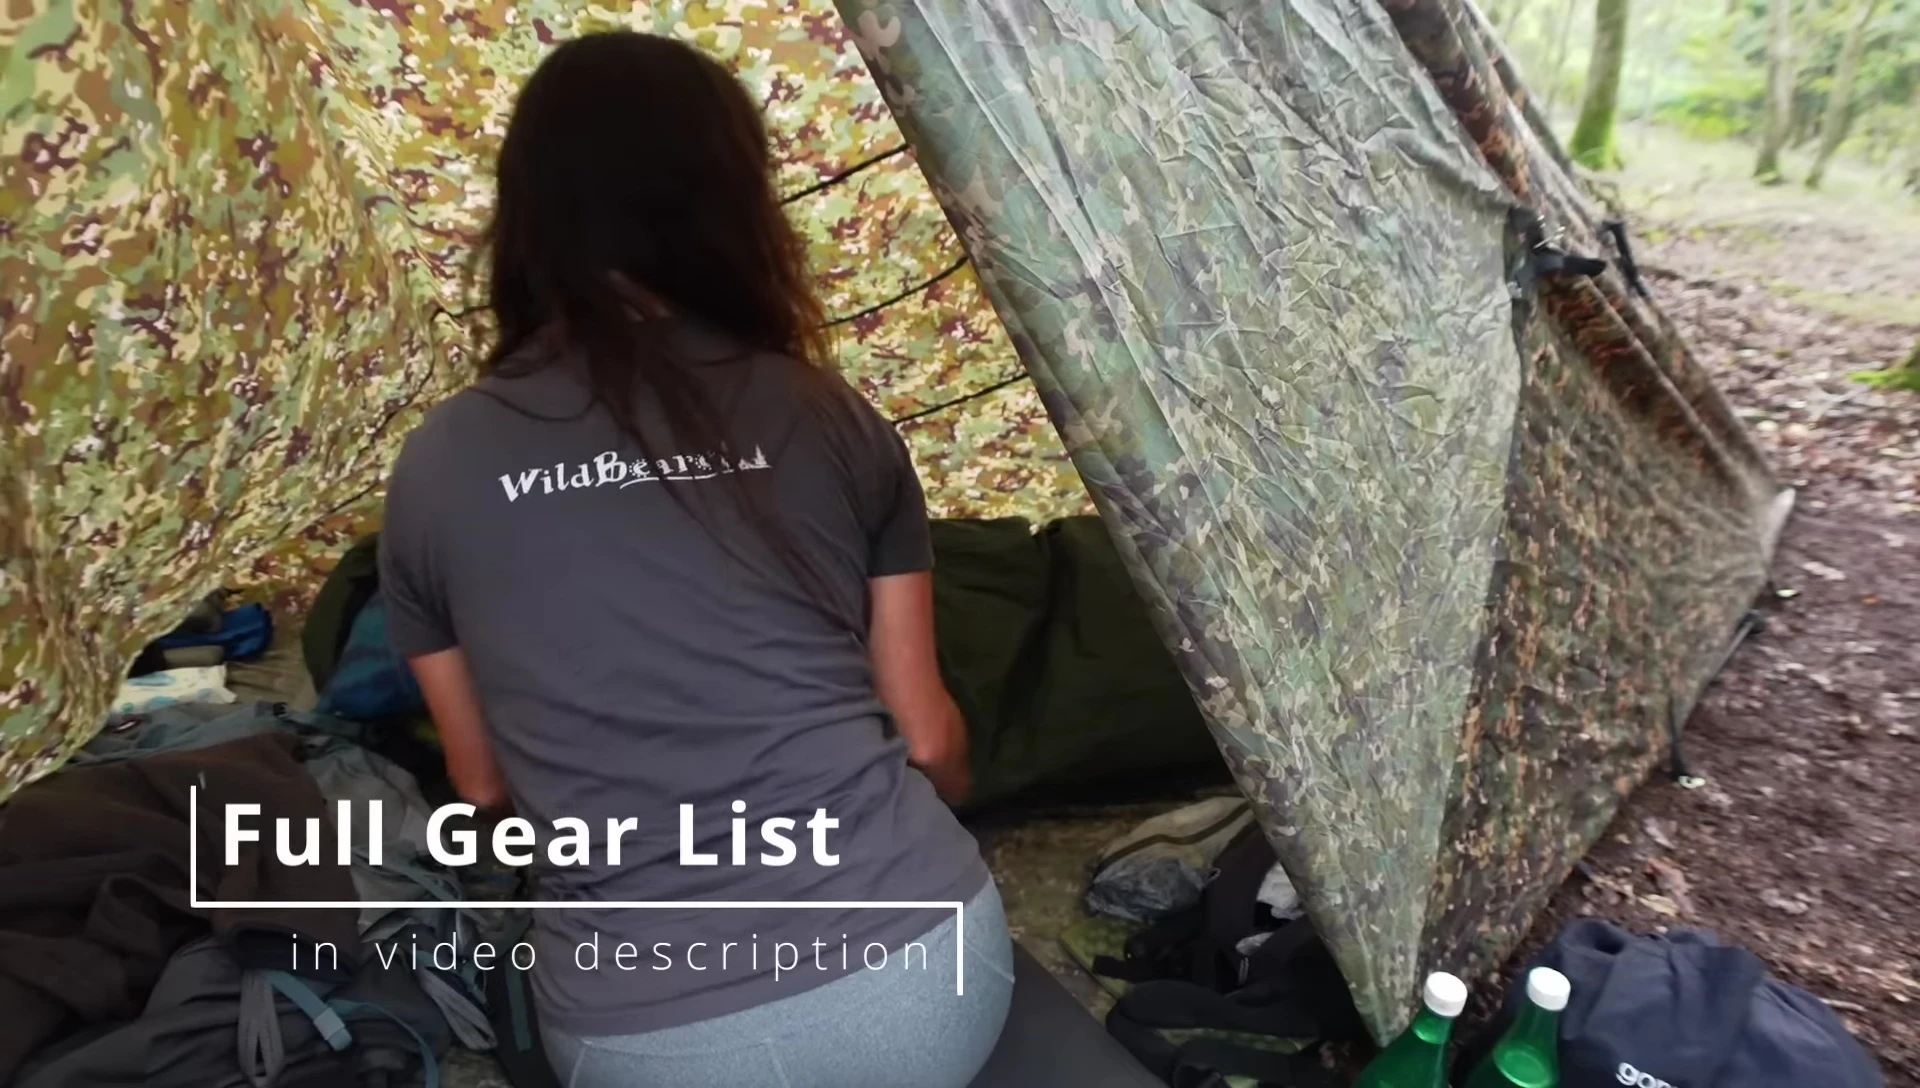
This article details the construction and experience of a fully enclosed tarp shelter, perfect for solo campers seeking refuge from inclement weather. It outlines a simple yet effective method for creating a spacious and weatherproof haven using readily available materials like a 3.5x3.5m tarp, bungee cord, and ground pegs. The step-by-step guide makes this design easily replicable for any outdoor enthusiast, providing a practical and comfortable shelter for solo adventures.The shelter's design prioritizes functionality and adaptability. It offers excellent protection from rain and wind while maintaining sufficient headroom and interior space for sleeping gear and other essentials. The article further highlights the shelter's versatility, demonstrating how easily it can be modified to accommodate activities like cooking, all while remaining a safe and dry space. This adaptable design makes it a superior choice for solo campers seeking both protection and comfort in unpredictable weather conditions.
Read more: 5 Best PVC Camping Tarps for Your Next Adventure
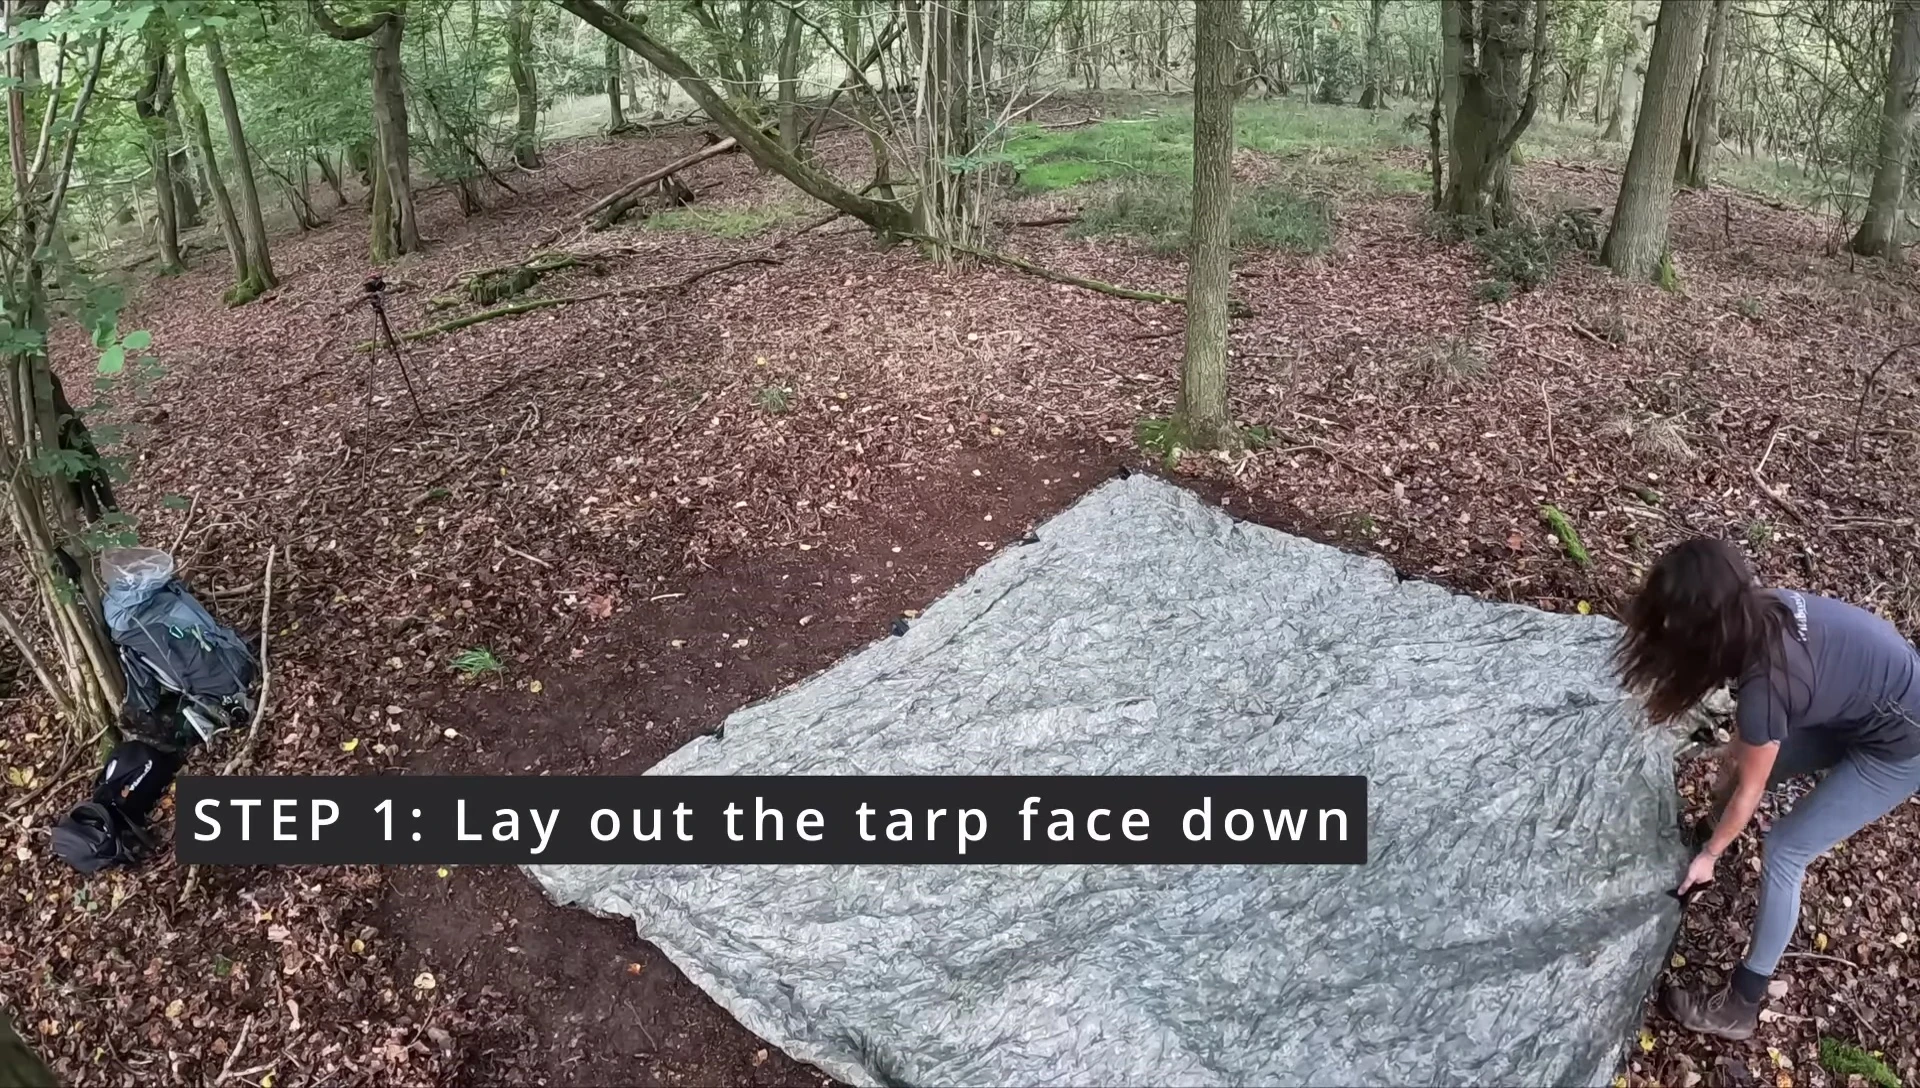
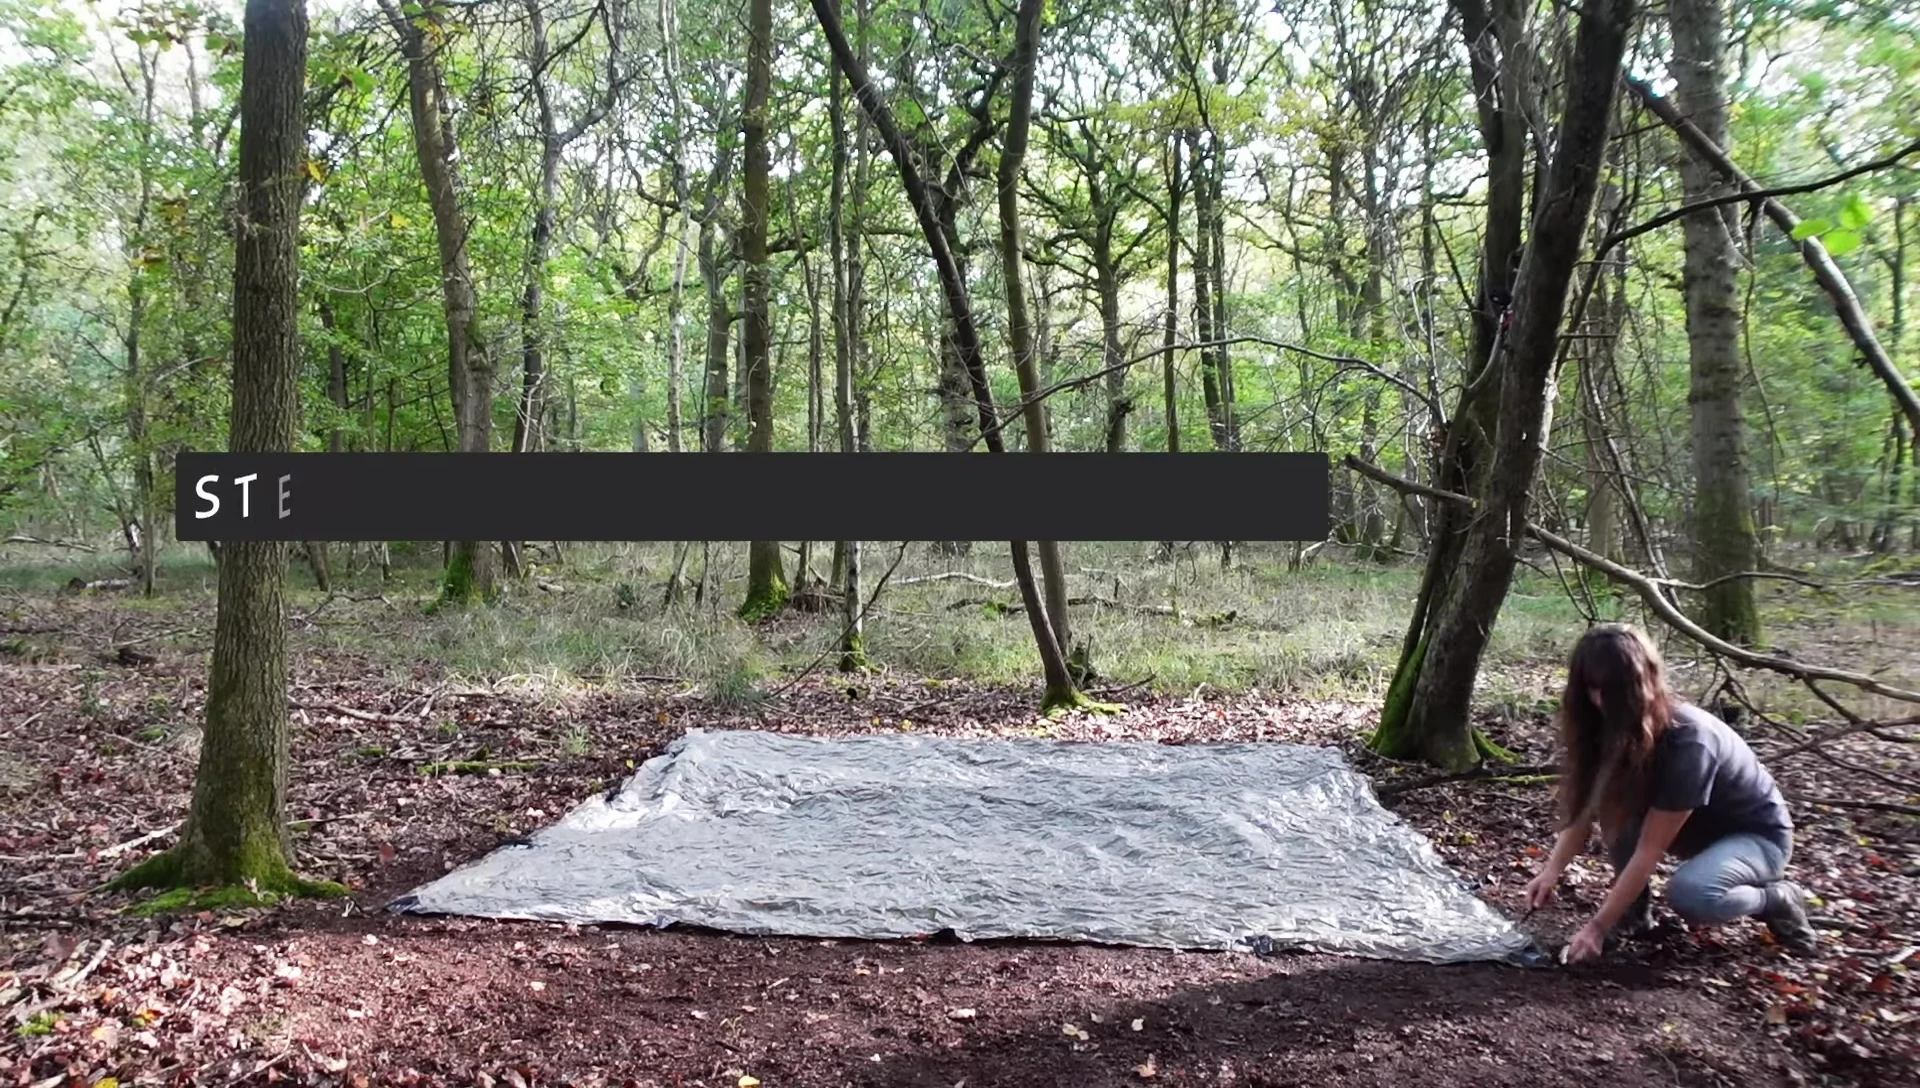
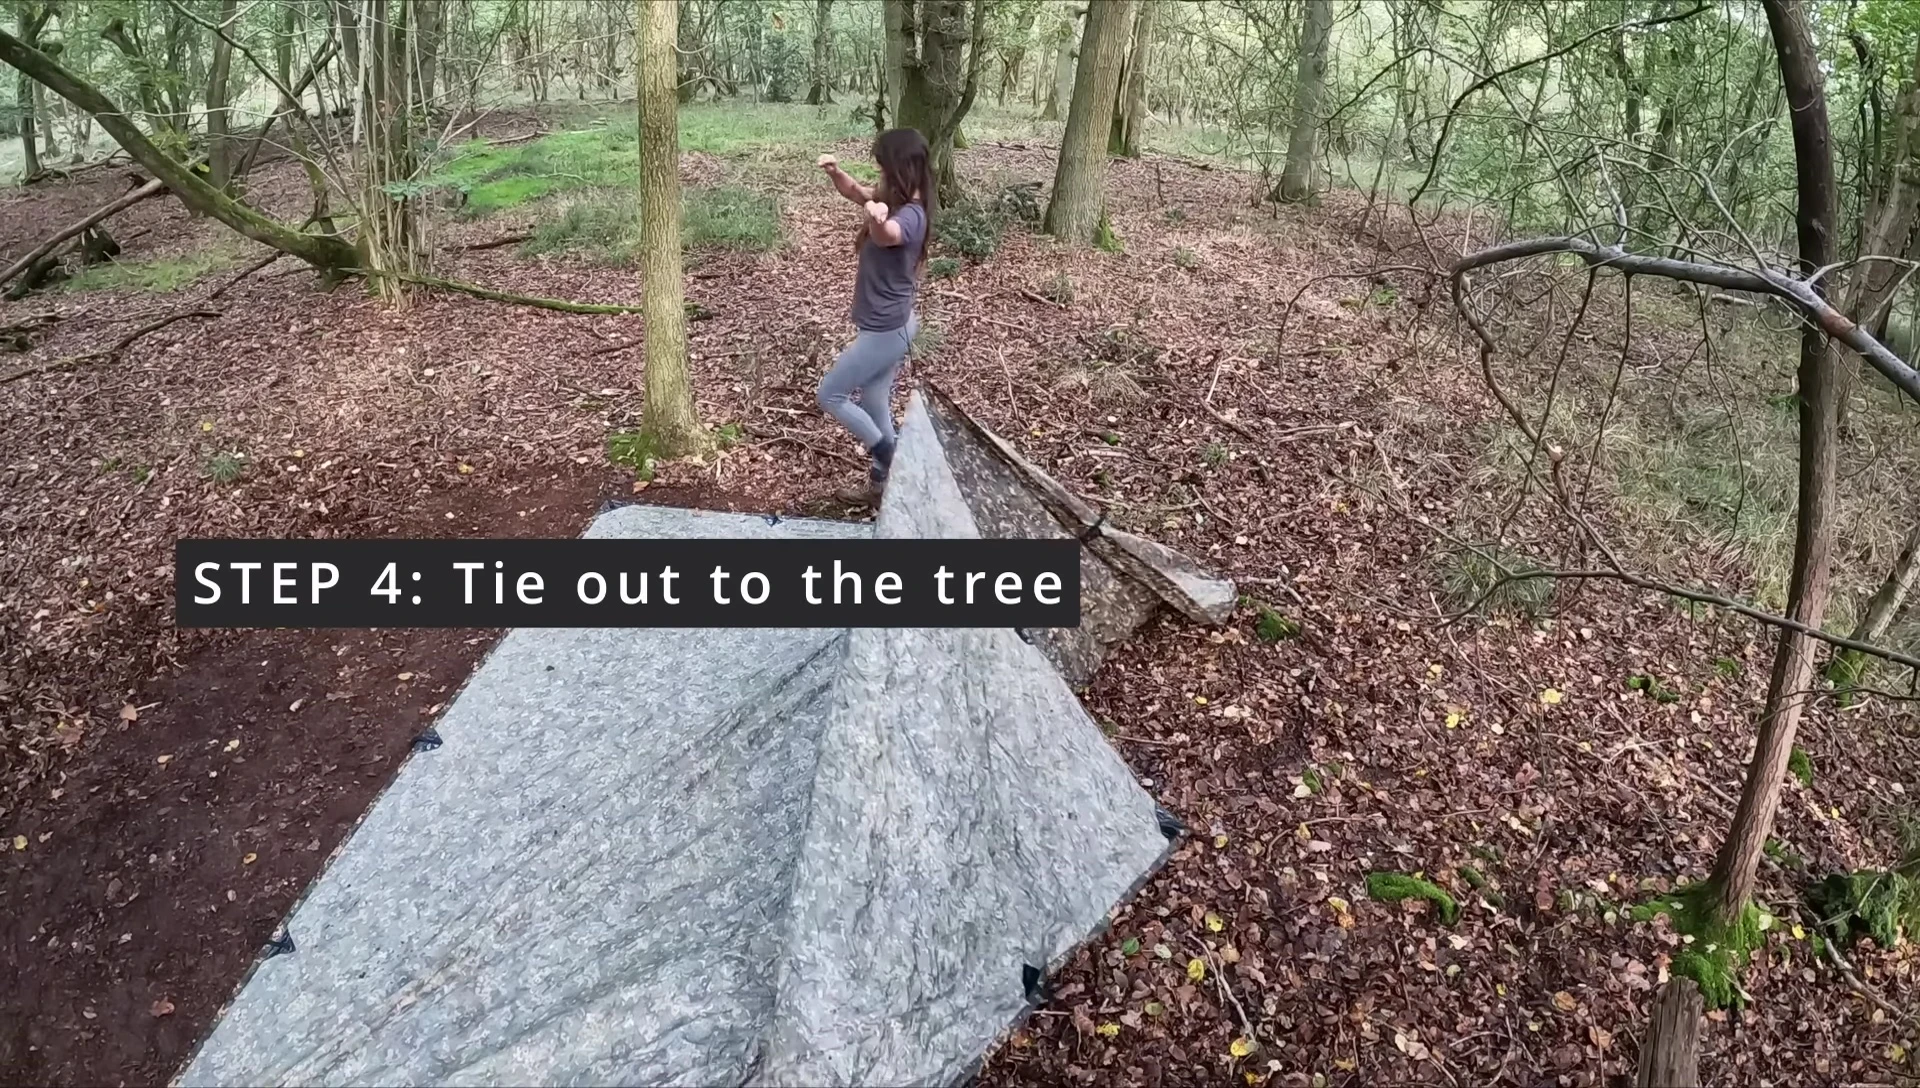
Setting Up the Fully Enclosed Tarp Shelter
The first step was laying out the 3.5x3.5m tarp in a square shape, positioning a front corner next to a sturdy tree for added support. I then pegged down the two front corners and the middle of the back using three pegs. This creates a solid base for the shelter.
Next, I attached a length of Bungee cord (you can use any type of cordage) to the middle back tie-out point and secured it to the tree. This creates the main tension for the structure.
Finally, I attached the side flaps to the ground pegs. One flap created a sheltered side, and the other was secured to create a fully enclosed space. Additional guying and pegging of the back attachment points provided extra stability and headroom.
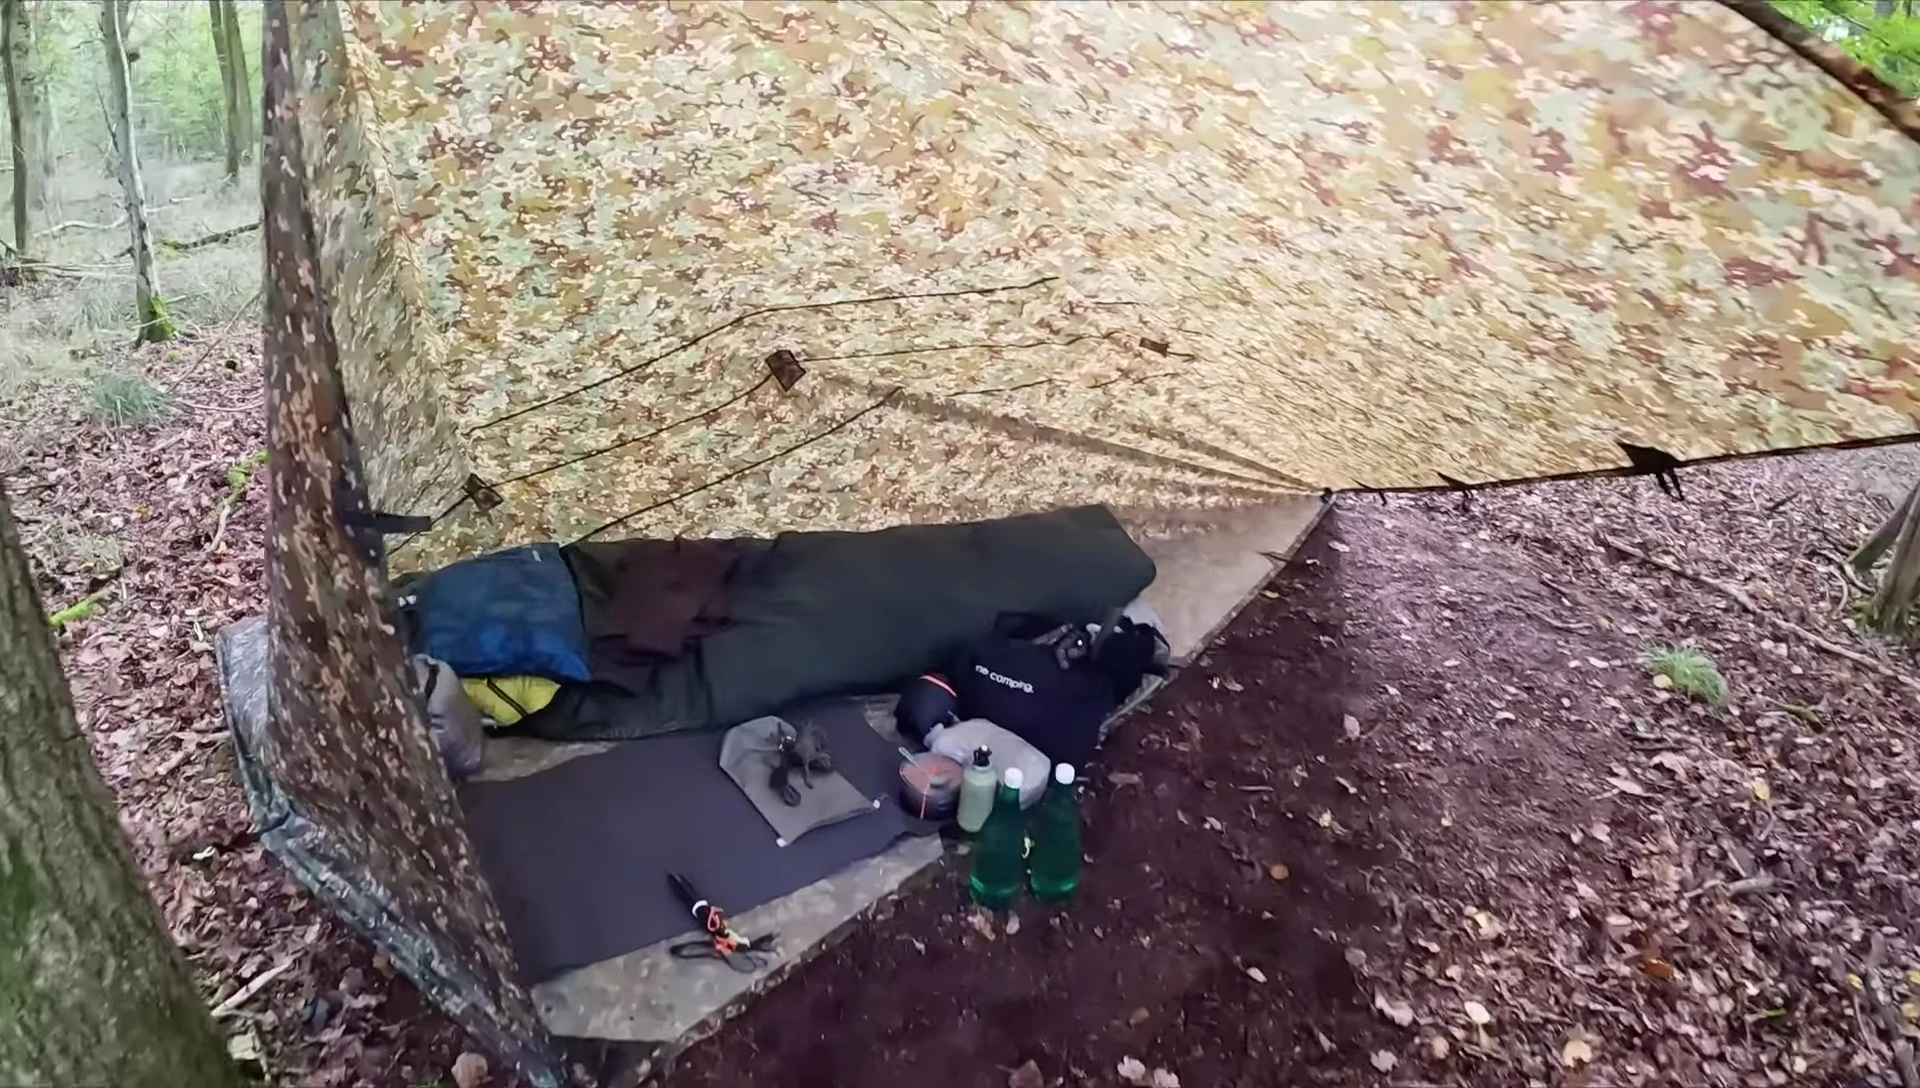
Inside the Shelter: Space and Comfort
The interior of the shelter is surprisingly spacious; it's easily big enough for one person, offering ample room for sleeping gear and other camping essentials. The headroom is excellent, allowing for comfortable sitting and standing.
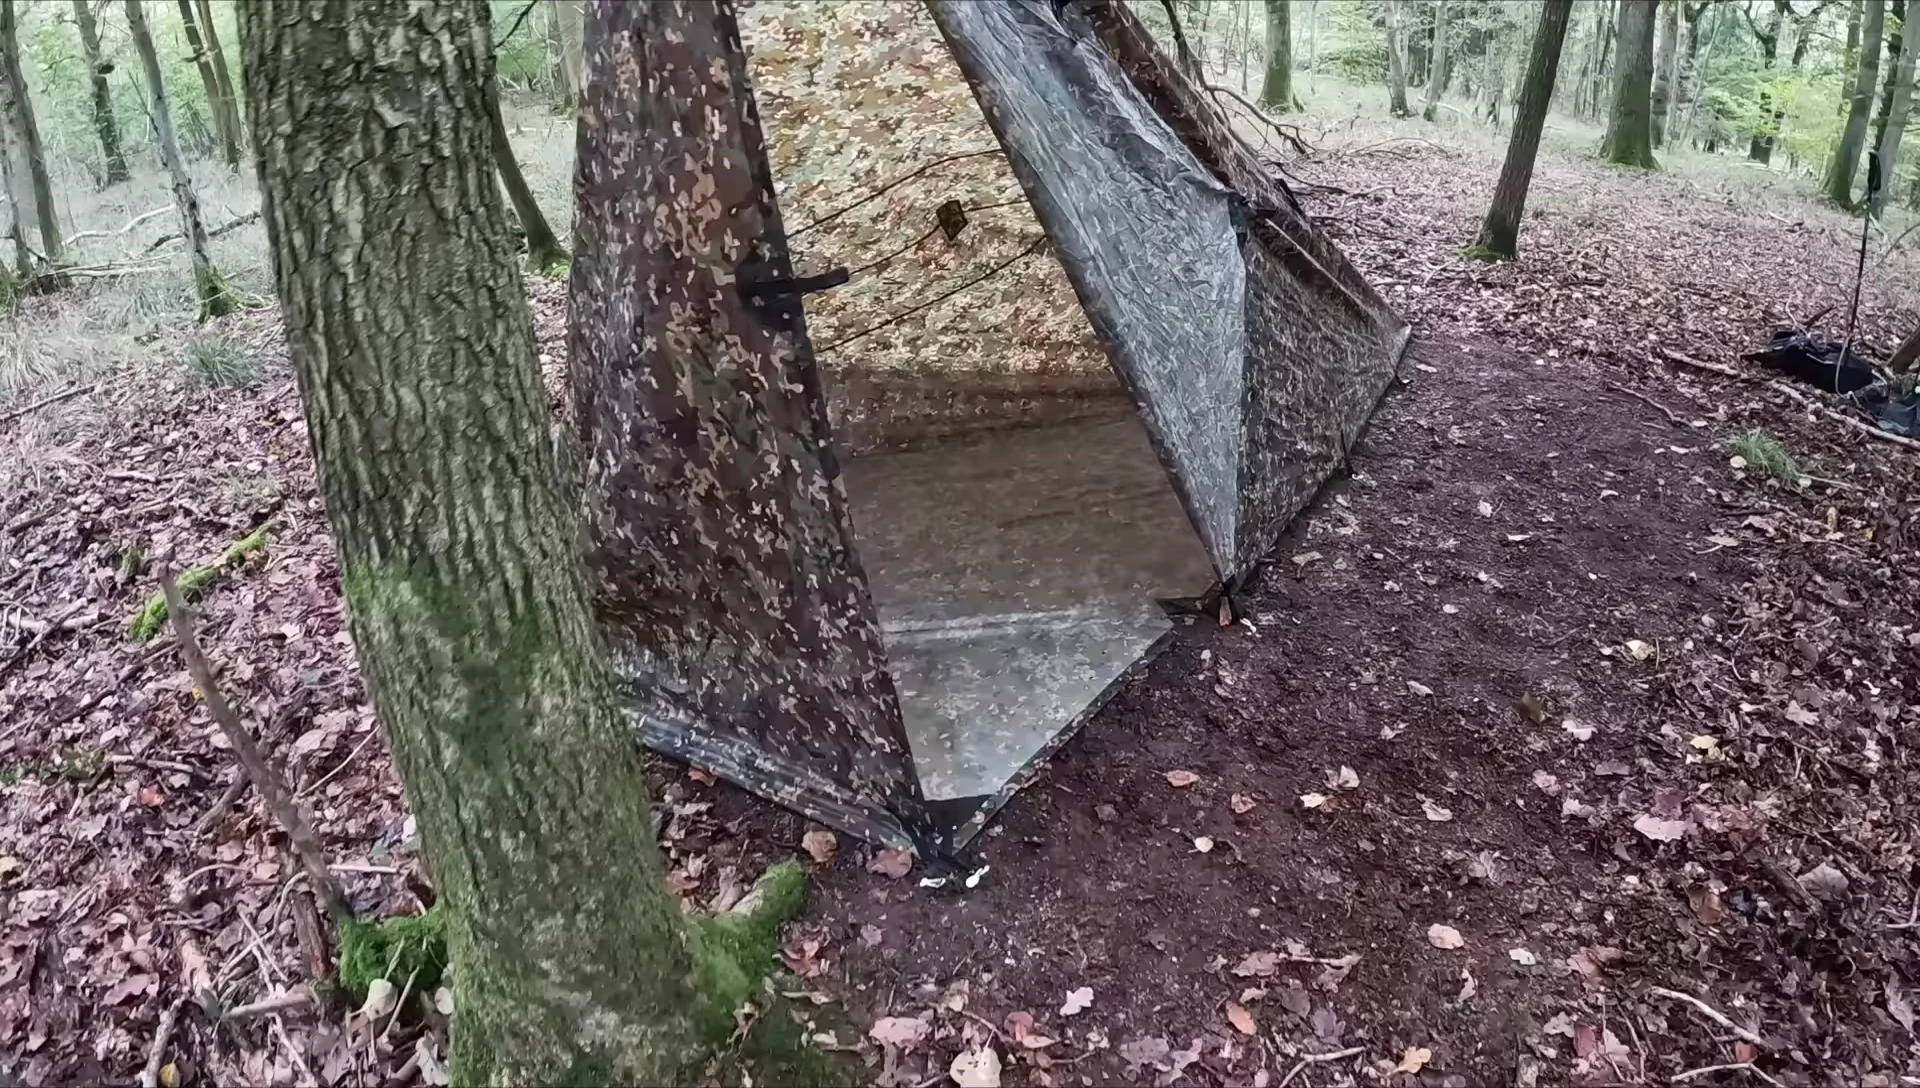
The fully enclosed design provides fantastic protection from the elements, making it ideal for rainy or windy conditions. The slight overhang of the sides beyond the floor prevents rain from entering.
I found there was plenty of space to organize my gear, making it a very livable shelter for solo camping. Adding a small door clip made it easy to create an opening.
Cooking and Adaptability
One of the shelter's great features is its adaptability. I easily unhooked one side to create a cooking area, enabling me to prepare and cook my steak over a small fire pit, even in the rain.
Once cooking was done, I easily re-secured the side for full protection from the elements again. This flexibility is a key advantage of this tarp configuration.
The shelter's design allowed me to create a comfortable and protected cooking area without compromising the shelter's overall functionality.
Overnight Experience and Final Thoughts
Spending the night in the shelter during heavy rain was a fantastic experience. The fully enclosed design kept me completely dry and cozy, even with significant rainfall.
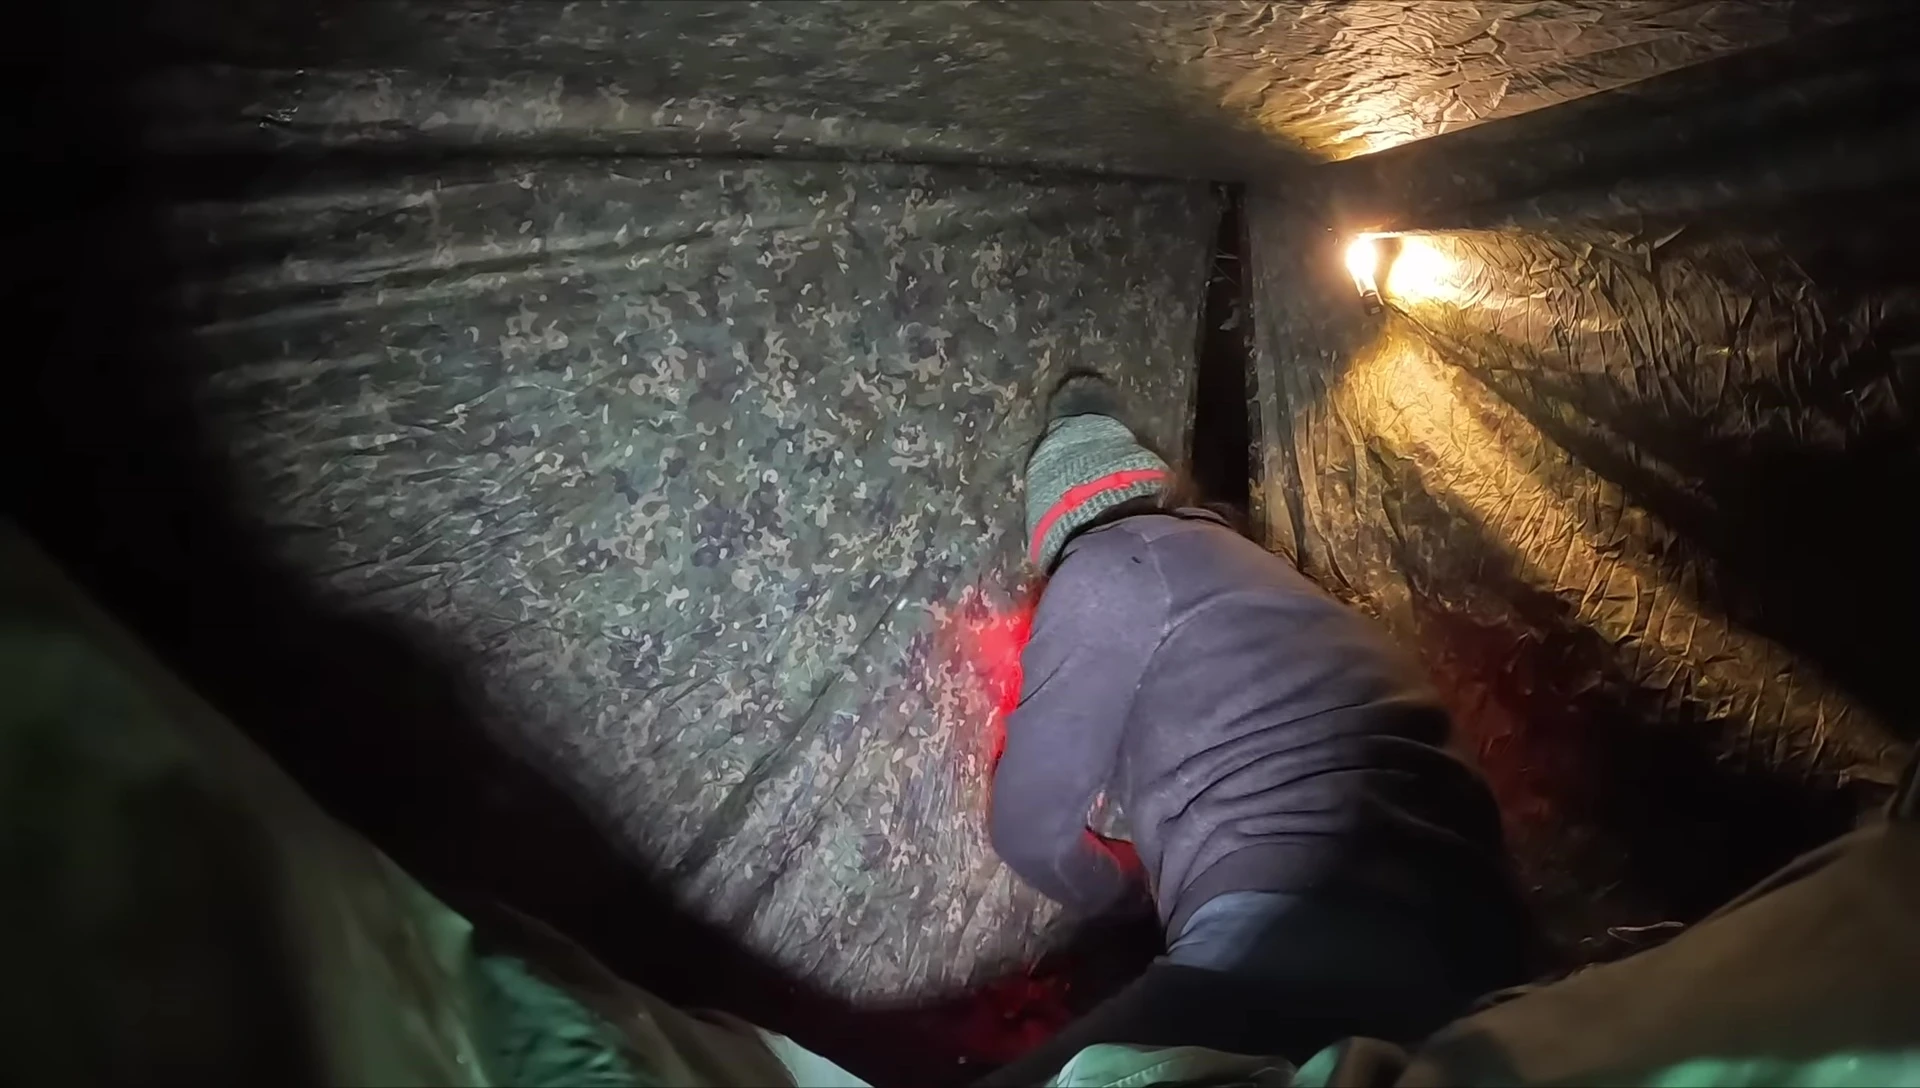
Despite the rain, the shelter remained comfortable and warm. Although there was some condensation, it was not excessive. The design efficiently prevented rain ingress.

This tarp configuration is a truly versatile and functional shelter, ideal for solo camping in various weather conditions. Its spaciousness, ease of setup, and protection from the elements make it an excellent option for outdoor adventurers.