This guide provides a comprehensive walkthrough for setting up a slanted tarp shelter using a large 10x10 tarp. Learn how to construct a sturdy and adaptable shelter perfect for various outdoor adventures, from casual camping to more demanding expeditions. We'll cover the essential steps, from initial tarp layout and anchoring to utilizing a center pole for optimal headroom and stability. This detailed instruction will empower you to build a reliable and comfortable shelter regardless of weather conditions.Whether you're a seasoned bushcrafter or a beginner, mastering tarp setup is a crucial skill for any outdoor enthusiast. This guide emphasizes the importance of careful planning and execution, especially with larger tarps which require more attention to detail. We'll equip you with the knowledge and techniques to create a customized slanted tarp shelter that offers ample protection and comfort, providing a safe and dry haven in the wilderness. Let's dive in and explore the possibilities of this versatile shelter system.
Pros And Cons
- Offers a lot of protection in various conditions, including breezy and windy weather.
- Can be easily altered to fit the user's needs by adjusting side points.
- Versatile setup adaptable to different environments, even without trees (using sticks).
- Large size makes it challenging to pull taut.
- Fabric stretches, requiring adjustments to maintain shape and stability.
- May require additional support (center pole and support branch) for optimal performance.
Read more: 5 Best PVC Camping Tarps for Your Next Adventure
Laying the Foundation: Preparing the Tarp
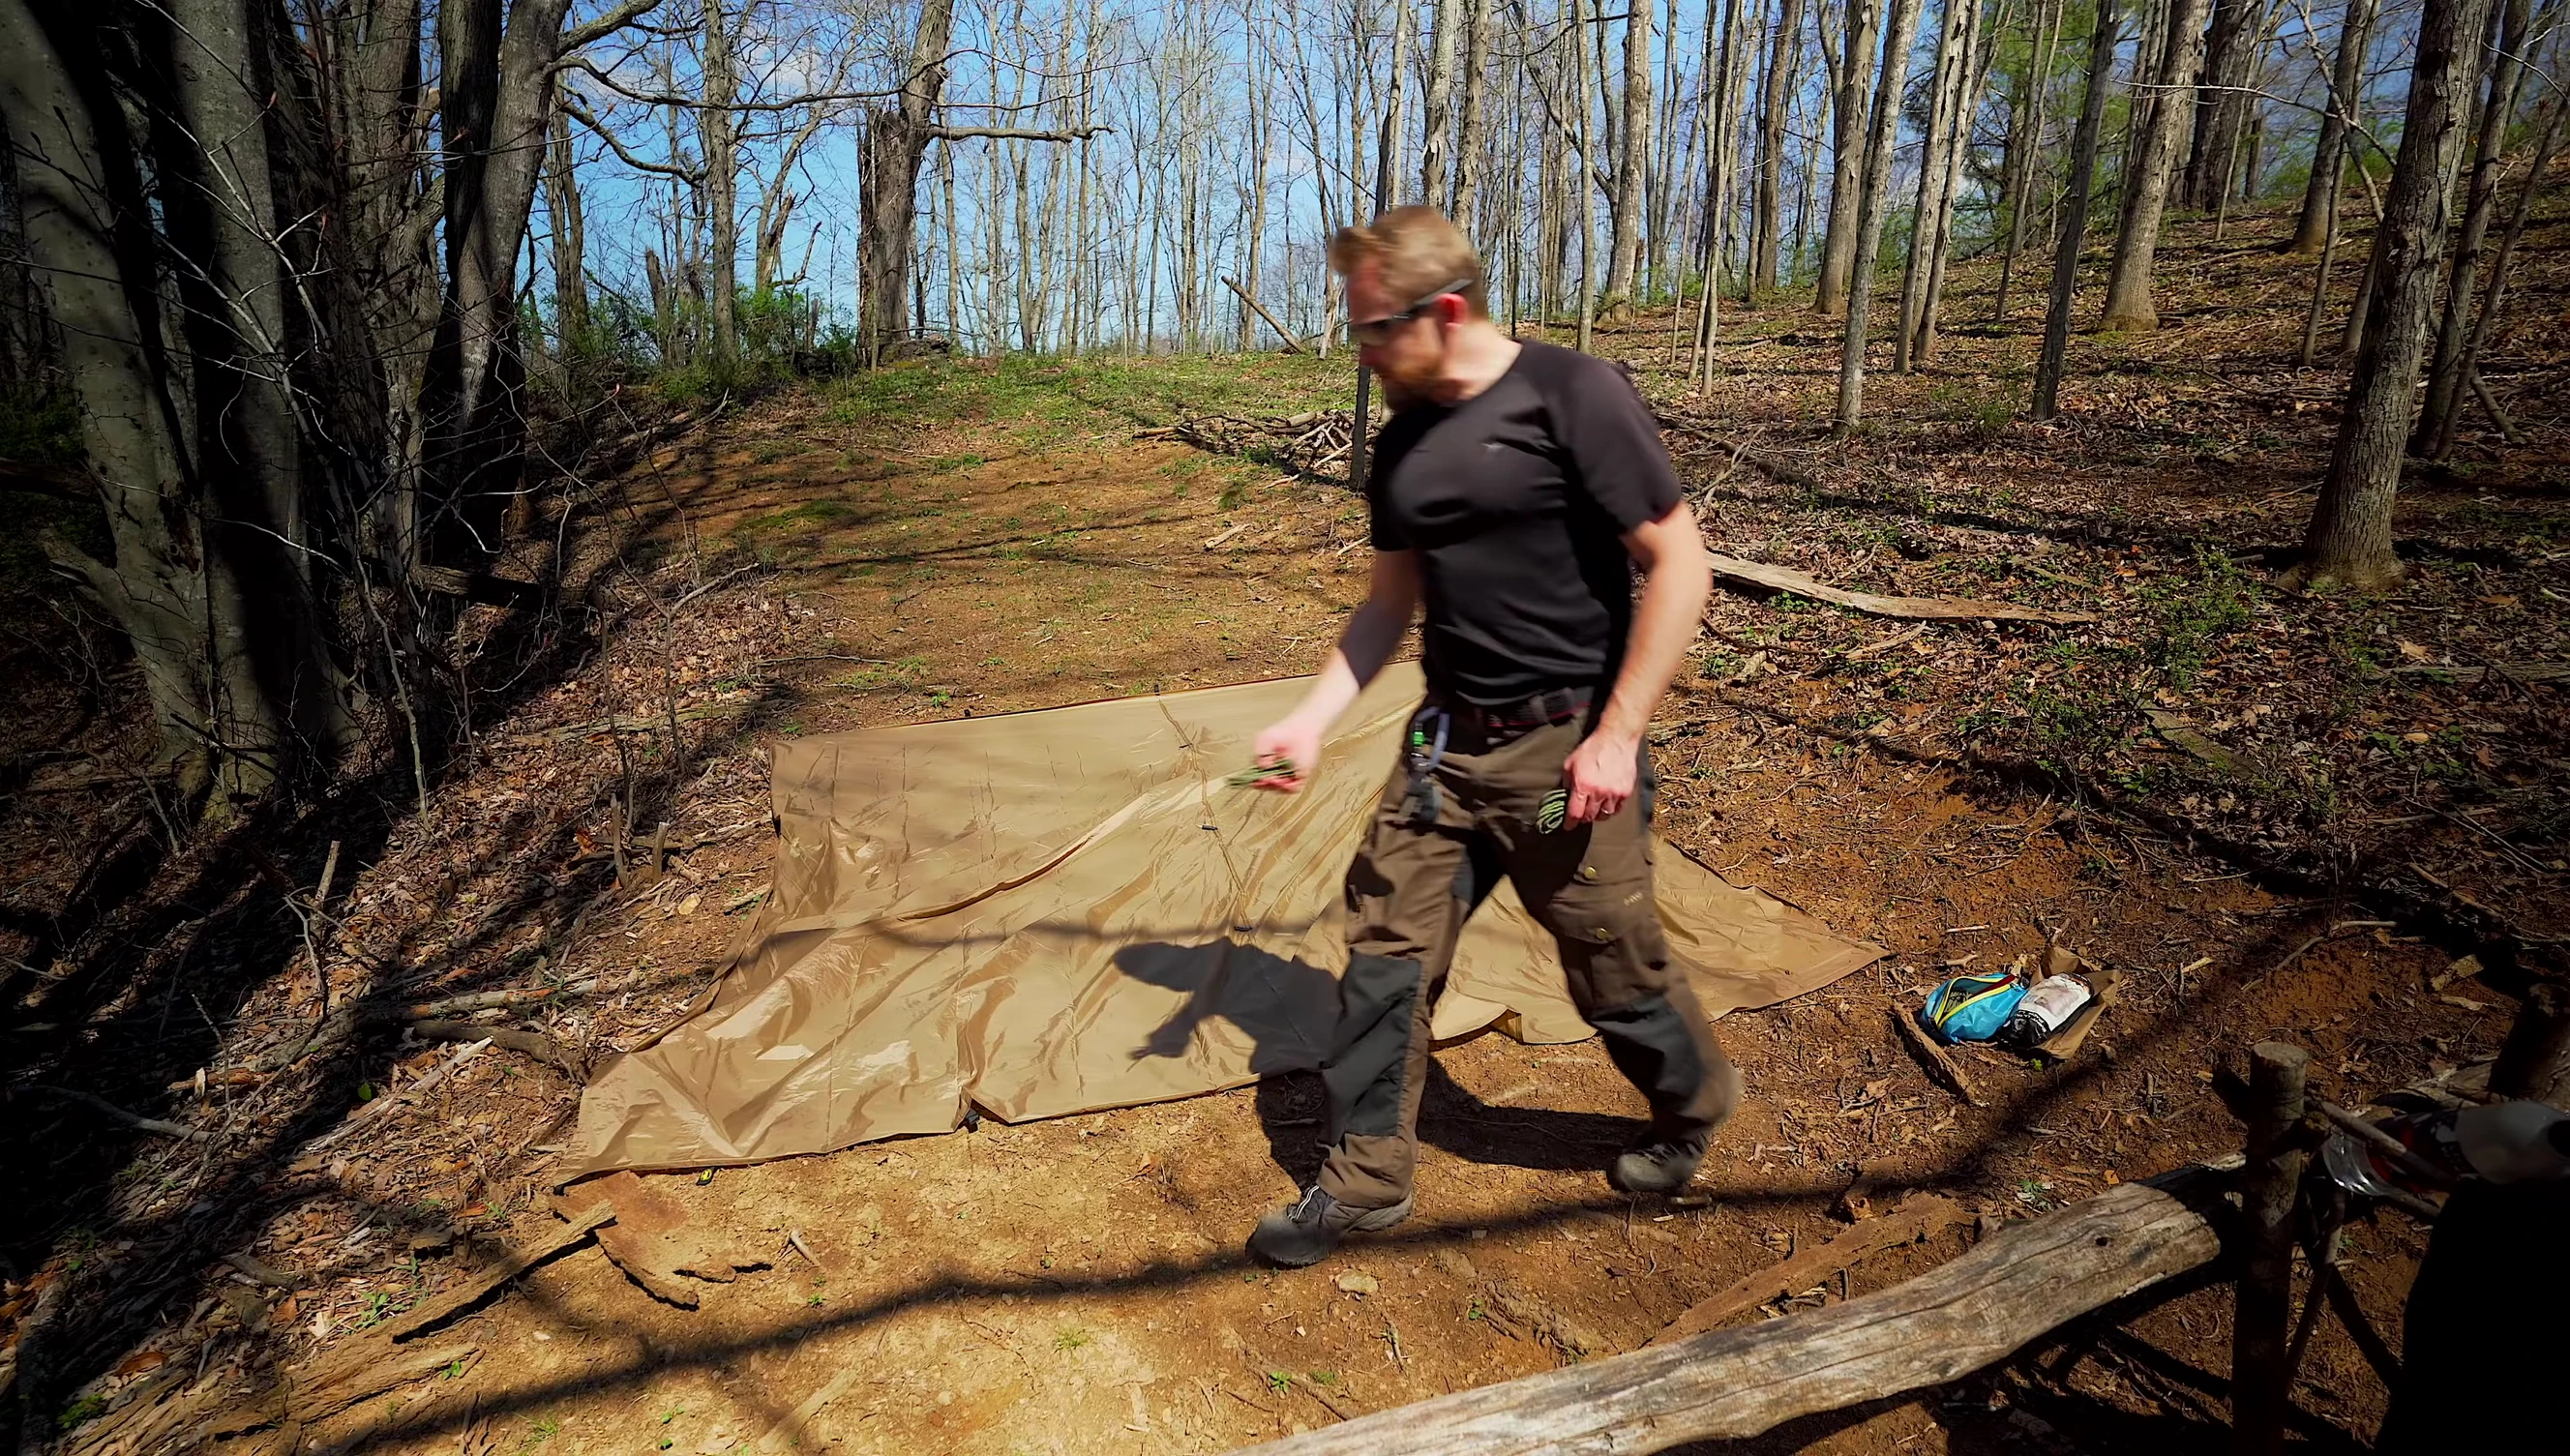
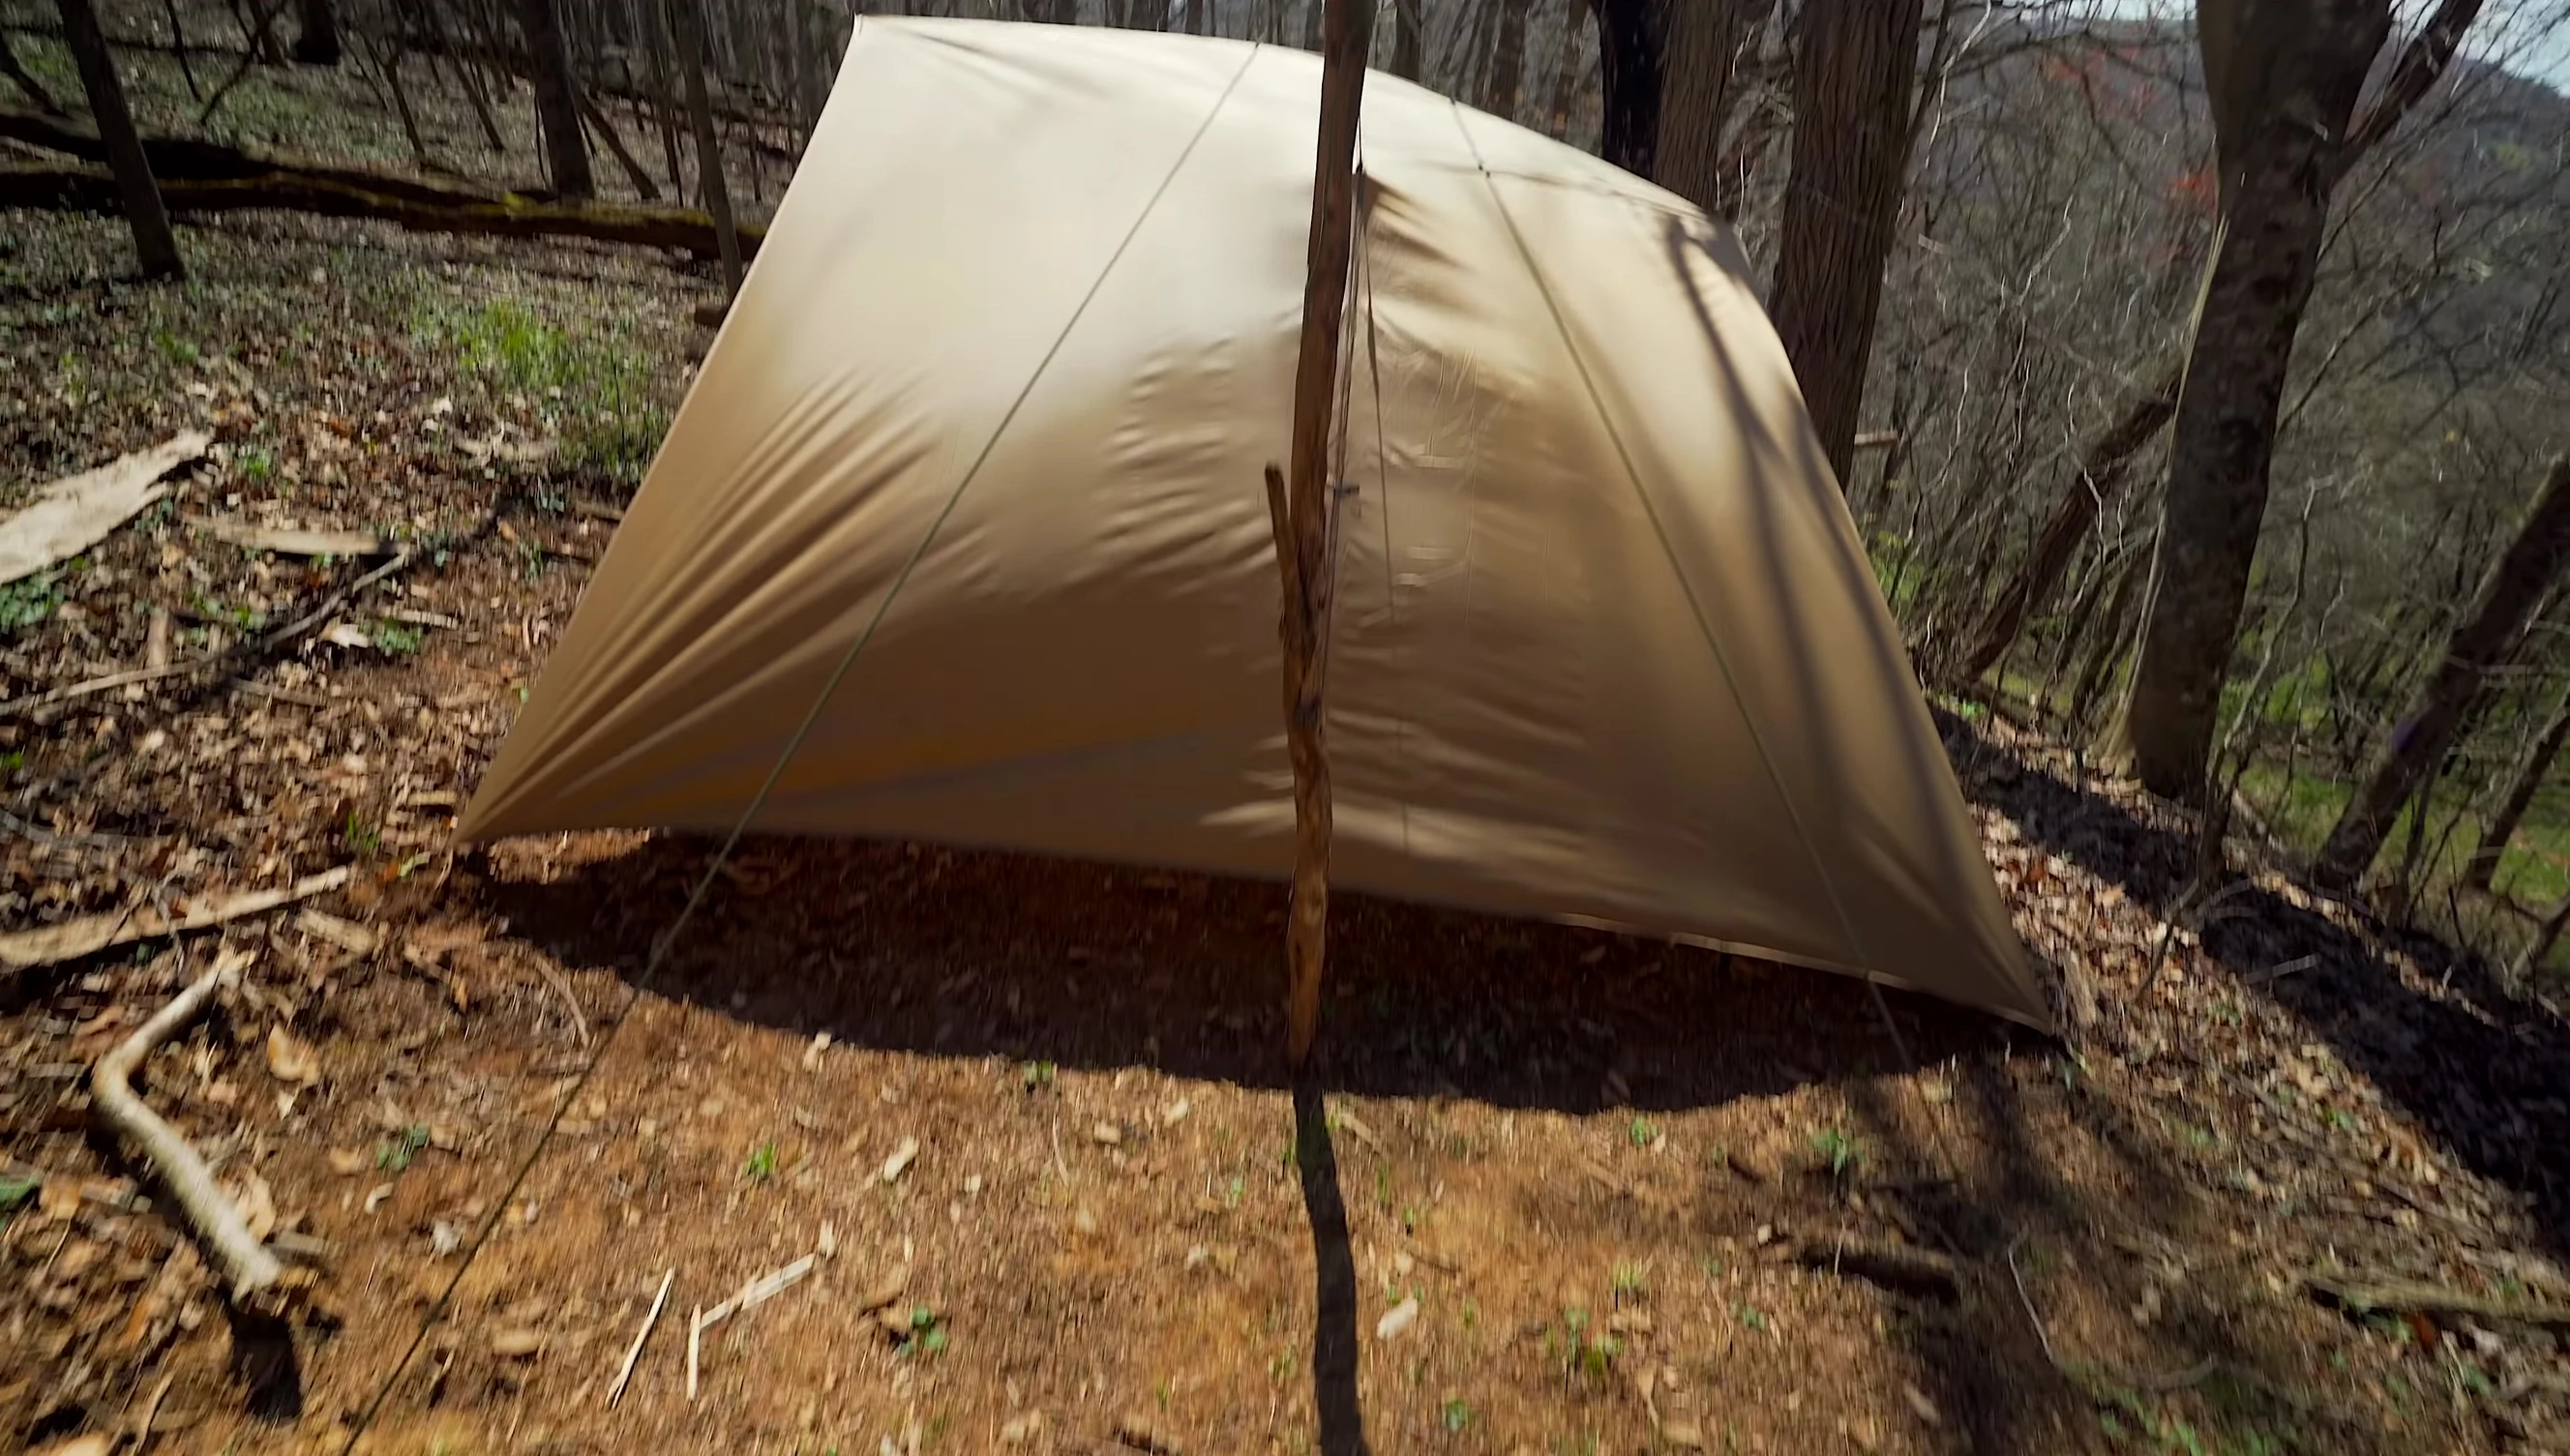
Begin by laying your 10x10 tarp flat on the ground. This size offers ample space, but the principles apply to tarps of various dimensions. Remember, larger tarps demand more careful planning and setup than smaller ones.

For this slanted tarp setup, we'll secure the back and raise the front. You'll need suitable anchoring points—trees are ideal, but sturdy stakes or large sticks work just as well in their absence.
Stake out both sides of the tarp, ensuring a taut line. This will provide a stable base for the rest of your shelter construction.
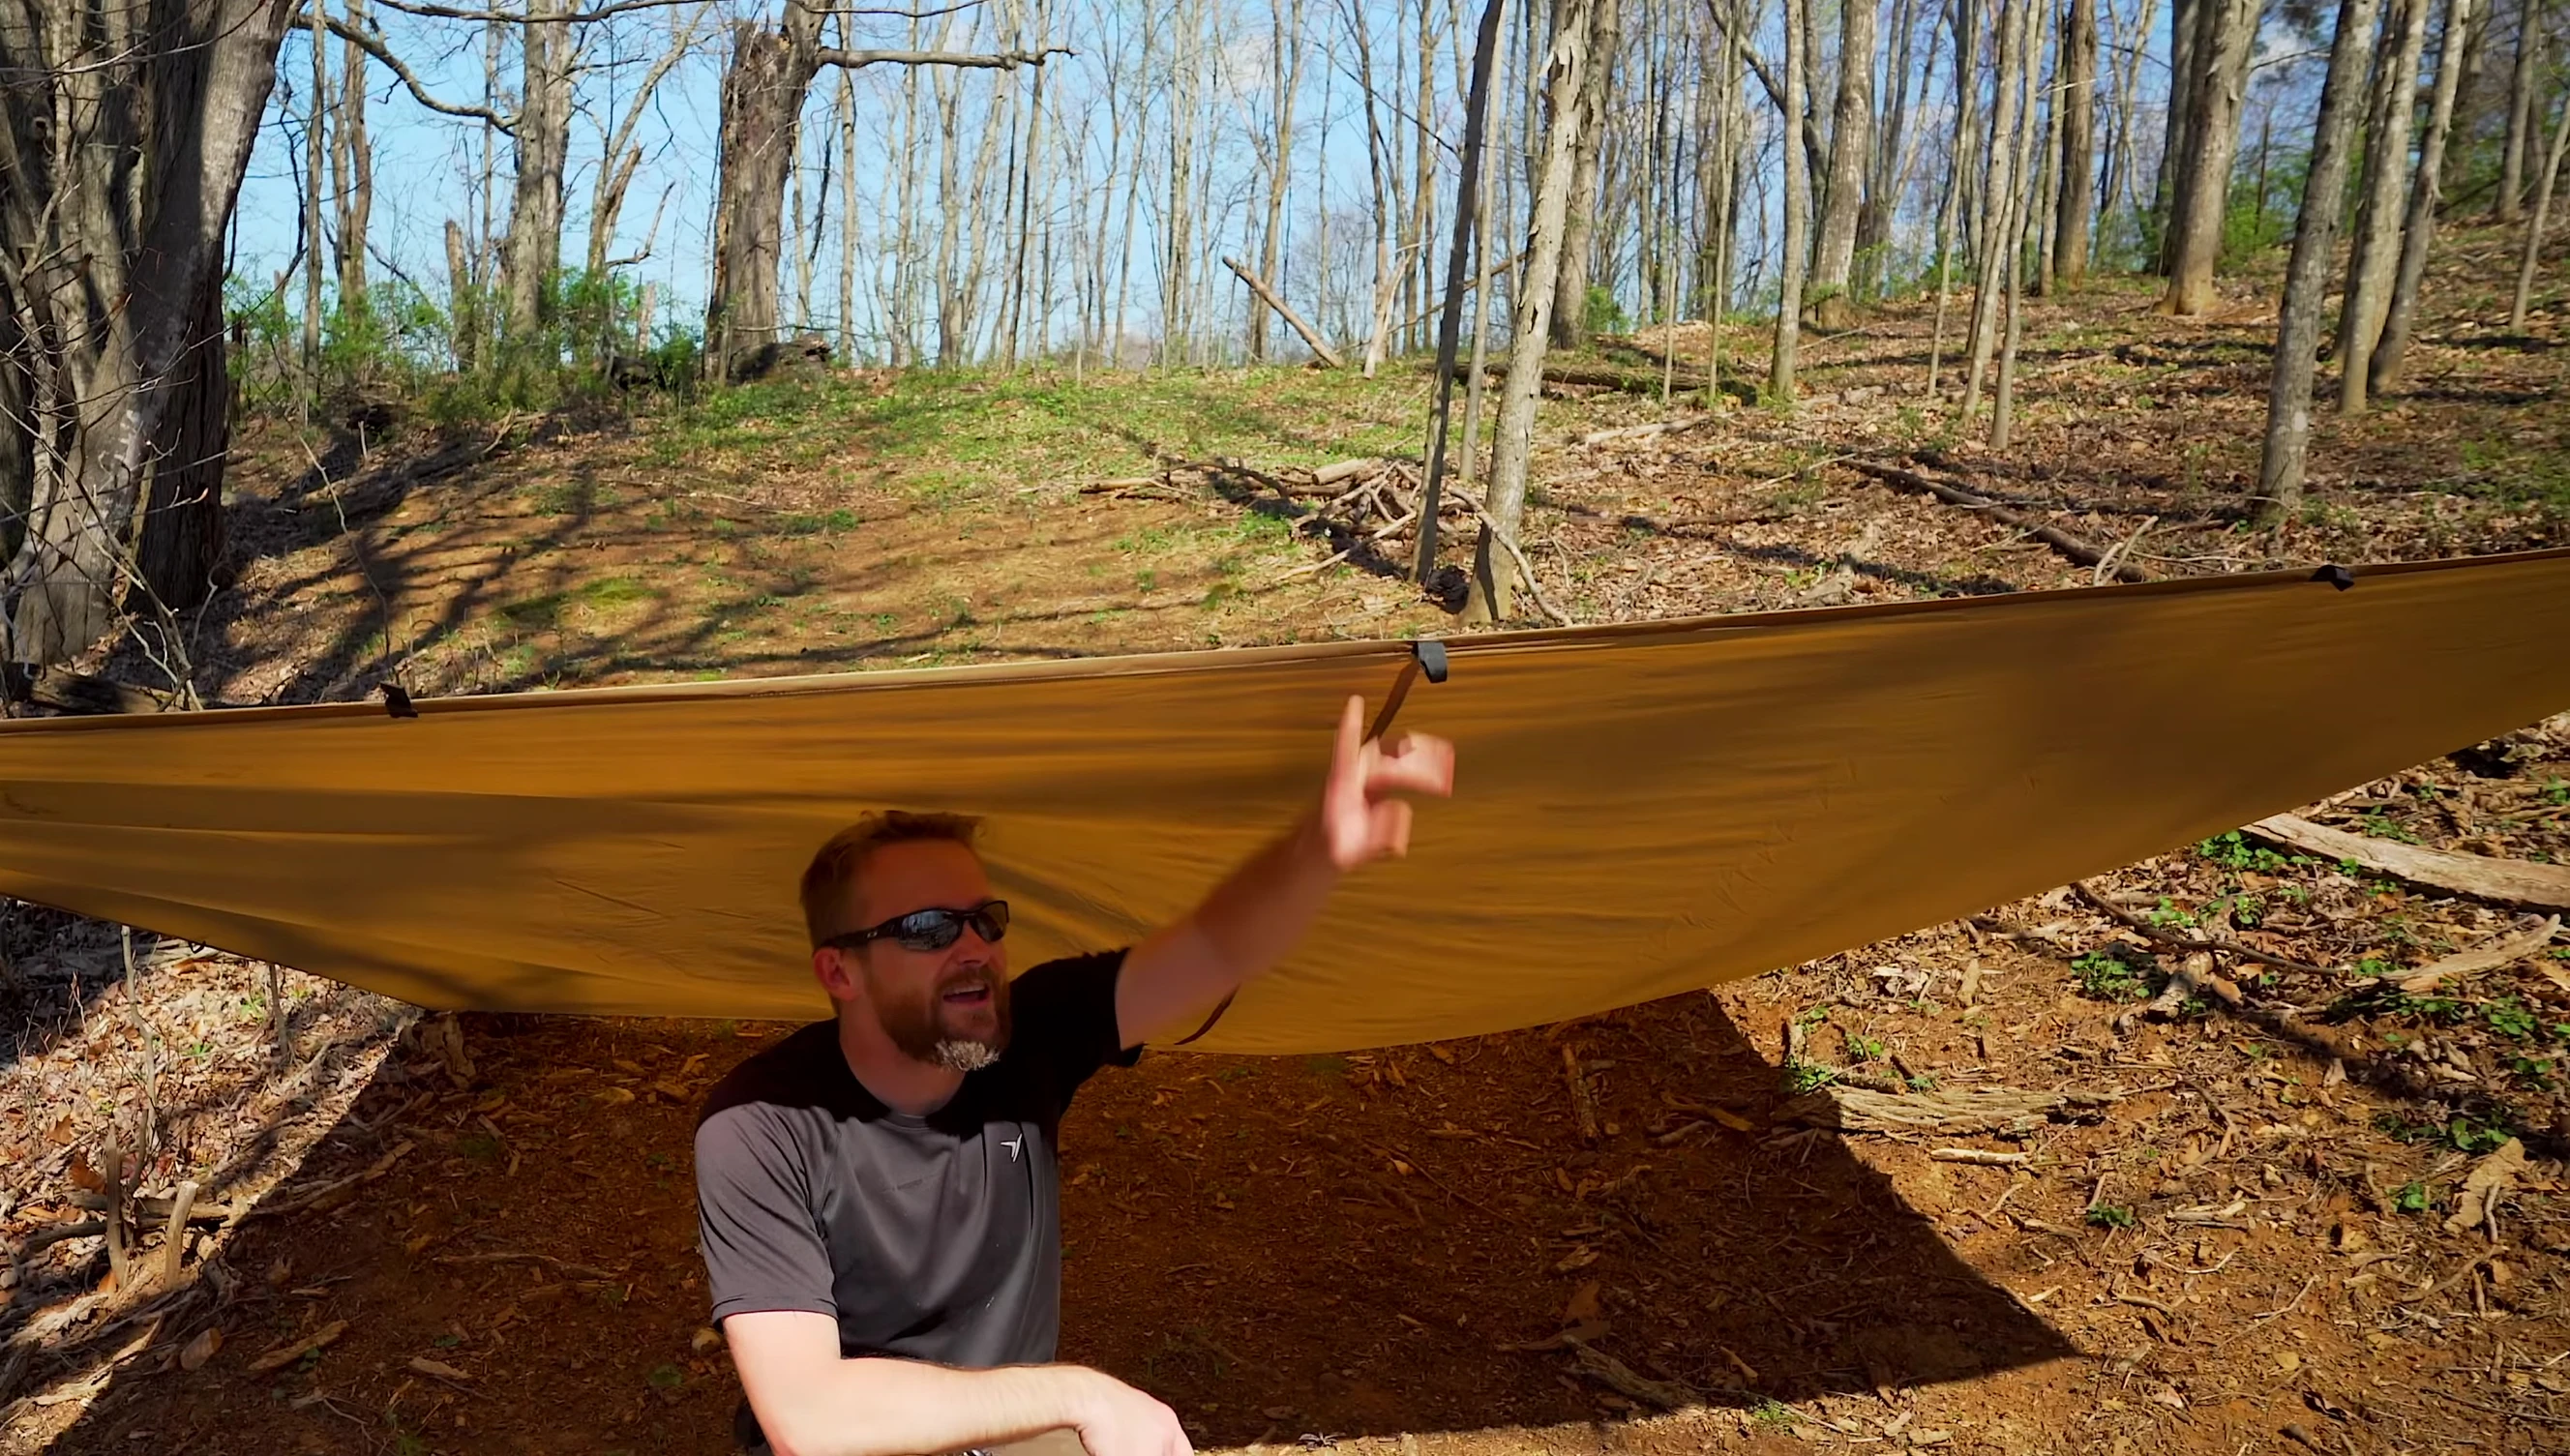
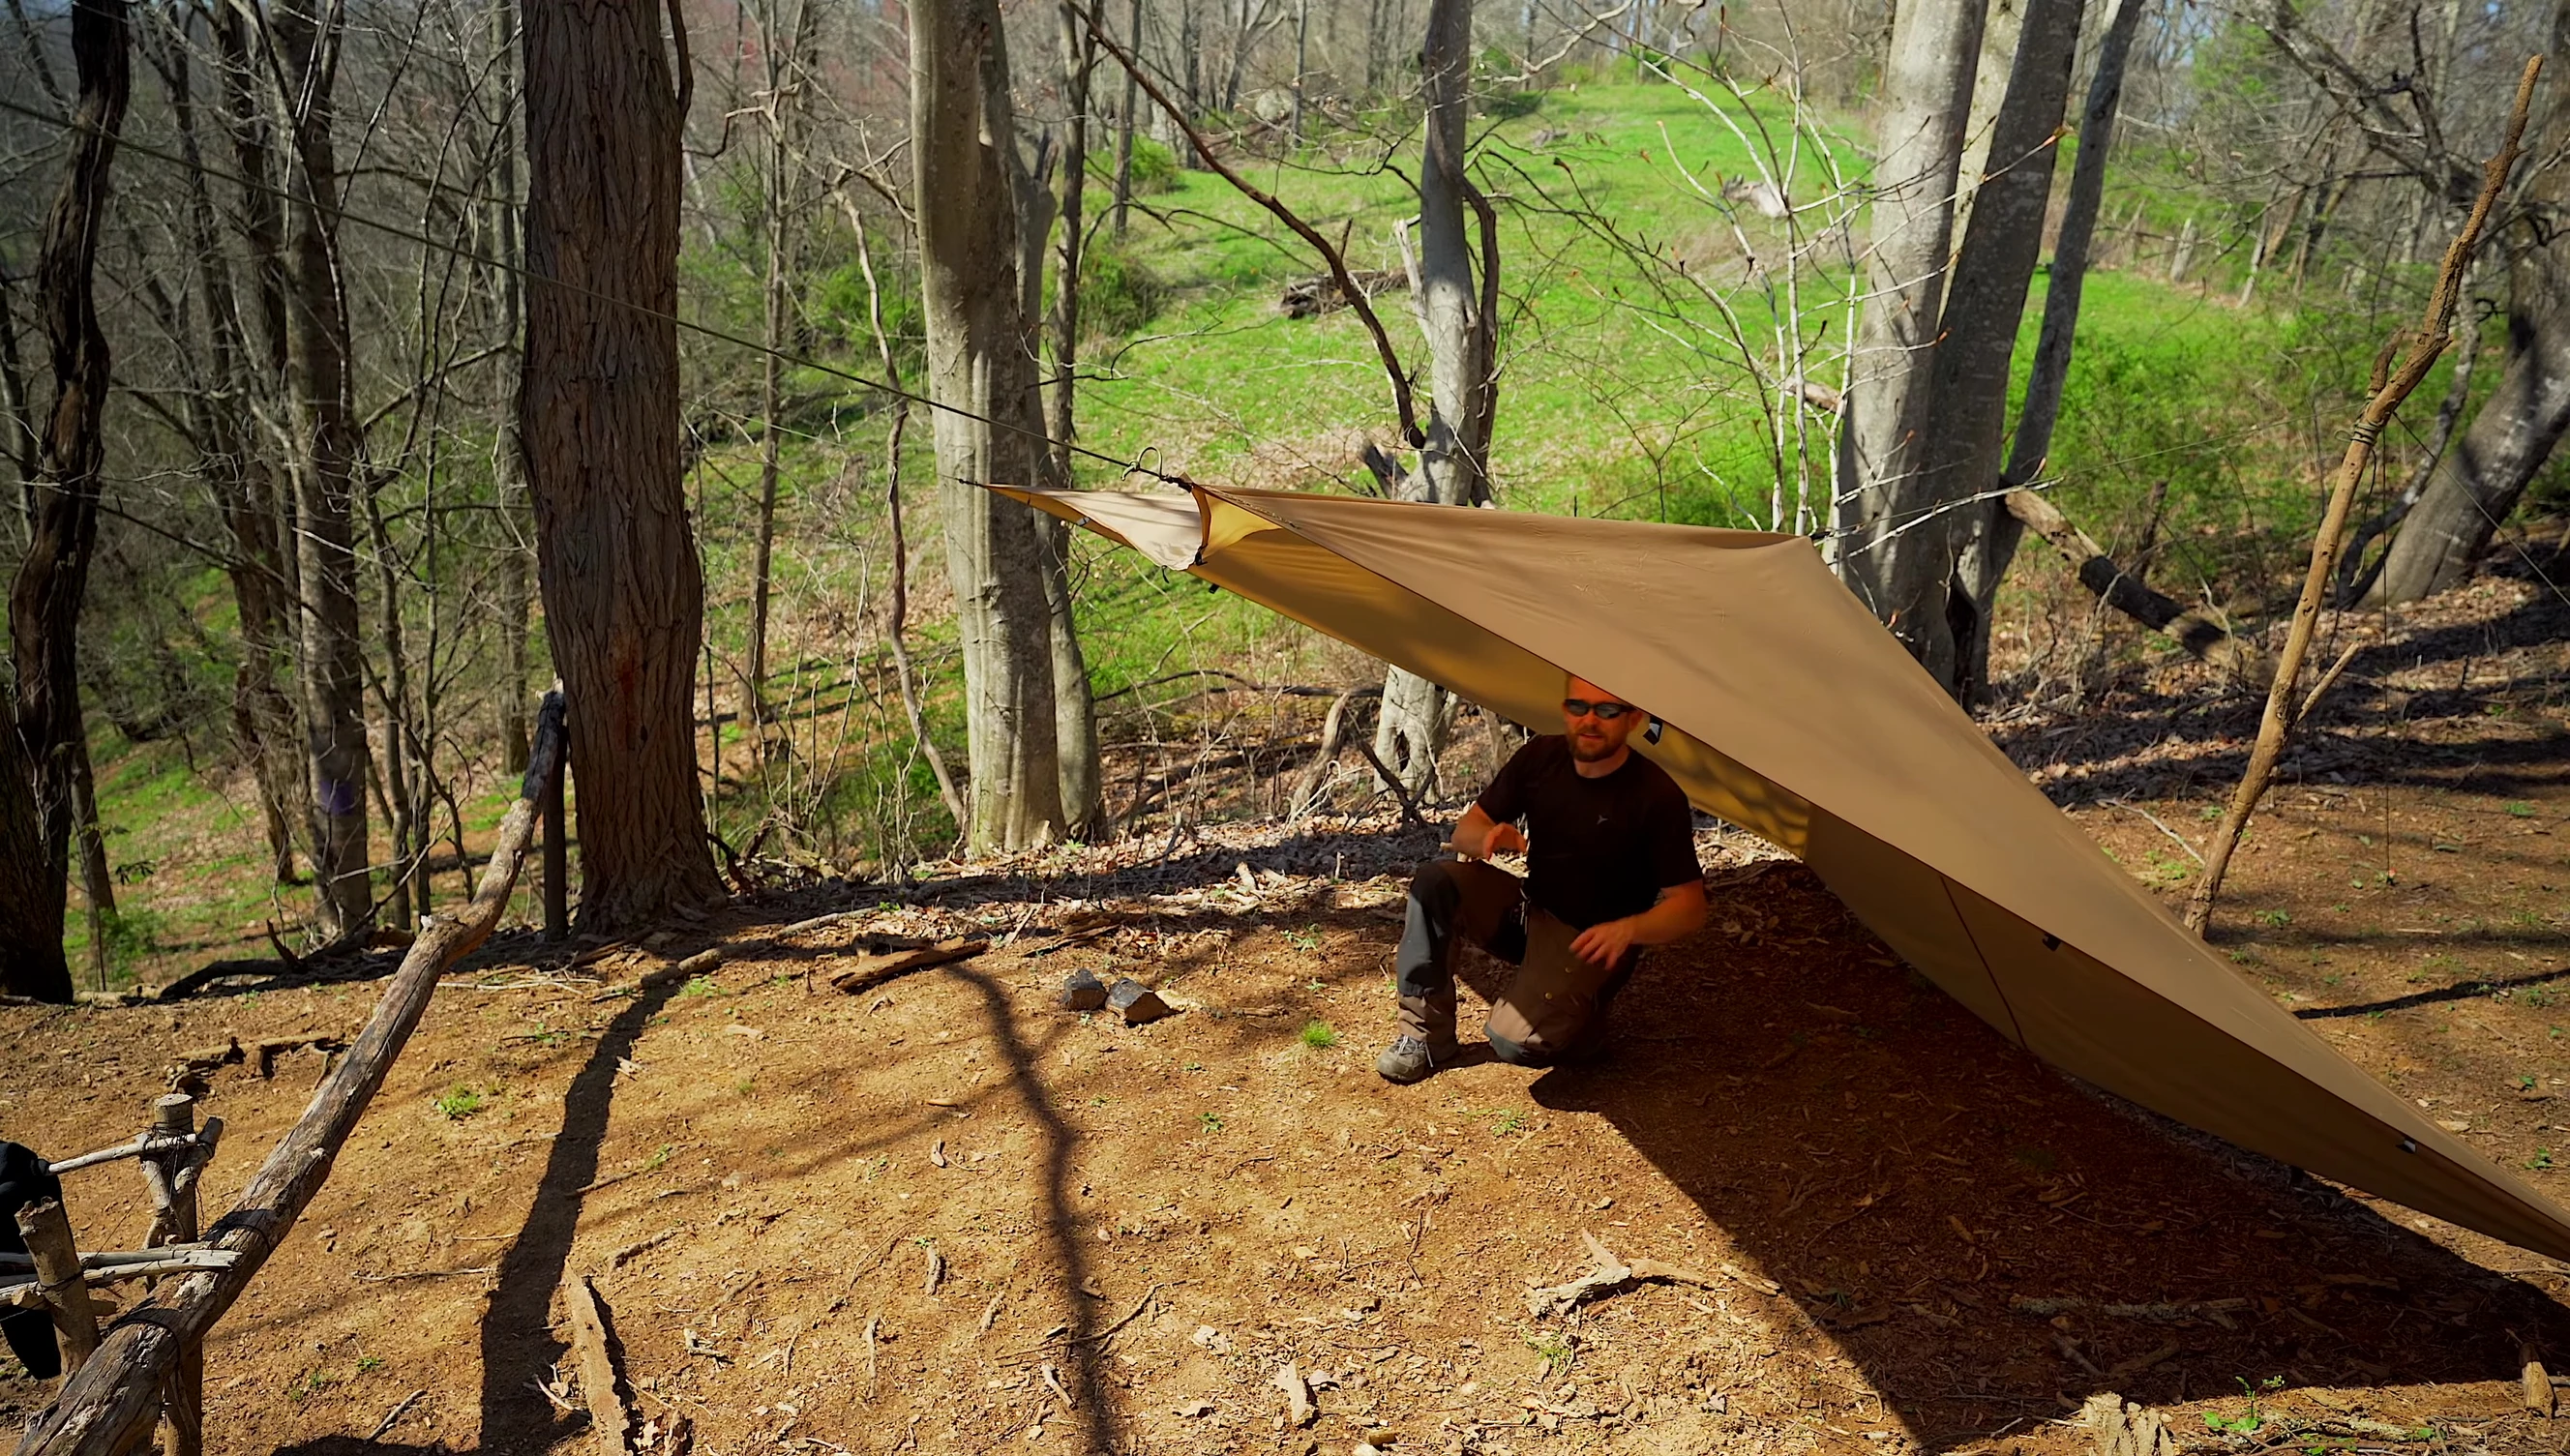
Raising the Front and Guy Lines
Now, secure the front corners of the tarp to your chosen anchor points (trees or stakes). I prefer using slip knots for this, allowing for easy adjustment and removal.
Guy out each of the front corners to further stabilize the structure and prevent sagging. Tighten the guy lines to create a slanted, secure shelter.
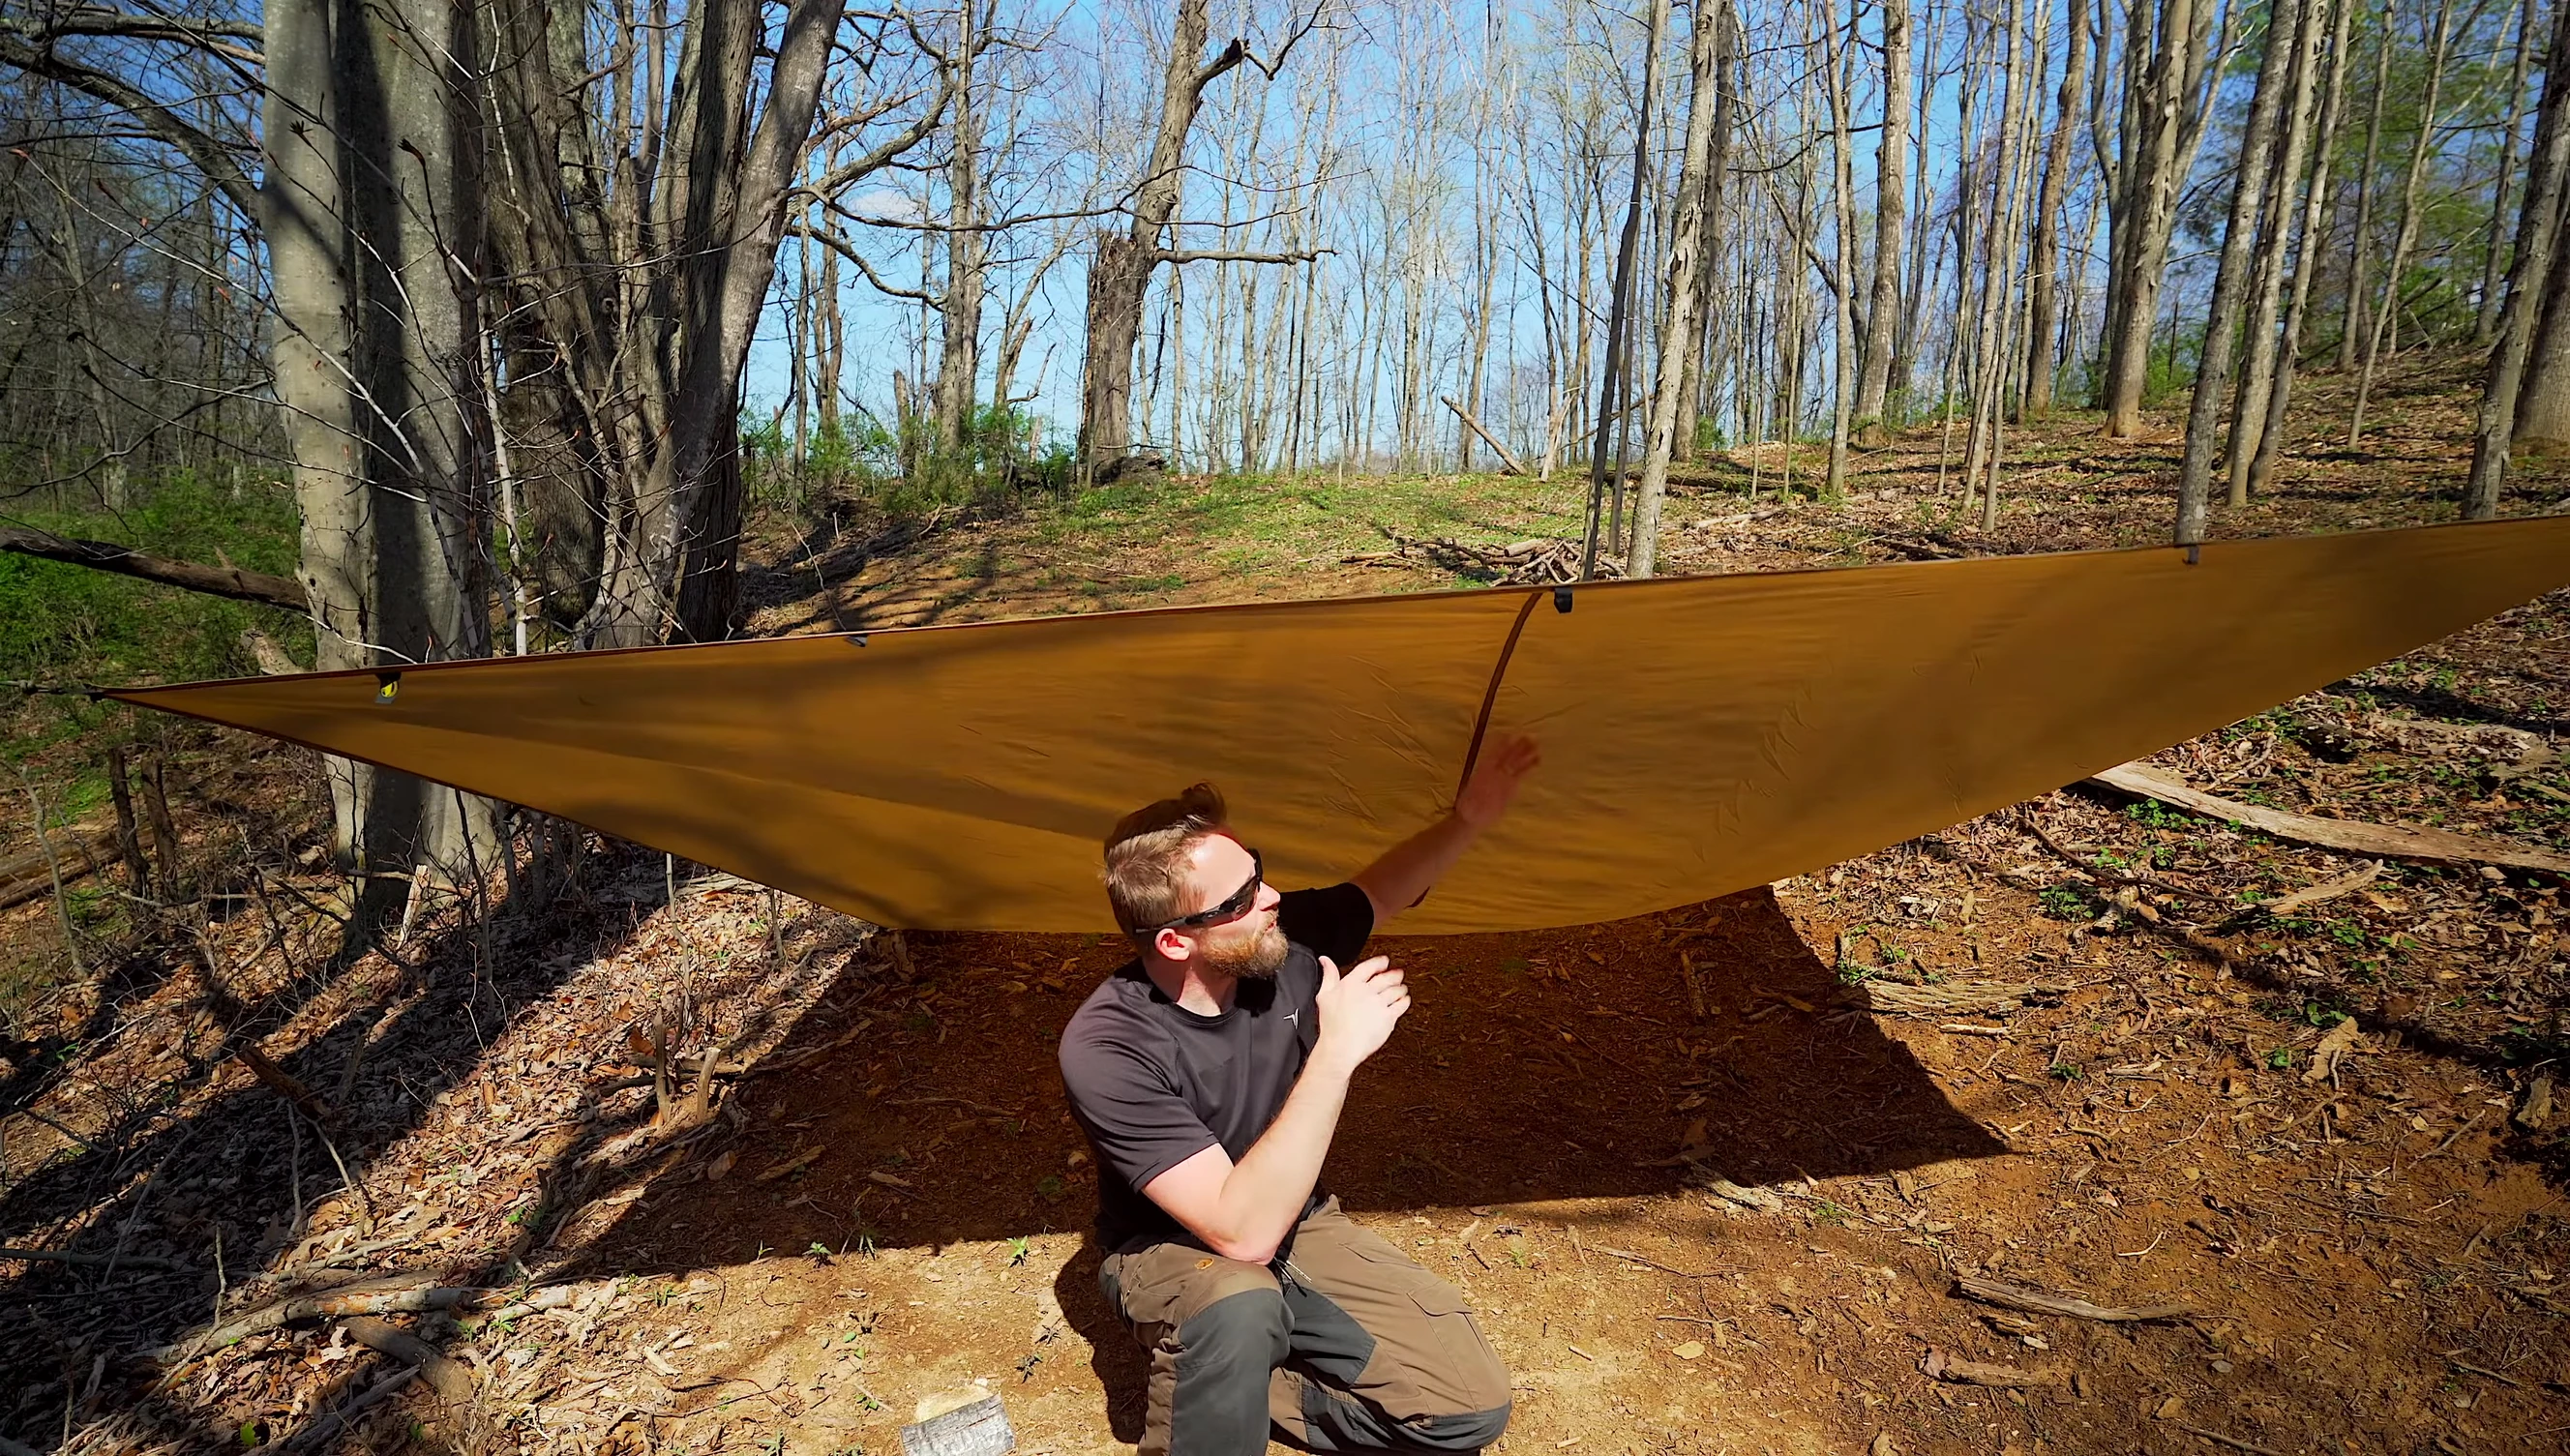
This initial setup creates a basic lean-to, effective in calm conditions. However, wind can affect its stability.
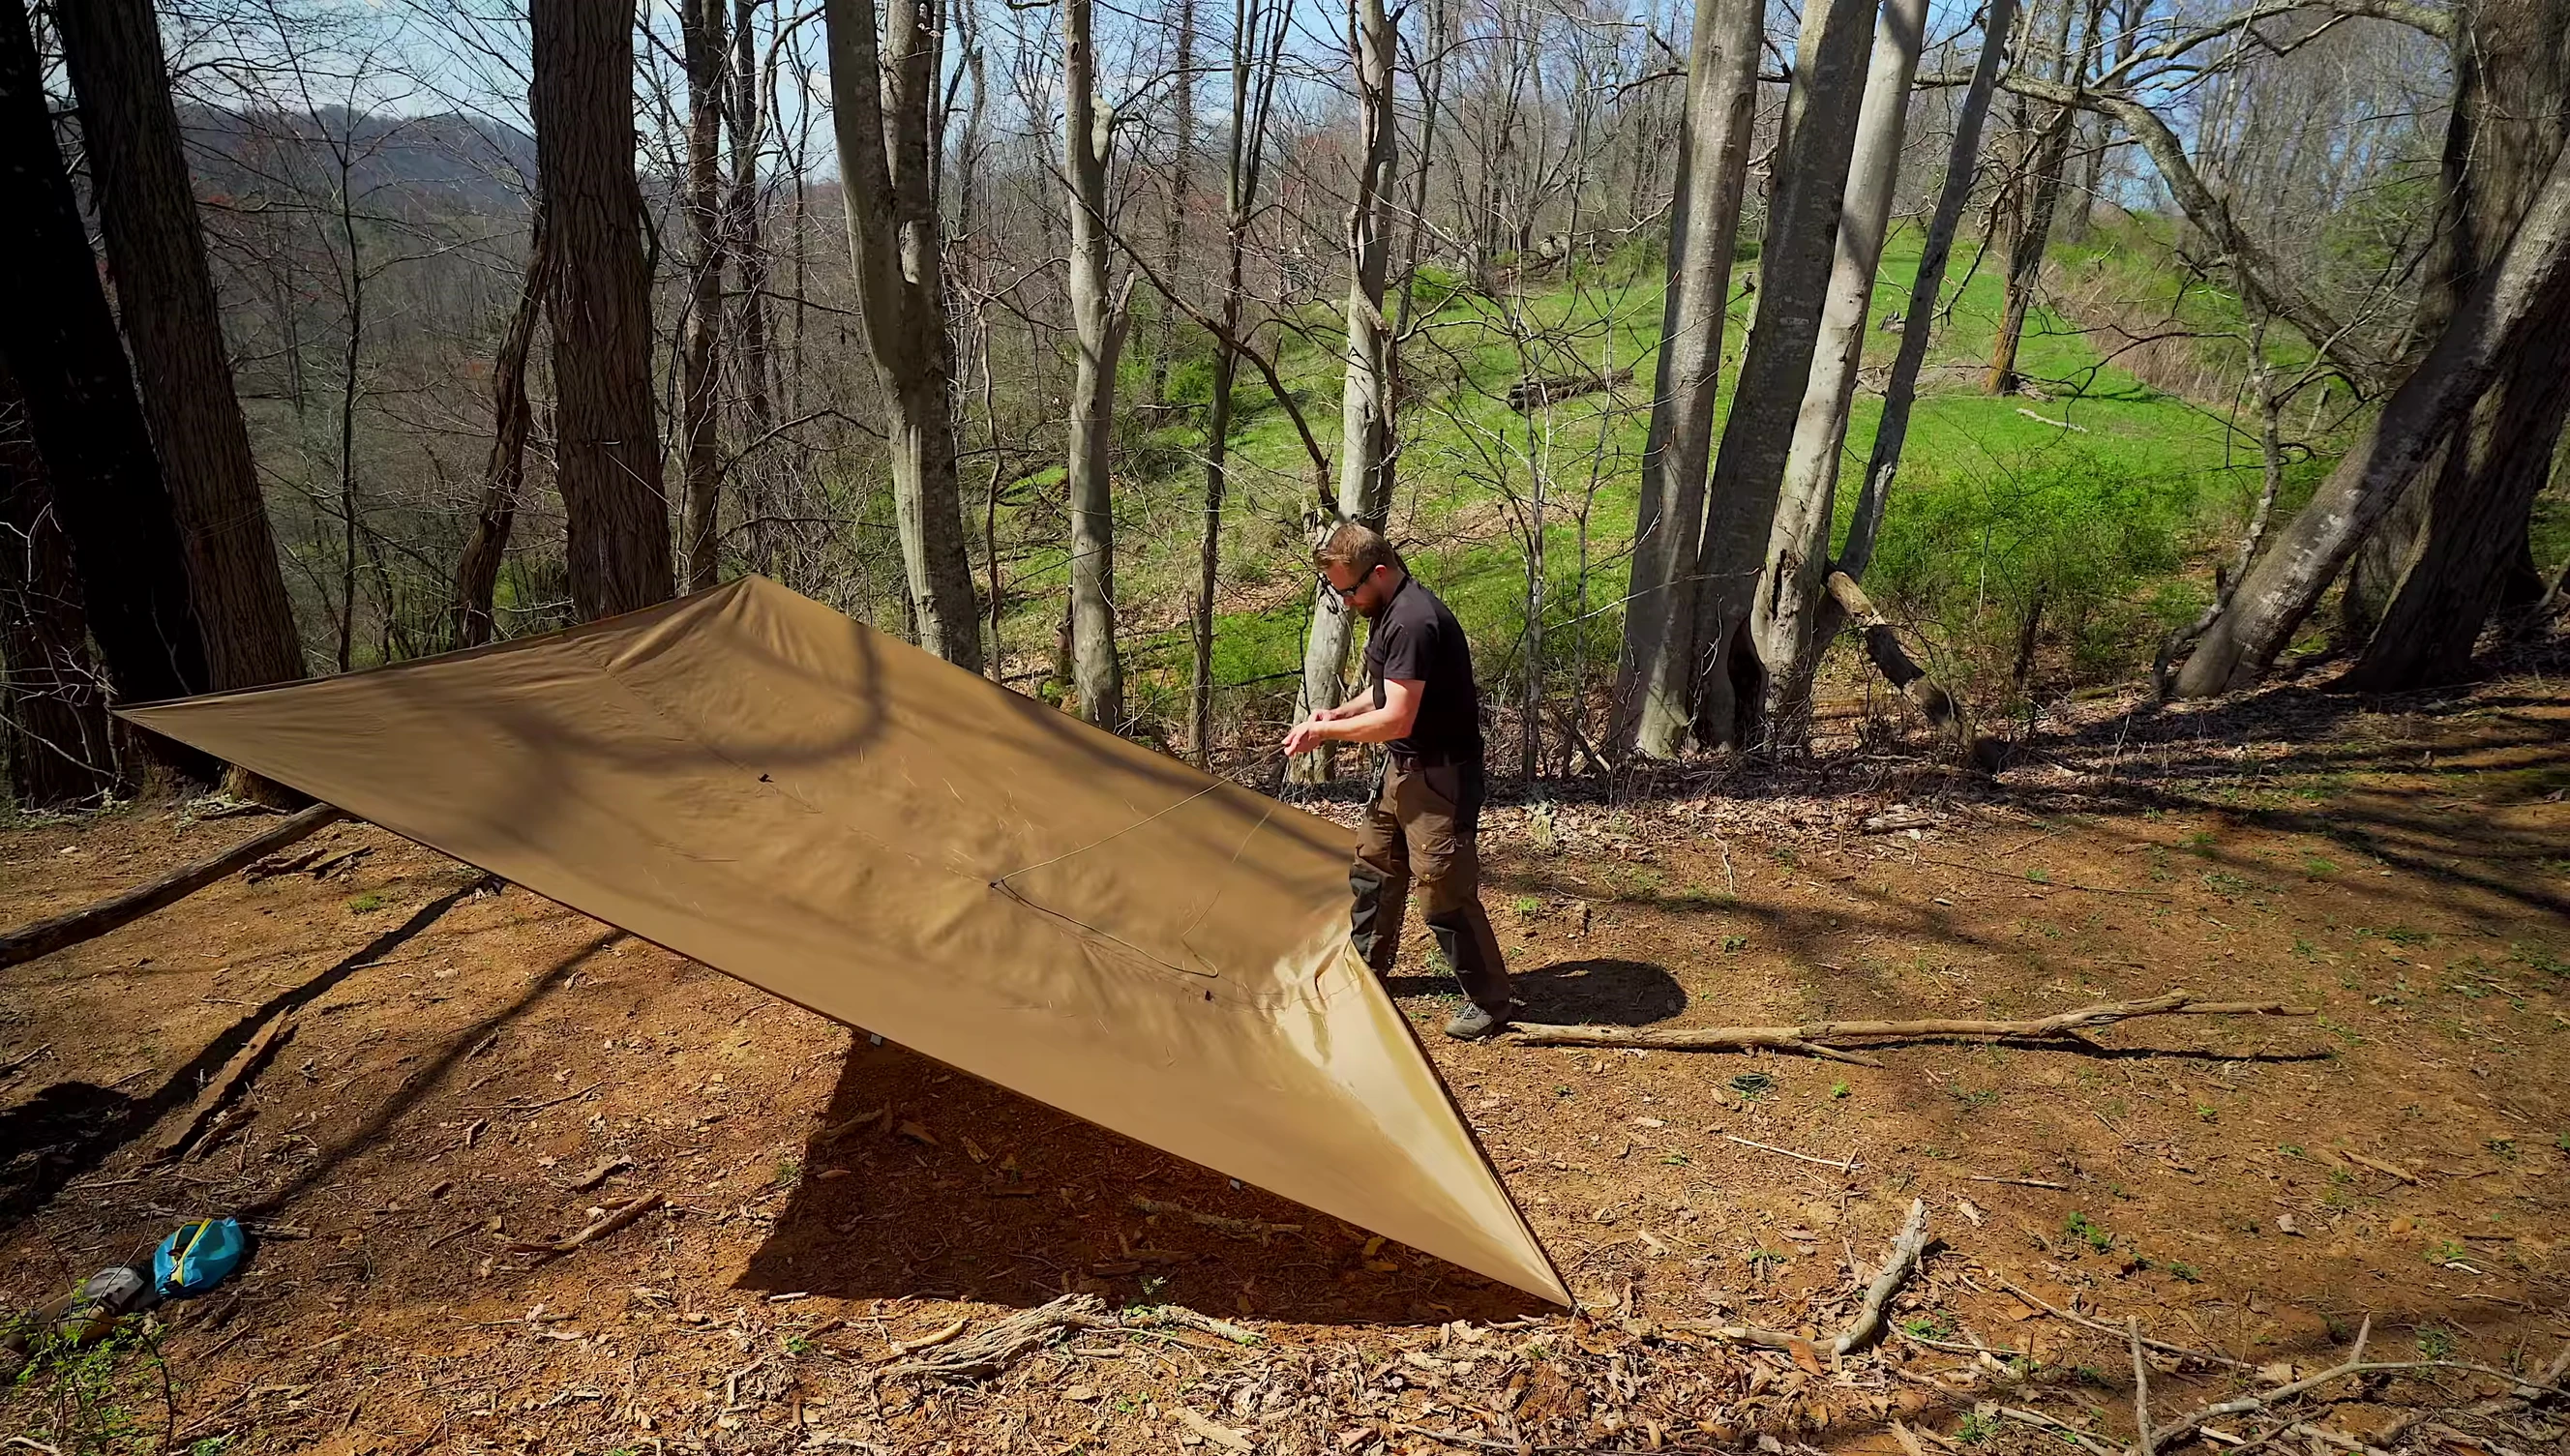
Adding a Center Pole for Superior Stability
To elevate the tarp and create more headroom and stability, we'll add a center support pole. This pole is crucial for preventing the tarp from sagging onto you.
Position the pole at the center of the back of the tarp and secure it. You might need to experiment with the pole's placement to achieve the desired height and tension.

The additional support provides a much-needed lift to the tarp, creating significant improvement in headroom and overall shelter performance. Consider using a sturdy branch or stake here.
Adapting to Weather Conditions: Side Adjustments
The tarp's configuration can be easily modified depending on weather conditions. In strong winds or heavy rain, adjusting the side points lowers the tarp’s sides
Lowering the side points increases the shelter's protection by reducing wind and rain exposure.
This adaptable design makes this slanted tarp setup exceptionally versatile and effective in various environments.
Conclusion: A Versatile and Effective Tarp Shelter
This slanted tarp setup, using a center pole for support, provides ample protection and headroom in various conditions. The ability to adjust side points enhances its adaptability.
Consider the conditions when choosing your setup. Large tarps require careful planning and skill. However, the benefits of this type of tarp shelter are apparent.
This setup stands as a testament to the versatility of large tarps in creating effective and customizable outdoor shelters.