Setting up your new Sherpa Camp Table & Organizer shouldn't be a struggle. This comprehensive guide provides step-by-step instructions, ensuring a smooth and efficient assembly process. We'll walk you through each stage, from unpacking the components and identifying the subtle differences between seemingly identical parts, to securely attaching the legs and tabletop. Clear visuals are not provided, but the detailed text will guide you effortlessly through the entire assembly. Even the trickiest parts, such as securing the top corners, are addressed with helpful tips to avoid frustration.This guide covers everything from the initial layout of the components to the final securing of the tabletop and the efficient packing method for storage. Learn how to utilize all the features, including the waterproof storage bin, and maximize the table's organizational capabilities. By the end, you'll be confident in setting up and packing away your Sherpa Camp Table, ready to enjoy its convenience and ample storage on your next camping adventure.
Pros And Cons
- Portable
- Easy to pack up
- Keeps family organized at camp
- Extendable legs
- Waterproof blue box for cooler or washing dishes
Read more: Top 5 Square Camping Tables for Your Next Adventure
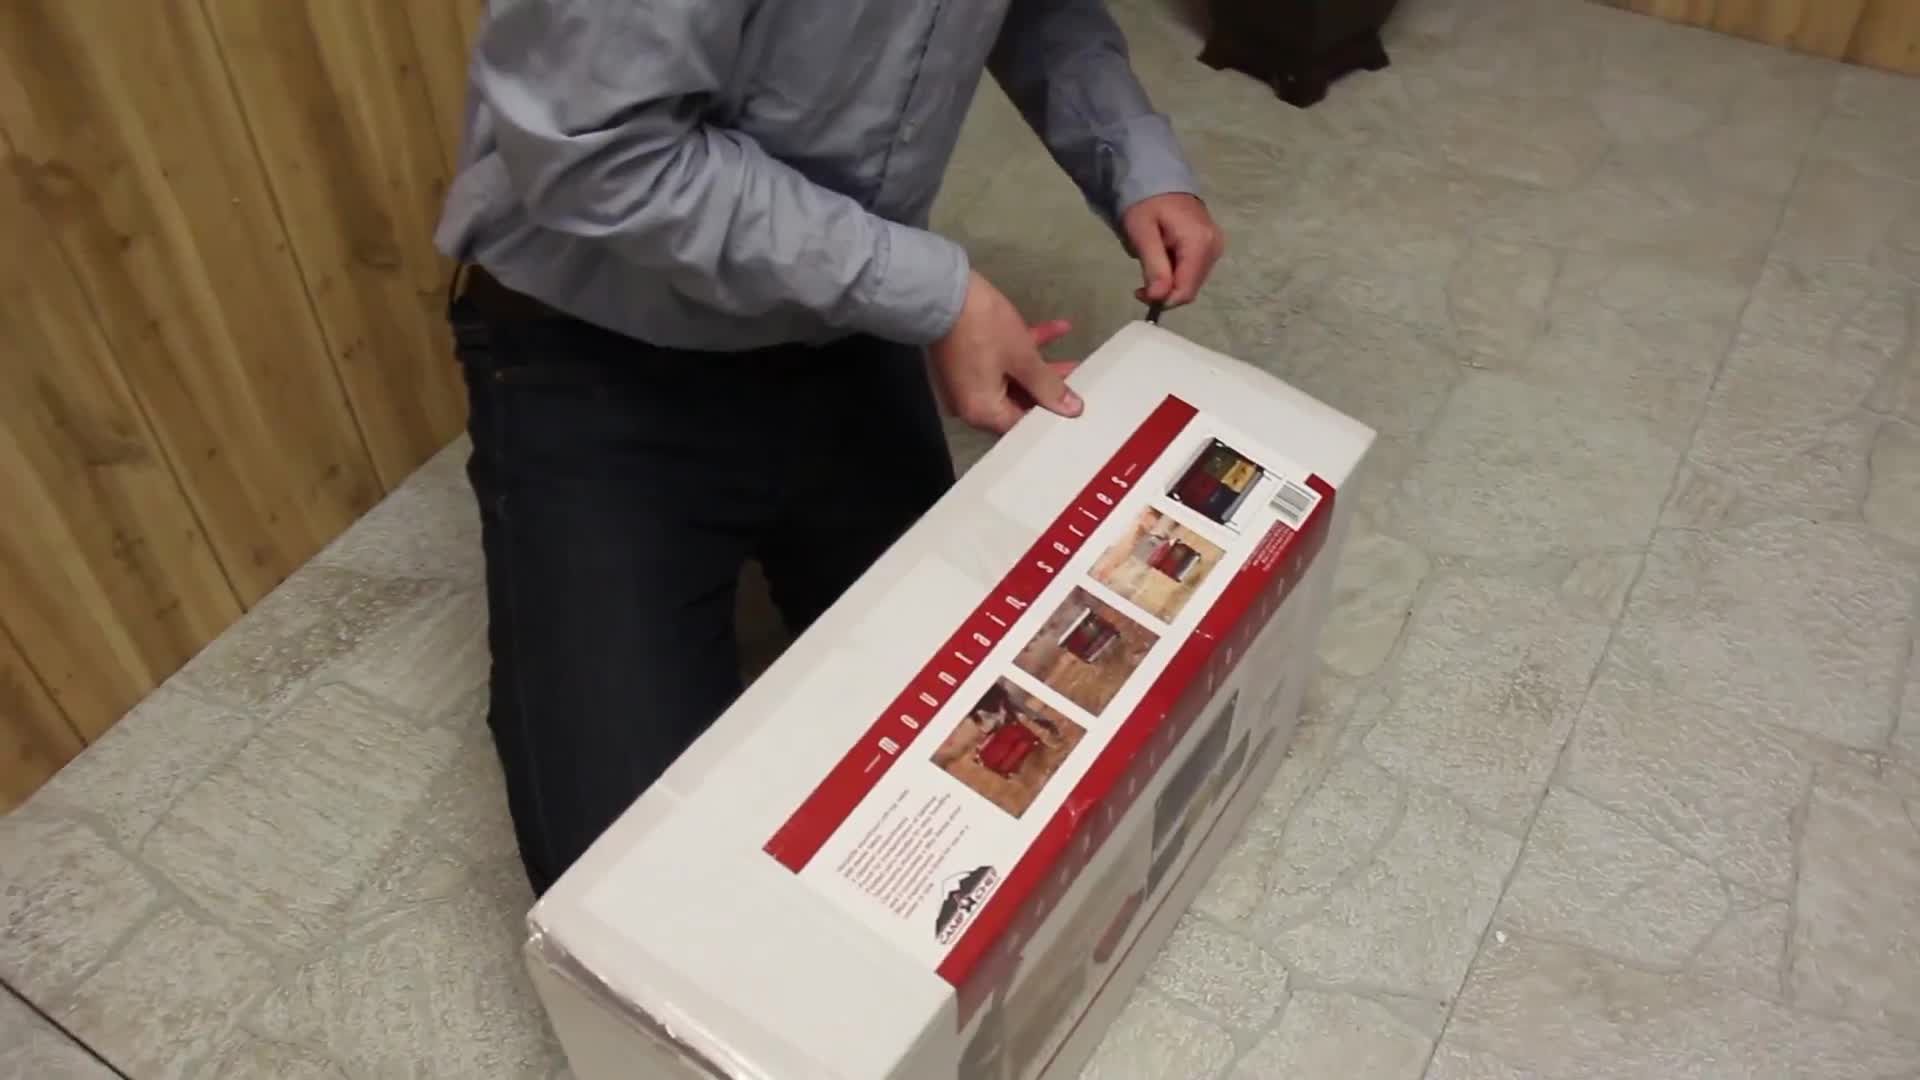
Unpacking and Initial Organization
Begin by removing all components from the carrying bag. Lay them out on a flat surface for easy access and identification. This helps you visualize the assembly process and ensures you have all necessary parts.
Keep the original carrying bags inside the main bag. This helps maintain the bag's shape during assembly and makes packing up much easier later.
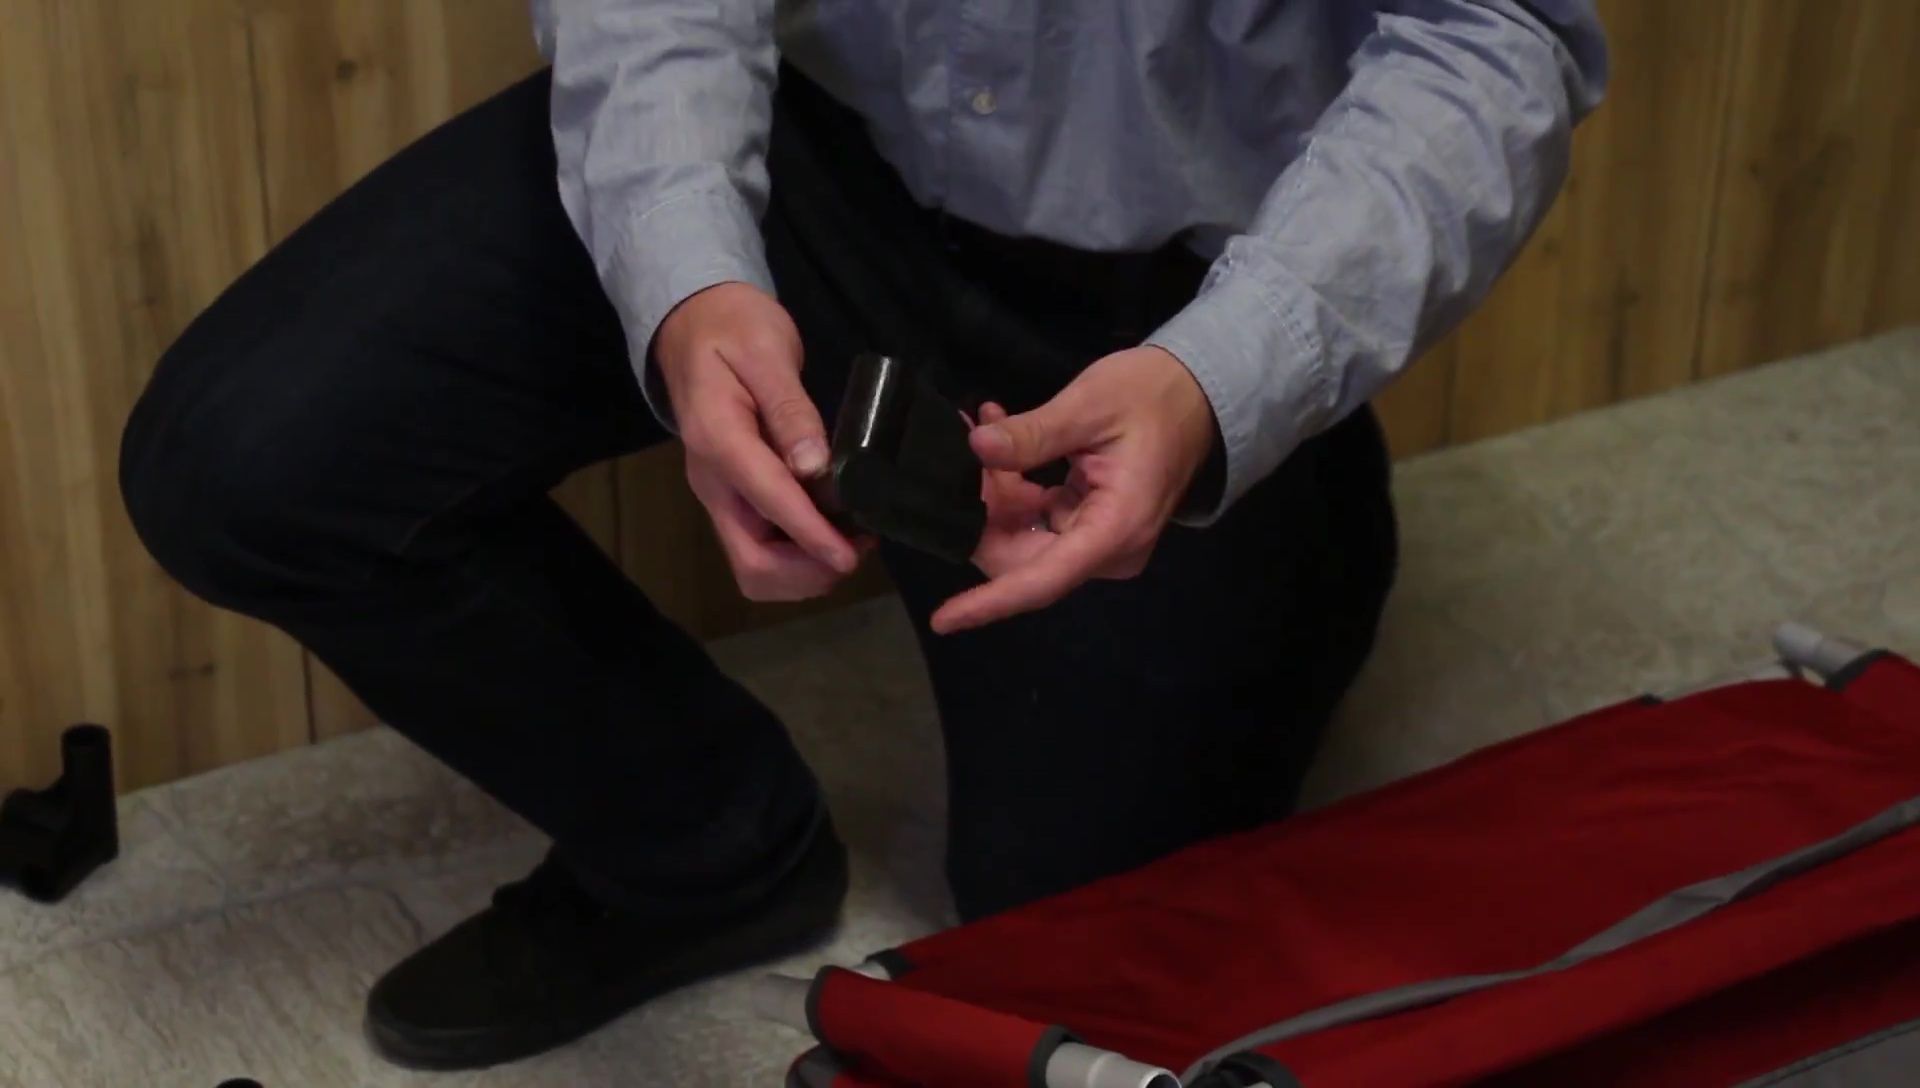
Pay close attention to the seemingly identical pieces. Note the subtle difference: some end caps have a cap, while others do not. The capped pieces are for the top corners, and the uncapped ones for the bottom.
Assembling the Main Frame
Insert the two long pieces into the front and back of the main storage area. Then, attach the side pieces.
Next, insert the top corner pieces (the ones with caps). These will help the bag hold its shape.
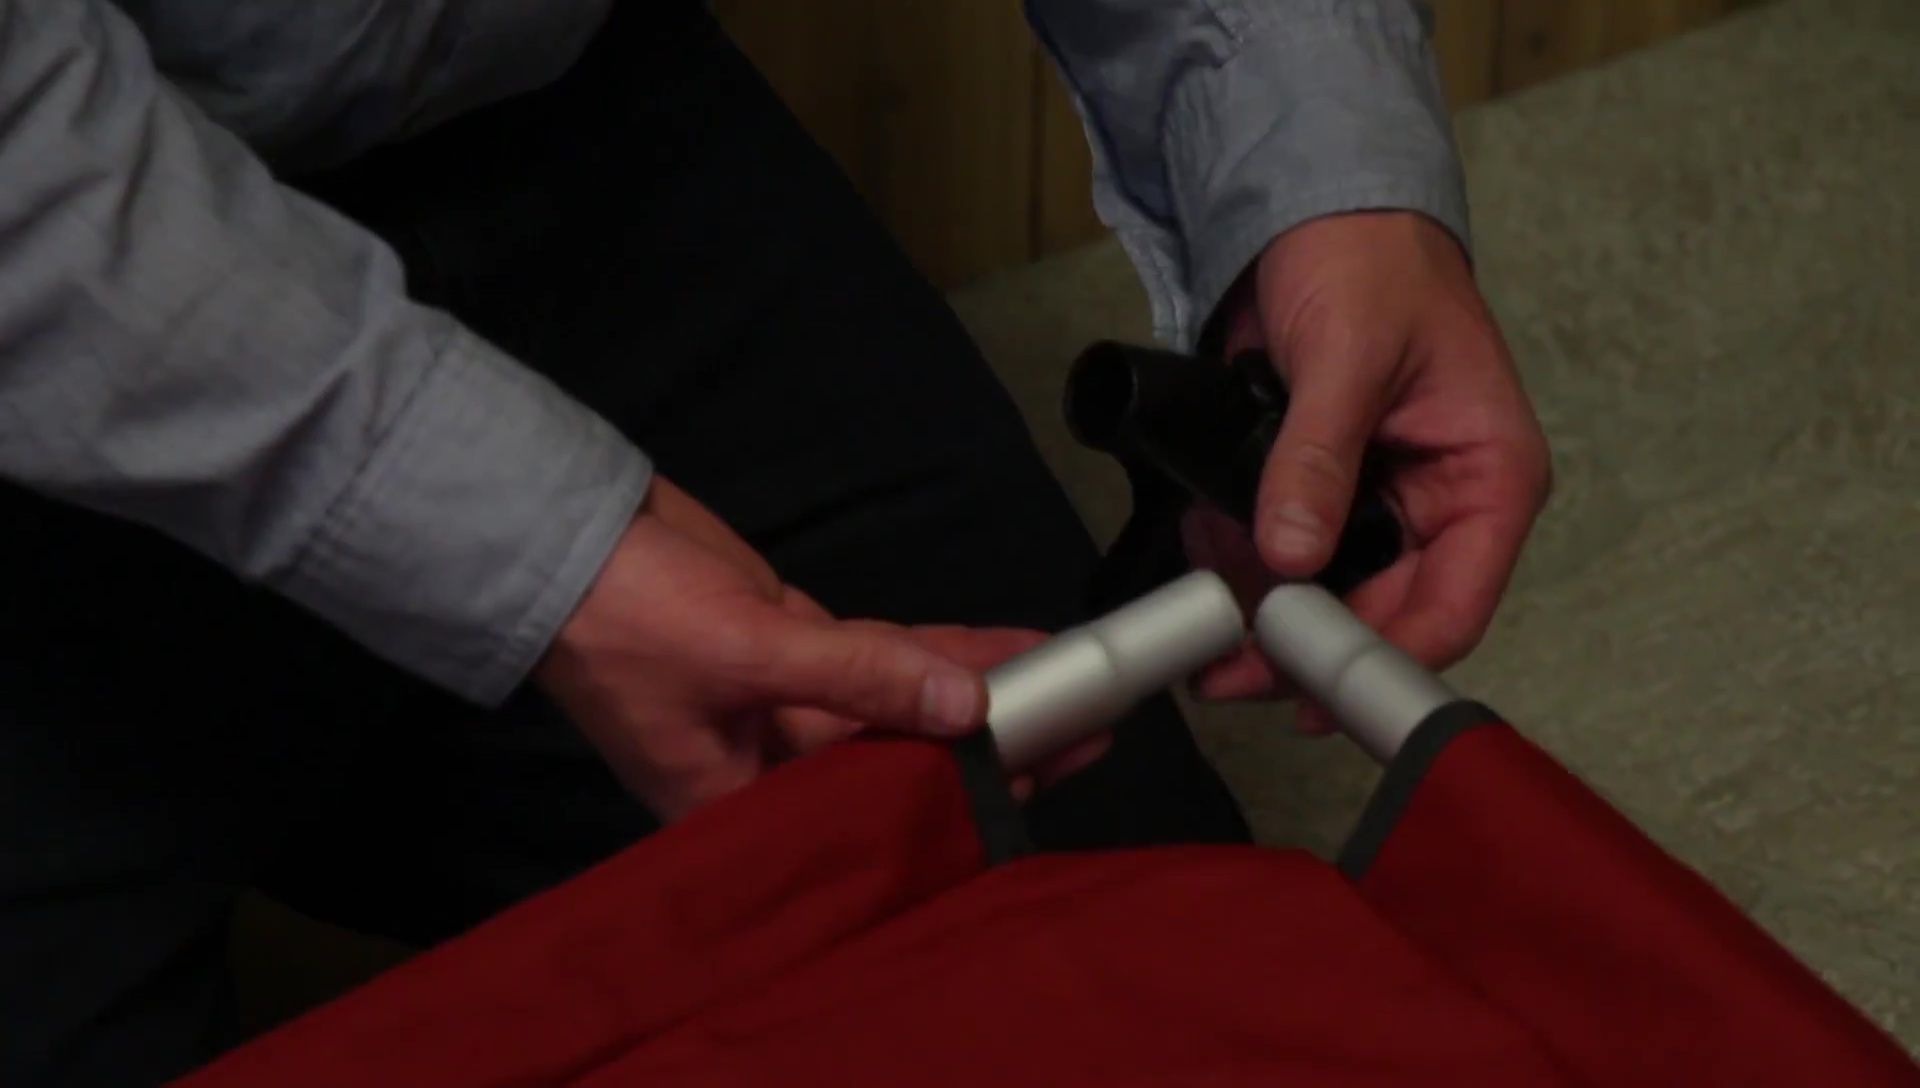
The fourth top corner might be tricky. Separate the pieces, insert the cap, align the ends, and then twist to secure it.
Attaching Vertical and Bottom Pieces
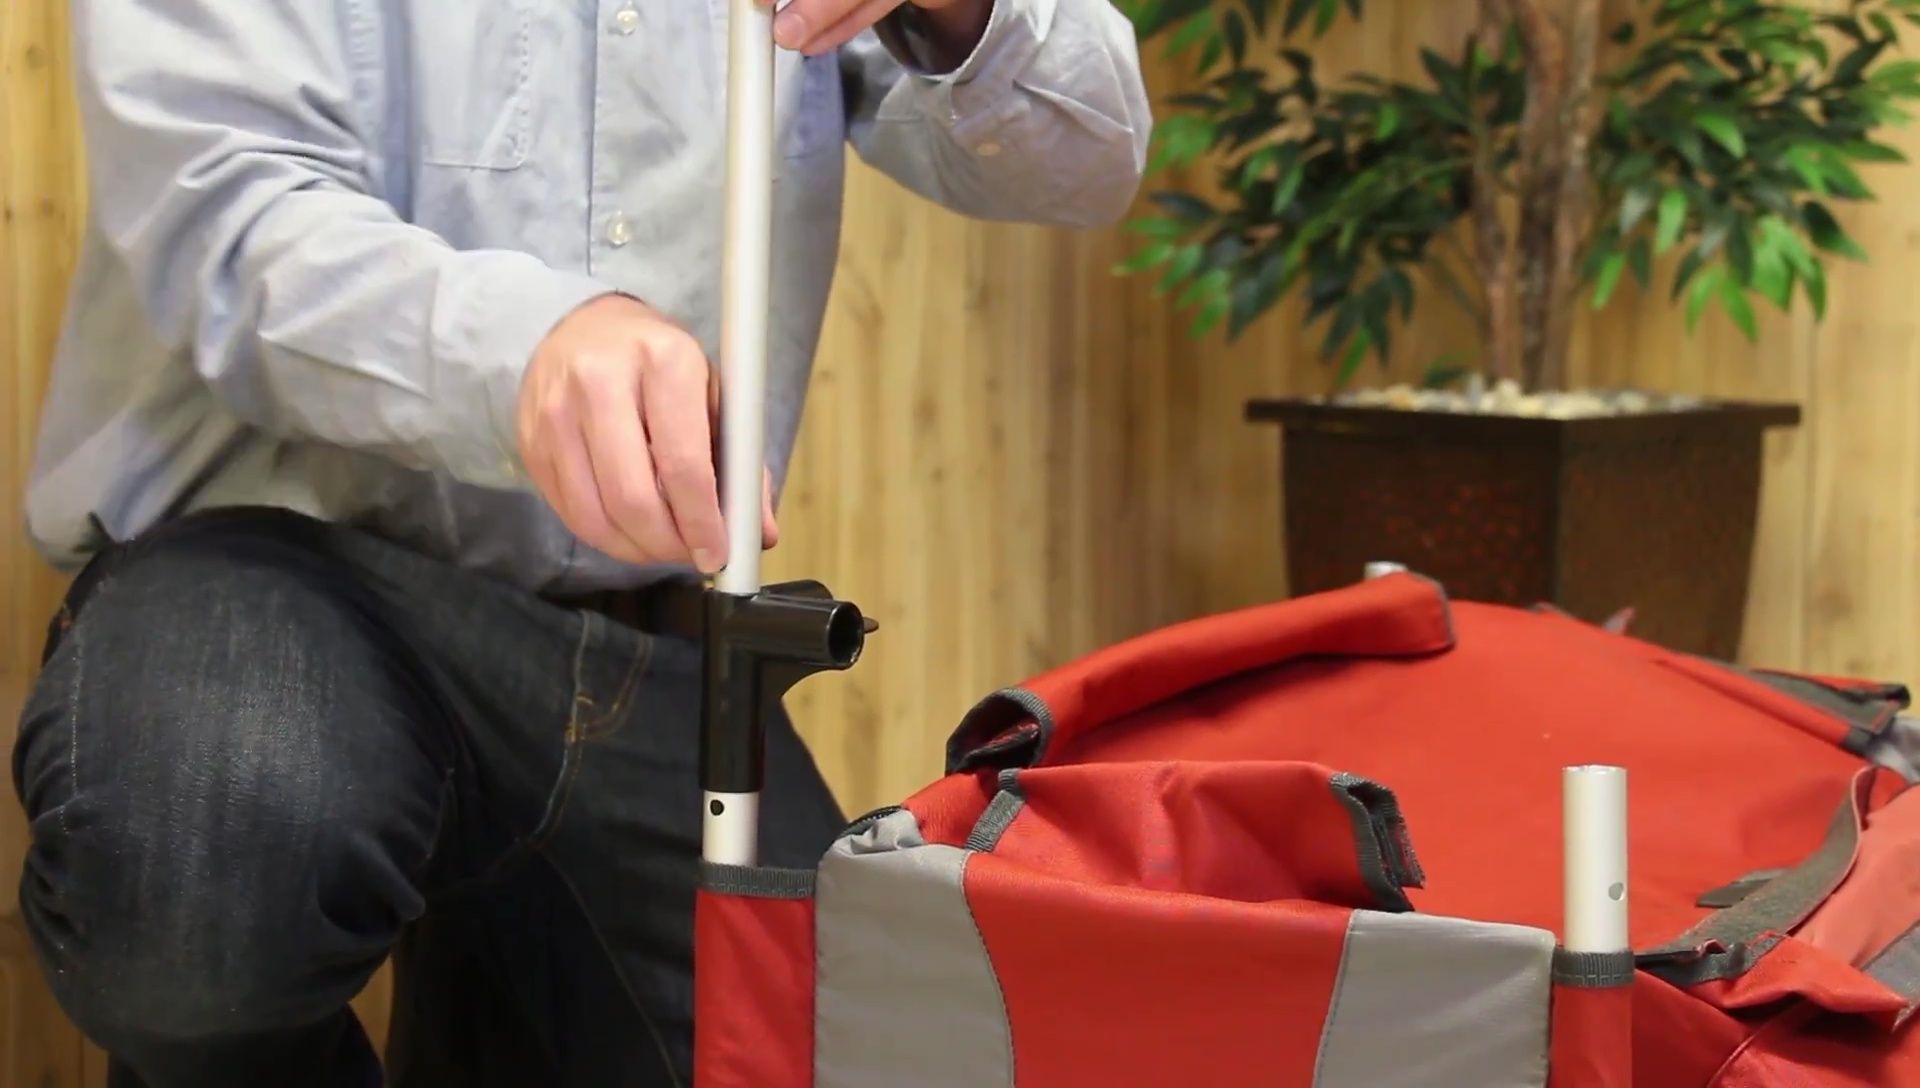
Insert four vertical pieces, ensuring the hole for the push button is at the bottom. (Personal preference: I like the thumb hole facing out.)
Assemble the bottom frame using the four bottom pieces, also ensuring the push-button holes are facing downwards (as the table is upside down at this stage).
Insert the push-button legs, aligning them perfectly with the corresponding holes in the bottom frame.
Final Assembly and Tabletop Attachment
Attach the bottom frame pieces by twisting and pushing them into place. Some pieces may require more pressure than others.
Secure the bottom frame to the main structure using Velcro straps. Pull tight and wrap securely around the frame.
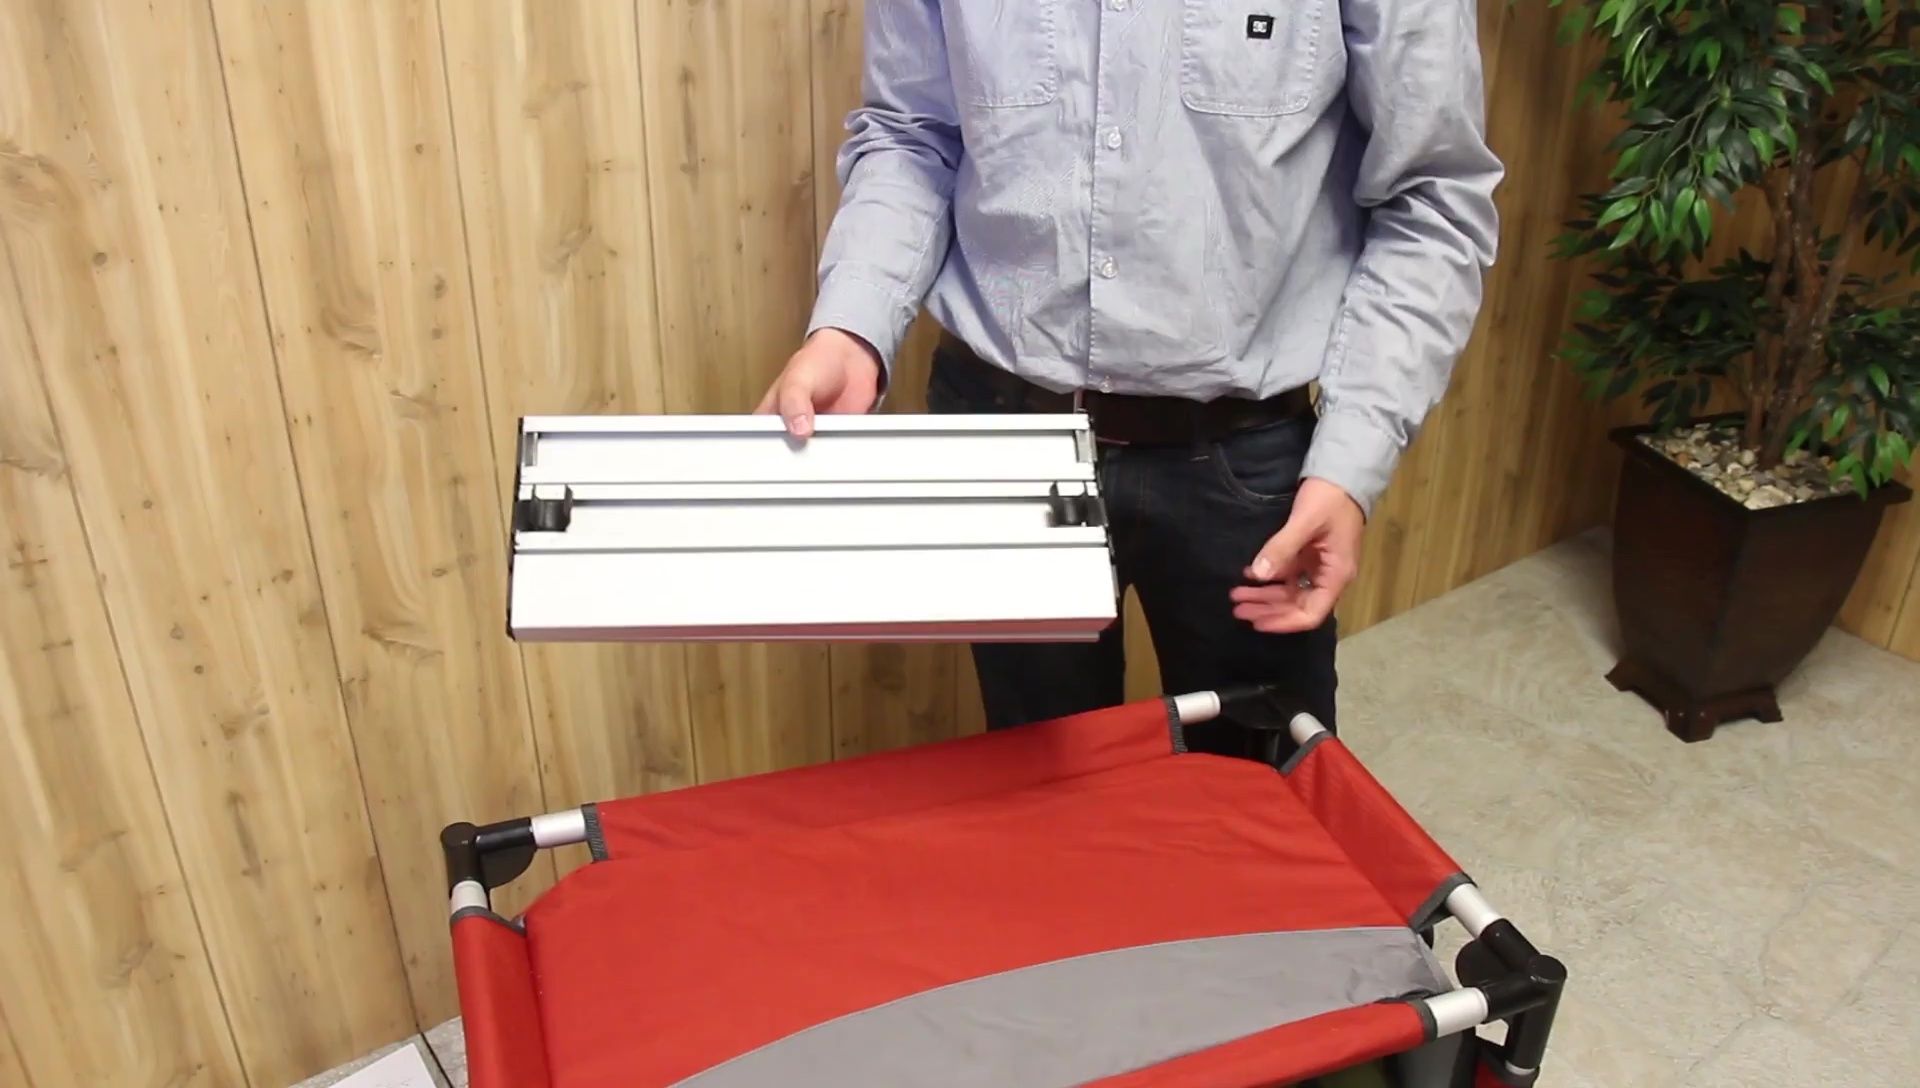
Remove the tabletop from its zippered pouch. Clip the tabletop onto the frame, expanding it and clipping it in on both sides.
Features, Storage, and Packing
The waterproof blue storage bin can be used as a cooler, for washing dishes, or any other water-related task.
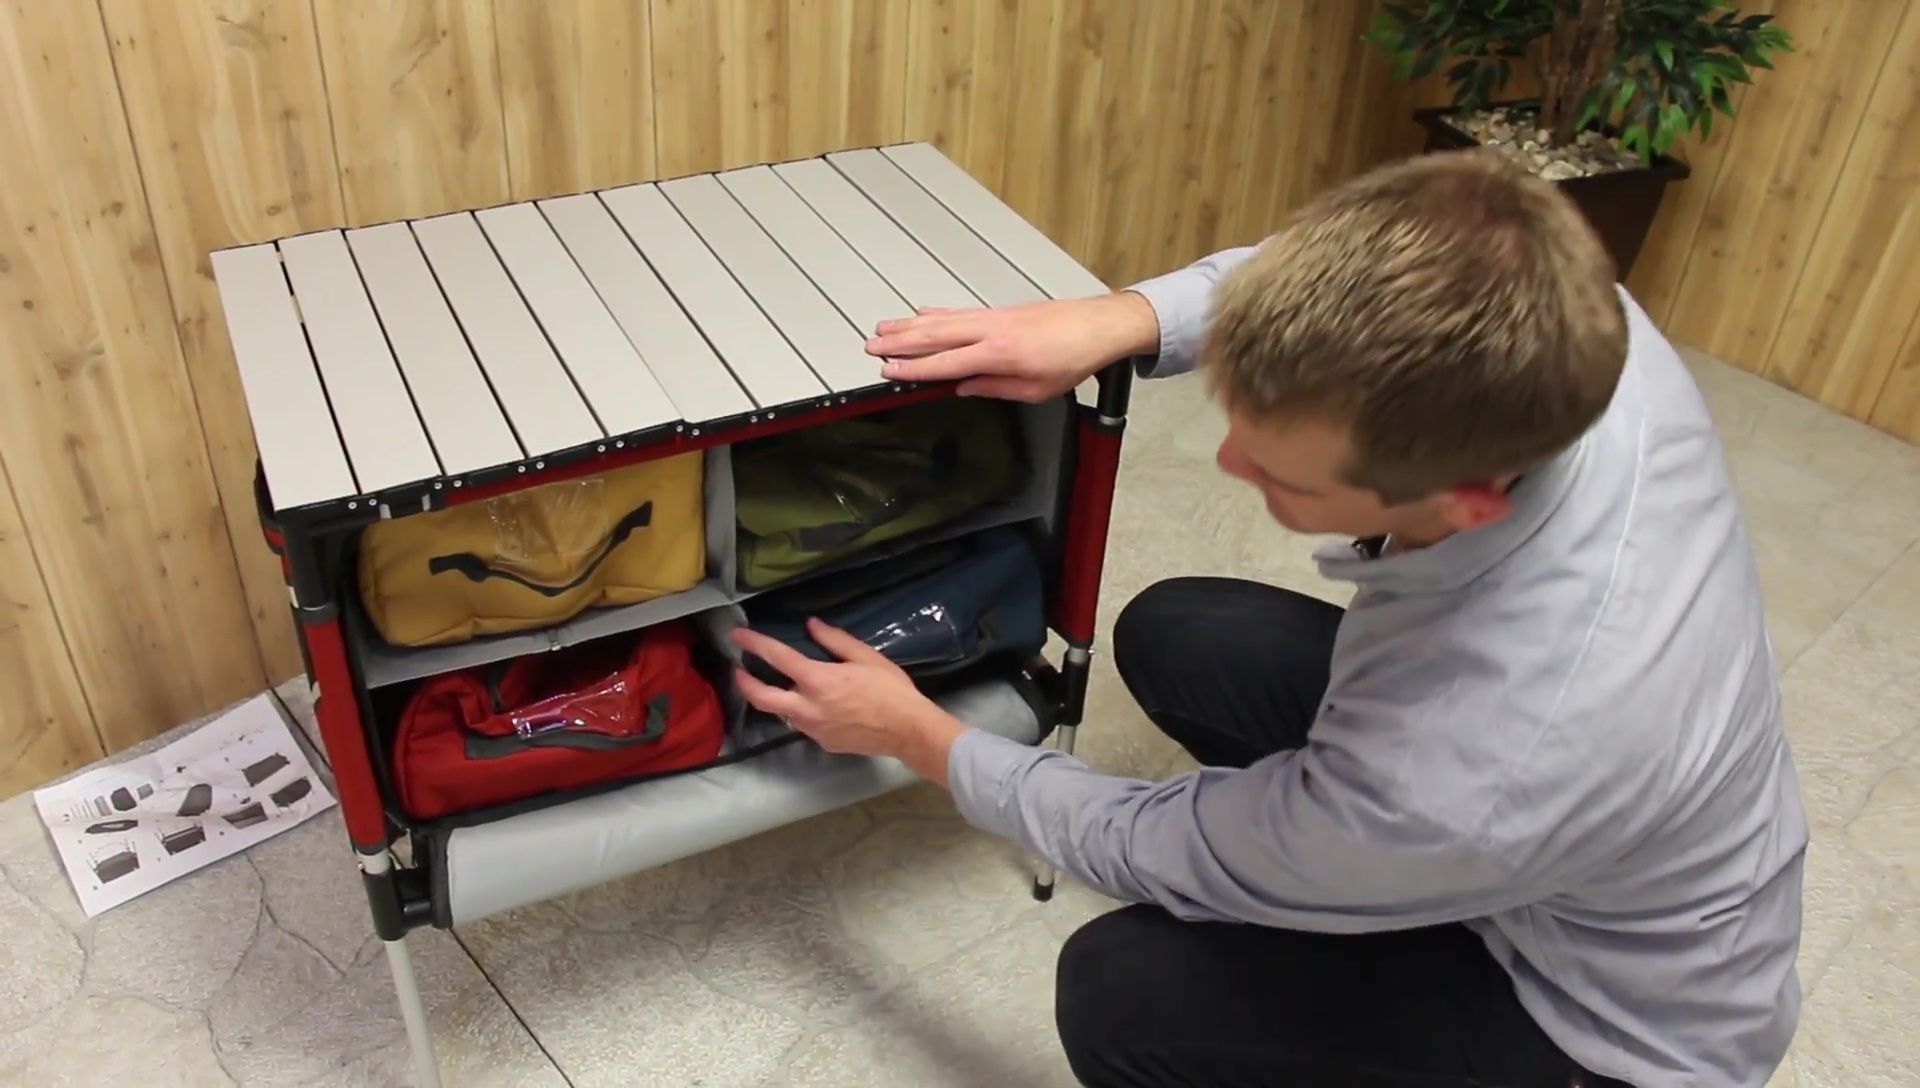
All storage compartments have zippers, allowing for customization of storage height and width.
When packing, fold the table in segments of three panels – three forward, three back, and three forward again – for efficient storage in the carrying bag.
Conclusion: Is the Sherpa Camp Table Worth It?
The Sherpa Camp Table's extendable legs make it incredibly portable and easy to pack up, which is a major plus for camping trips.
Its well-designed storage compartments, including the waterproof bin, offer excellent organization for camping gear.
Overall, the Sherpa Camp Table and Organizer provides convenient portability and ample storage, making it a worthwhile investment for campers who value organization and convenience.