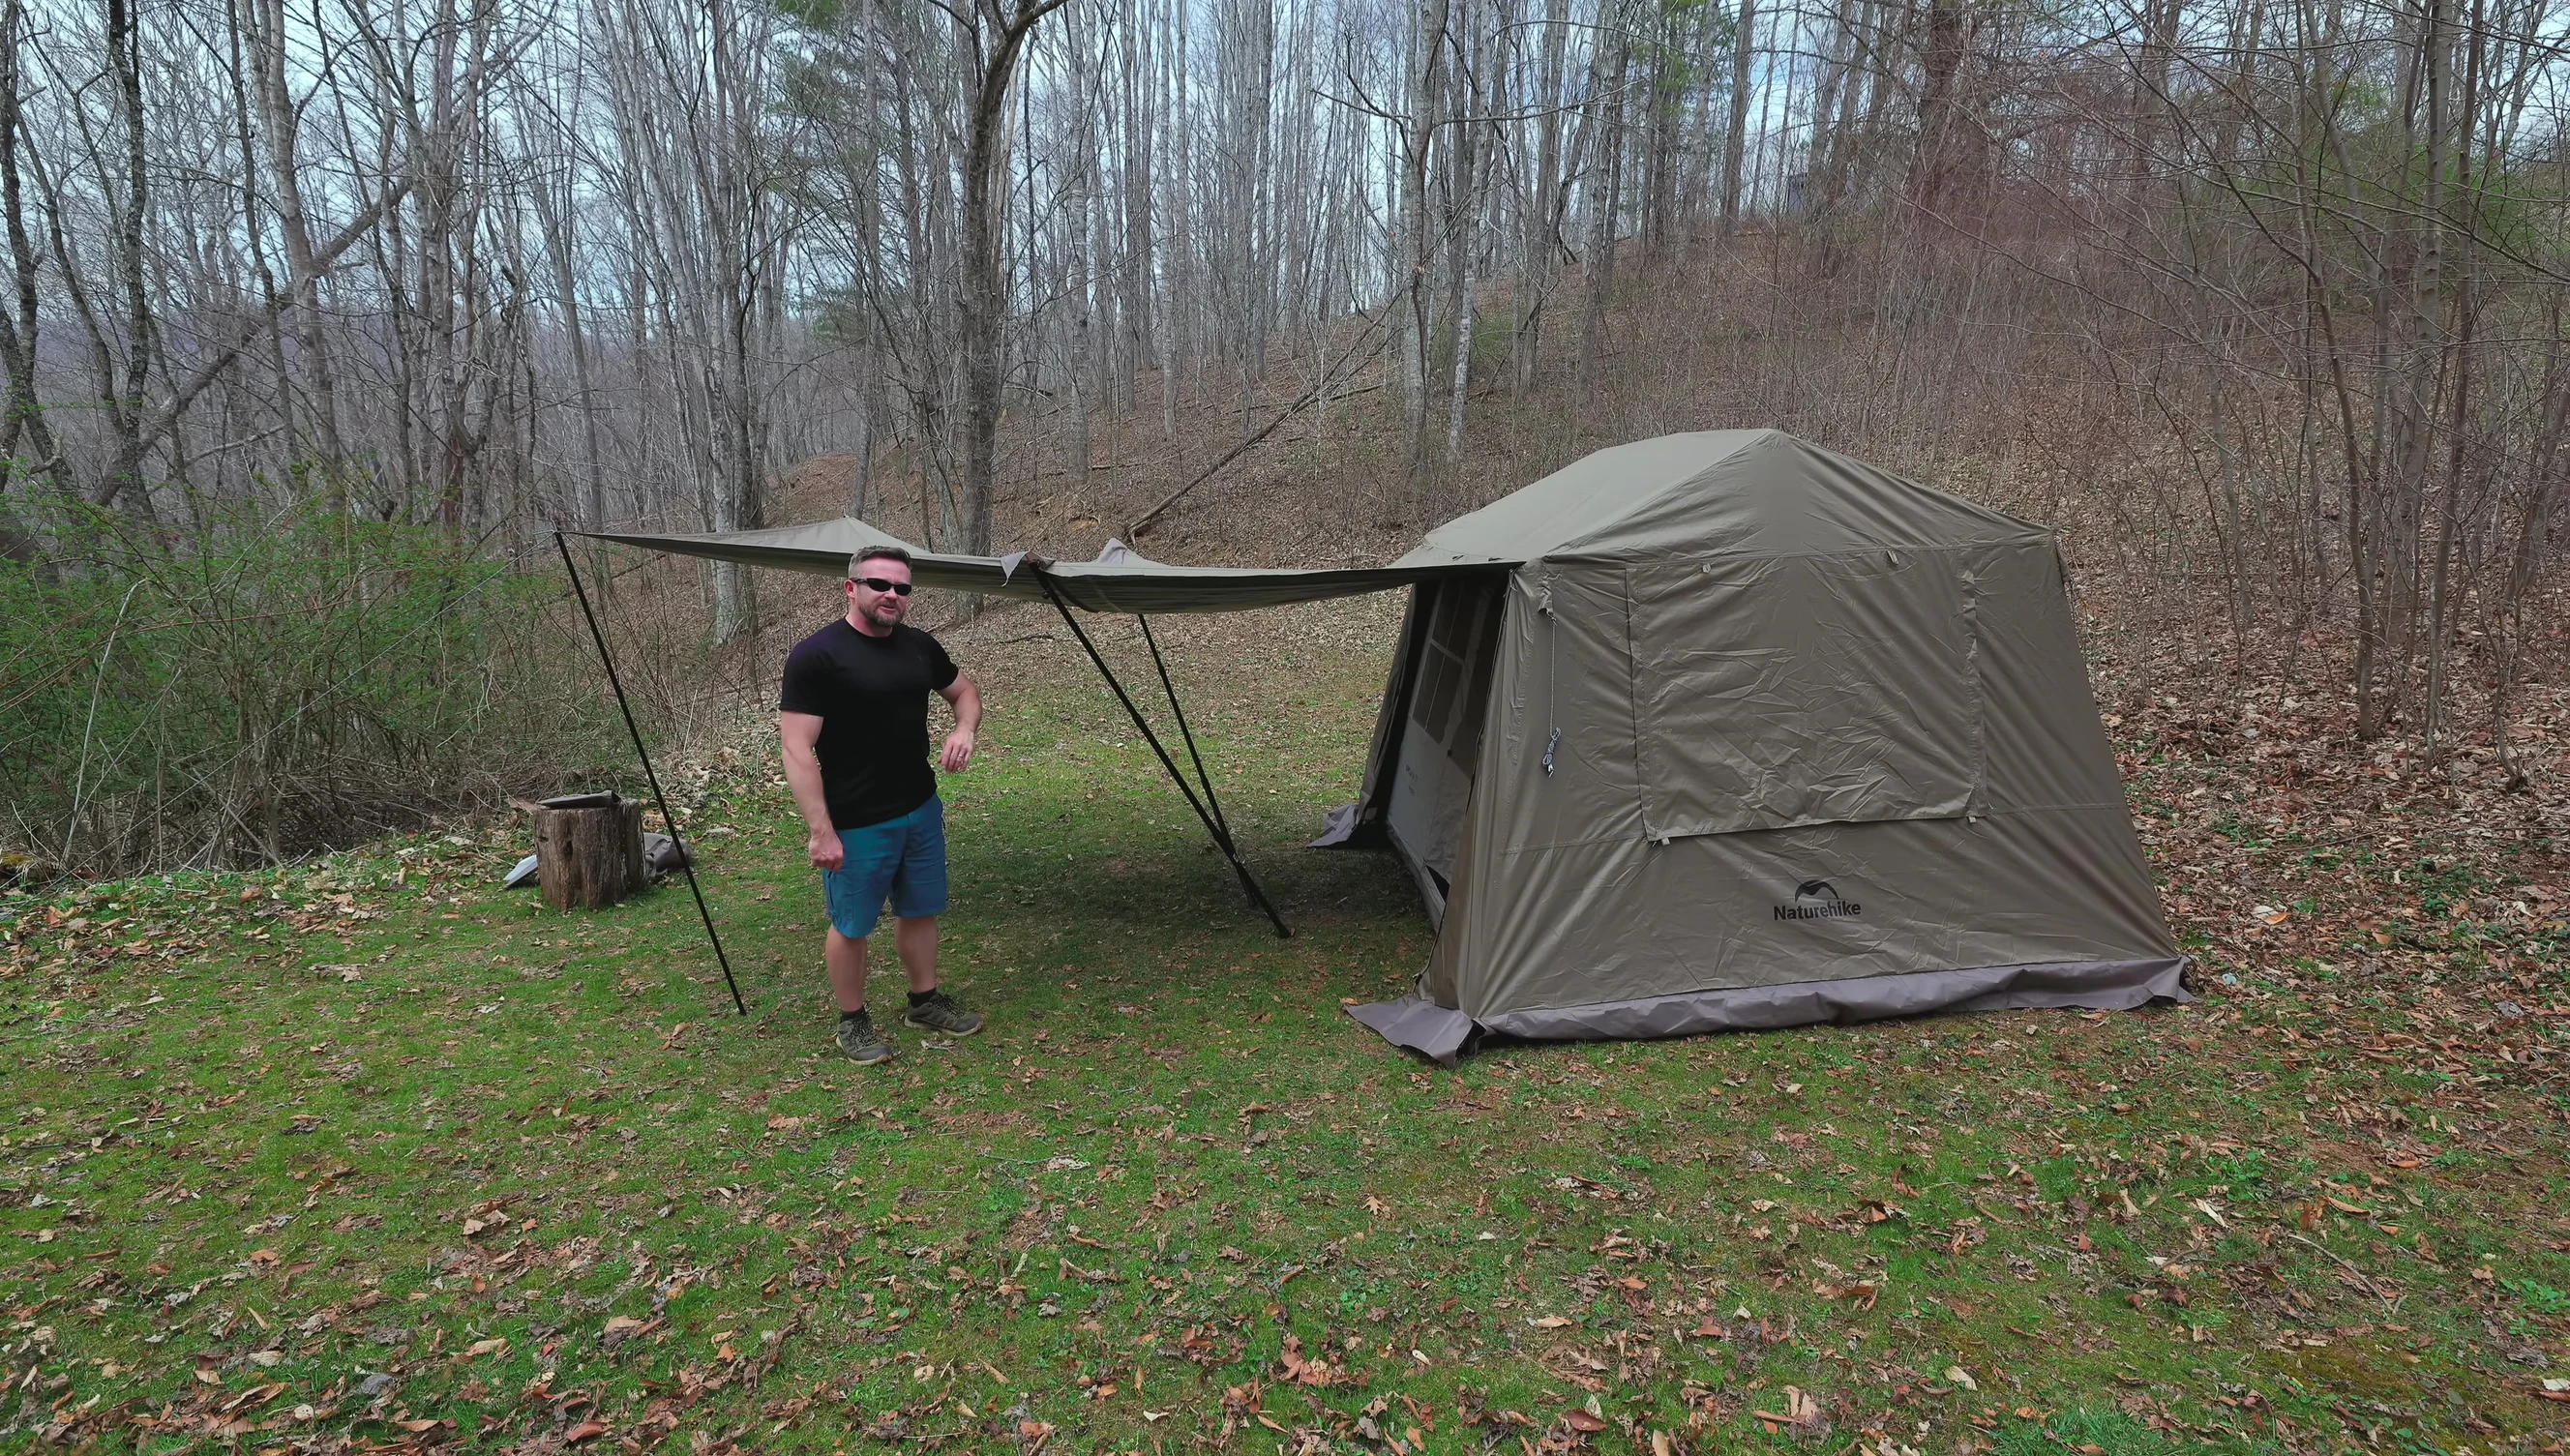
Setting up your NatureHike Cape tent might seem daunting, but this comprehensive guide simplifies the process for all 4, 6, and 8-person models. We'll walk you through each step, from preparing the ground and assembling the inner tent to erecting the impressive awning. Whether you're a seasoned camper or a first-timer, this detailed walkthrough will equip you with the knowledge and confidence to quickly and efficiently pitch your NatureHike Cape, ensuring a comfortable and protected outdoor experience.This easy-to-follow guide provides clear instructions and helpful tips to navigate potential challenges. Learn how to efficiently assemble the pole structure, easily extend the top frame bar, and securely attach the flysheet. We also offer a simplified method for setting up the two-stage awning, including advice on securing it for optimal stability. With this guide, you'll be enjoying the spacious comfort of your NatureHike Cape tent in no time.
Pros And Cons
- Easy setup process (as described in the video)
- Includes awning
- Top frame bar difficult to reach and extend for most people
- Fly is large and can be difficult to put on
- Requires additional poles for full-length awning
Read more: Top 5 Square Camping Tables for Your Next Adventure
Laying the Groundwork: Preparing for Setup
Before you begin assembling your NatureHike Cape tent, it's crucial to prepare the ground. Lay down a groundsheet to protect the tent floor from sharp objects and potential punctures. This is a simple yet effective way to safeguard your investment. Remember, NatureHike doesn't provide a specific groundsheet, so any suitable tarp or groundsheet will suffice.
Consider the size and shape of your chosen groundsheet to ensure adequate coverage for your tent. You may need to use multiple smaller groundsheets or a large tarp, depending on your specific tent model (4, 6, or 8 person). Ensure the groundsheet is smooth and free of debris before placing the tent on top.
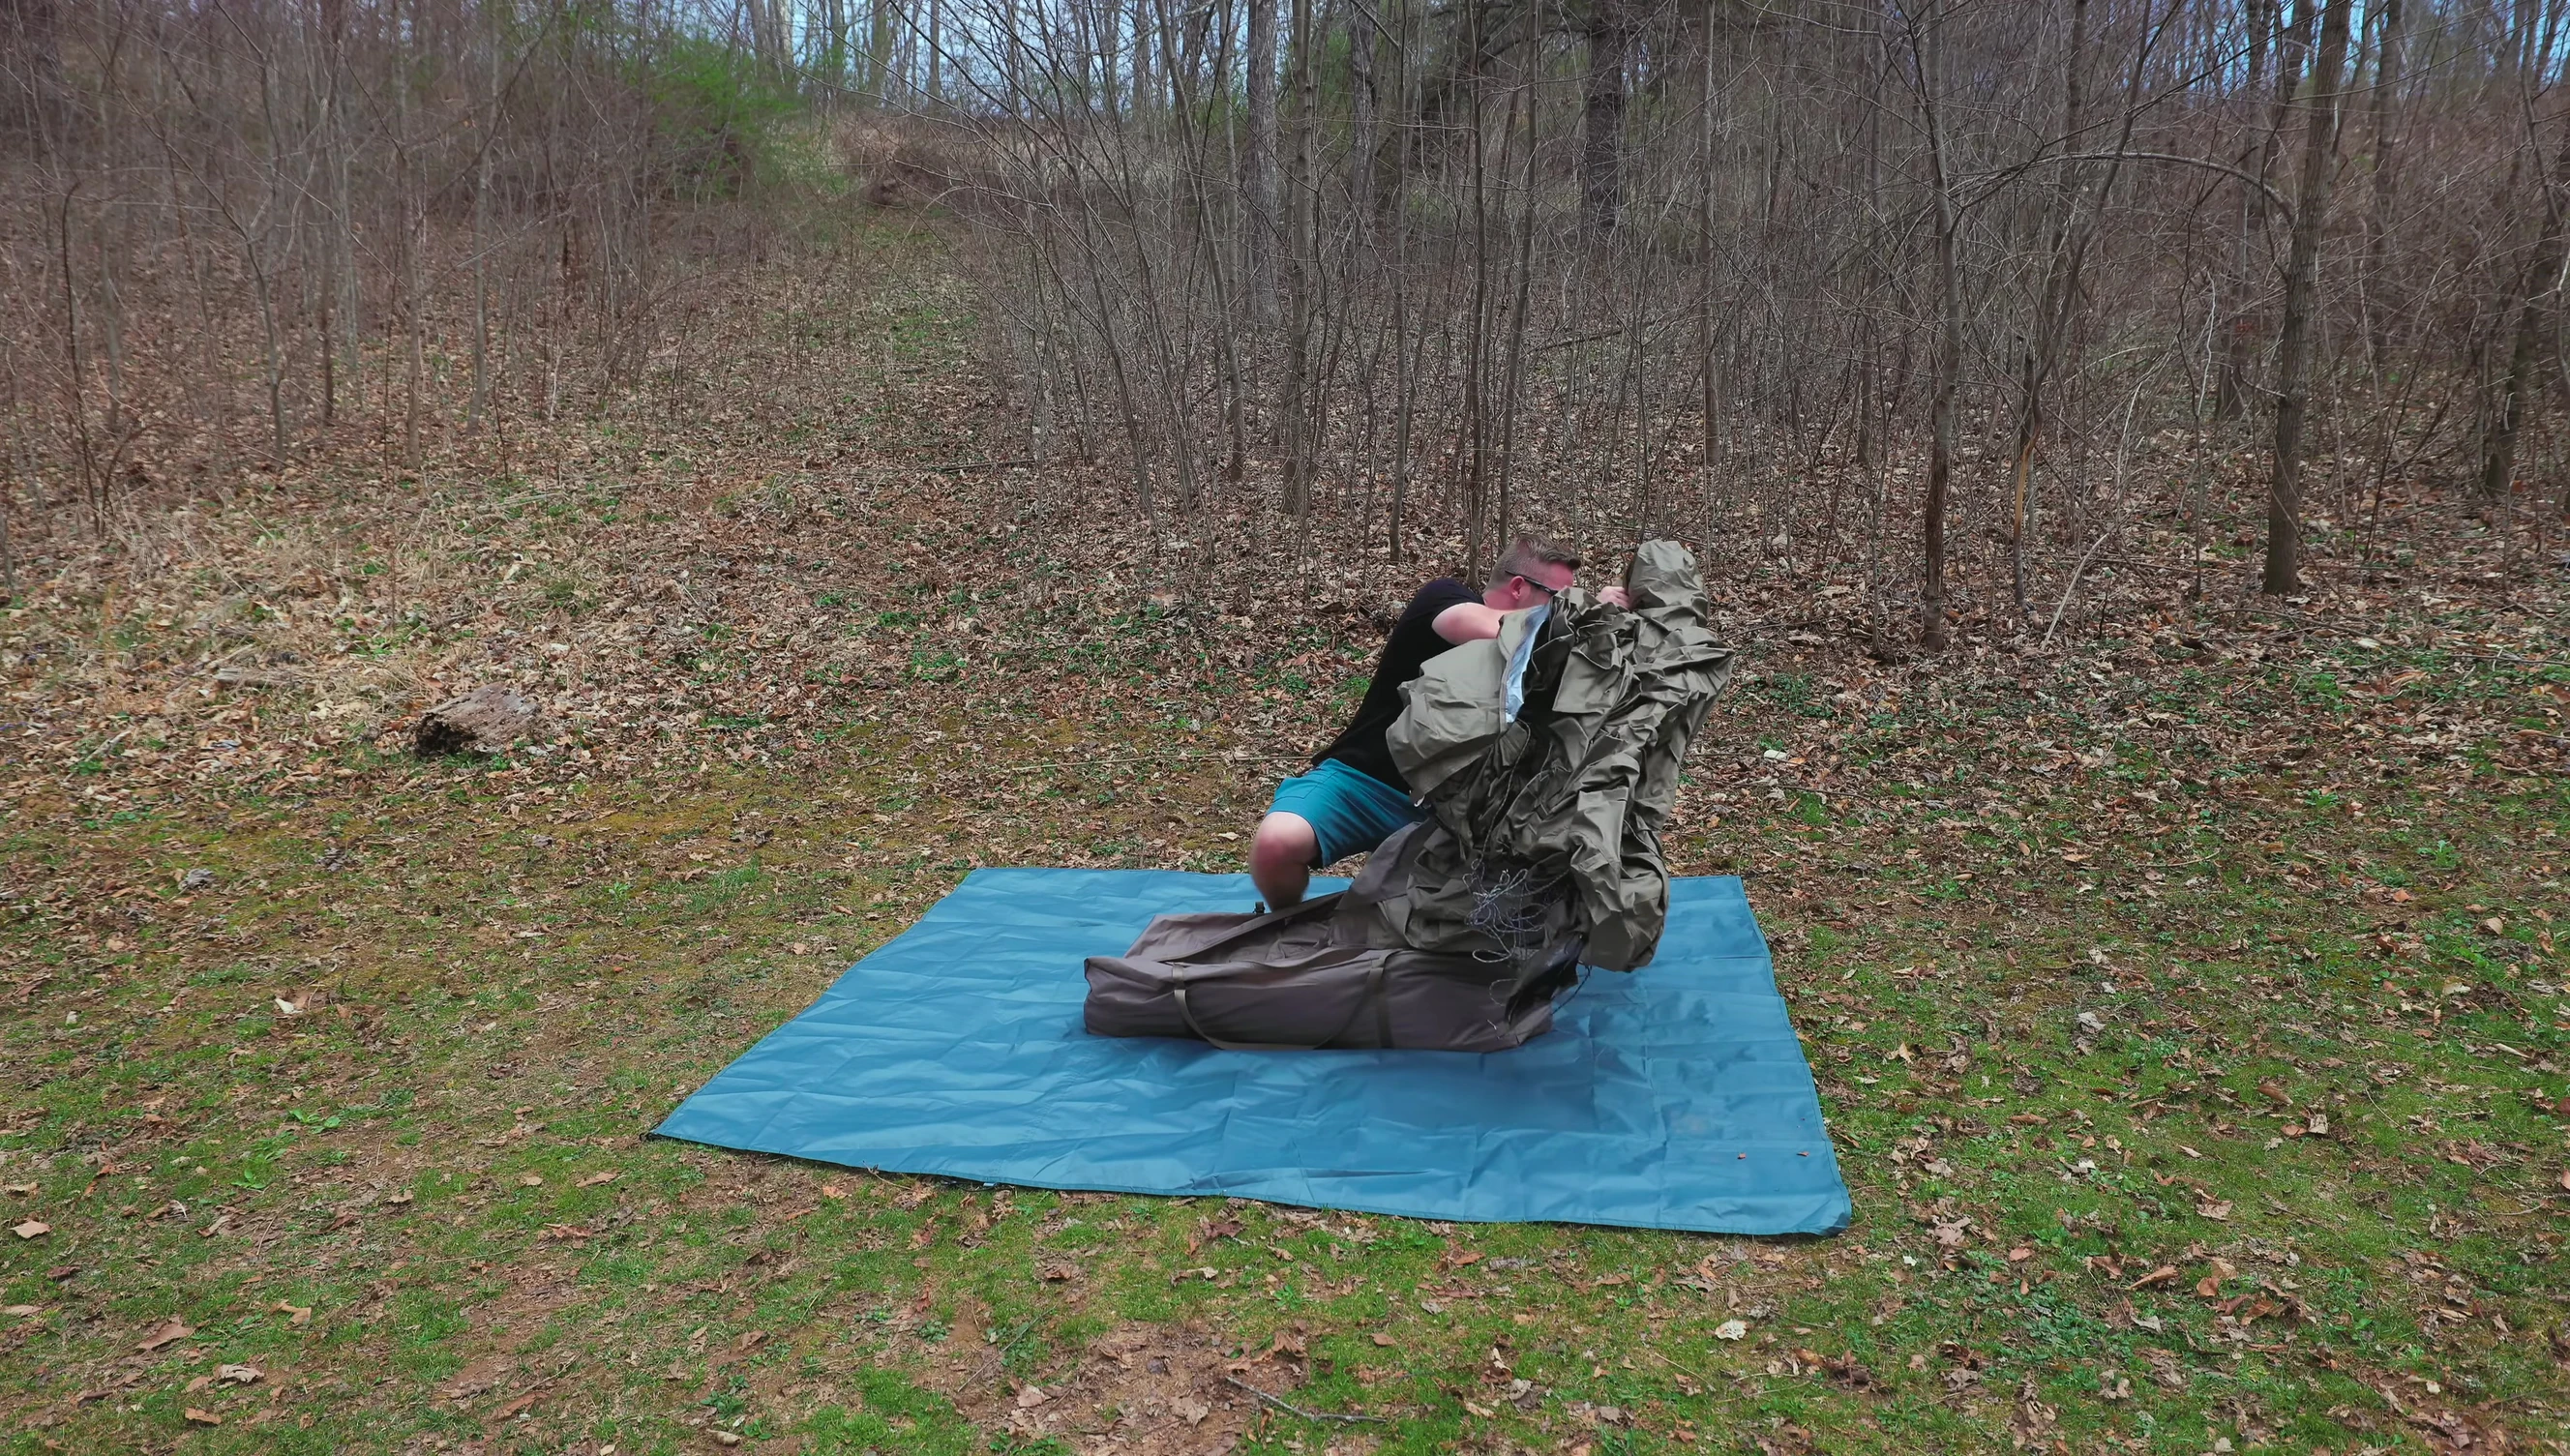
Assembling the Tent Inner and Frame
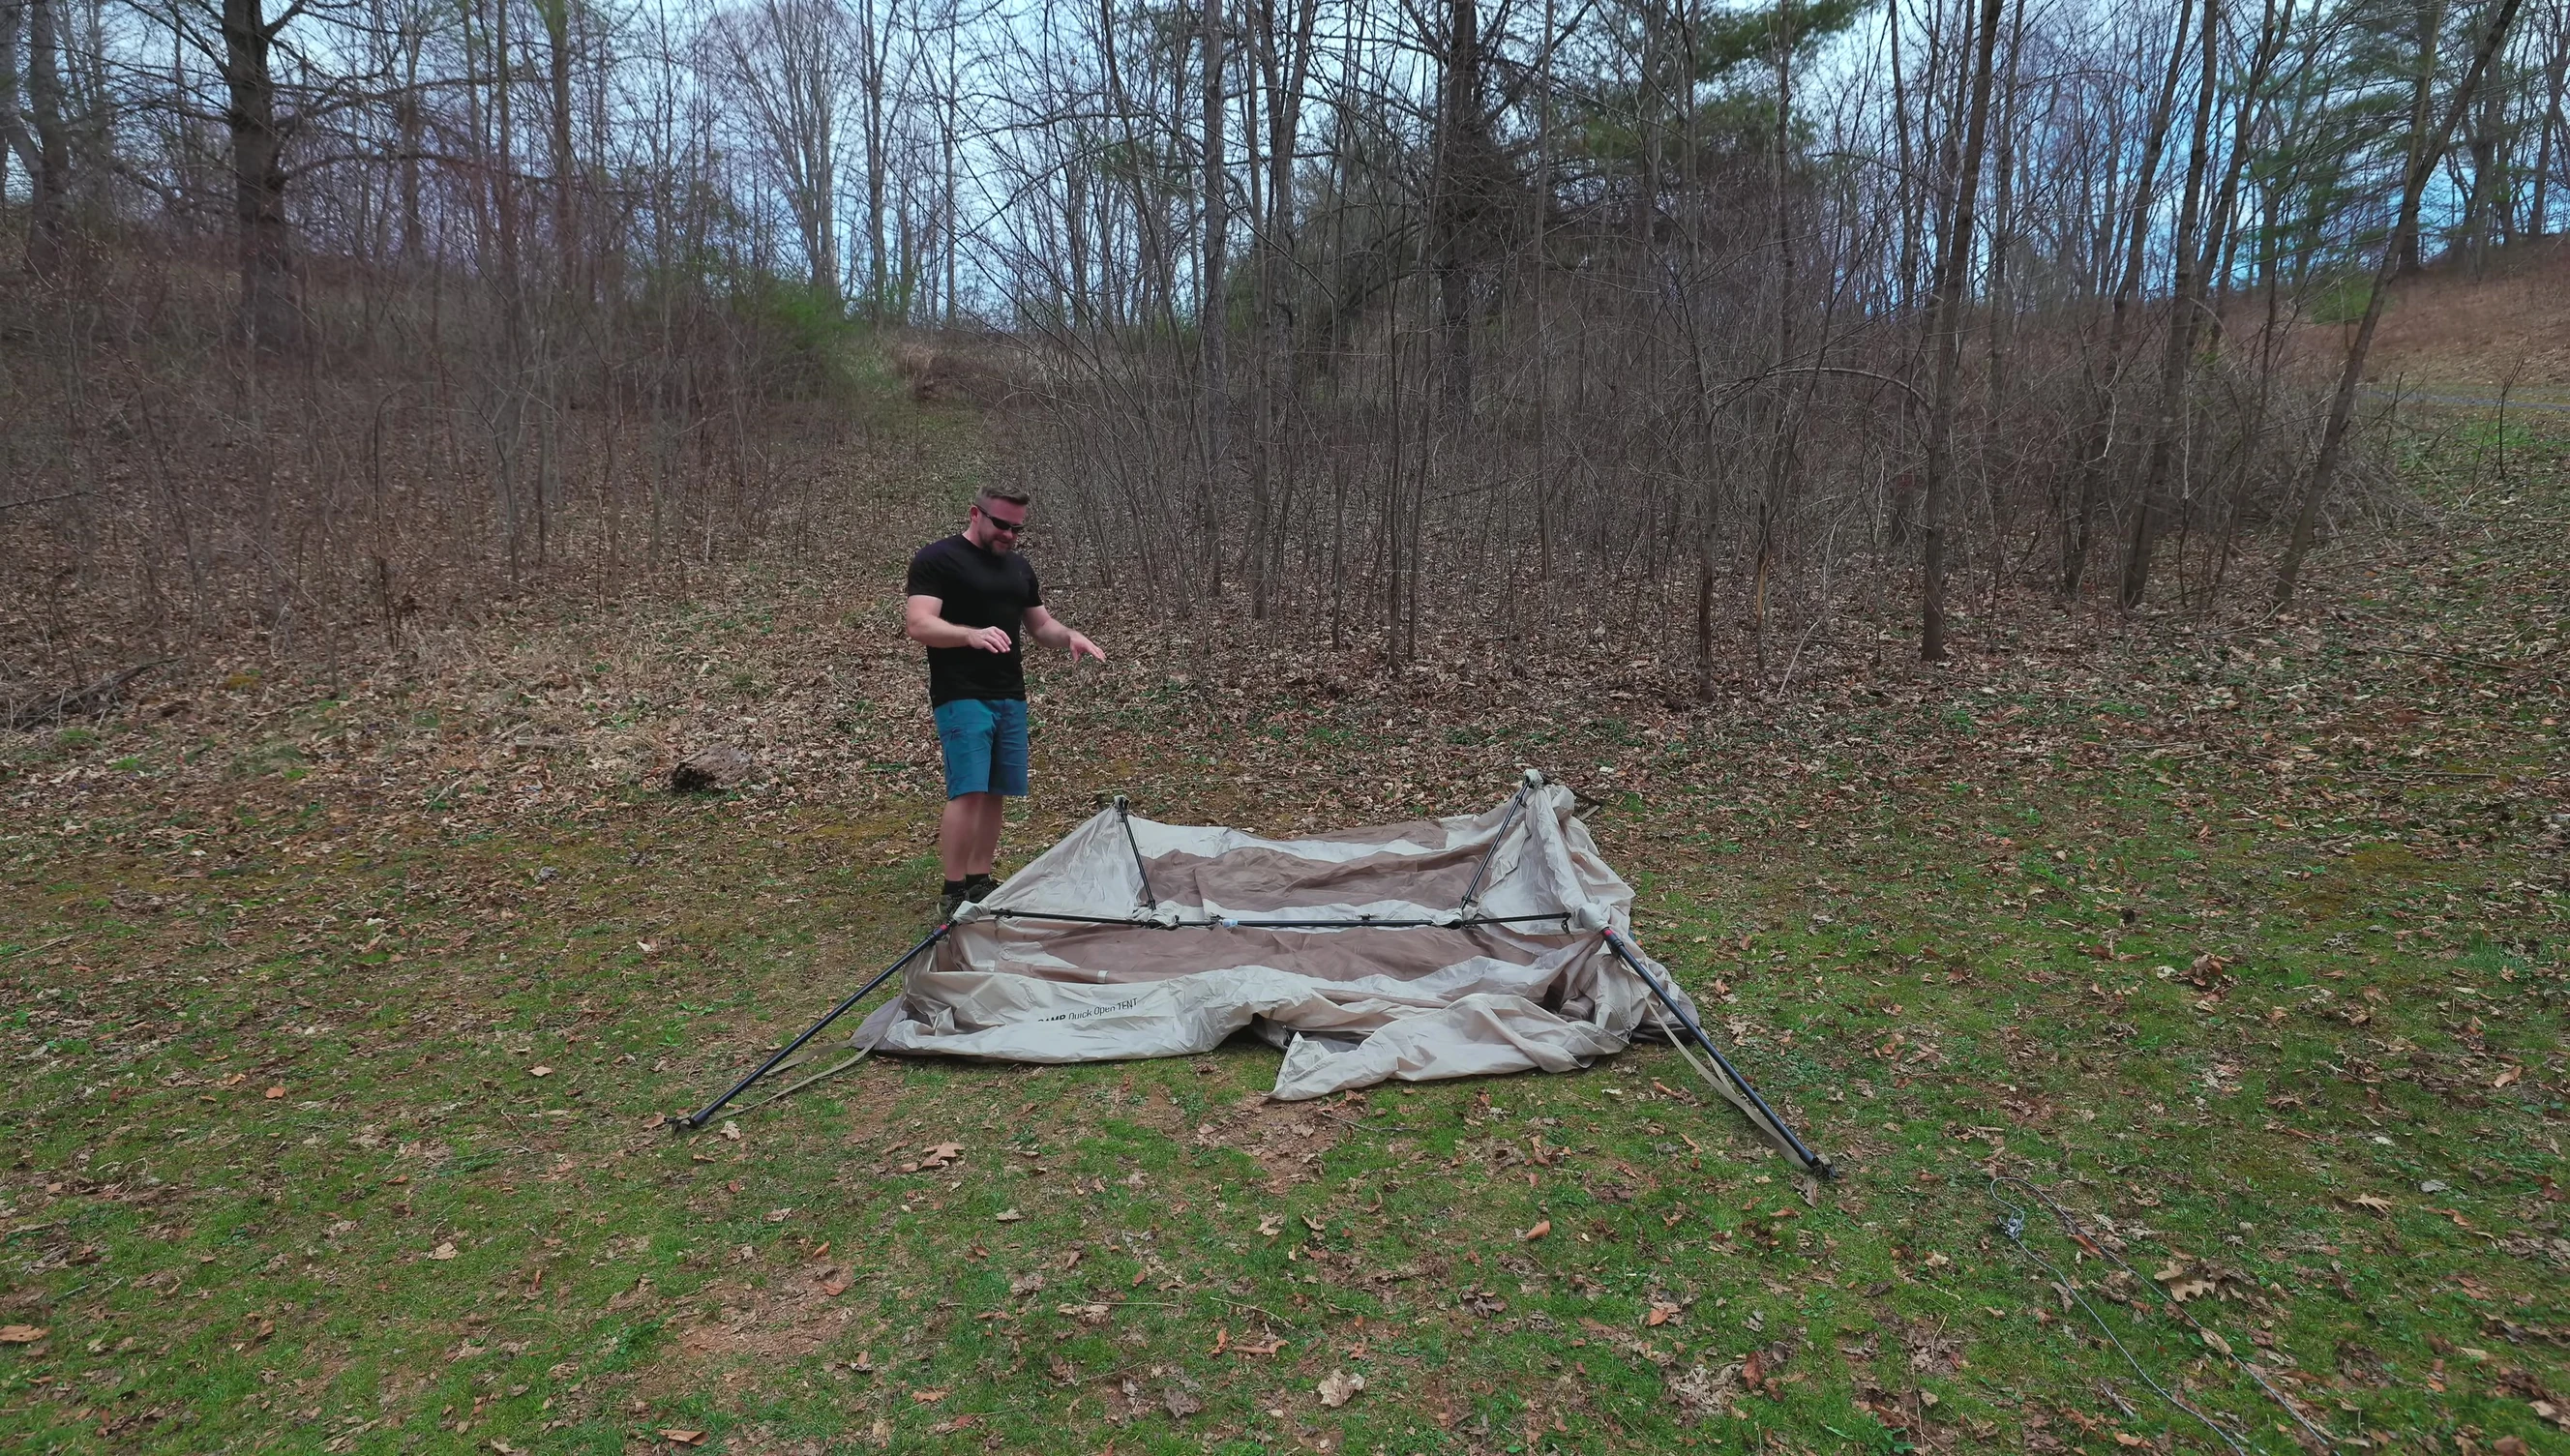
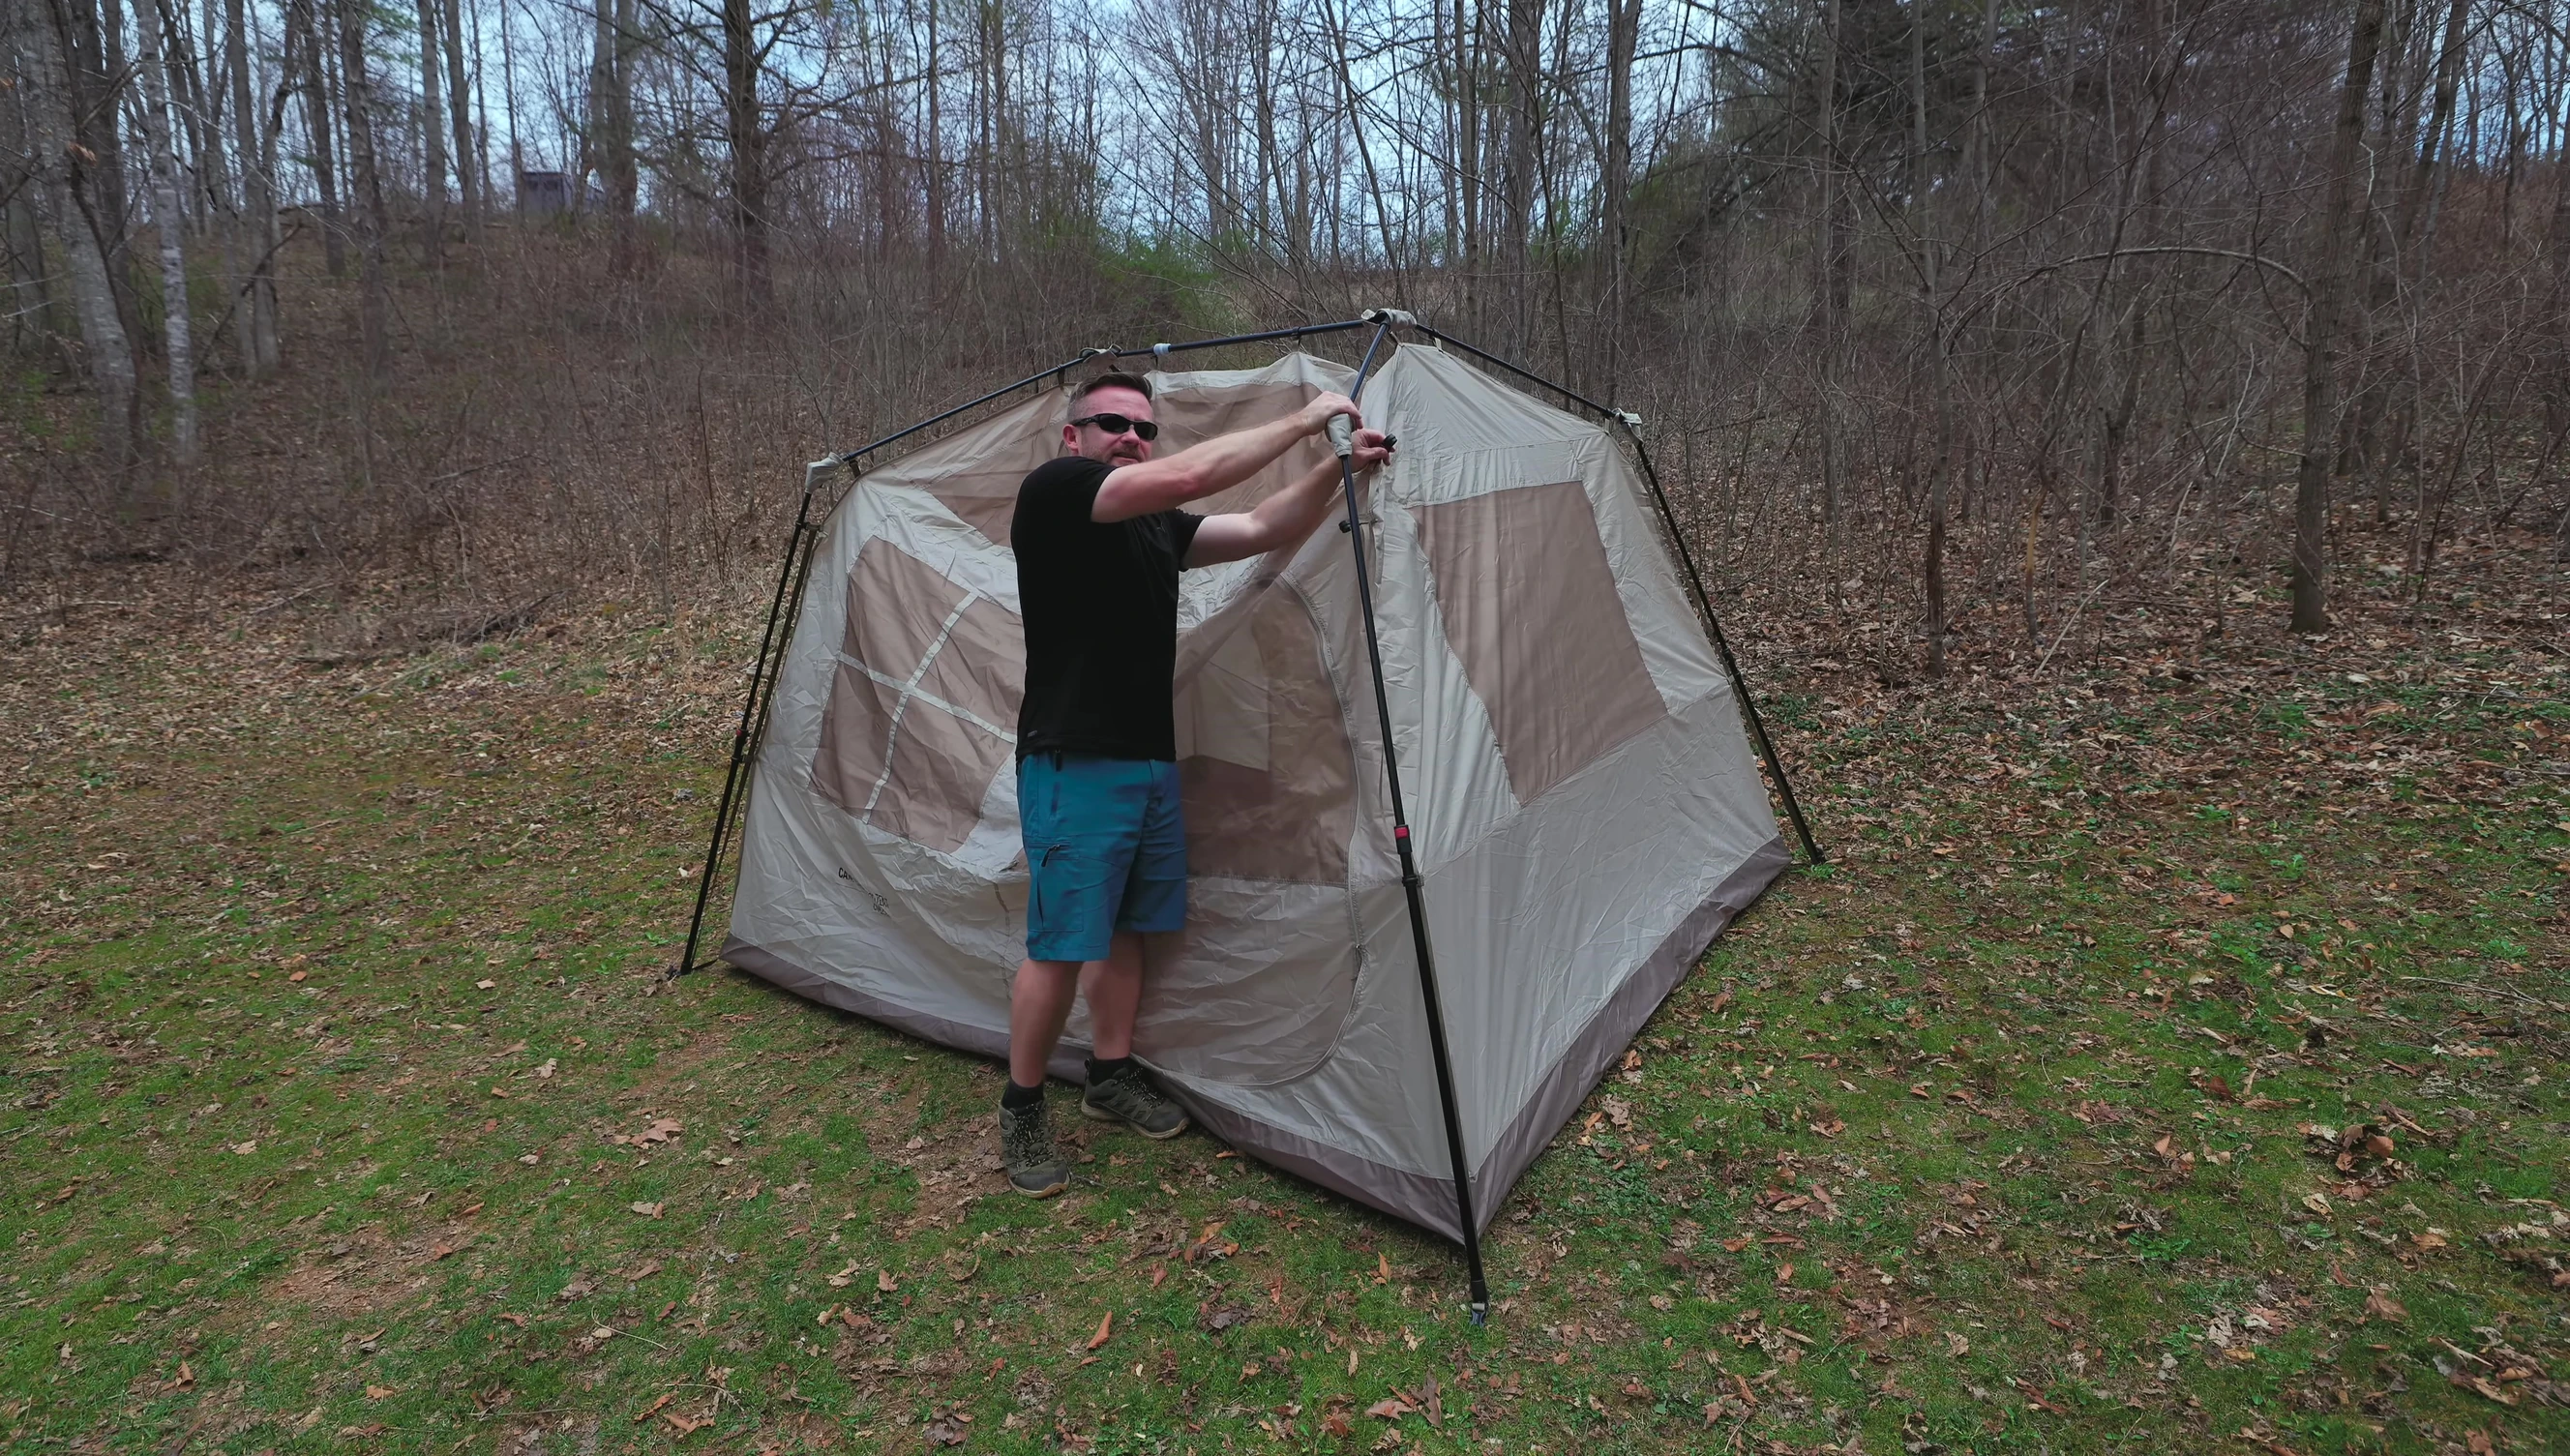
Unpack the tent inner and pole structure. You'll find the poles connect to a central hub with individual legs extending outward. Separate these legs and extend each one until it locks into place. There will be a red button at the top hub; pressing this allows you to telescope the legs.
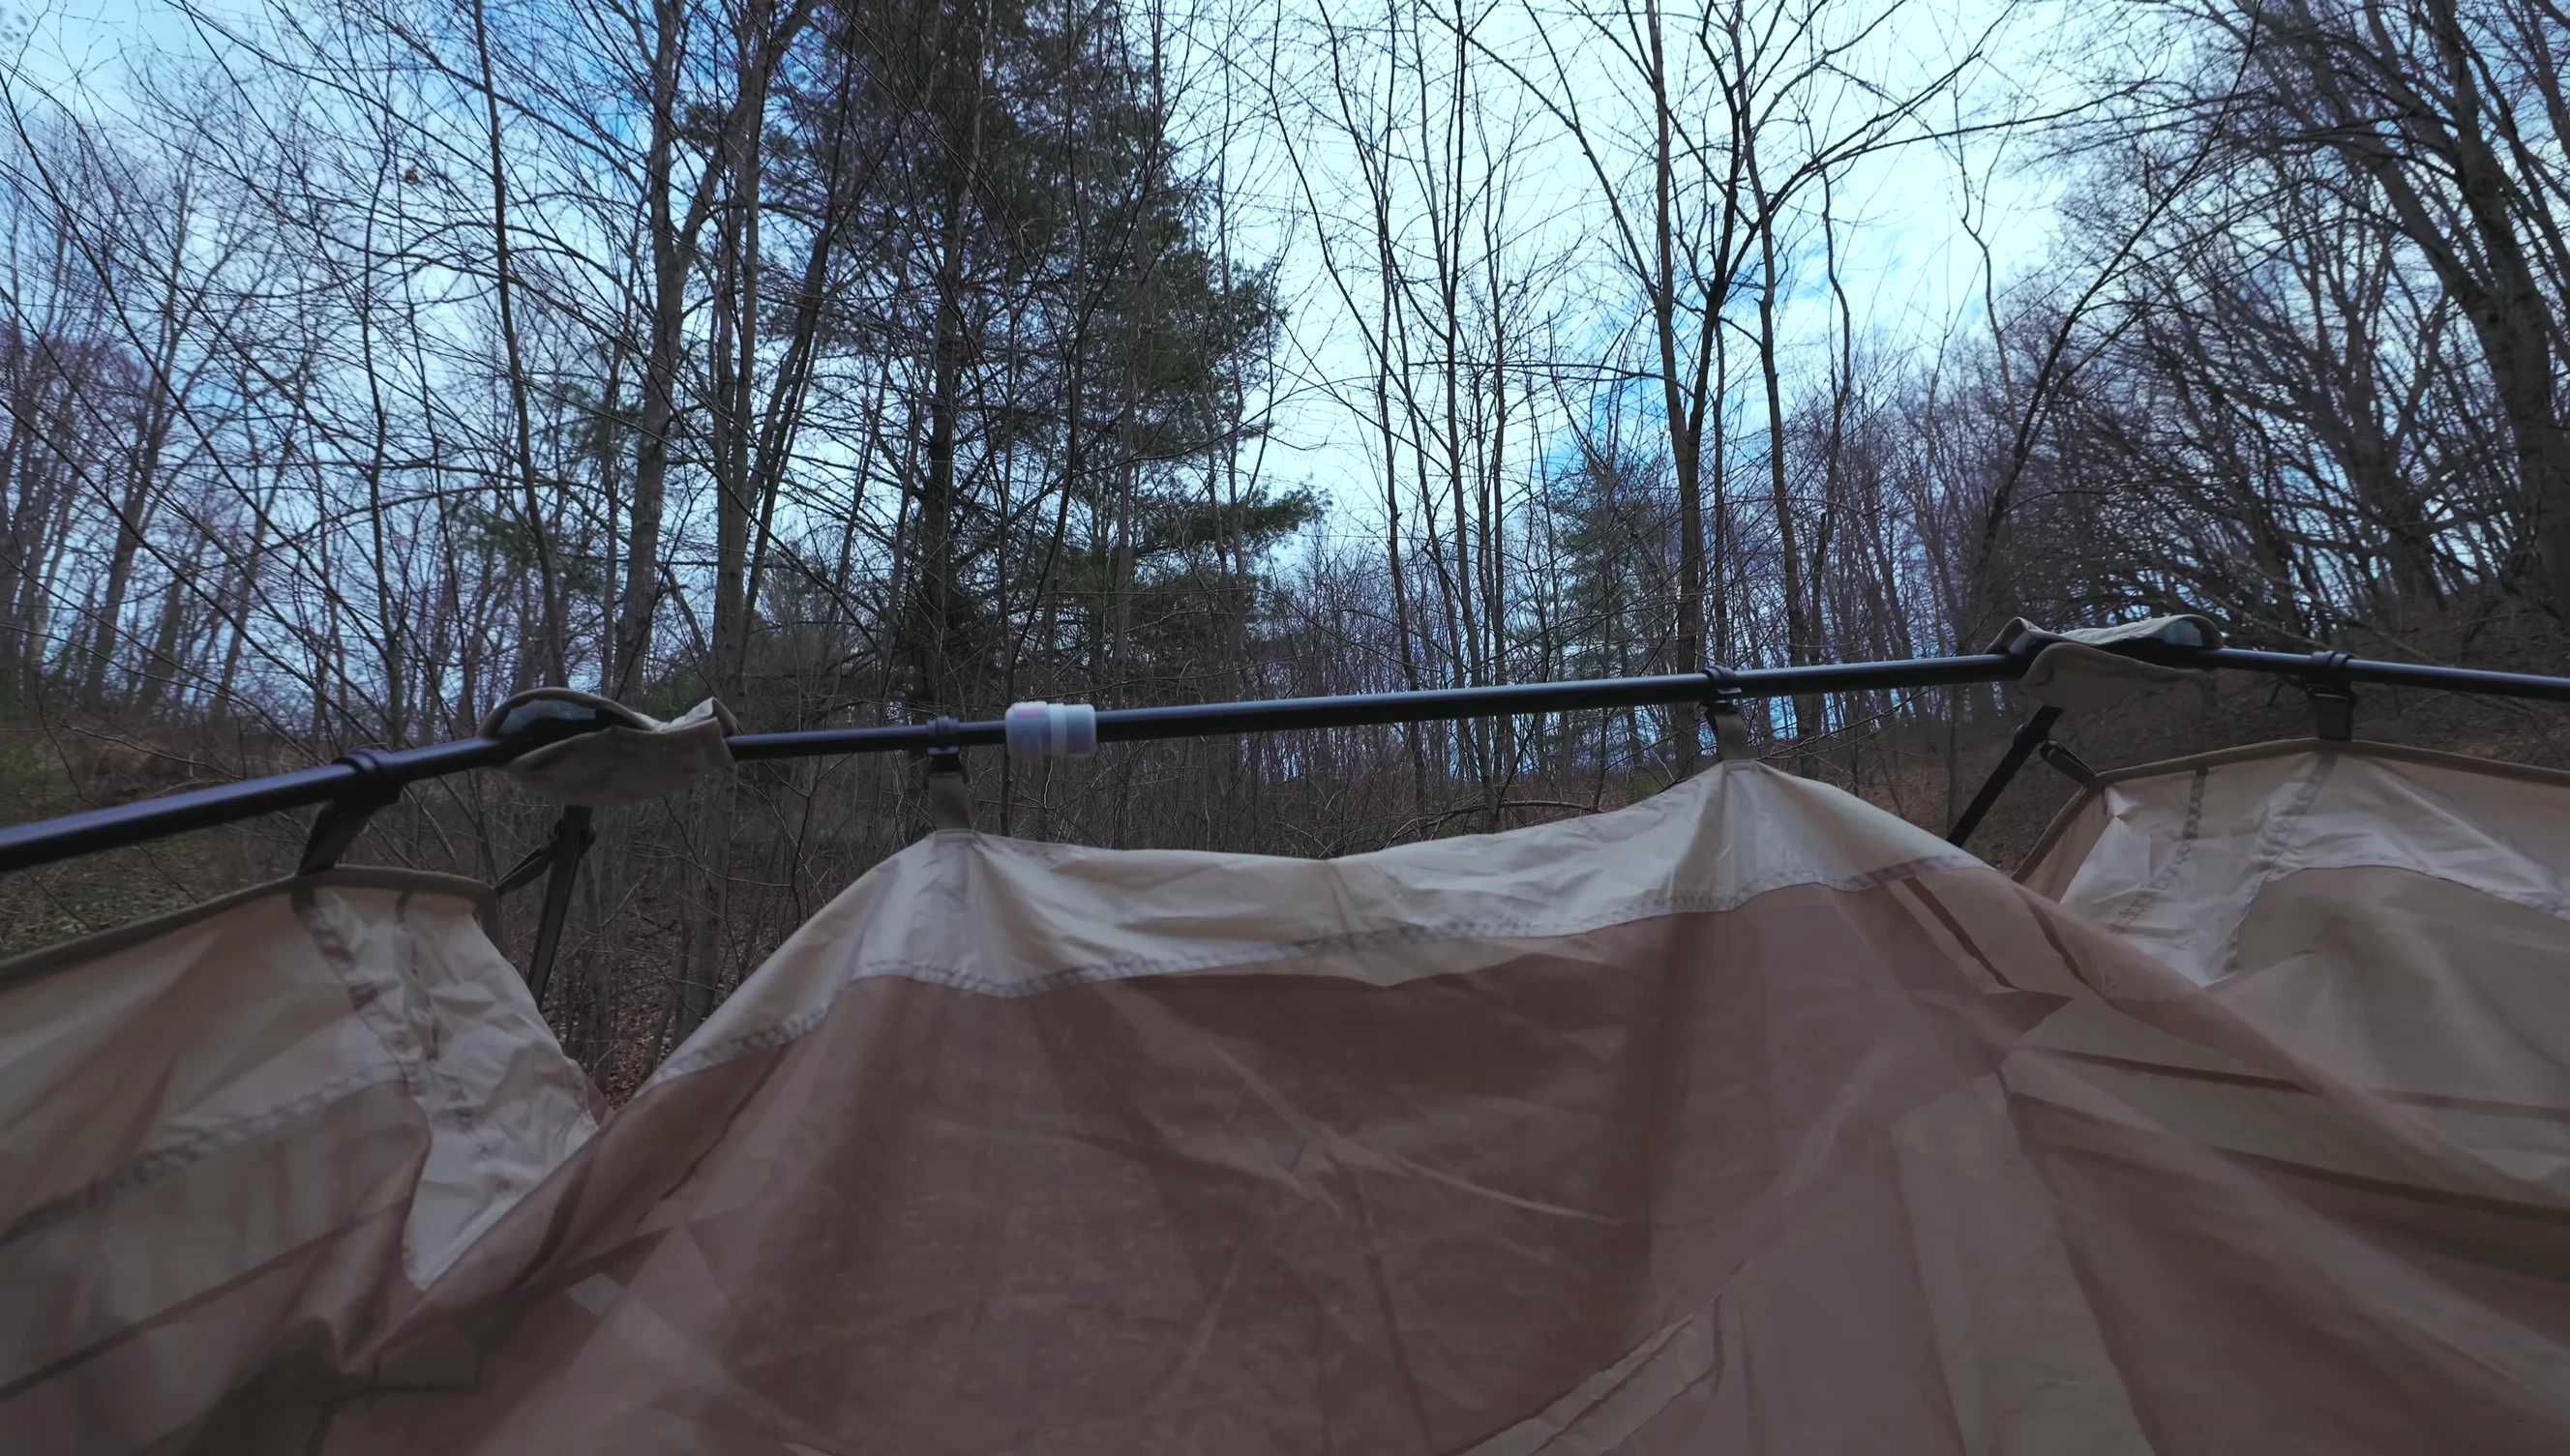
Once the legs are extended and locked, locate the top frame bar. This bar telescopes and locks, pulling the tent material taut. This step can be challenging due to the height; the following section details an easier method.
Easy Frame Bar Extension Technique
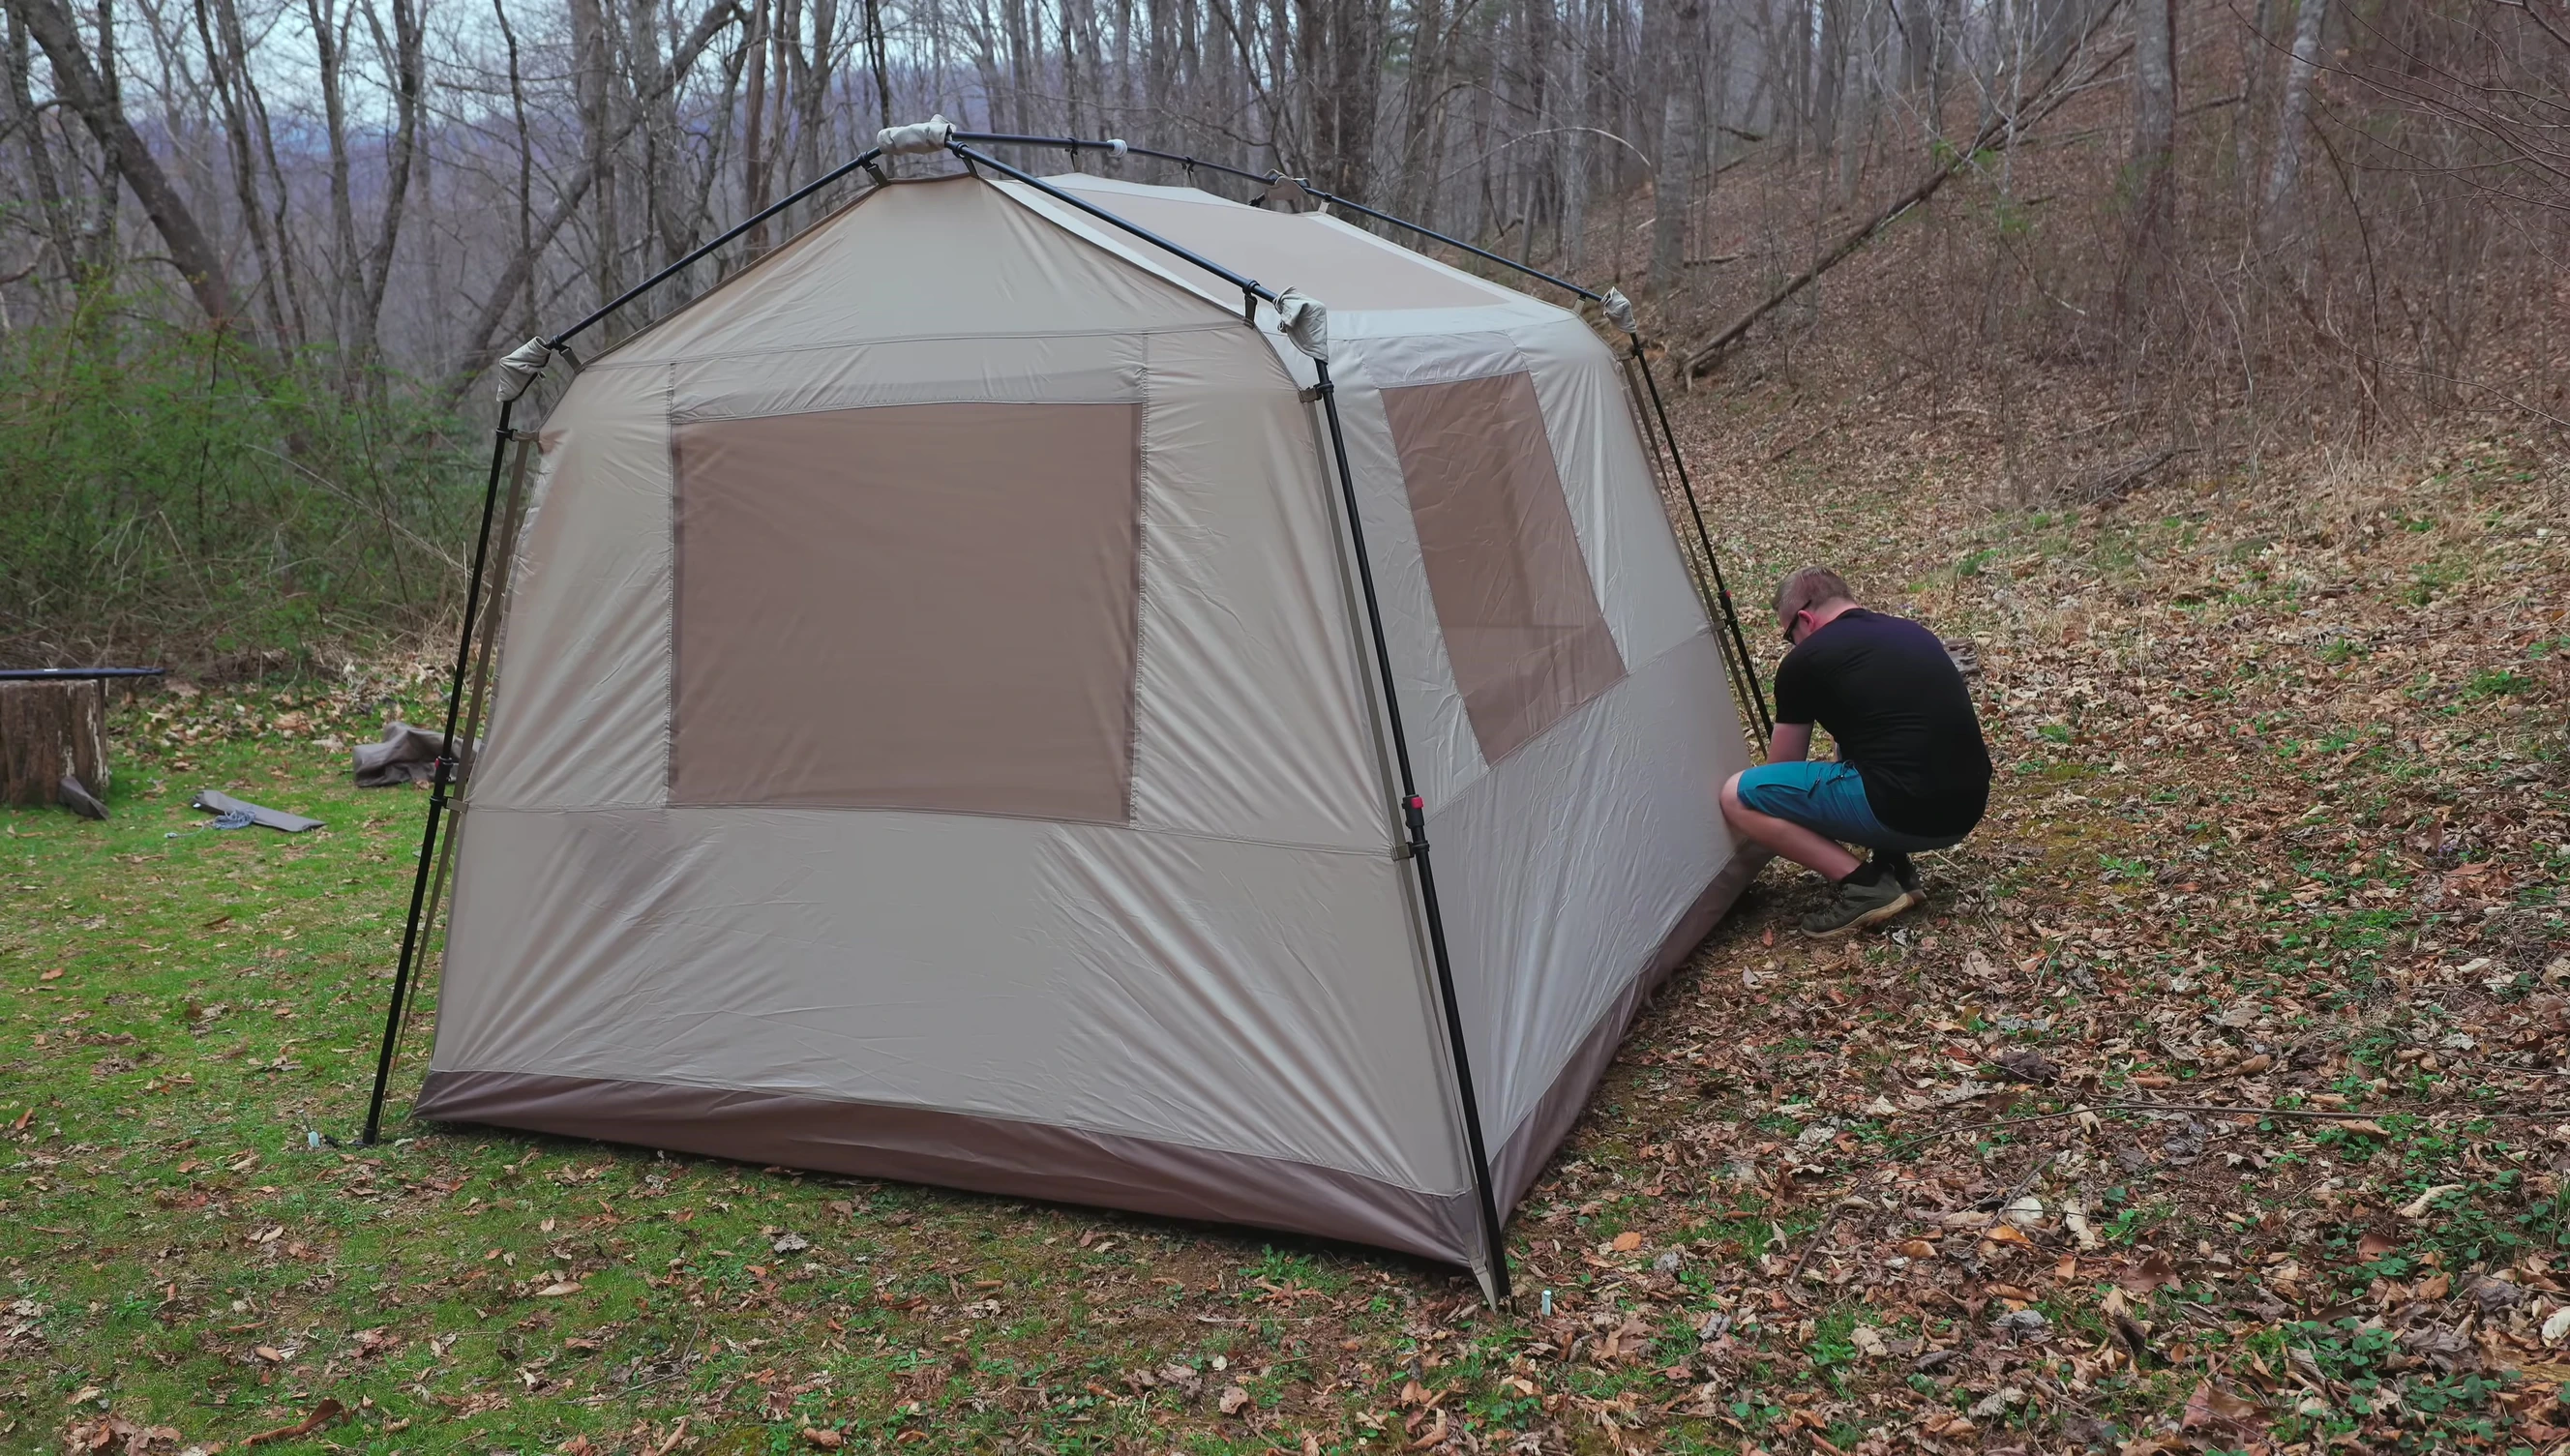
To easily extend the top frame bar, disconnect the tent inner from the pole structure using the clips on one side. This allows easier access to the top frame bar, enabling you to telescope and lock it into place without excessive strain. Once the bar is secured, reconnect the tent inner.
After reconnecting, stake out the corners of the tent body for extra security, using one stake per corner. This extra step ensures the stability of the tent structure.
Attaching and Securing the Flysheet
Next, place the flysheet over the tent. Orient the flysheet so the awning is at the front and the window vent is at the back. Don't worry if it's not perfect initially; you can rotate it later if needed. This large flysheet requires a little effort to secure, so take your time.
Once the flysheet is in place, secure it by connecting the buckles at the bottom of the flysheet and the tent in each corner. This will firmly attach the flysheet to the tent structure.

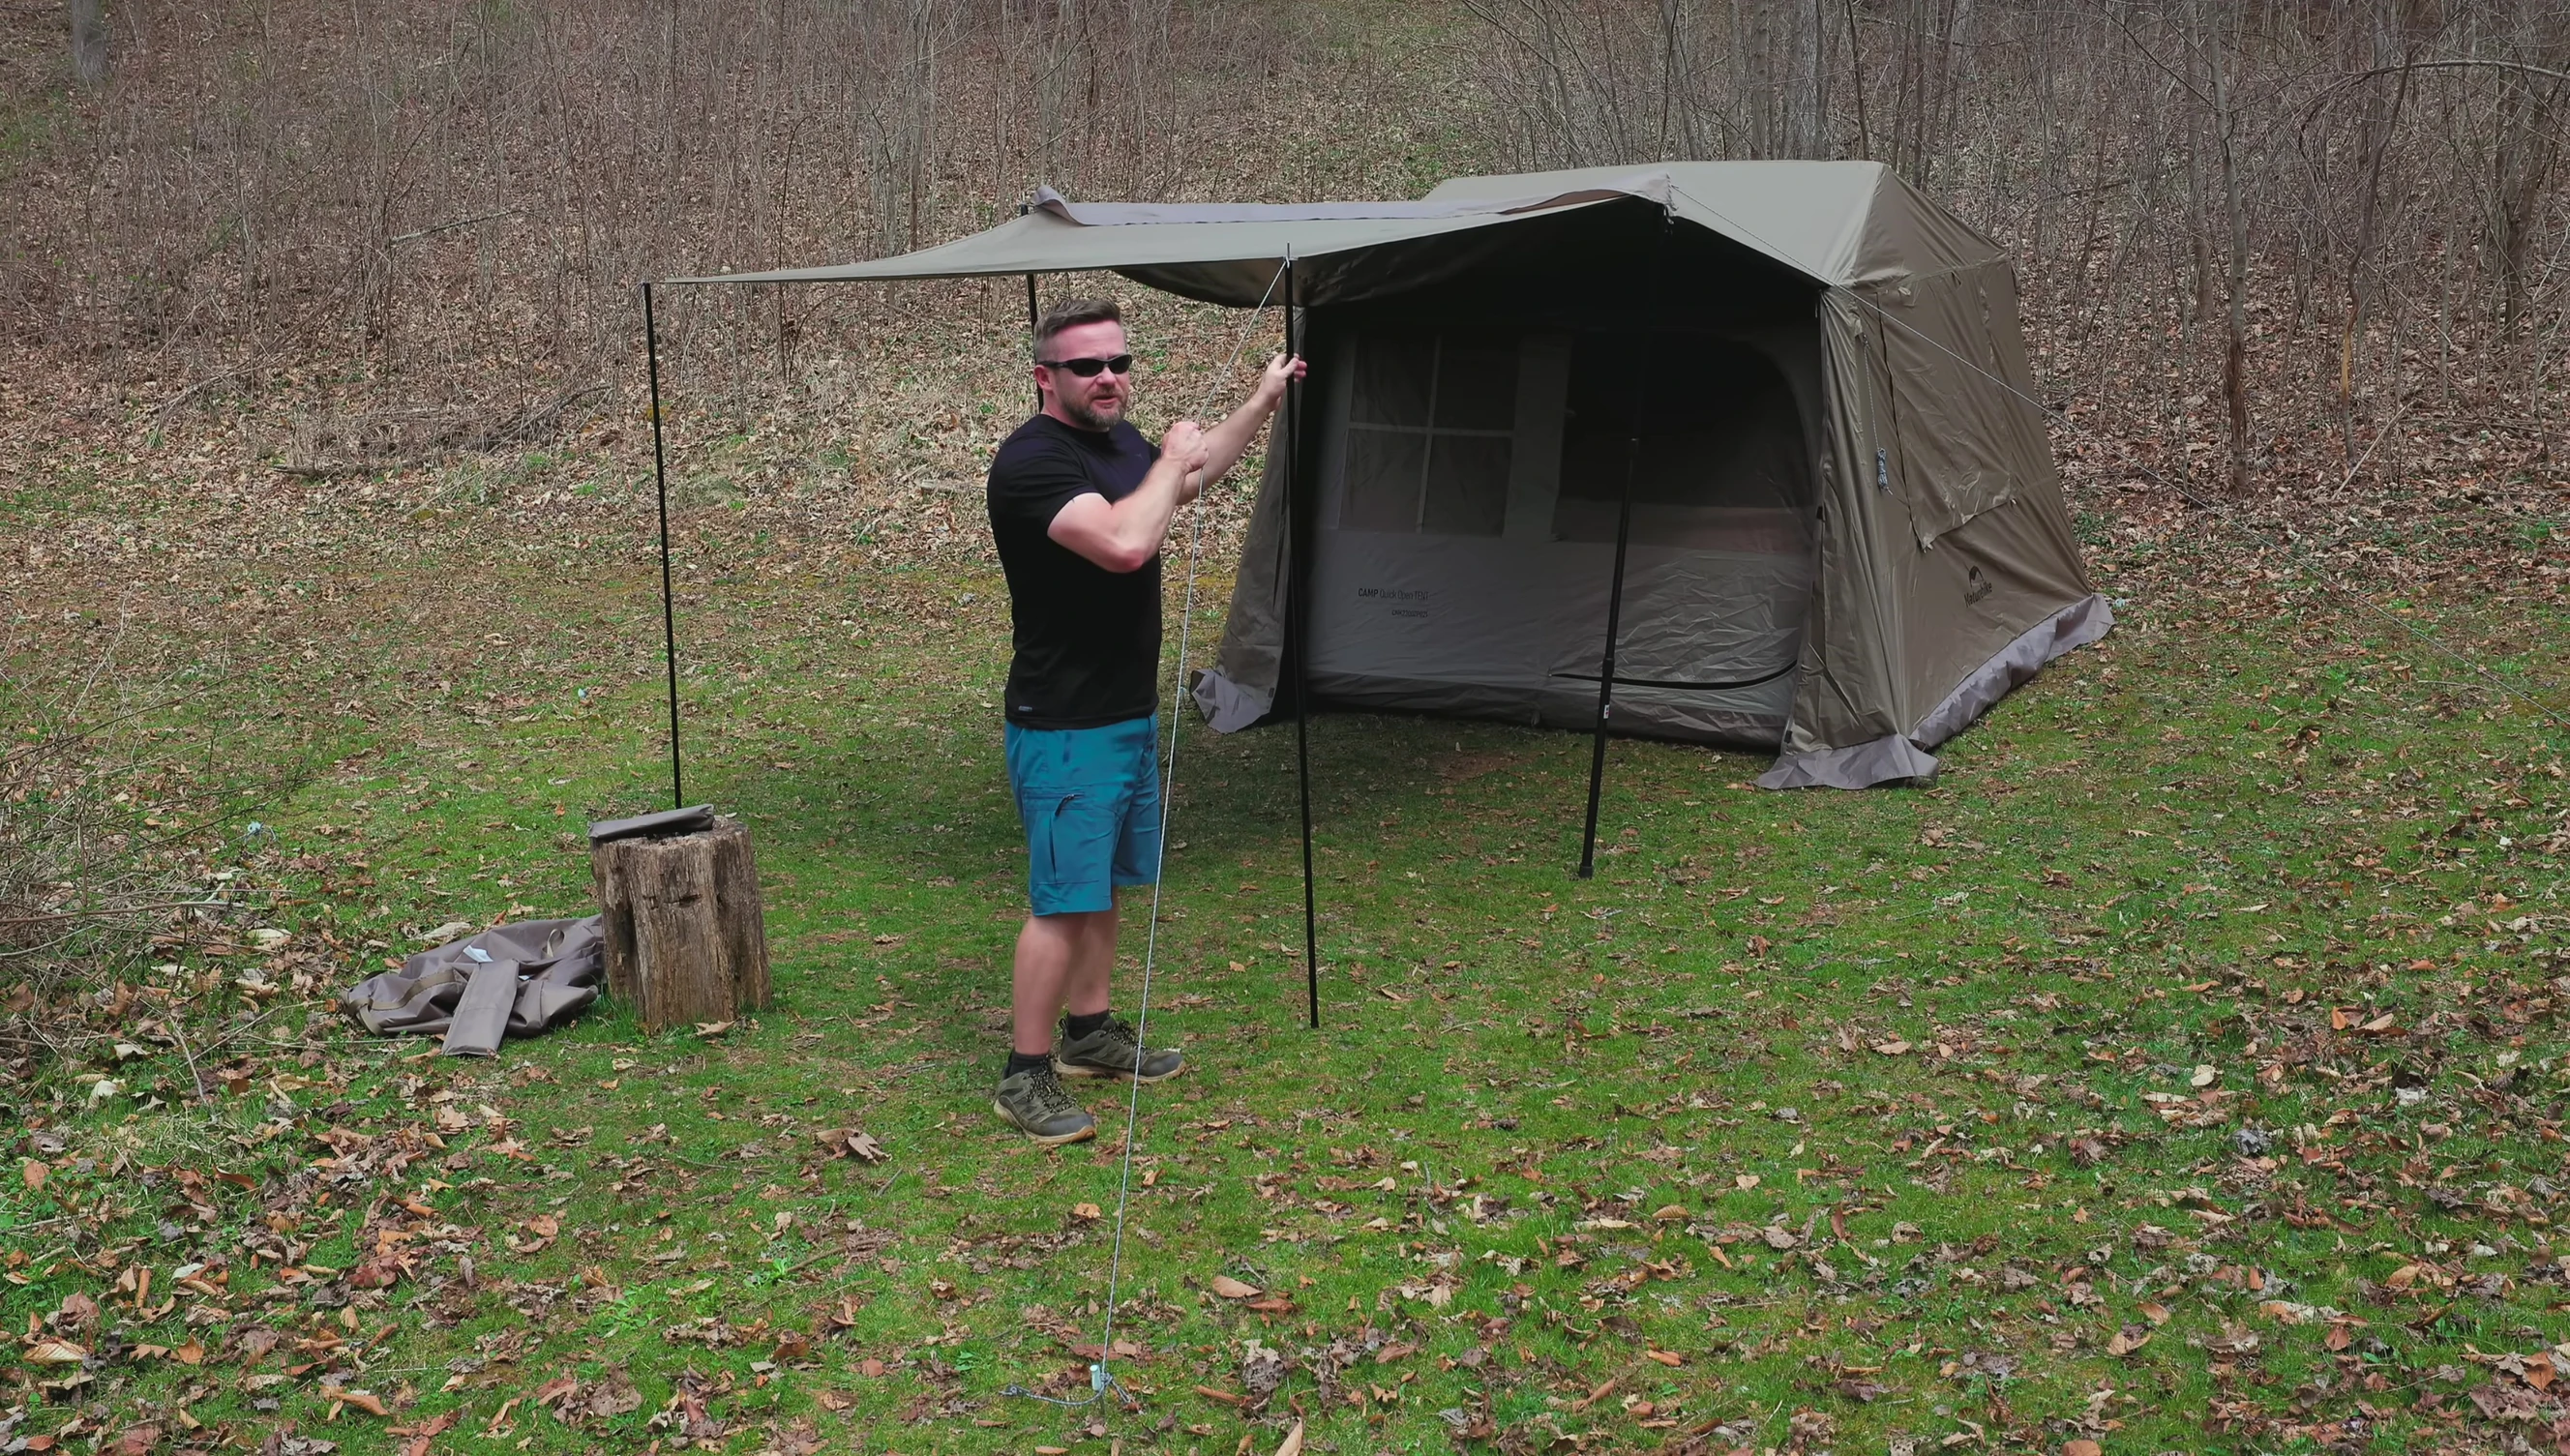
Awning Setup: Short and Full Length Options
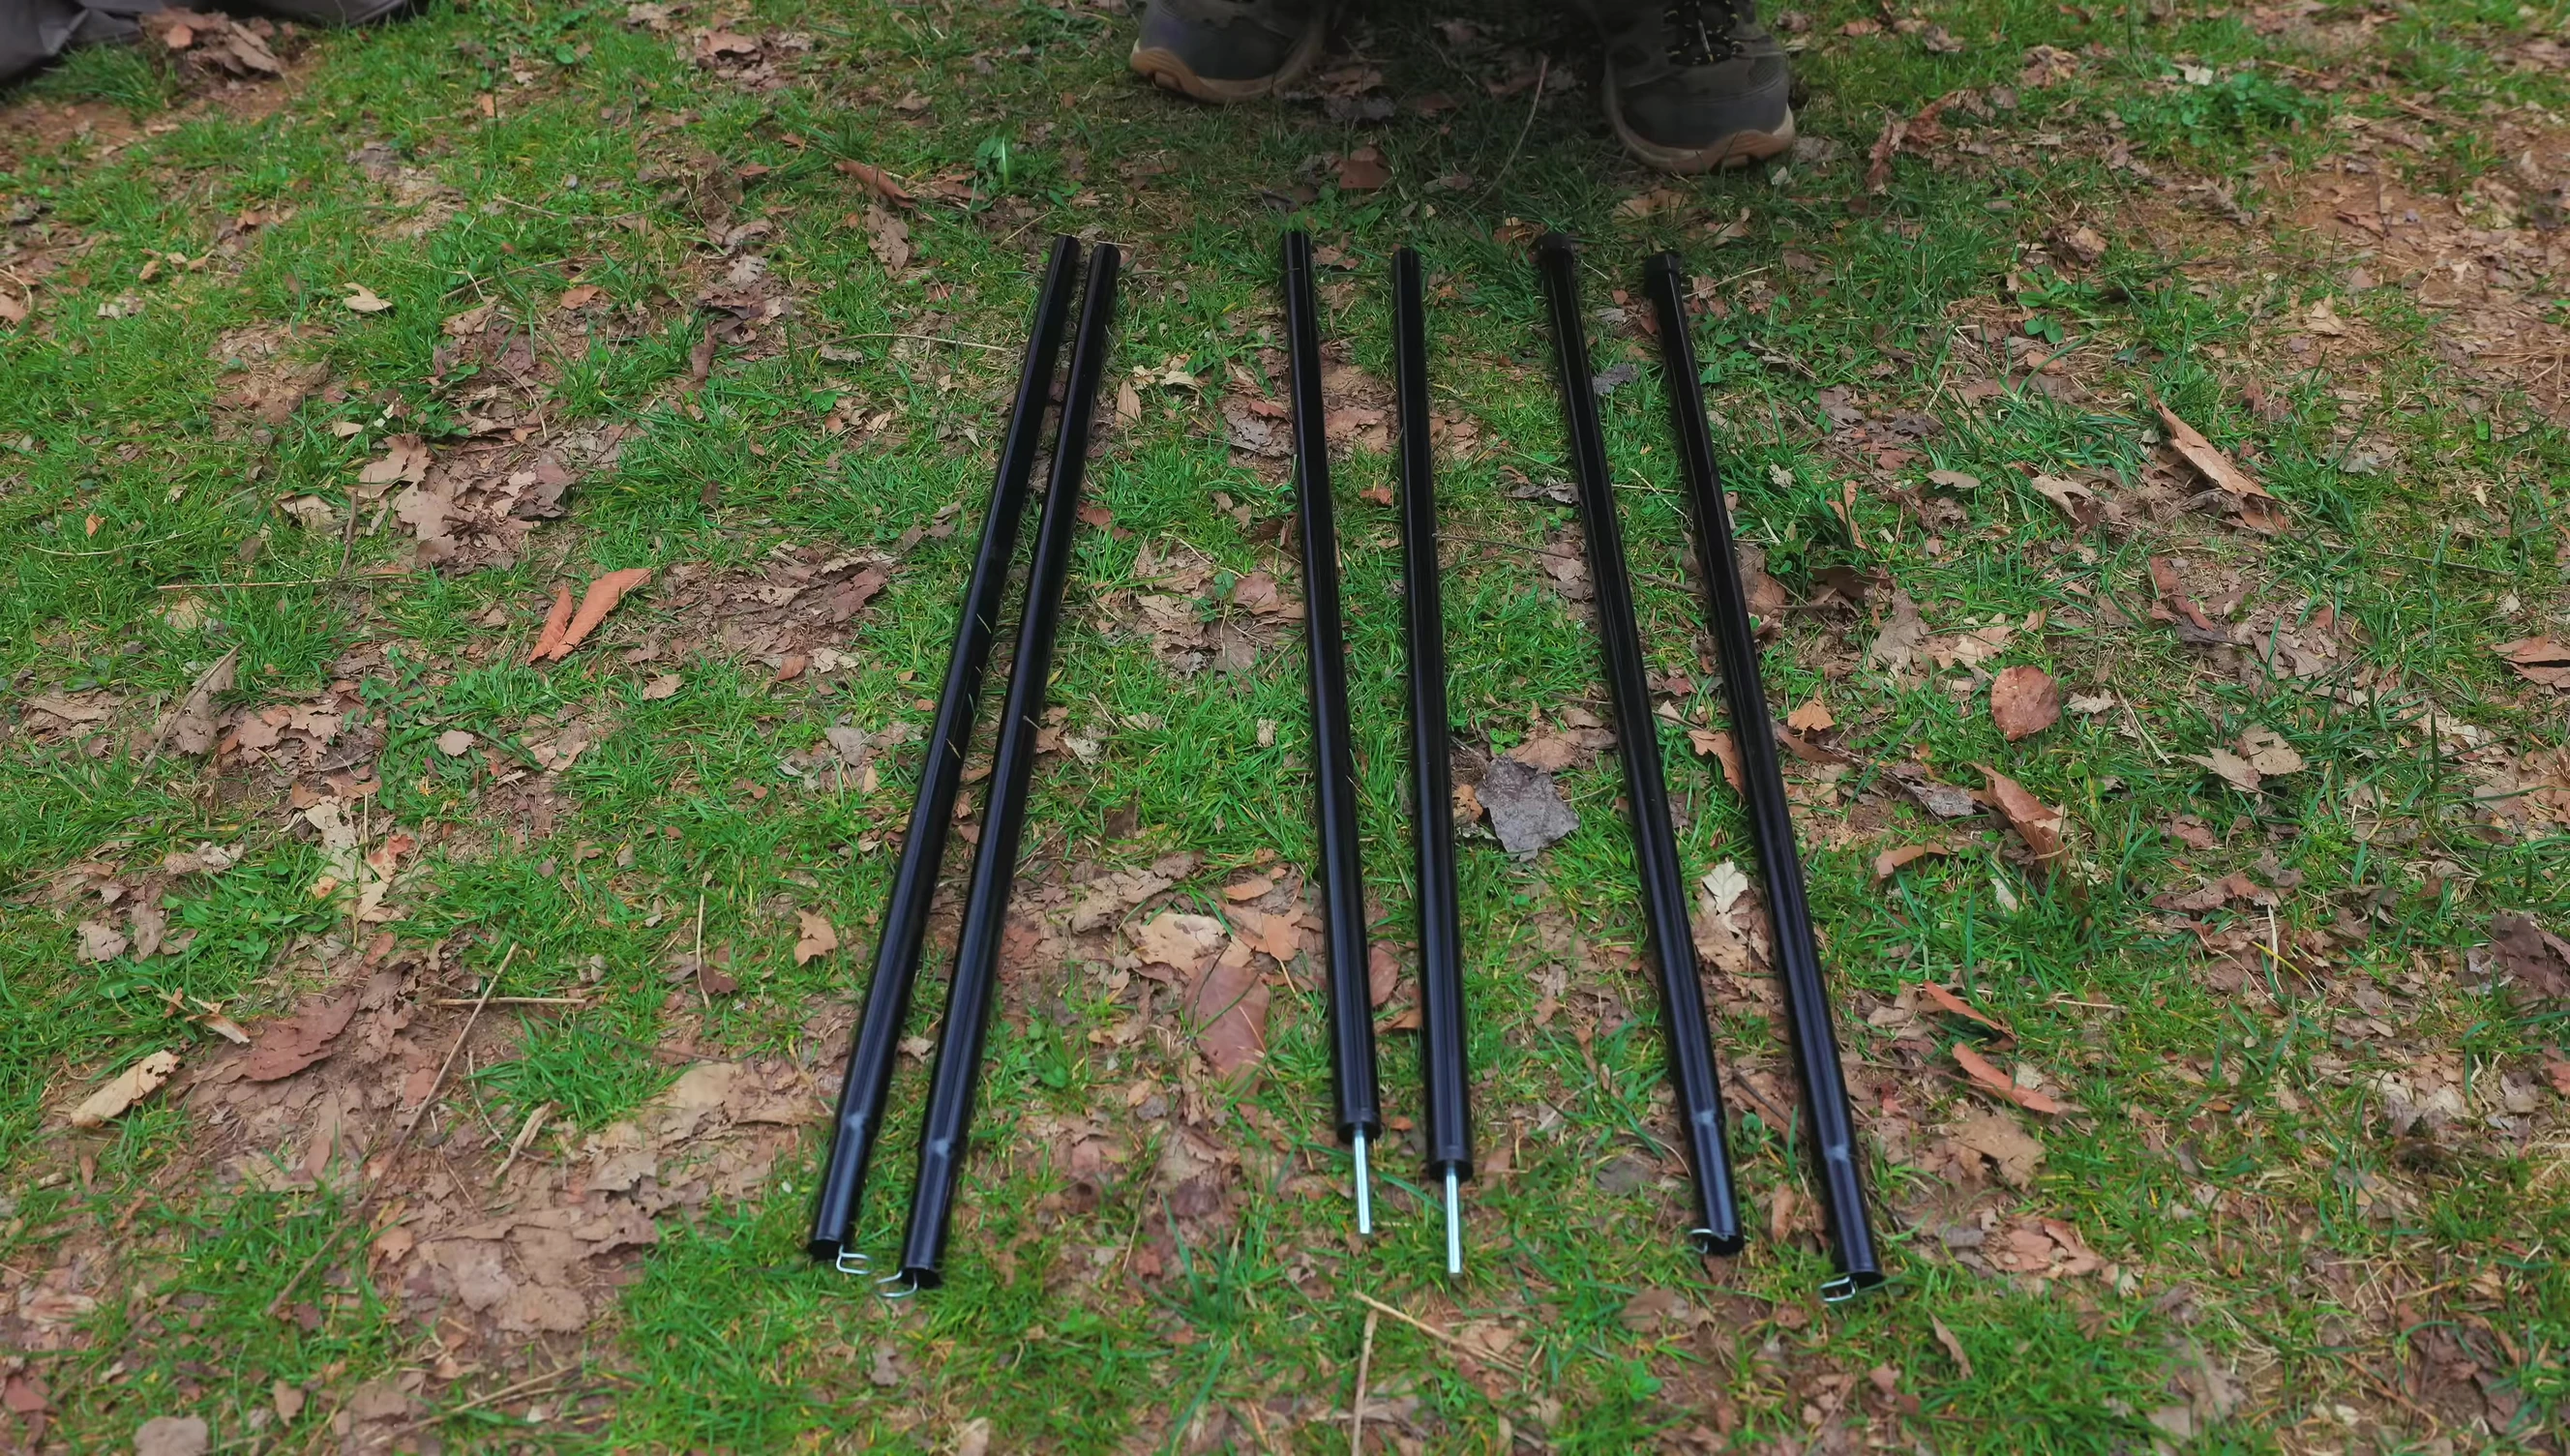
The awning comes in two stages: a half-length and a full-length. The kit includes poles for the shorter length; for the full length, extra poles are required. Assemble the poles according to the instructions; they consist of six sections which need connecting.

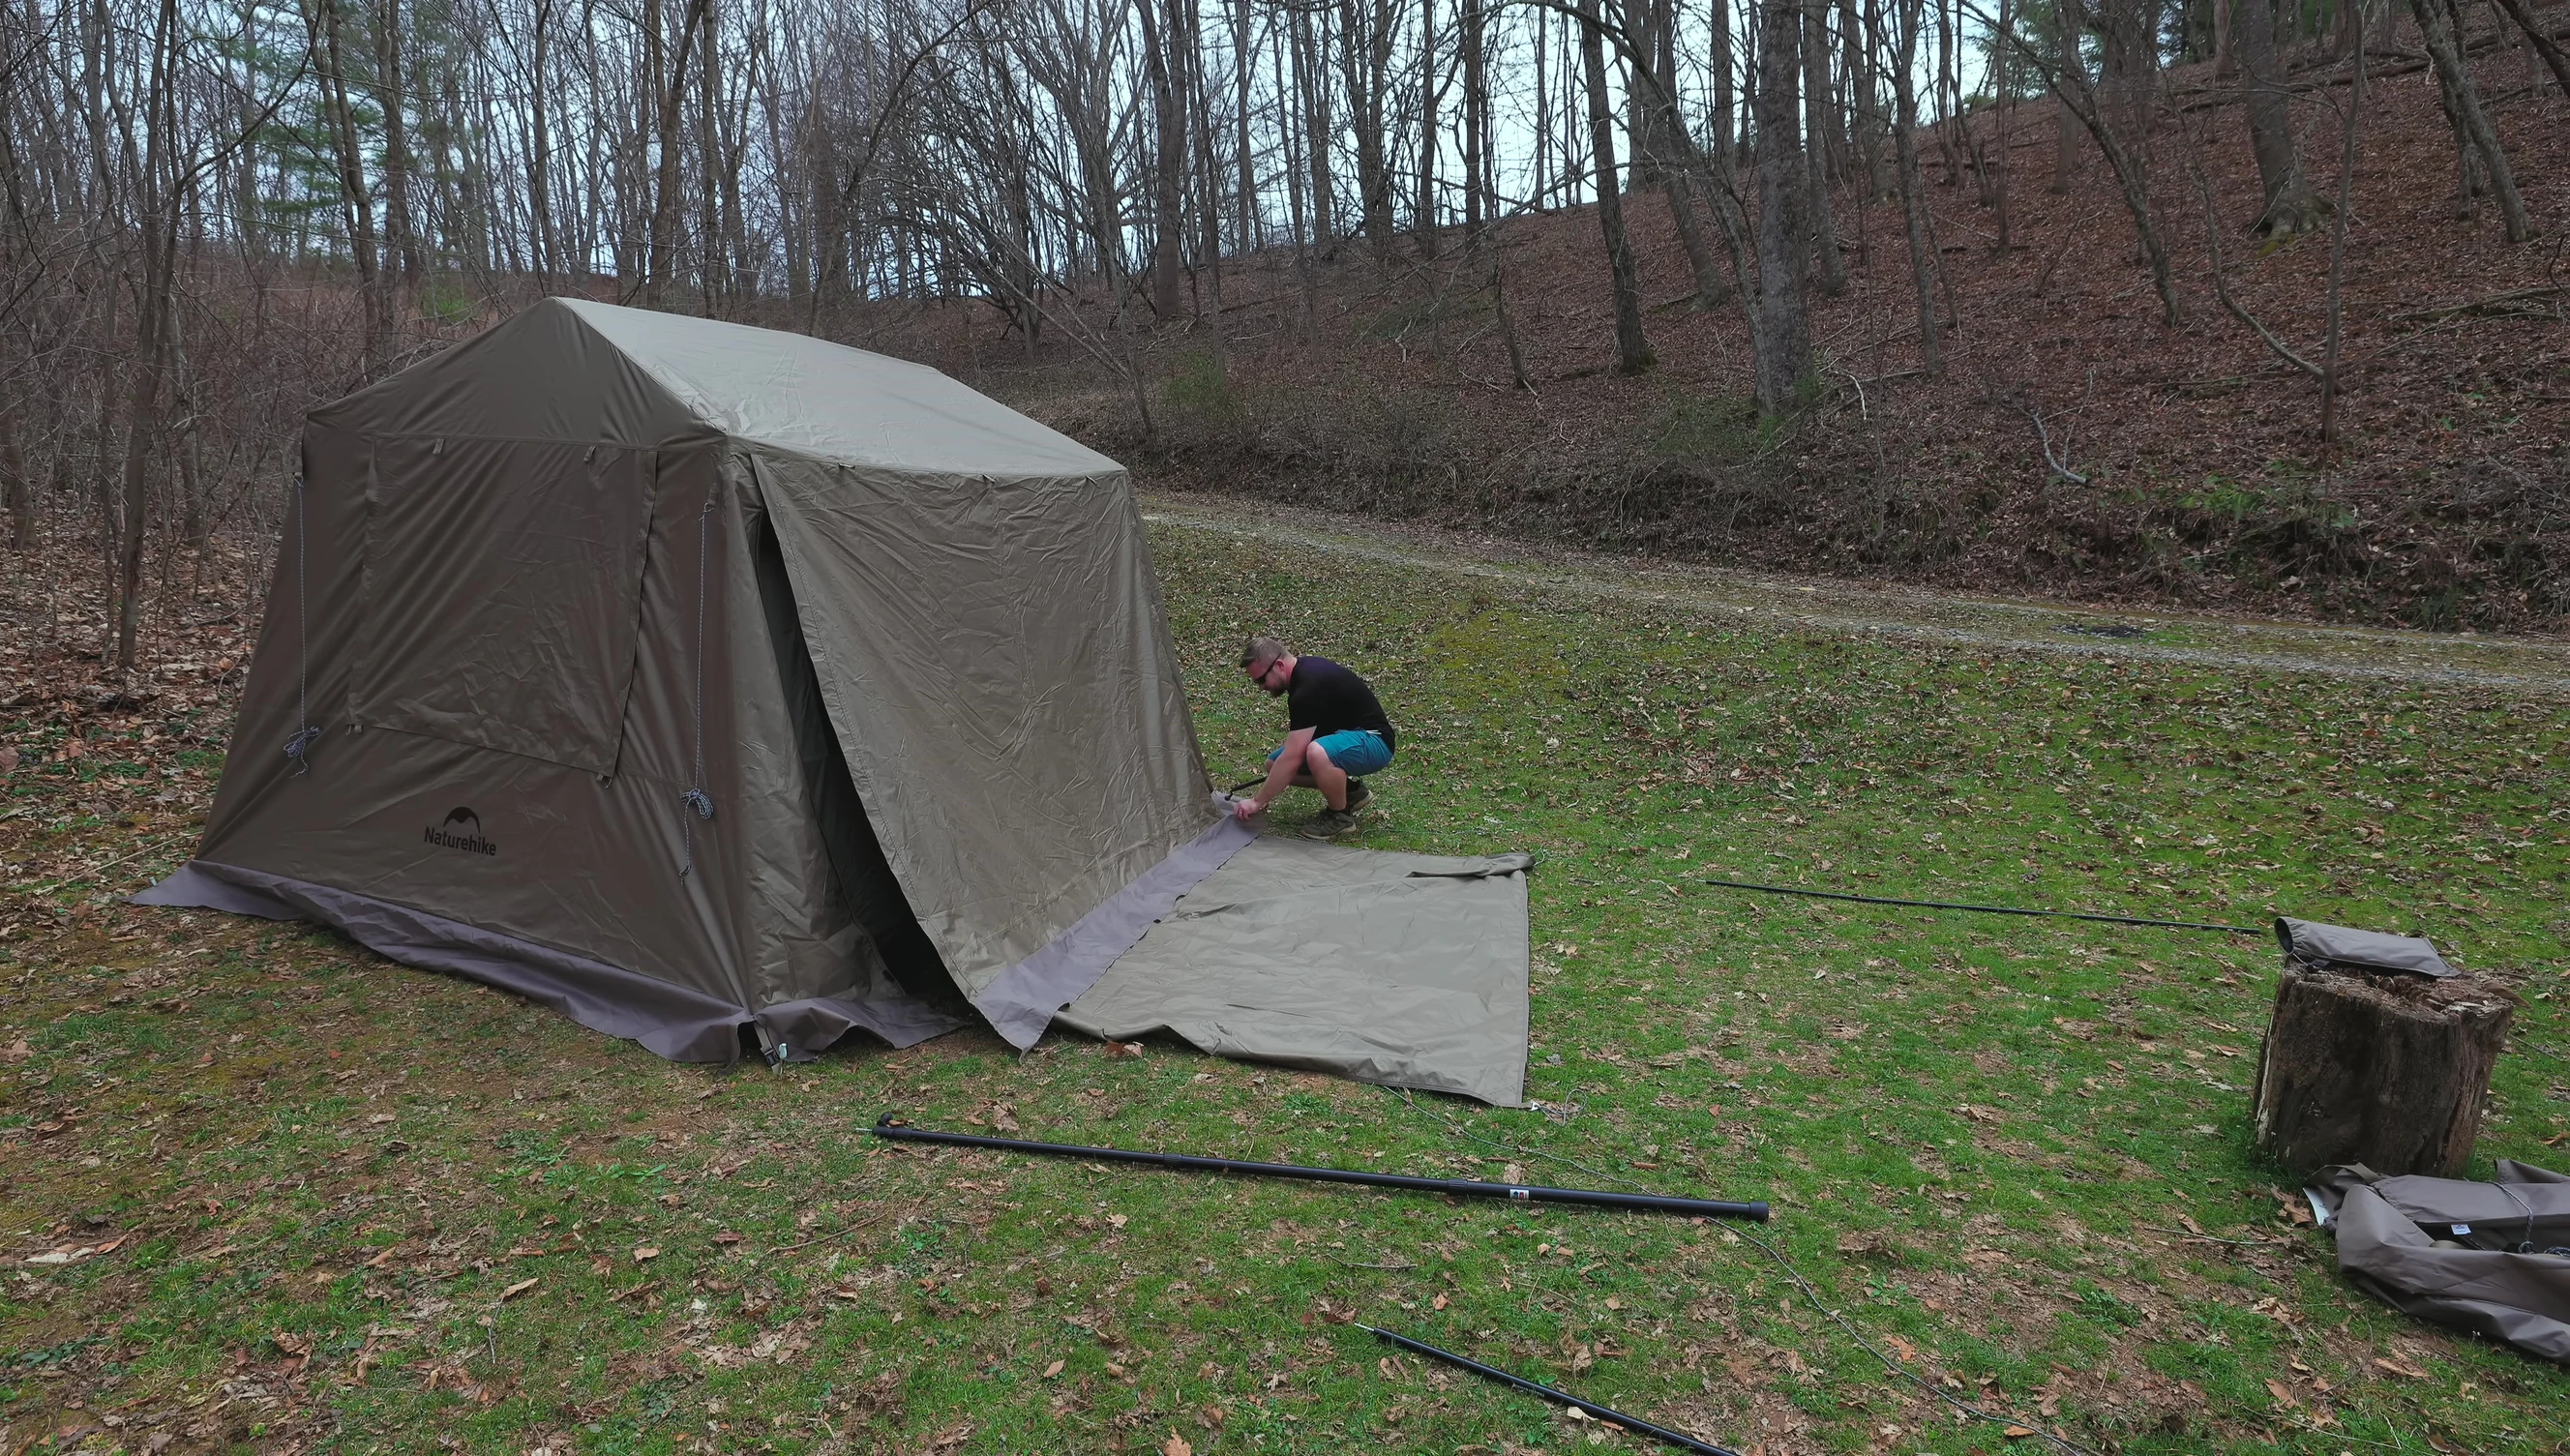
Lay out the awning and unzip both sides of the tent door. There’s a zipper under the flap and a piece of metal hardware to accommodate the awning poles. Attach poles to the metal hardware and stake them out to secure the awning. Add additional lines for extra support.
Final Adjustments and Conclusion
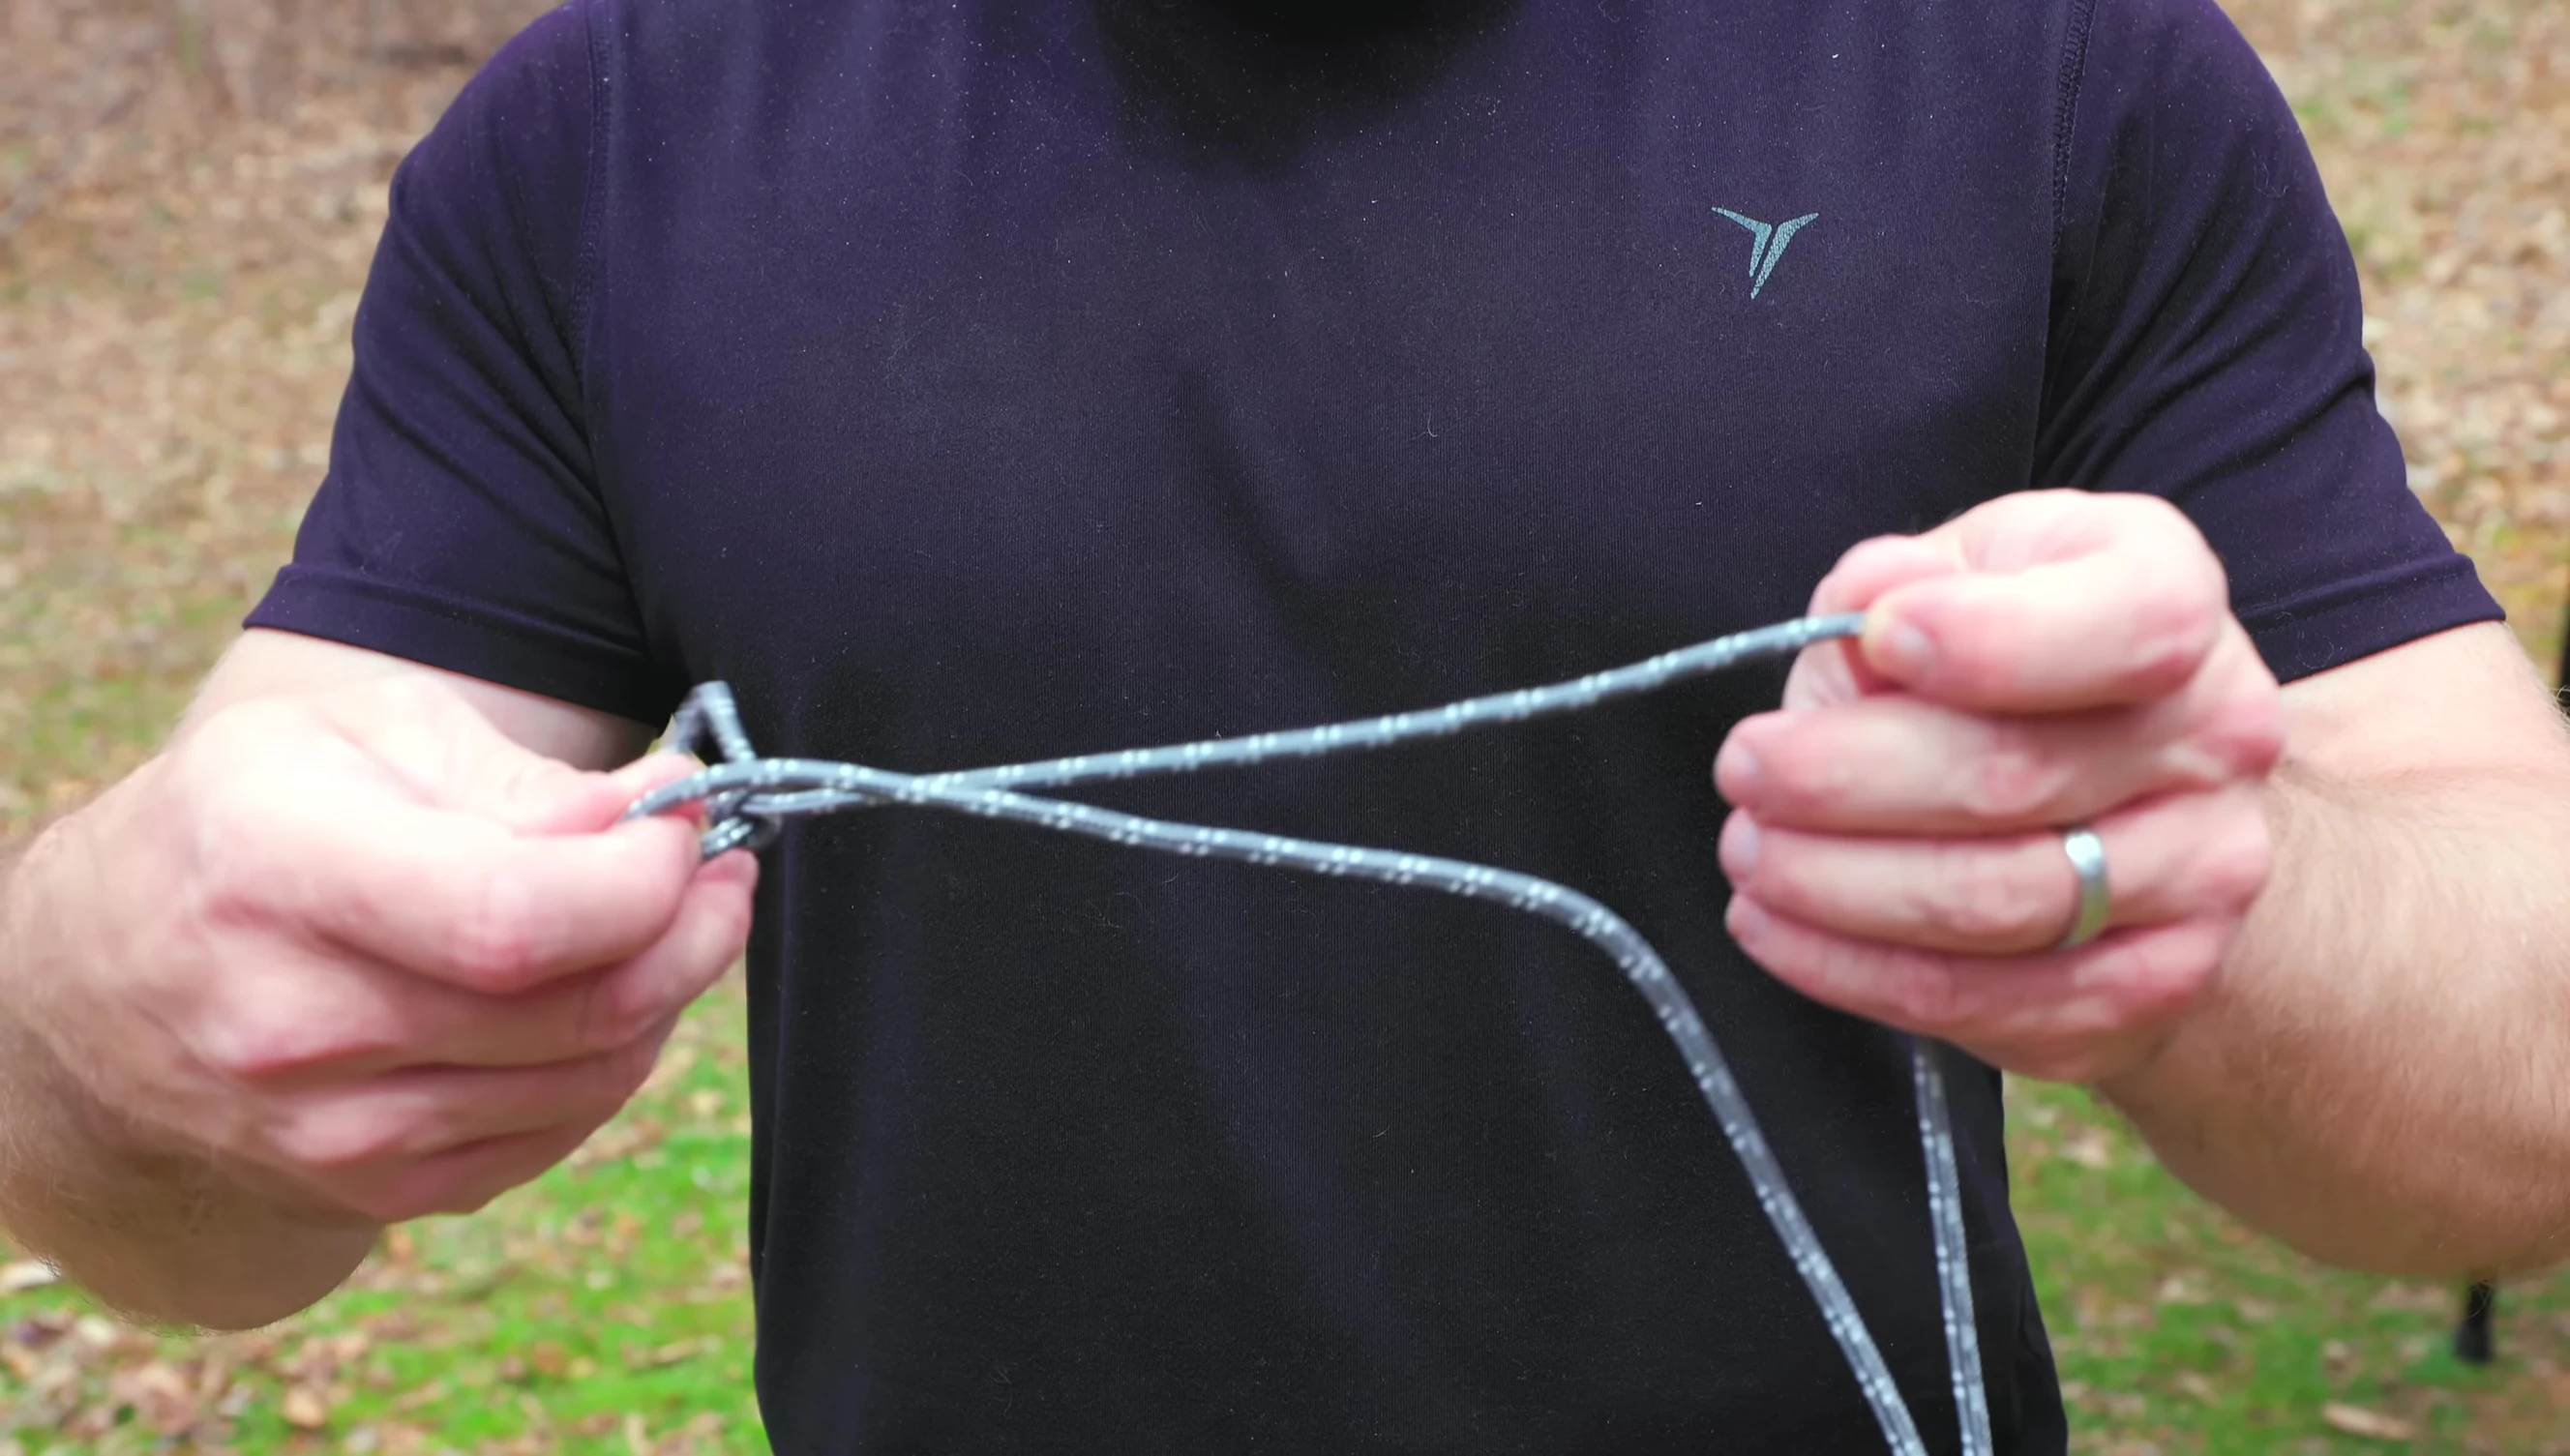
Make any necessary adjustments to ensure the awning stands straight and securely. Use the extra guidelines and slip knots to tighten and stake out the taller elephant poles for improved stability, especially in the center of the awning.
The NatureHike Cape tent, in all its versions, is relatively easy to set up, although it can be time-consuming, especially the awning. The breakdown process is even simpler. This detailed guide should make setting up your tent easier.