Finding yourself stranded without paracord cleats during a camping trip can be incredibly frustrating, especially when setting up your tarp. But don't despair! This simple guide provides a quick and resourceful solution, demonstrating how to easily create makeshift cleats using readily available materials. Forget wrestling with complicated knots and time-consuming adjustments; these DIY cleats offer a straightforward alternative that enhances both efficiency and convenience. Whether you're a seasoned camper or just starting out, this practical technique will significantly improve your tarp setup process.This guide will walk you through two easy methods for constructing functional paracord cleats: utilizing a small piece of wood with strategically placed holes, or repurposing a readily available door hinge. Both options provide a stable and adjustable attachment point for your paracord, allowing for quick and easy tension adjustments. We'll explore the benefits of using cleats, address common issues like uneven tarp tension, and offer solutions for achieving a perfectly taut and secure shelter, ensuring a more comfortable and enjoyable camping experience.
Read more: 5 Best PVC Camping Tarps for Your Next Adventure
Improvising Paracord Cleats
Finding yourself without paracord cleats during a camping trip can be frustrating. Fortunately, resourceful solutions exist. This guide details how to quickly fabricate makeshift cleats using readily available items.
A simple piece of wood with three holes drilled in it works surprisingly well. This allows you to easily secure your paracord, providing a stable and adjustable attachment point.
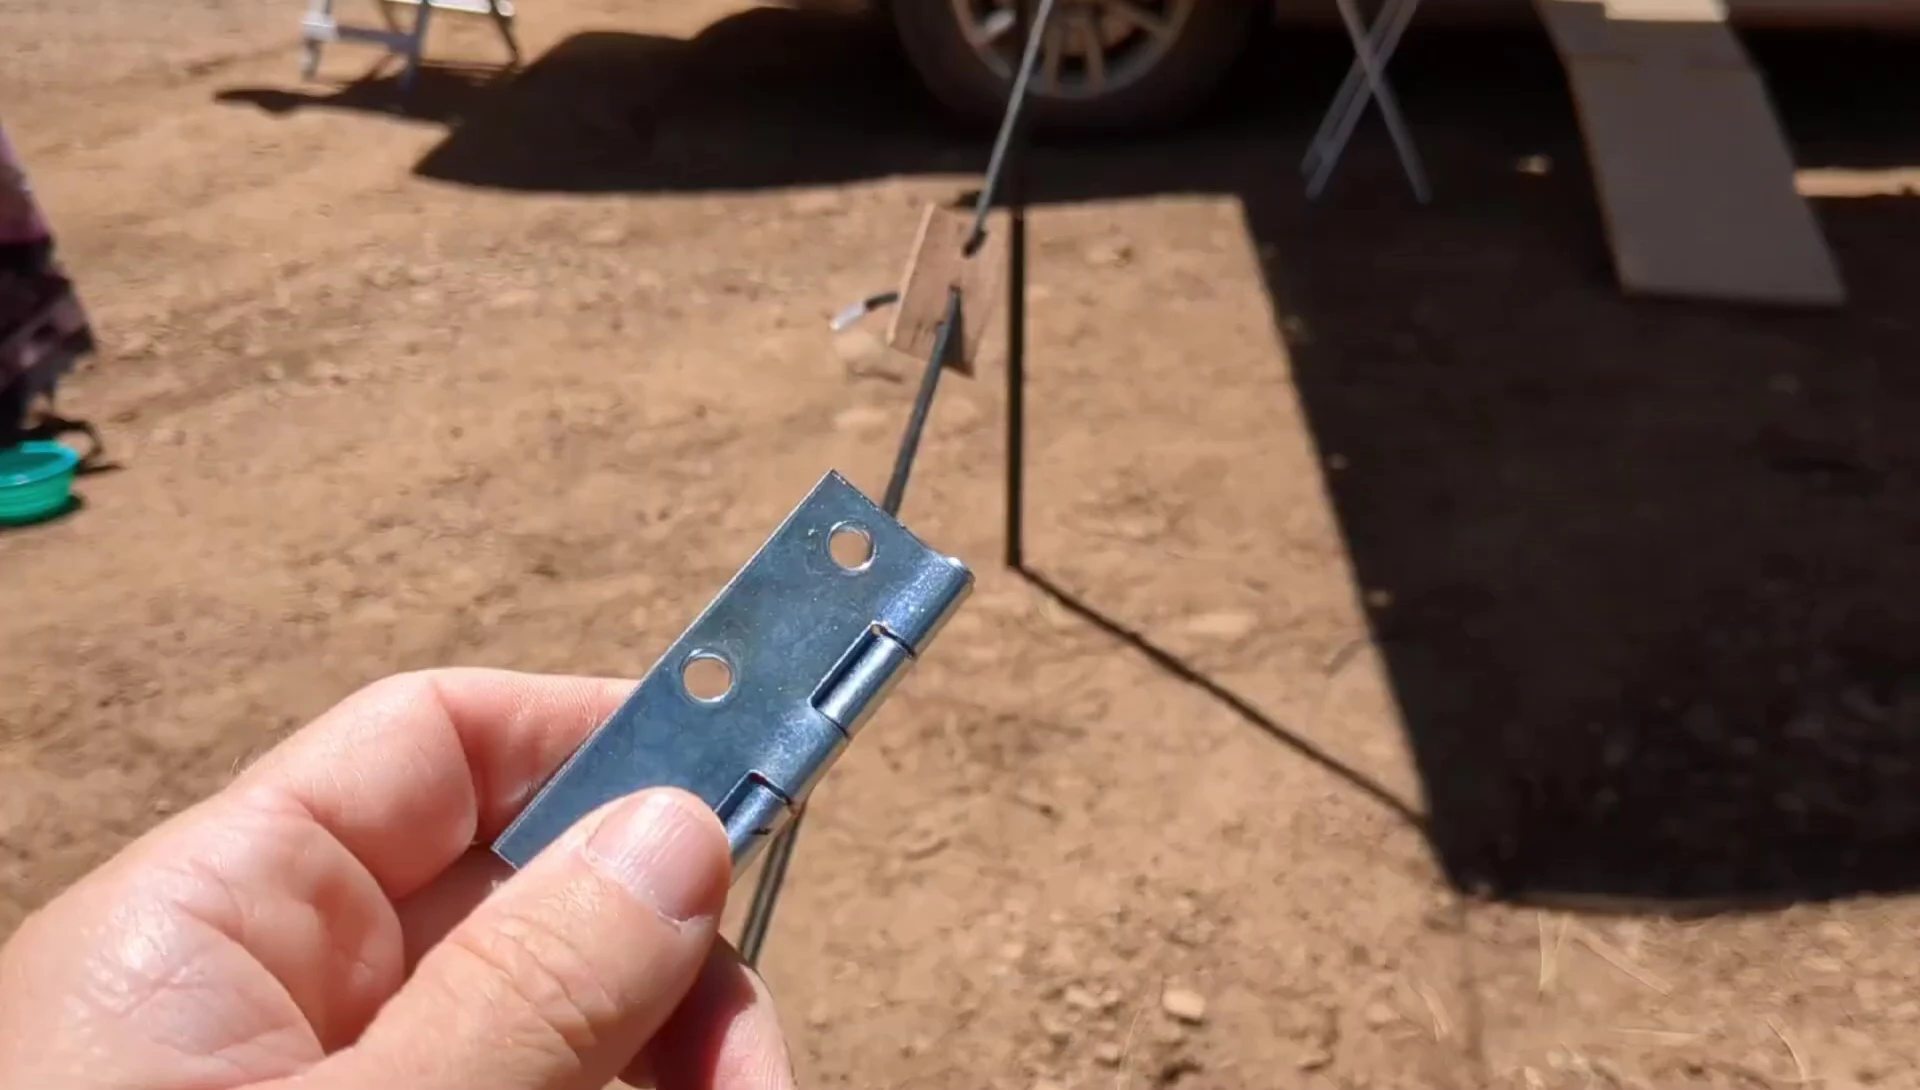
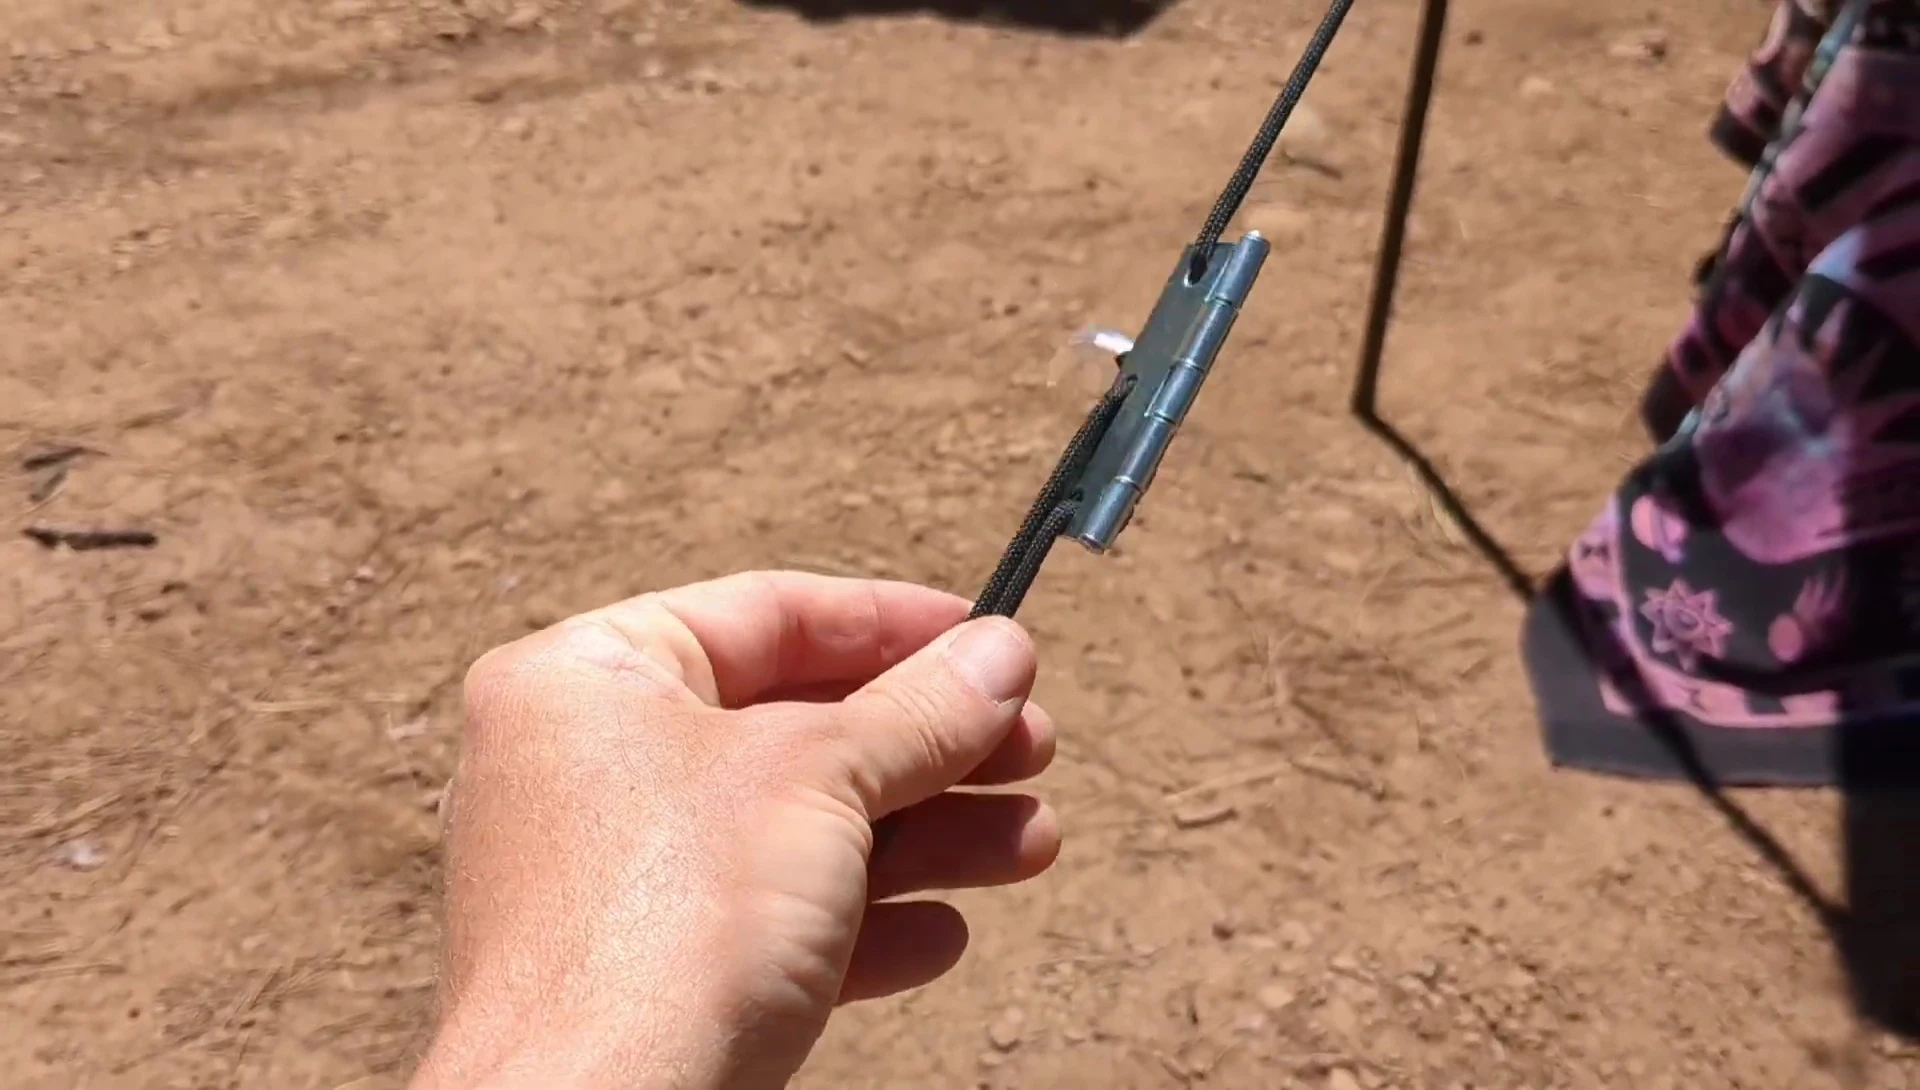
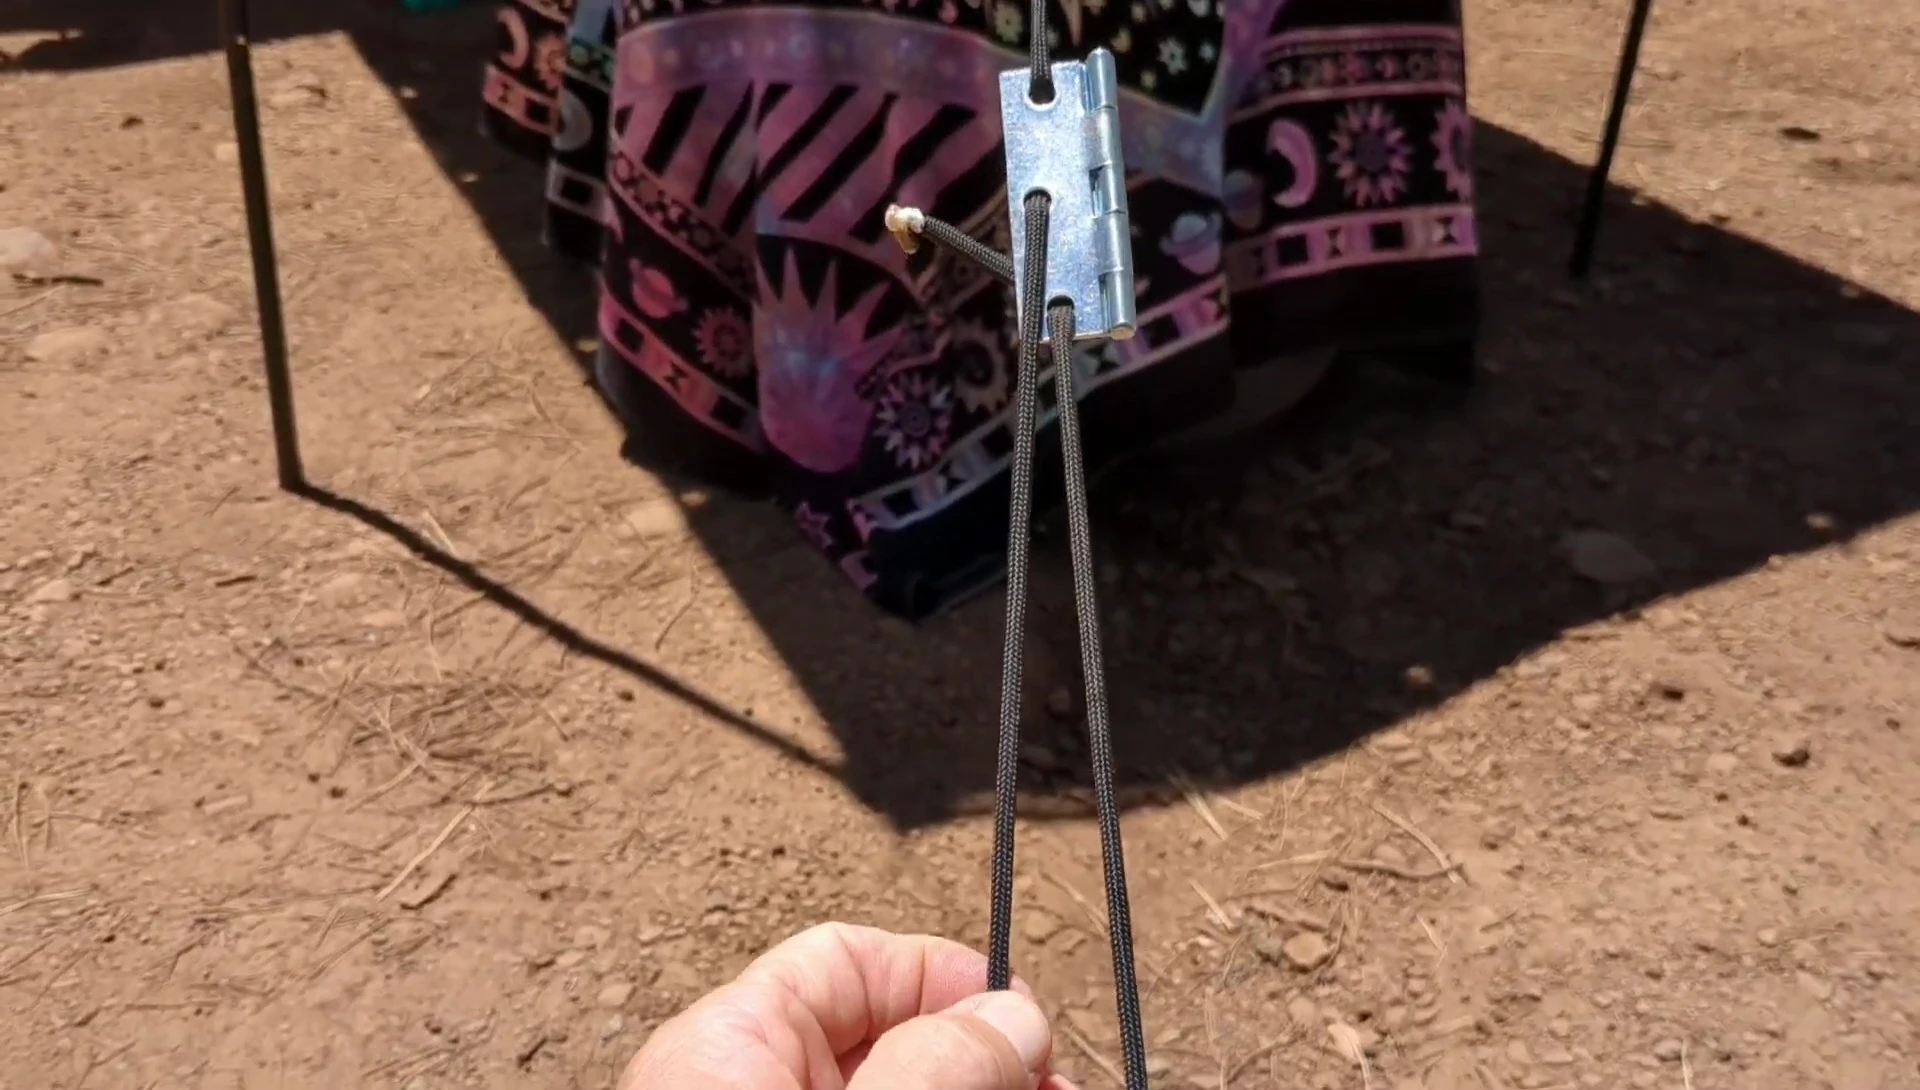
Alternatively, a small door hinge serves the same purpose. Its pre-drilled holes eliminate the need for drilling, making it an even faster solution in a pinch.
The Benefits of Using Cleats
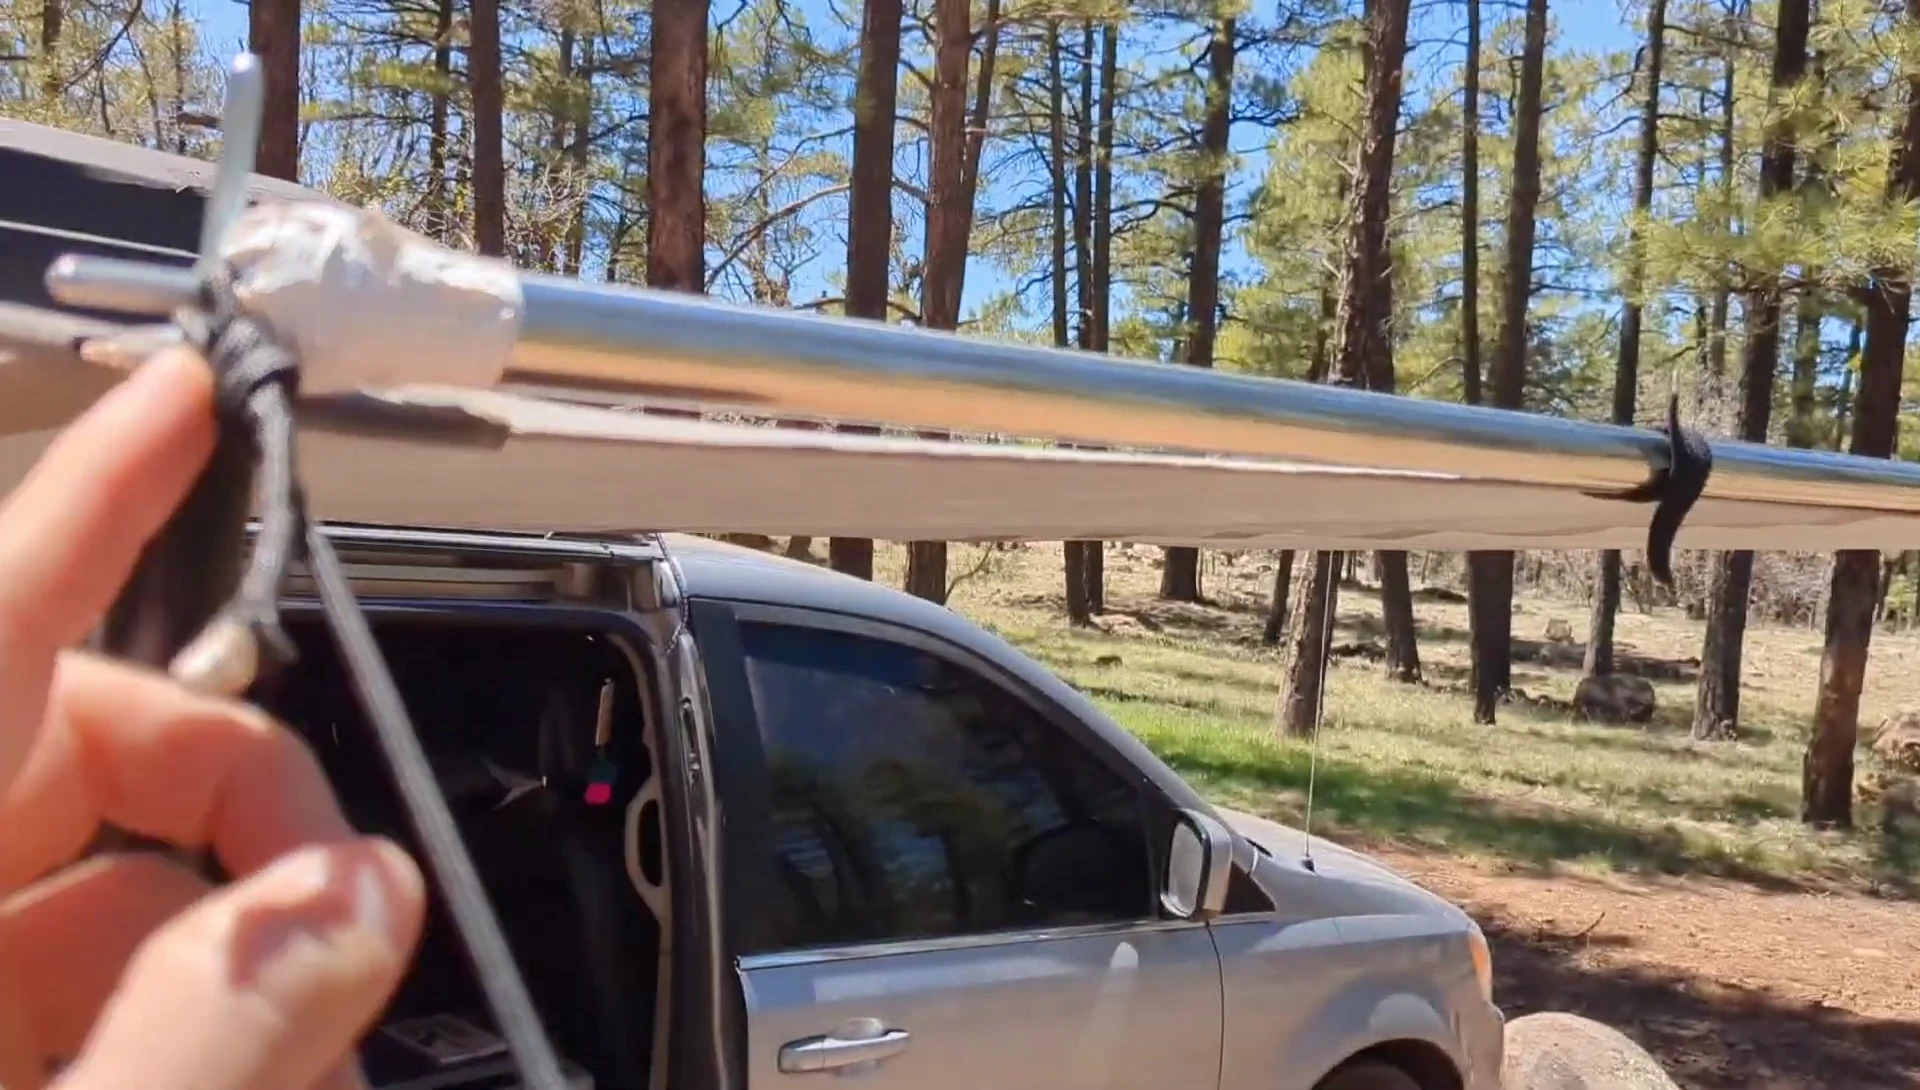
Cleats significantly improve the tarp setup process. They allow for easy adjustment without repeatedly tying and untying knots.

Instead of wrestling with knots, you can initially secure the lines loosely and then easily tighten them to the desired tension. This makes adjusting your tarp much more convenient.
This simple addition significantly streamlines the process, leading to a much more efficient and less frustrating setup.
Installing and Replacing the Cleat
The process of installing or replacing a cleat is quick and straightforward. Simply remove the existing cleat and attach the new one.
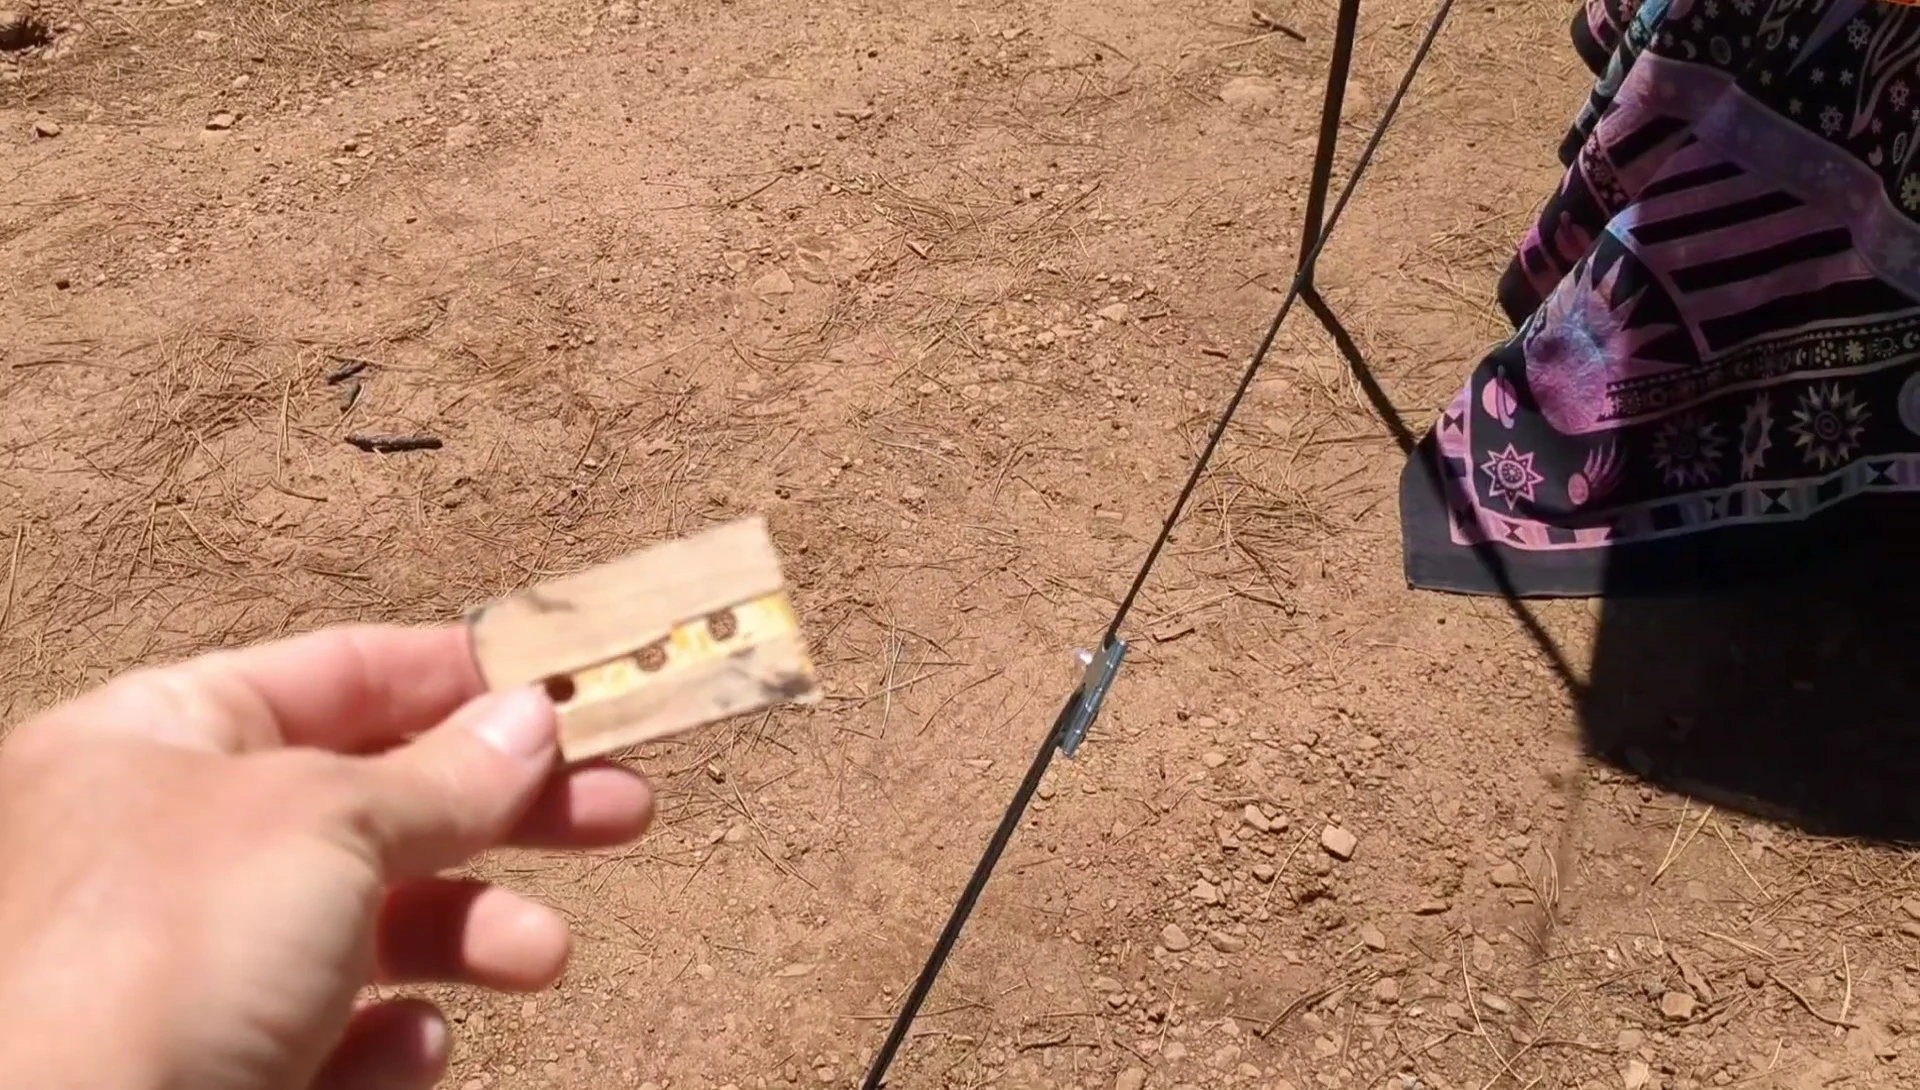
This can be done with the wooden cleat or door hinge, both offering similar functionality. The choice depends primarily on what is available and your preference.
Ensuring a snug fit is essential for optimal tension and stability. The key is to find something with three appropriately-spaced holes.
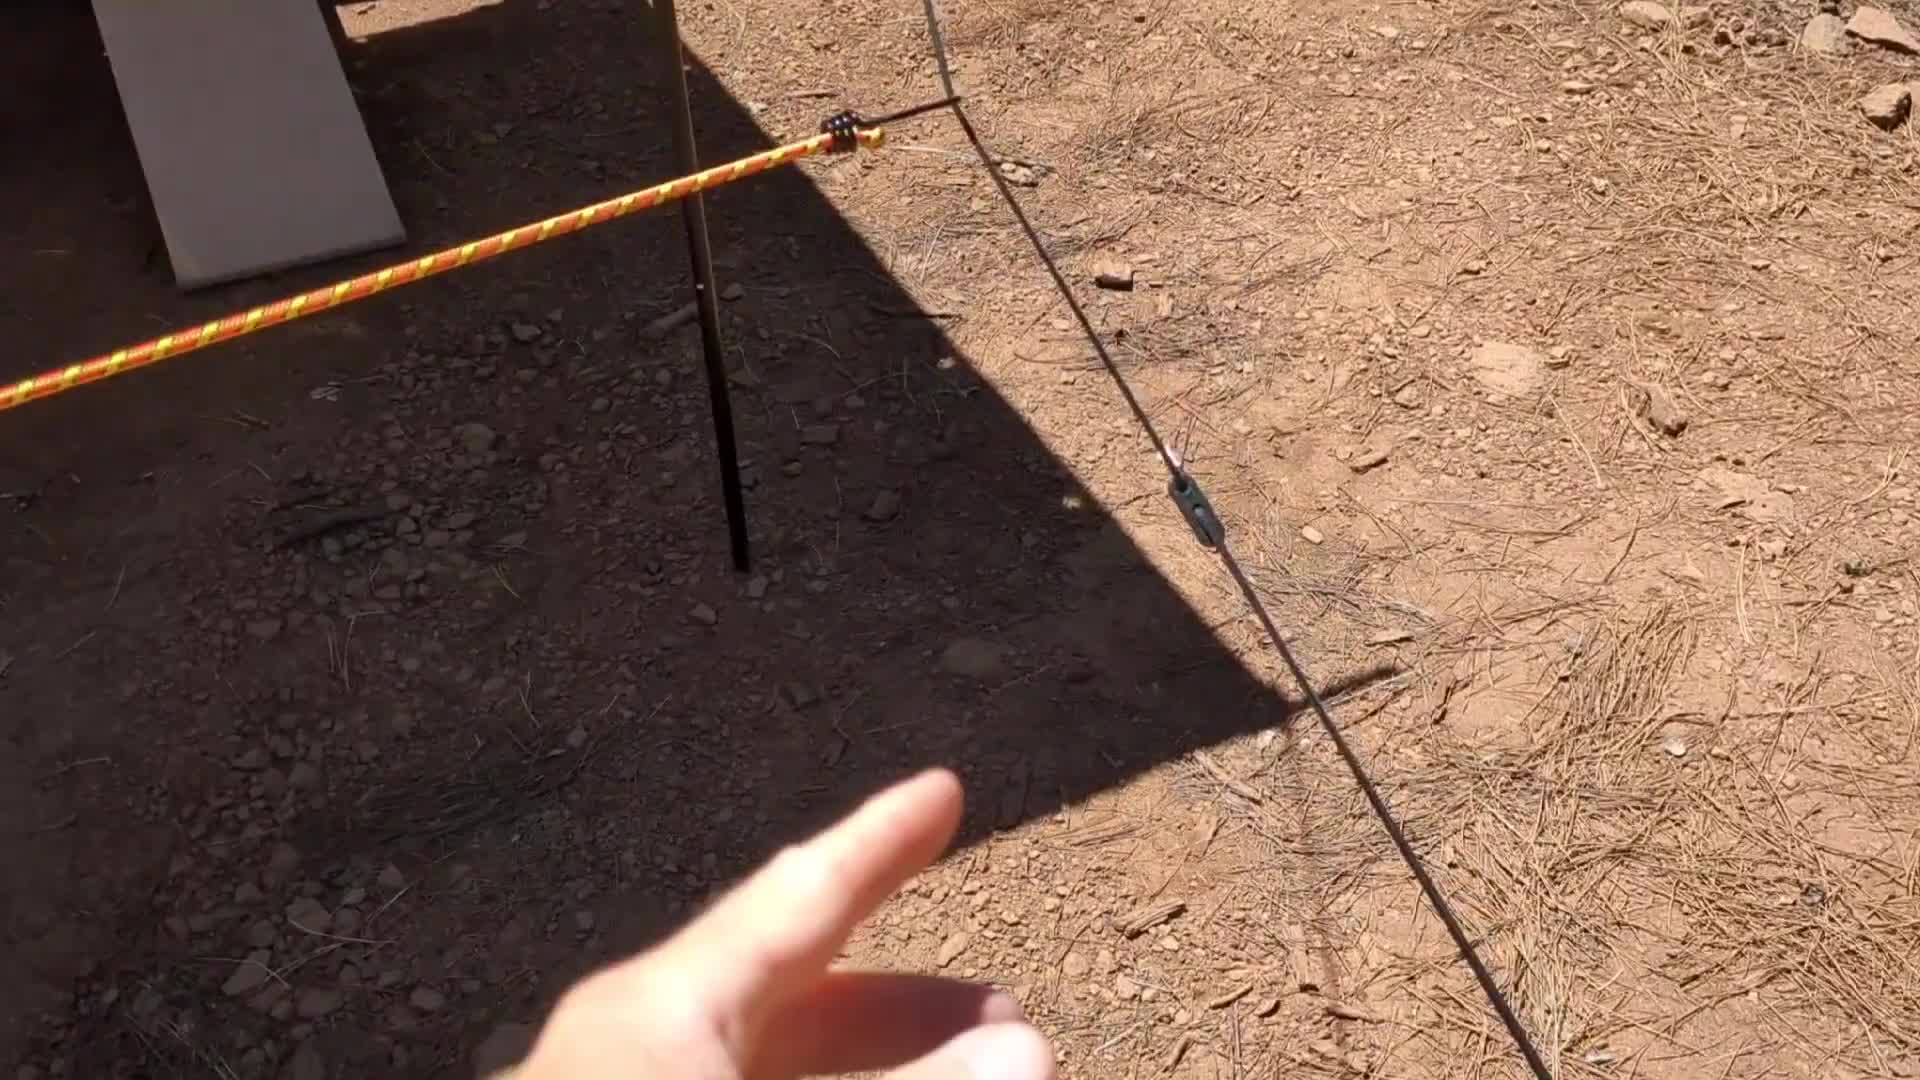
Addressing Tarp Tension Issues
A common issue is uneven tarp tension. This can be caused by several factors. One example is a hole drilled too far when mounting the tarp. This can make a section of the tarp loose.
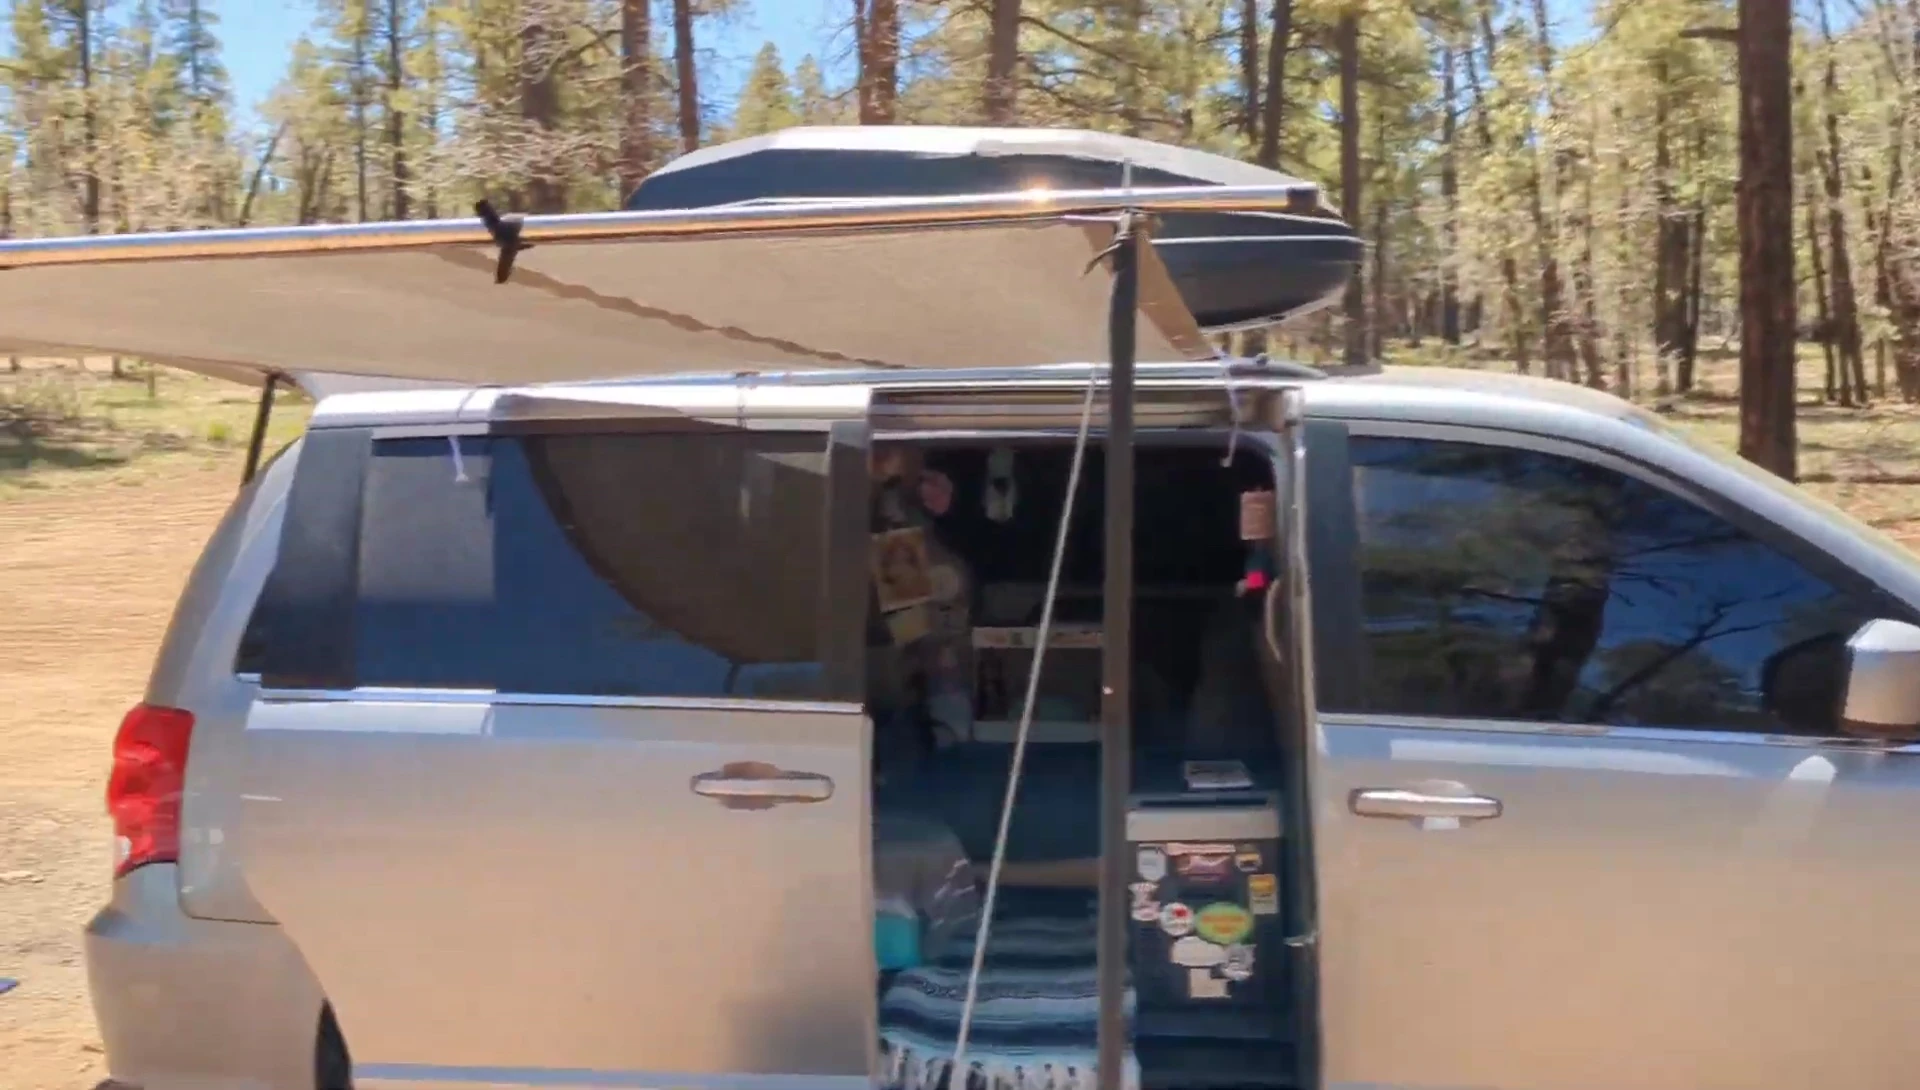
To compensate for this error, use a spacer like a bungee ball to add length to the line and improve tension. The correct tension is essential for stability.

Achieving a tight, balanced setup results in a more secure and weather-resistant shelter. It also looks more aesthetically pleasing.
Conclusion: A Simple, Effective Solution
This DIY approach to paracord cleats provides a practical and affordable solution for those who find themselves without this essential camping accessory.
The use of readily available materials, such as wood scraps or a door hinge, demonstrates how resourcefulness and adaptability can solve common camping challenges.
Whether you're a seasoned camper or a novice, this simple technique is easy to implement and will enhance your outdoor adventures. The added security and convenience are well worth the effort.