Craft a unique and charming pierced tin candle lantern with this easy-to-follow DIY guide. Using readily available materials like tin cans, a wire hanger, and basic tools, you'll learn to create a beautiful and functional light source perfect for adding ambiance to your home or enhancing your camping adventures. This step-by-step tutorial will guide you through each stage of the process, from creating a star-shaped pattern to assembling the sturdy handle and protective top. No special skills are required, making this project accessible to beginners and experienced crafters alike.This historically inspired lantern is not only aesthetically pleasing but also incredibly practical. The design protects the candle flame from wind and provides a safe barrier to prevent accidental burns. The adjustable candle height ensures optimal use, extending the life of your candle and maintaining a consistent light. Get ready to illuminate your surroundings with this captivating handmade lantern, a perfect blend of rustic charm and modern functionality.
Read more: Coleman Northstar Candle Lantern Review: A Bright and Safe Light Source for Camping
Tools and Materials
Creating a pierced tin candle lantern requires a few essential tools and readily available household items. You'll need a piece of wood that fits snugly inside your tin can, a file to smooth the wood's edges, a cheap taper candle, a hammer, tin snips, a wire clothes hanger, a sharpie or similar marking tool, a 16-penny nail (or any large nail with a sharp point), and a flathead screwdriver.
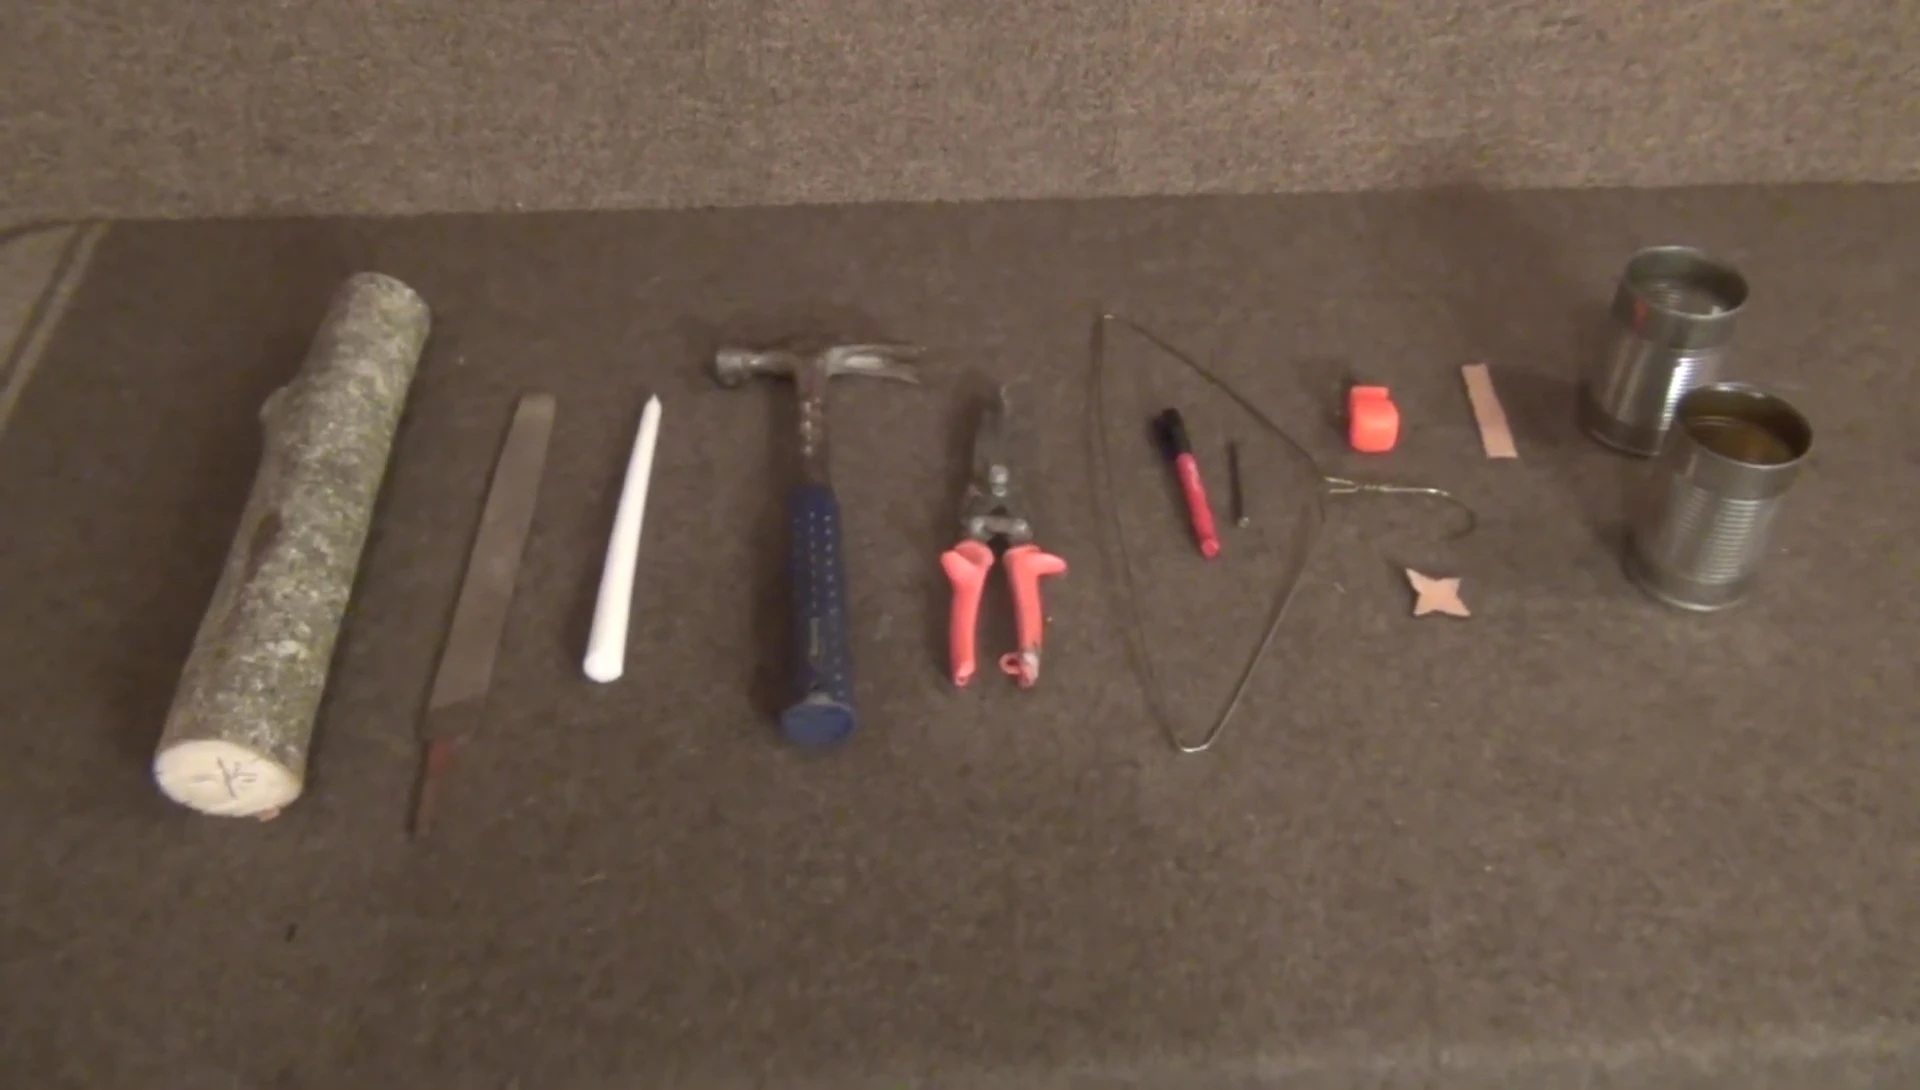
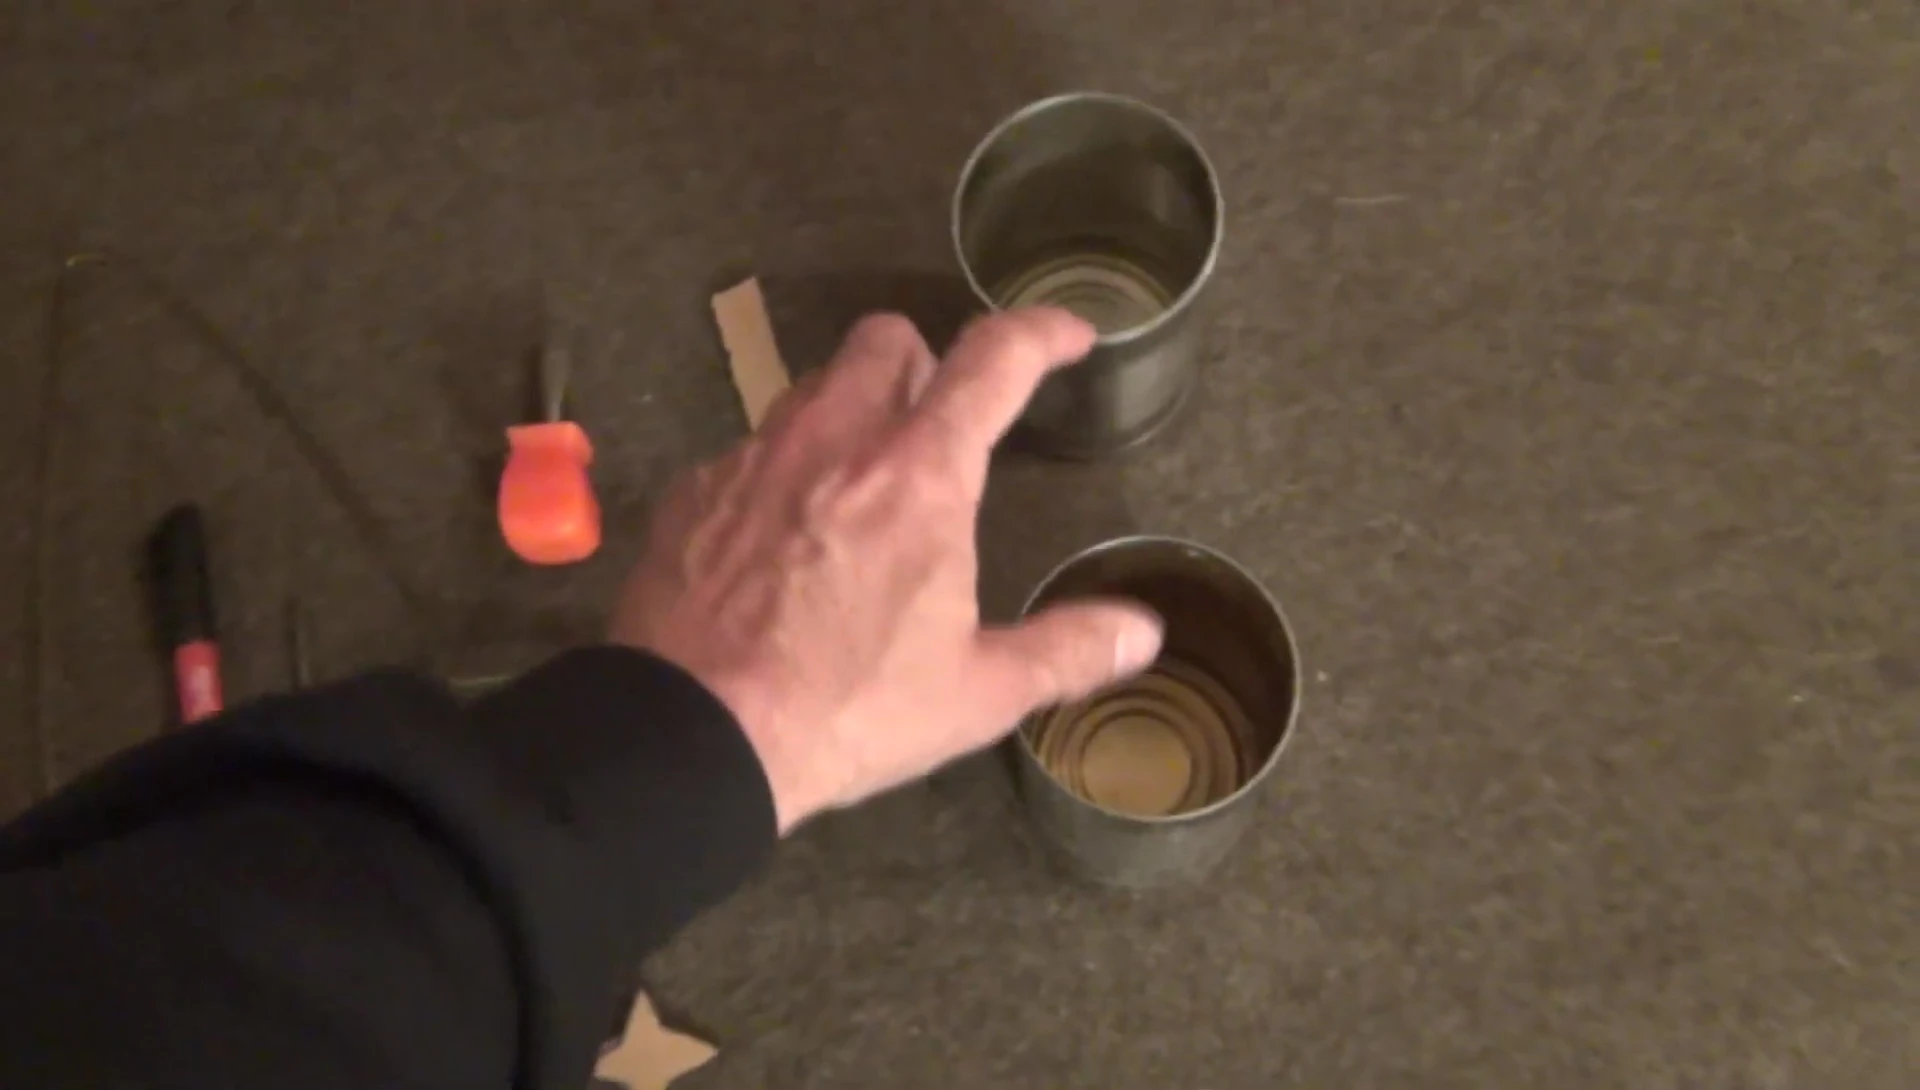
Beyond the tools, you'll also need some simple materials. Gather a piece of cardboard to create a star or desired shape template, a small cardboard spacer to help with marking, and two regular tin cans (labels removed). Prepare your workspace to avoid damage to surfaces and ensure proper ventilation.
Marking the Tin Cans
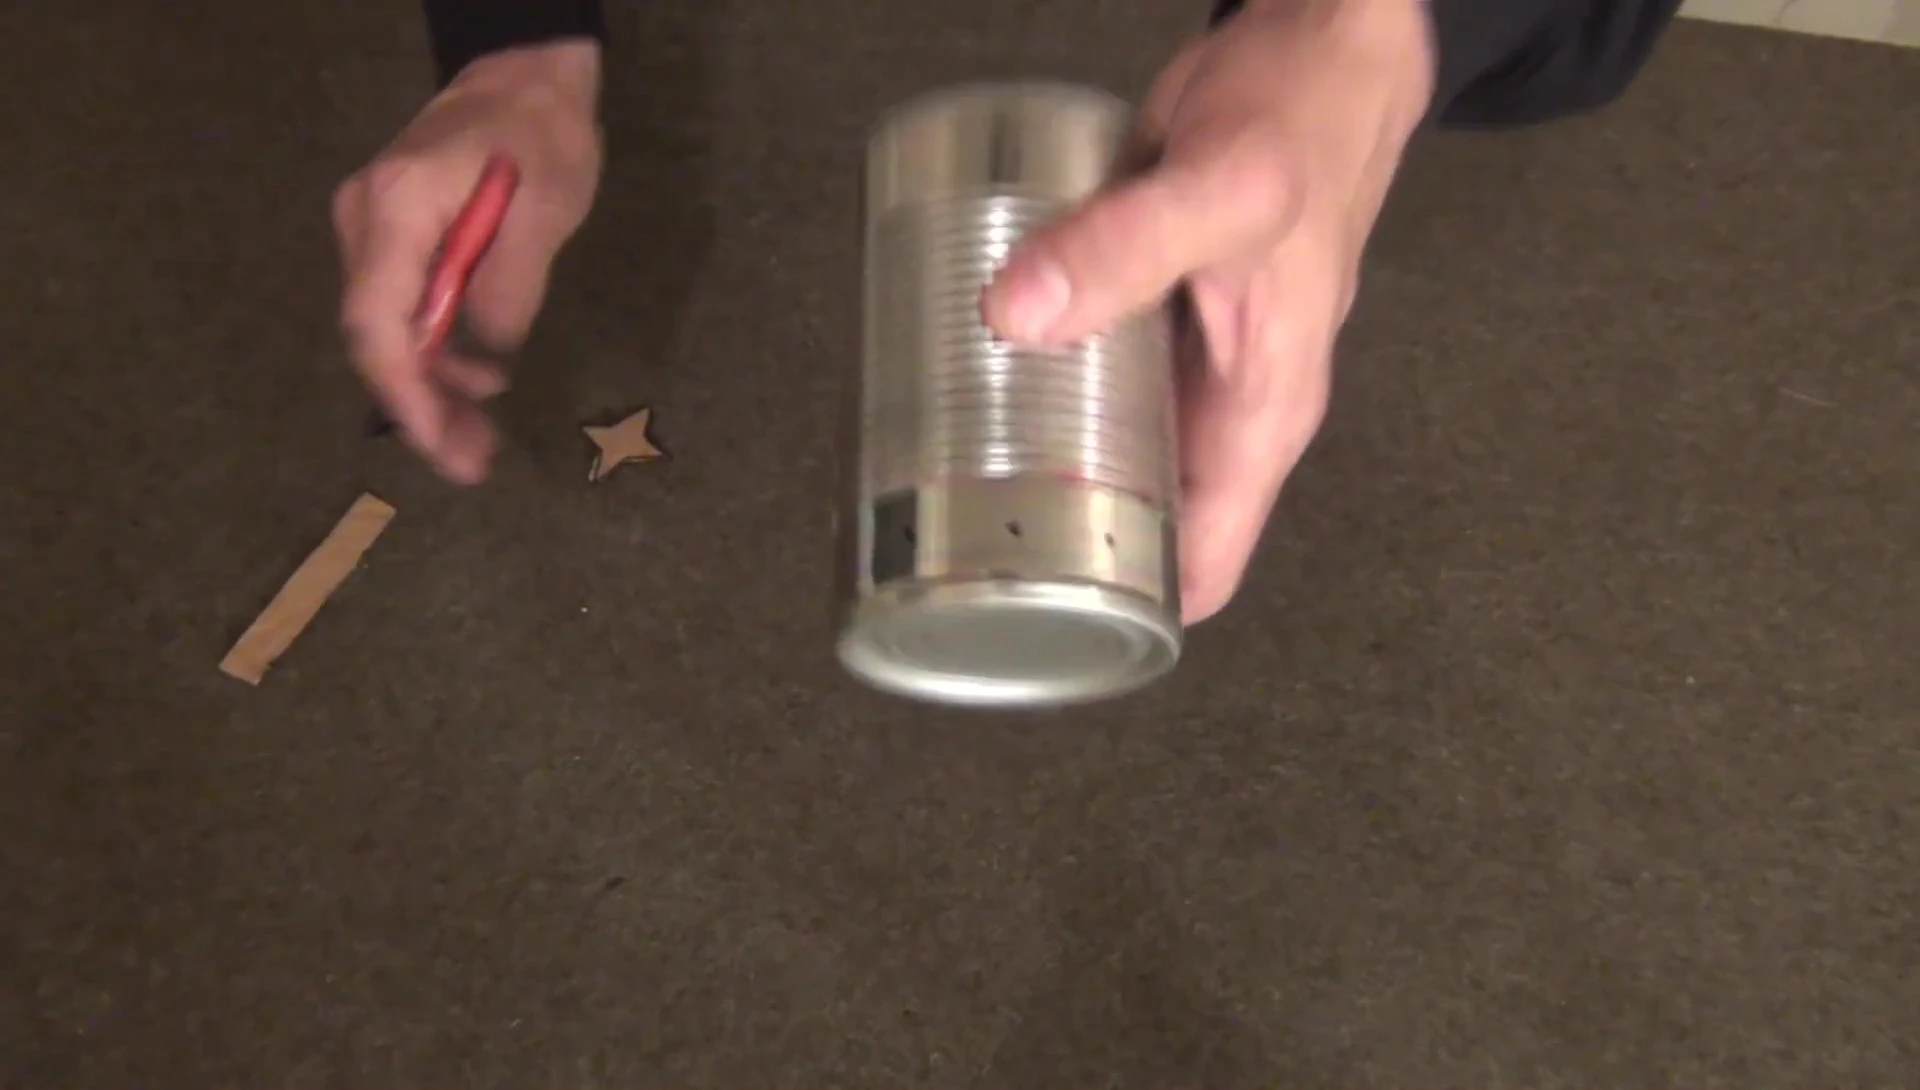
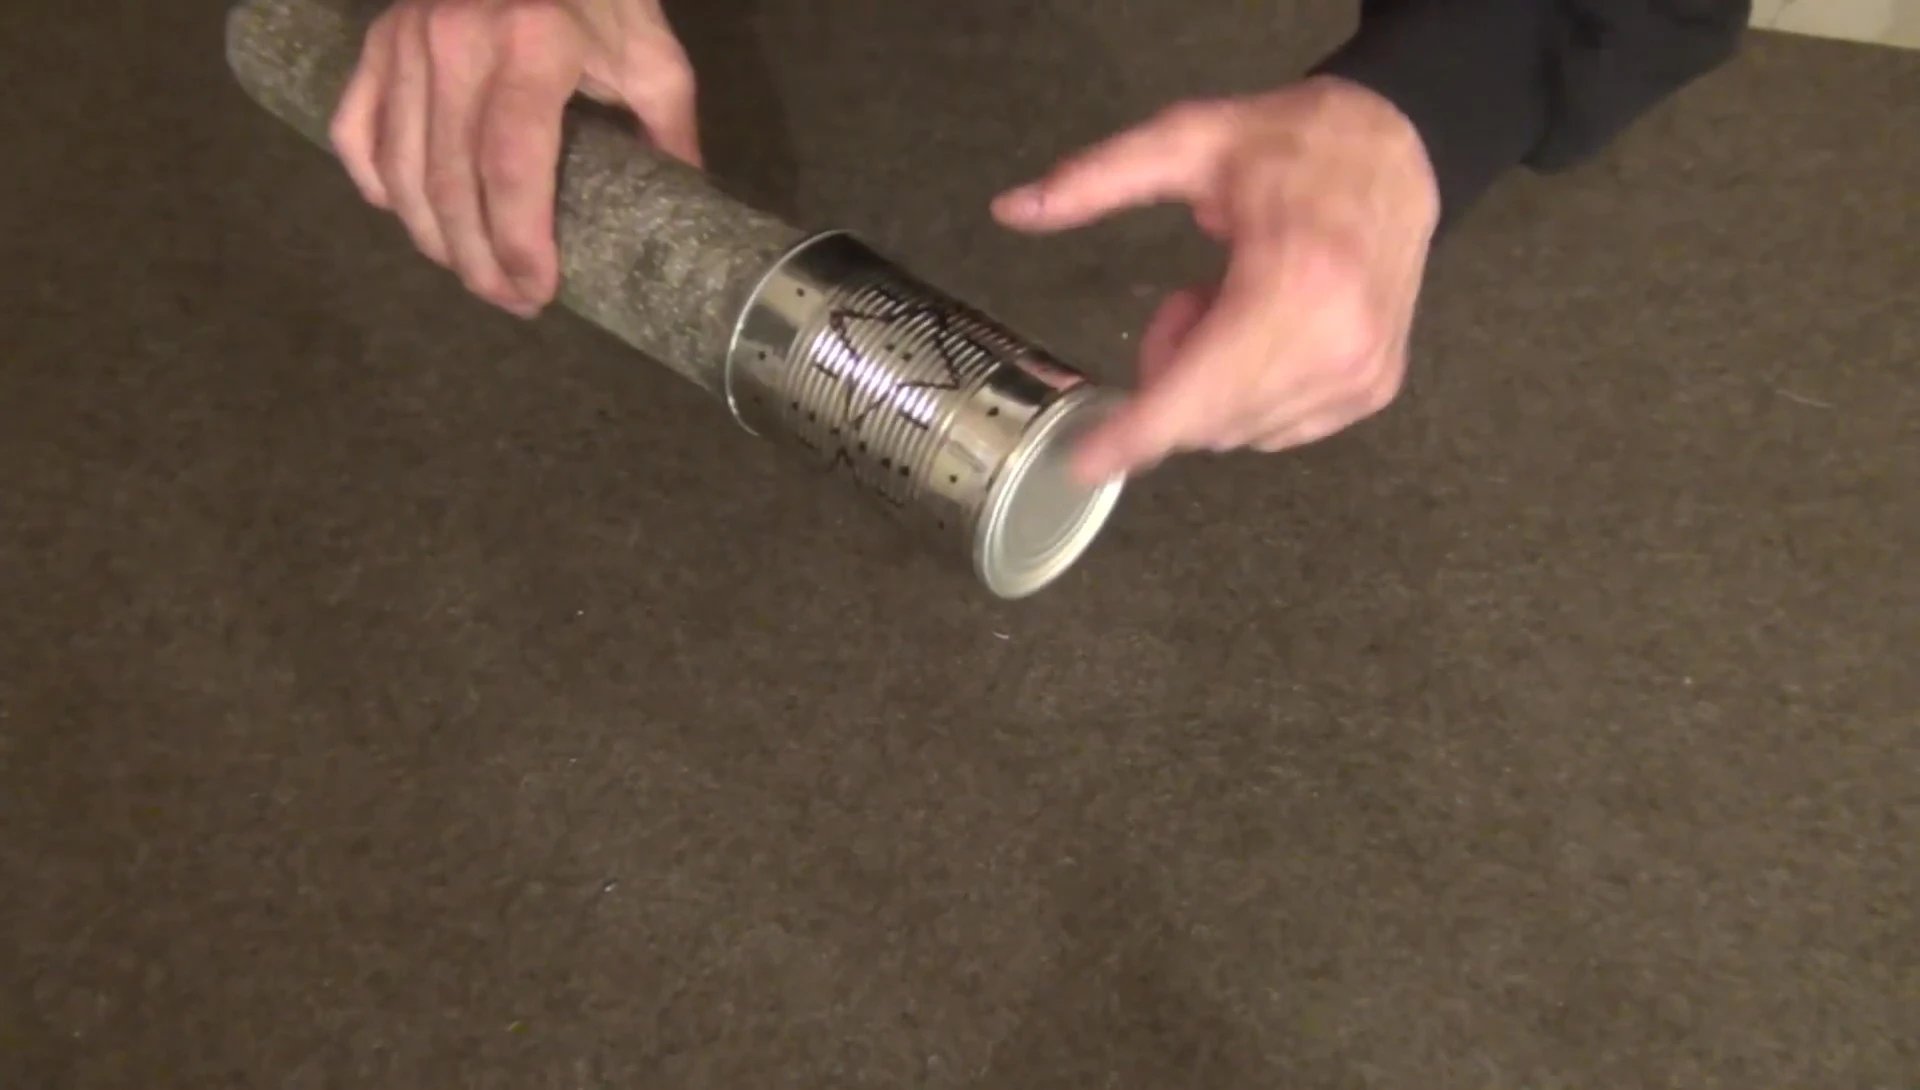
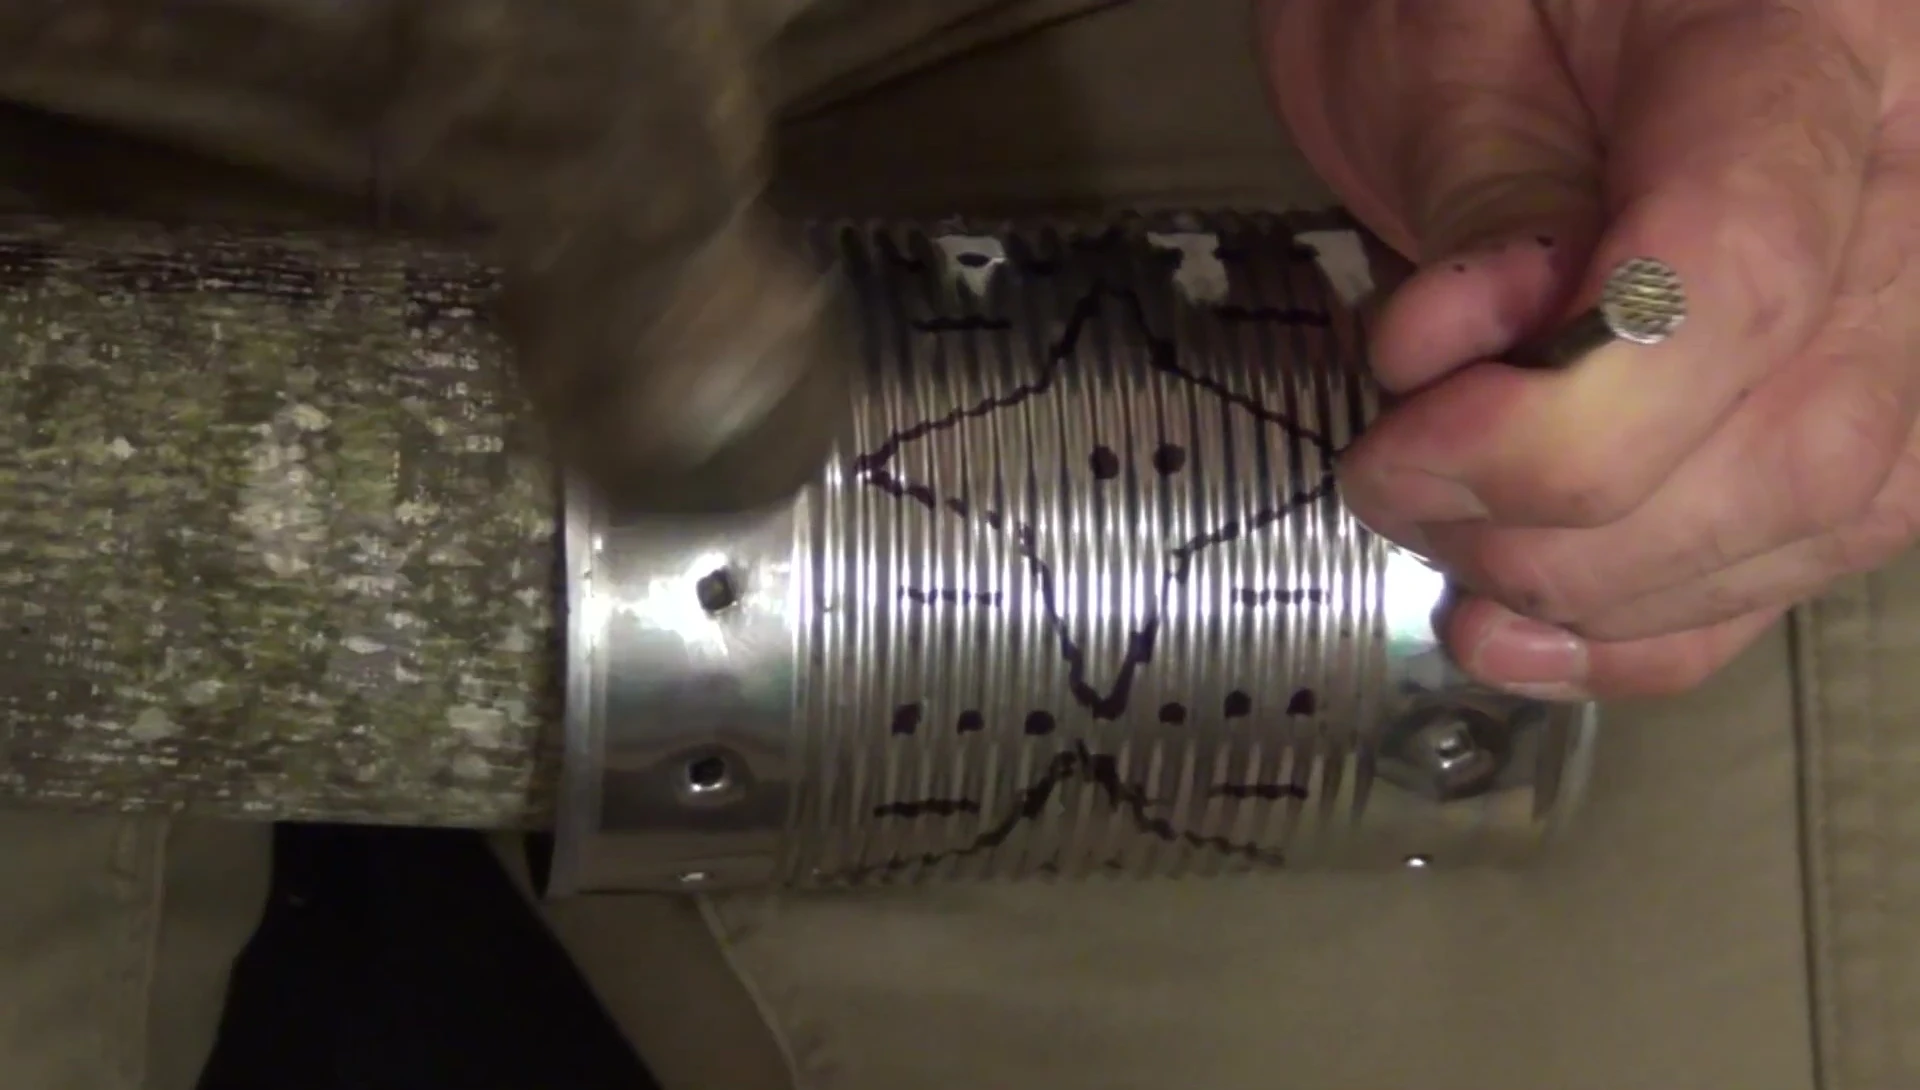
Begin by using the cardboard template and sharpie to mark your desired pattern on the tin cans. A simple four-point star pattern is a good starting point. Mark points for piercing around the can's circumference, both at the top and bottom. Remember, the neater your markings, the better your final product will look.

Space your markings evenly. Use a quarter-inch spacing between the points. Carefully mark the location of each star point, connecting points with vertical lines for additional design elements and accurately place dots in the middle and between the stars for consistent patterning.
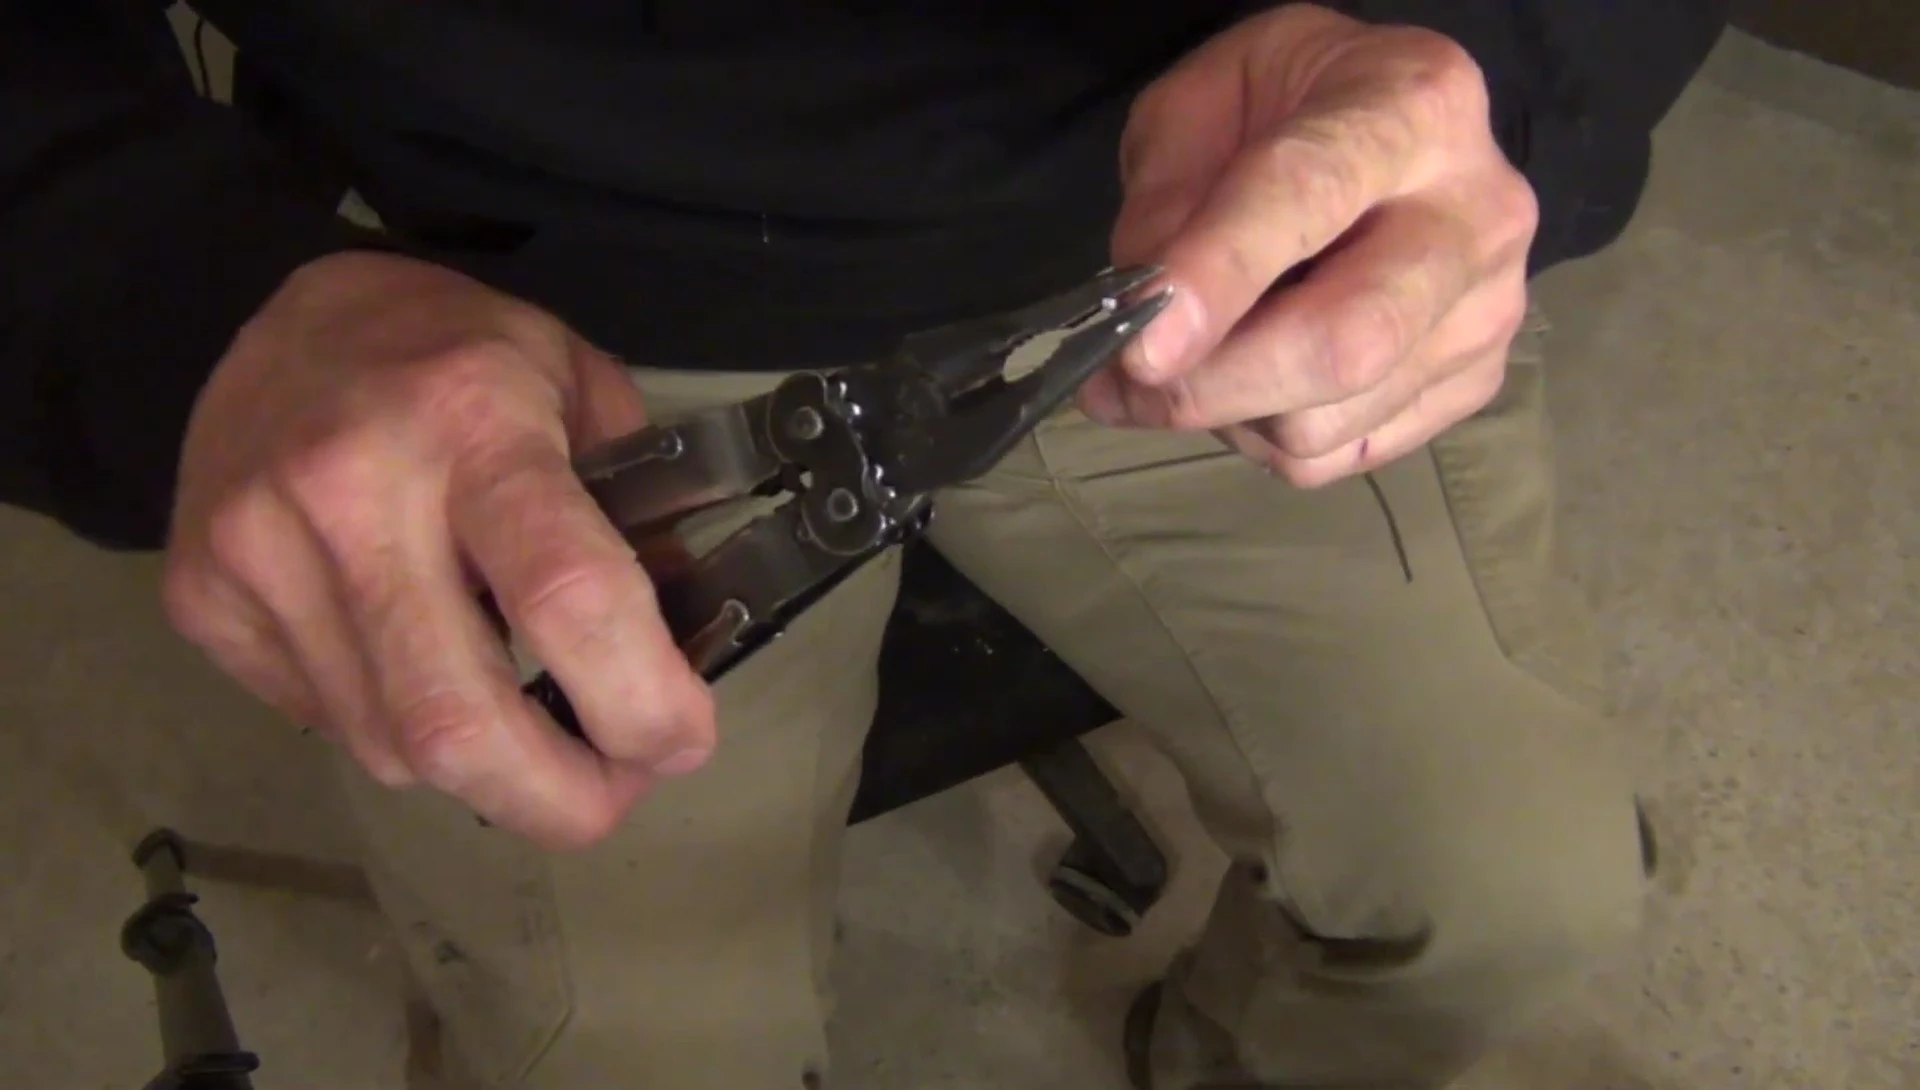
Piercing the Tin Cans
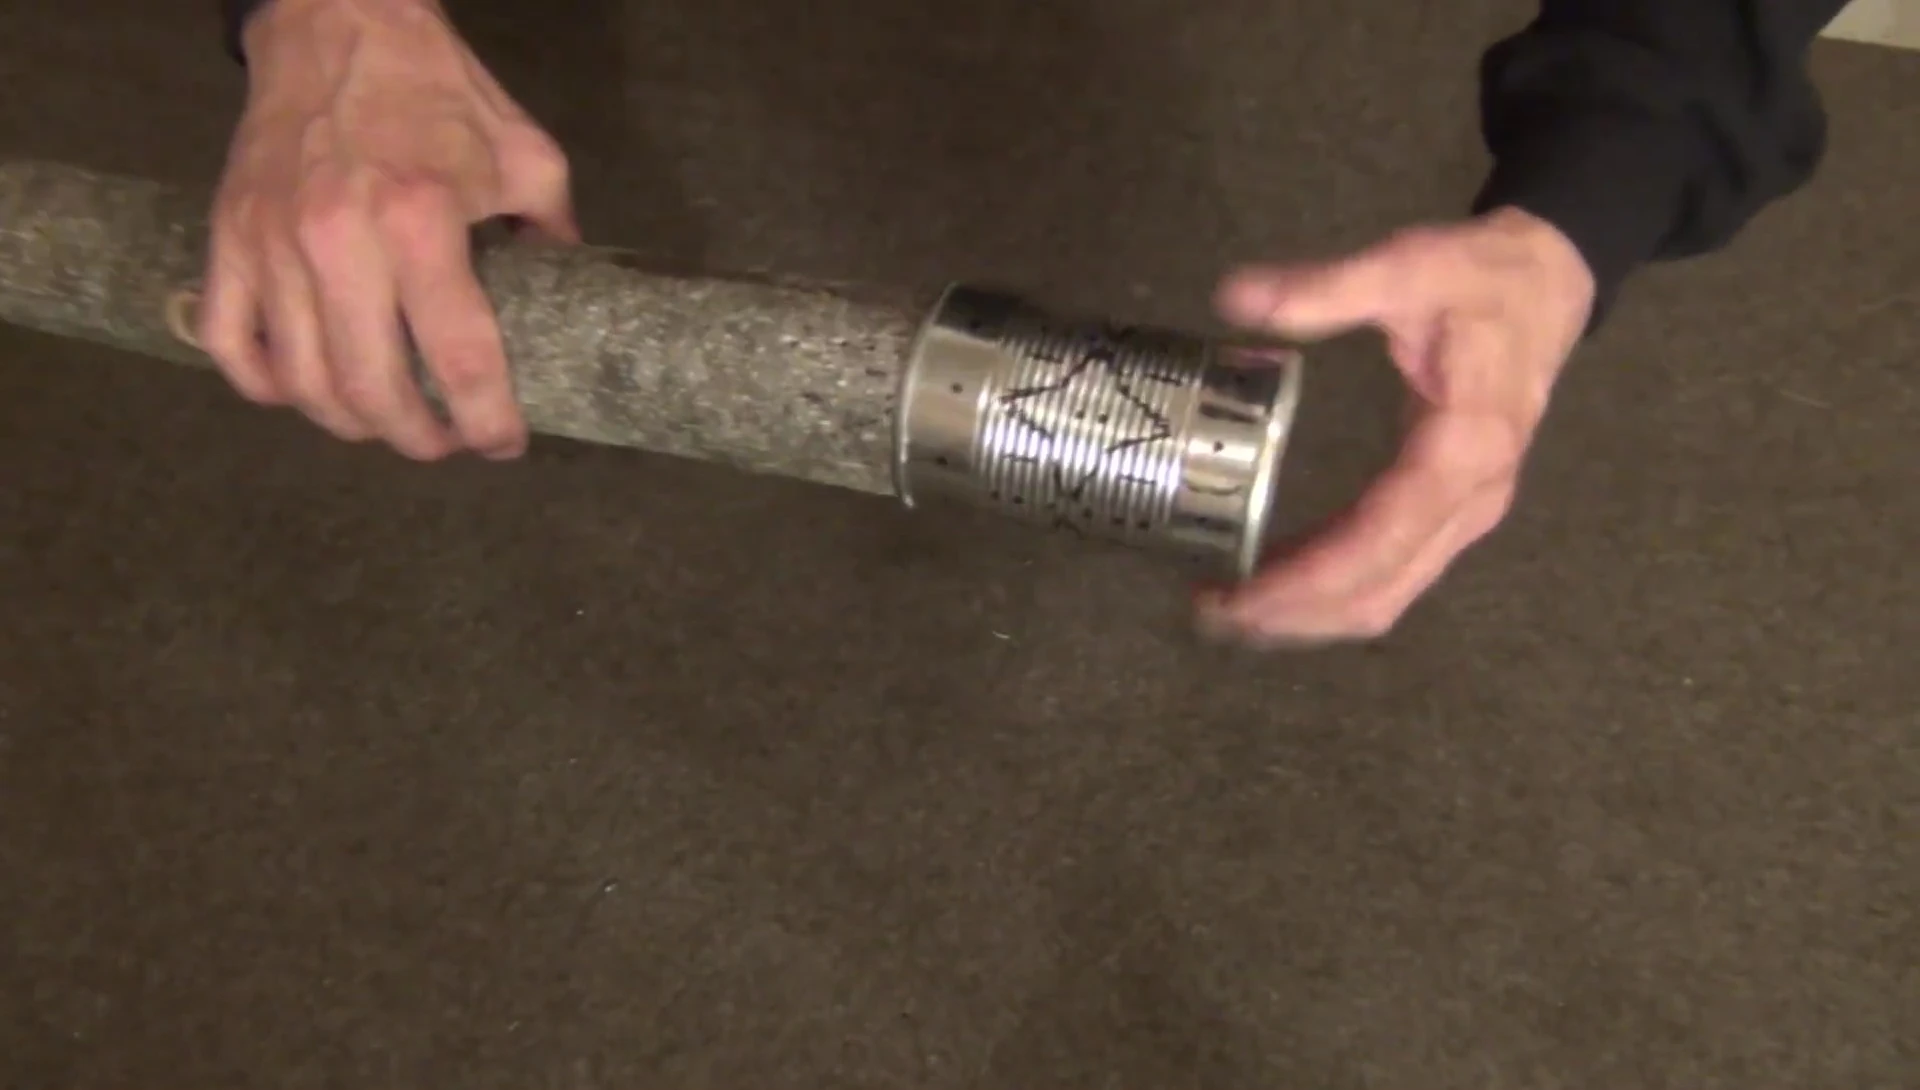
Using your hammer and nail, carefully punch holes at all the marked points on both the top and bottom of the can. Start with the bottom holes first, ensuring the wood insert is loosely fitted. Punching the holes between the ribs of the can will be easier, but it may be necessary to punch on top of the ribs at some points.
Pay close attention to the star shapes, making sure that you create clean cuts, particularly for the points, to maximize the design's aesthetic appeal. Take your time and be careful, as mistakes are easily fixed. Use a flathead screwdriver to create the vertical slots between the stars for a more refined design element.
Creating the Bail Handle
For the bail handle, use a wire clothes hanger, straightening a portion and creating a hook at one end. Bend the wire to form a curve that will fit around the can's circumference. Use pliers to help with the shaping and bending processes for a more secure and sturdy handle.
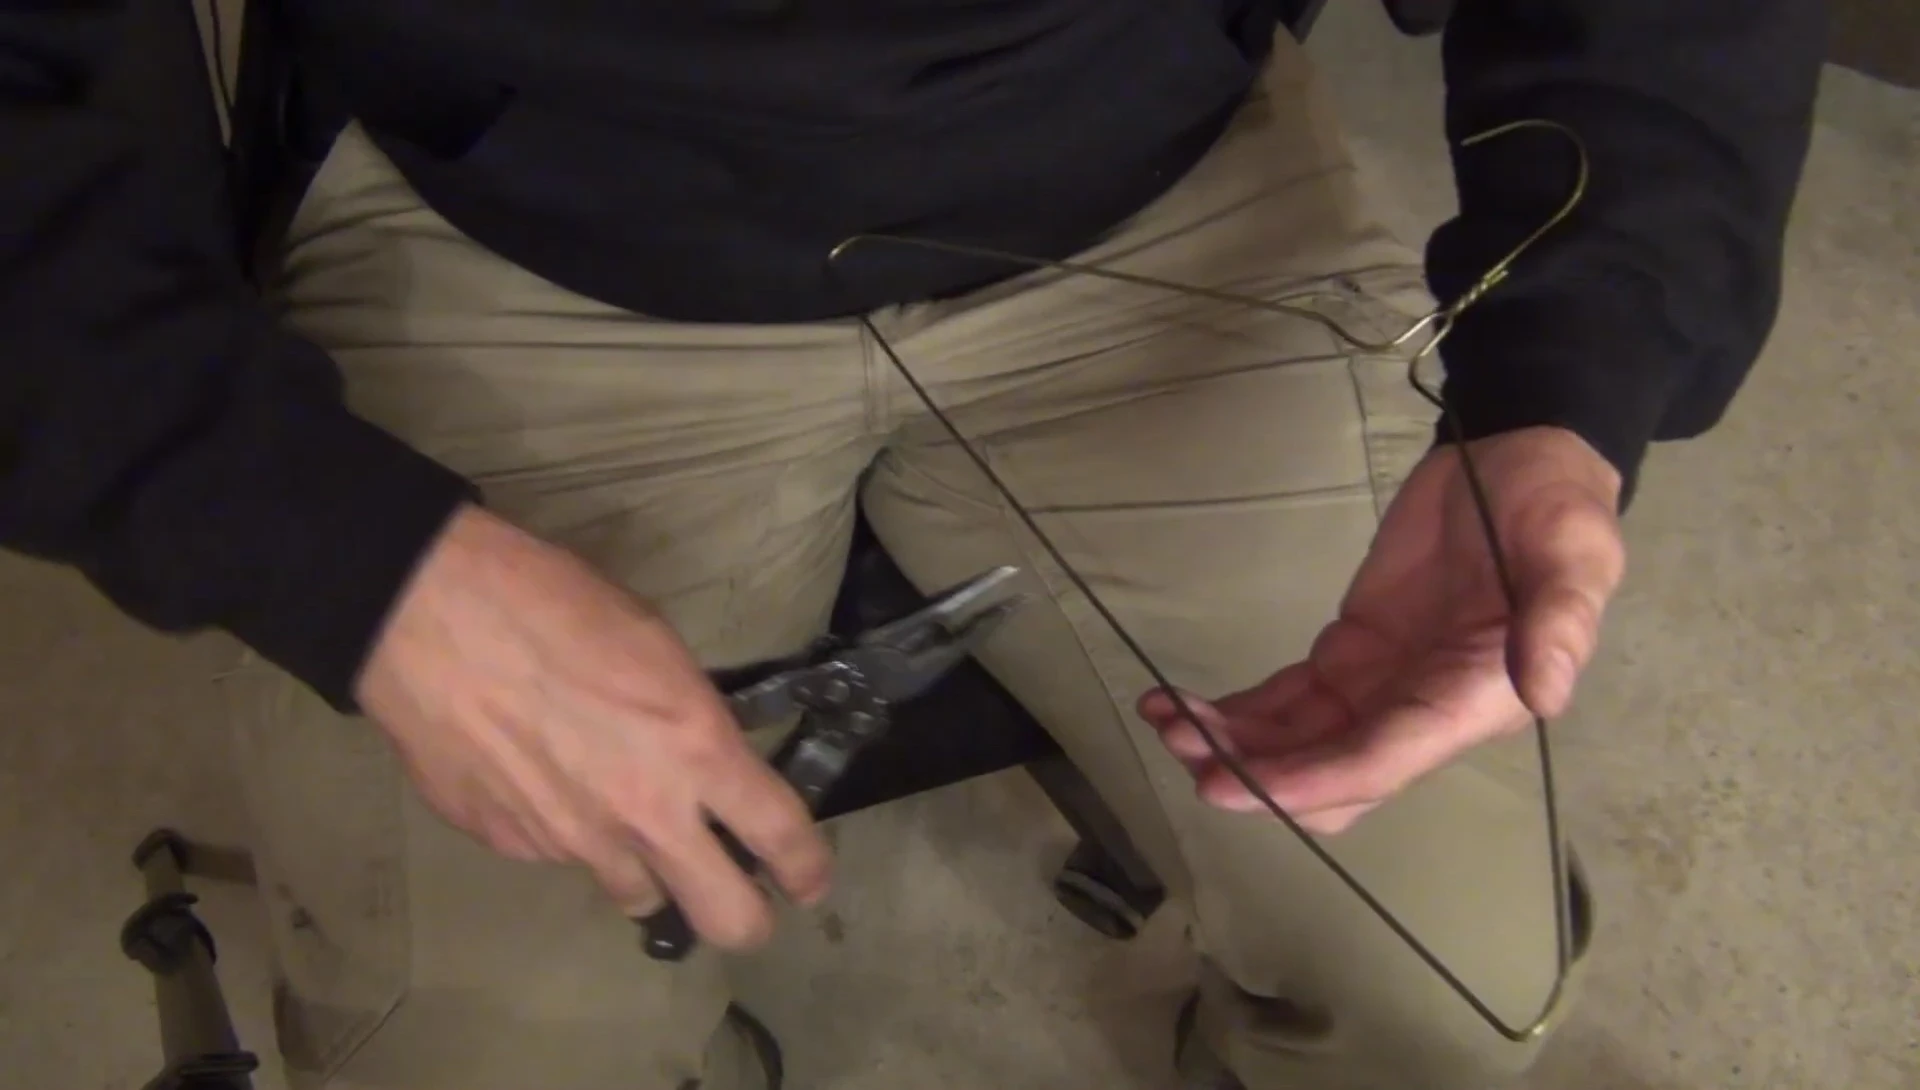
Attach the handle by inserting one end through a pre-punched hole and creating a secure crimp. Bend the other end to form a similar curve, ensuring a smooth and functional handle capable of opening and closing freely. Smooth the sharp edges along the bail handle for user safety.
Adding the Top and Candle
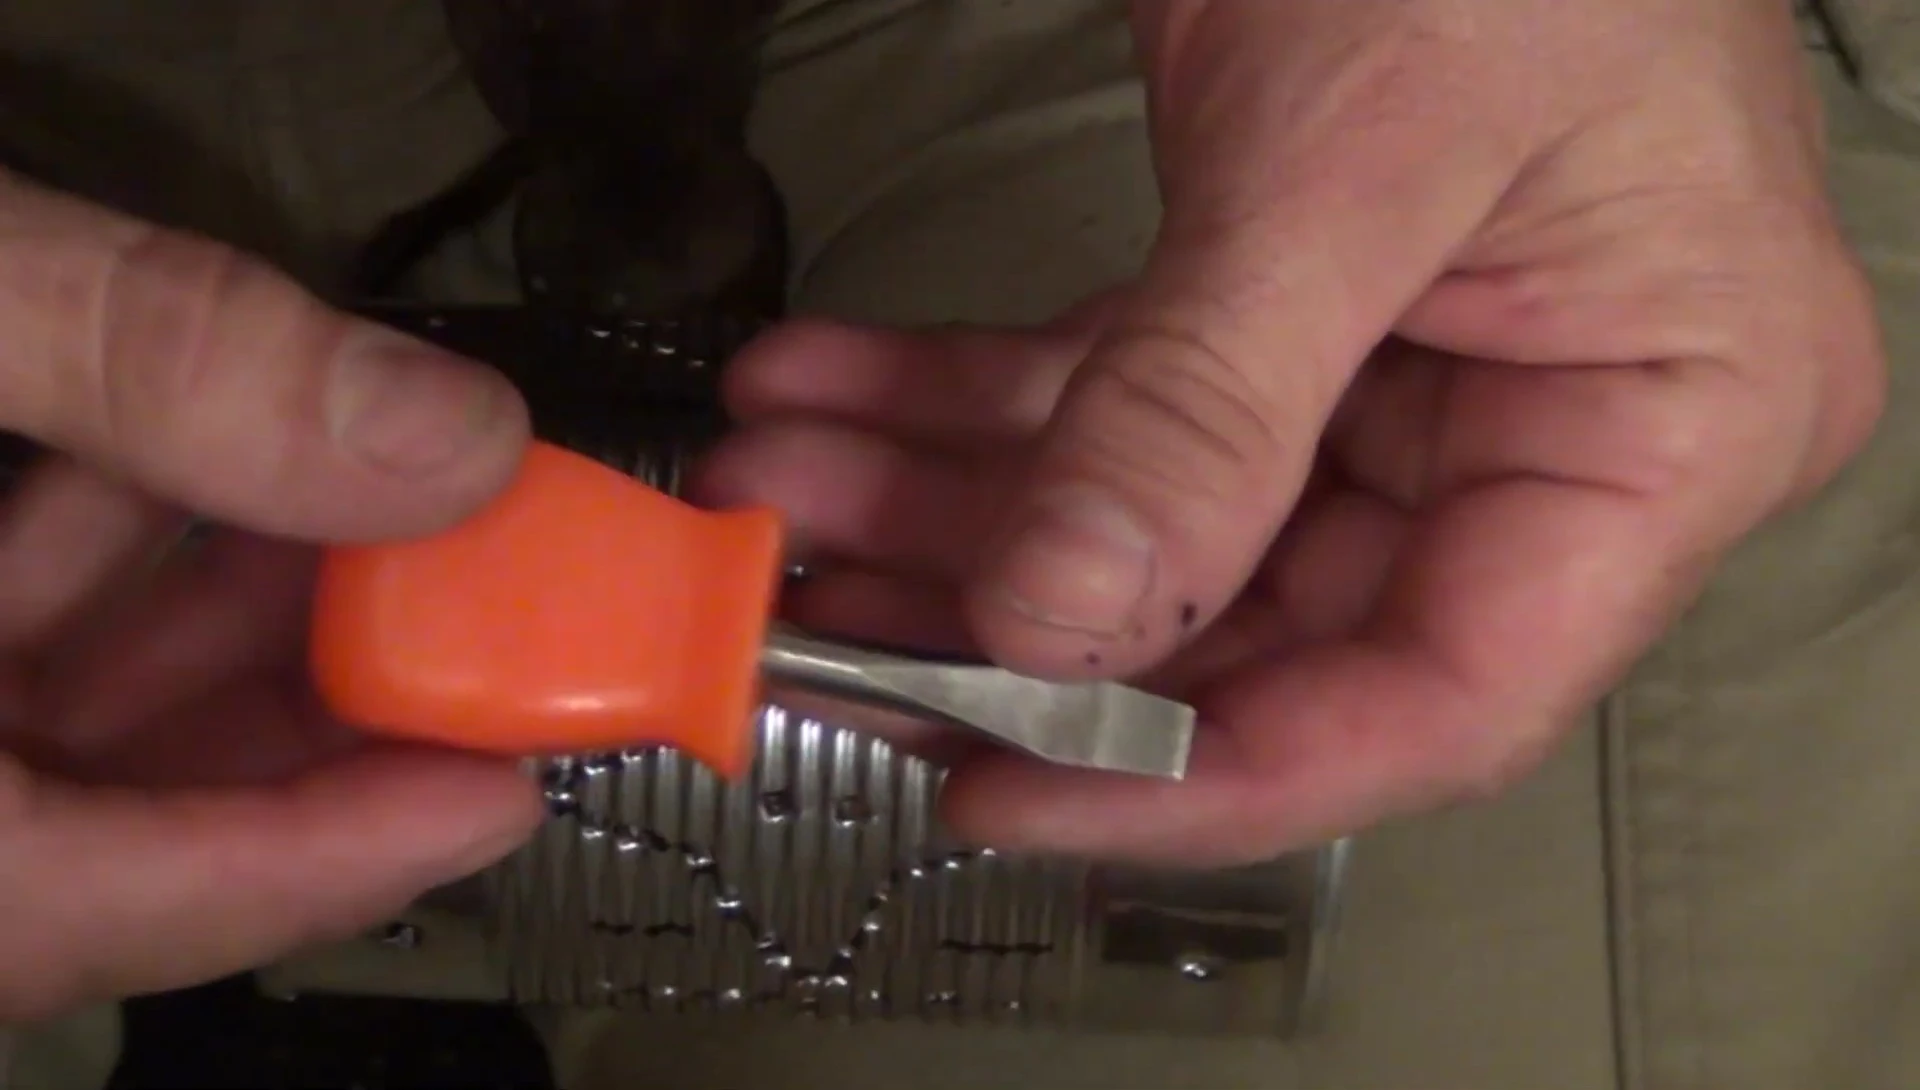
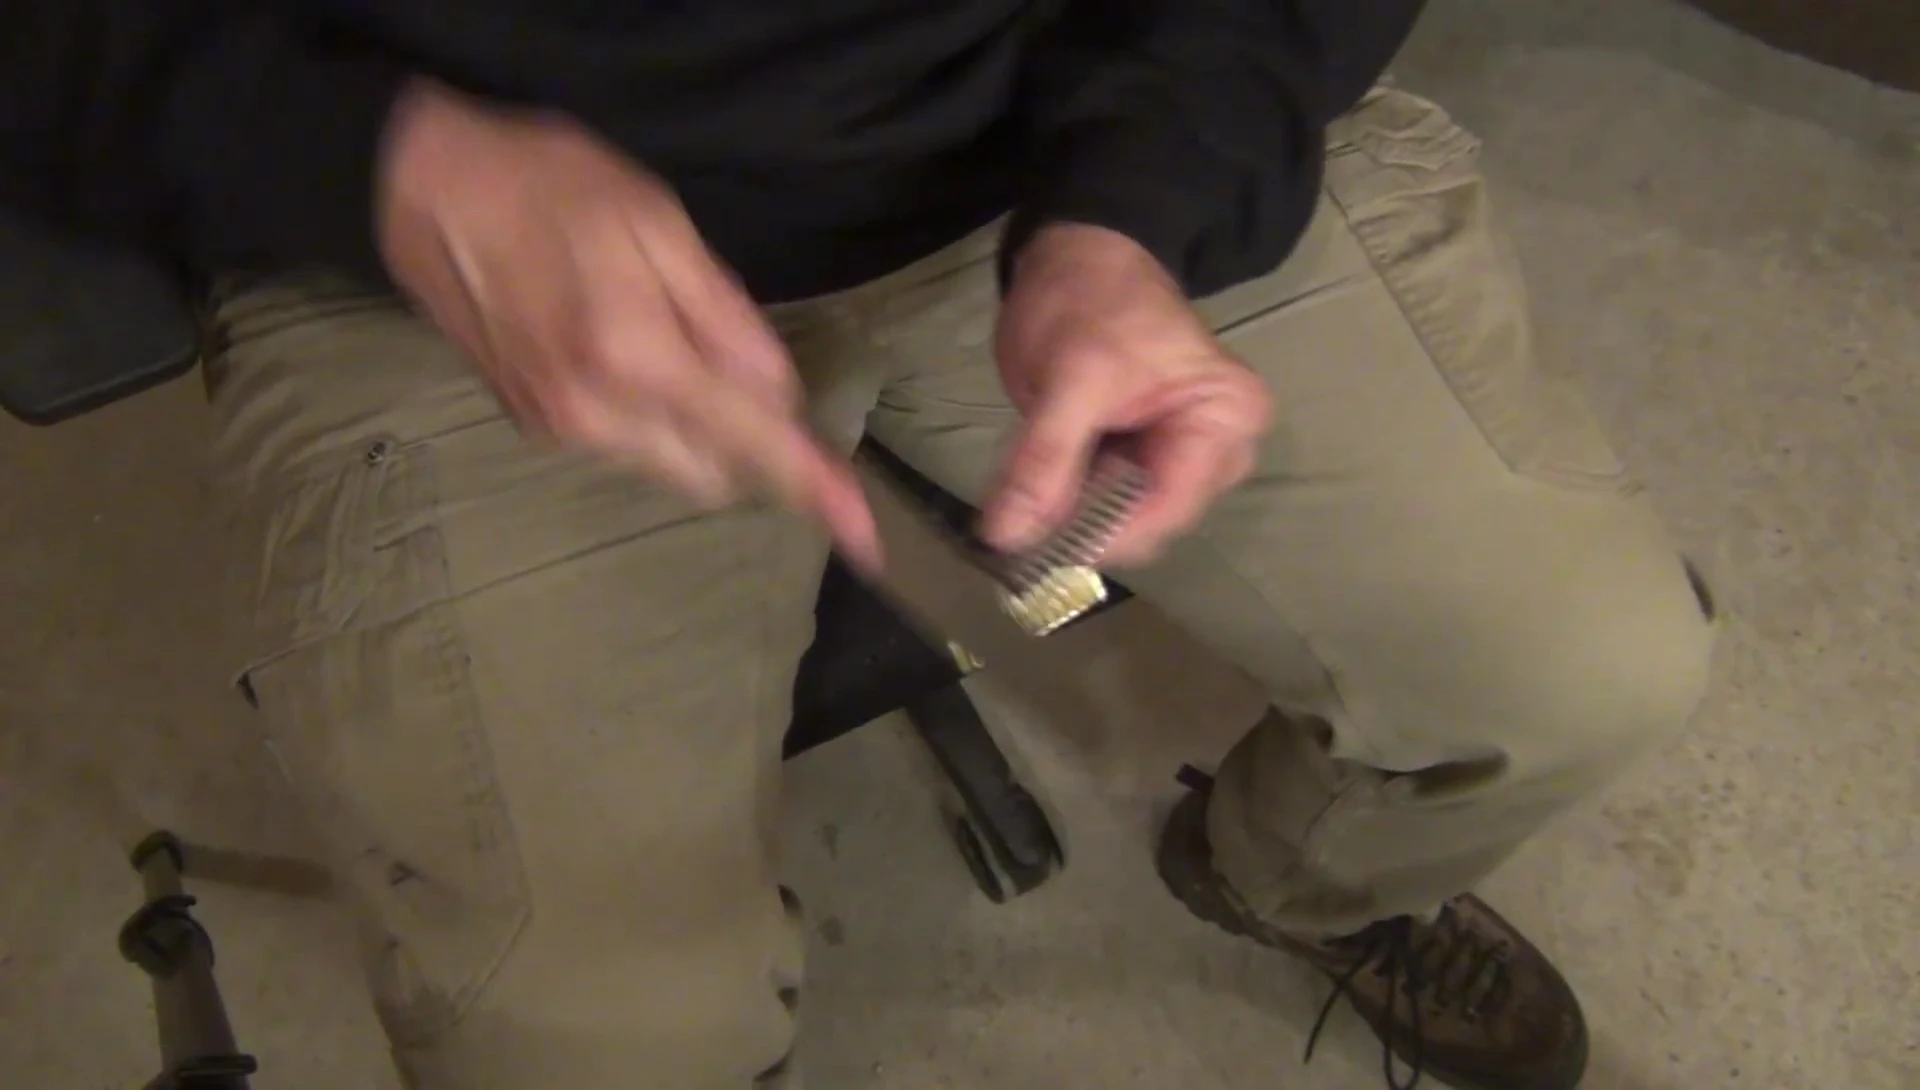
To create a protective top, cut a second tin can in half lengthwise and further trim to fit inside the lantern. File or smooth the edges to prevent injury. Slightly bend the top piece to make it more pliable and easier to fit onto the lantern.
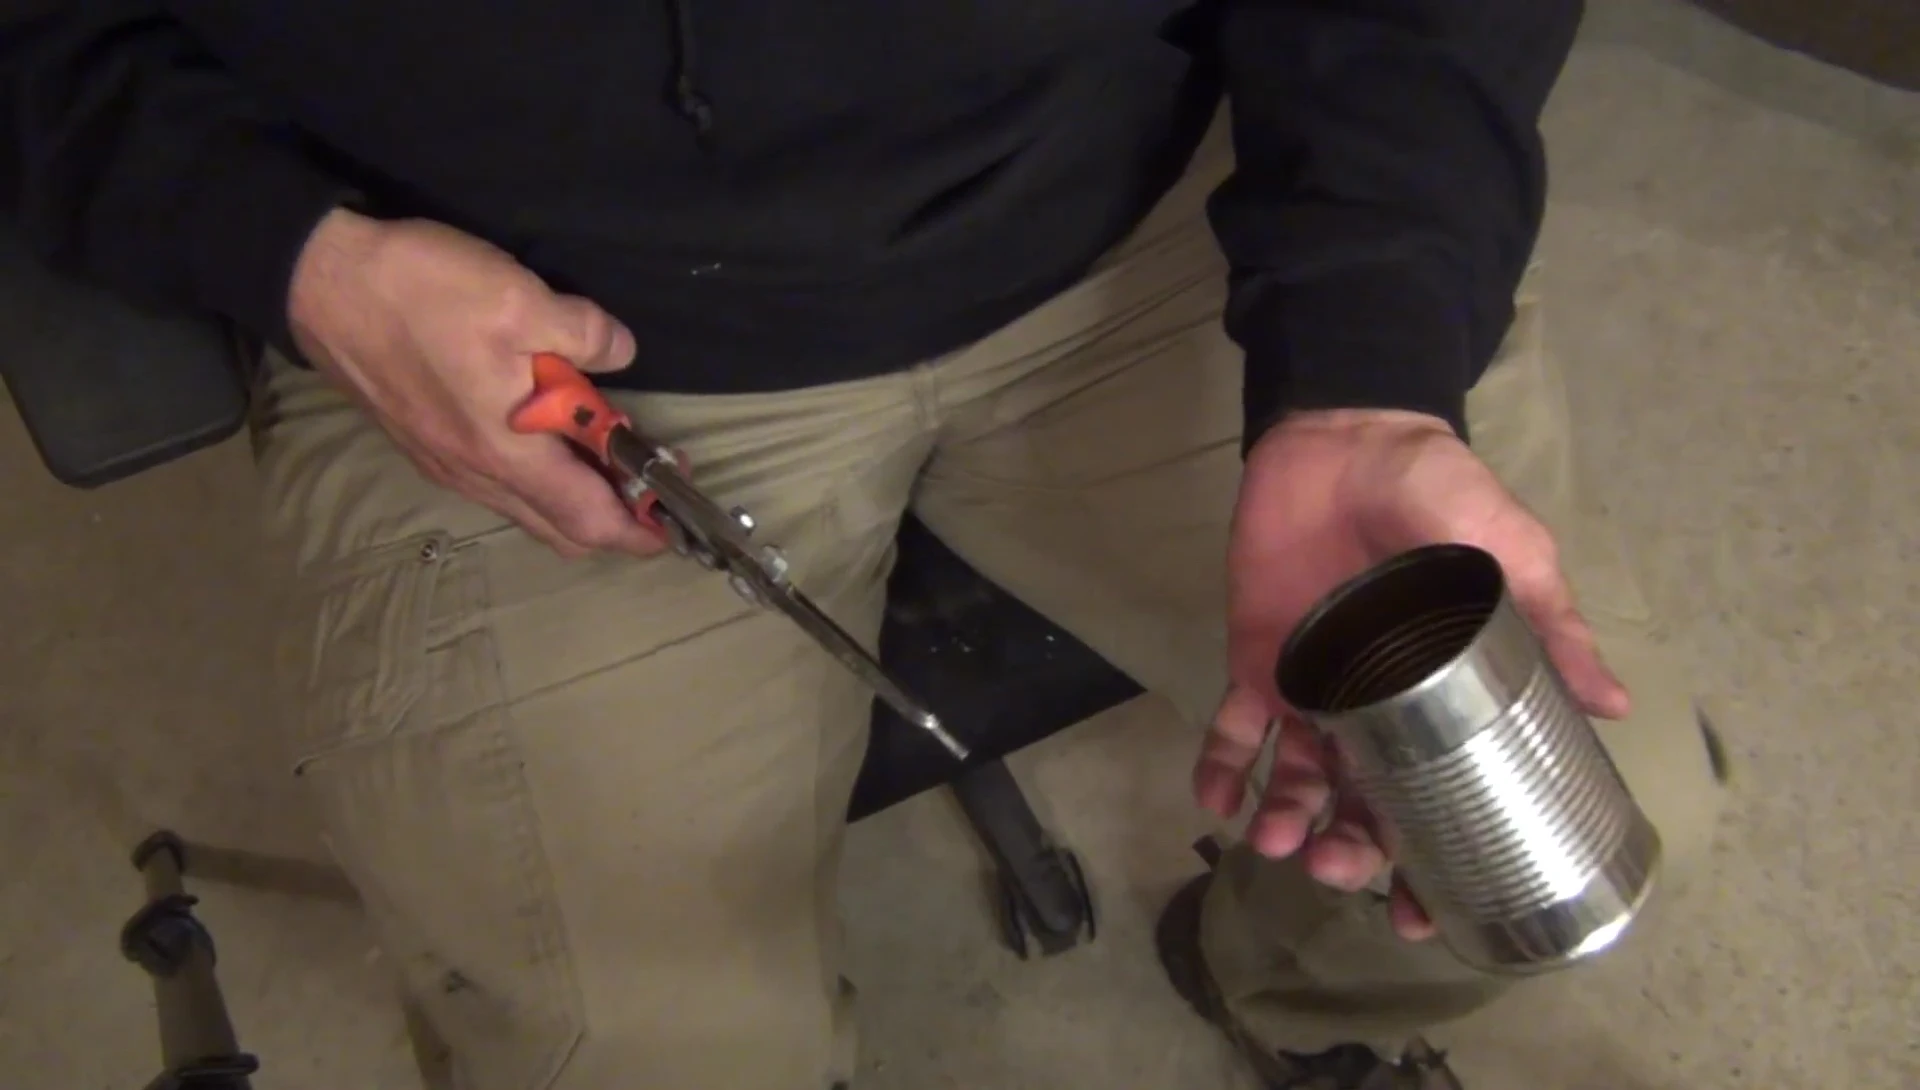
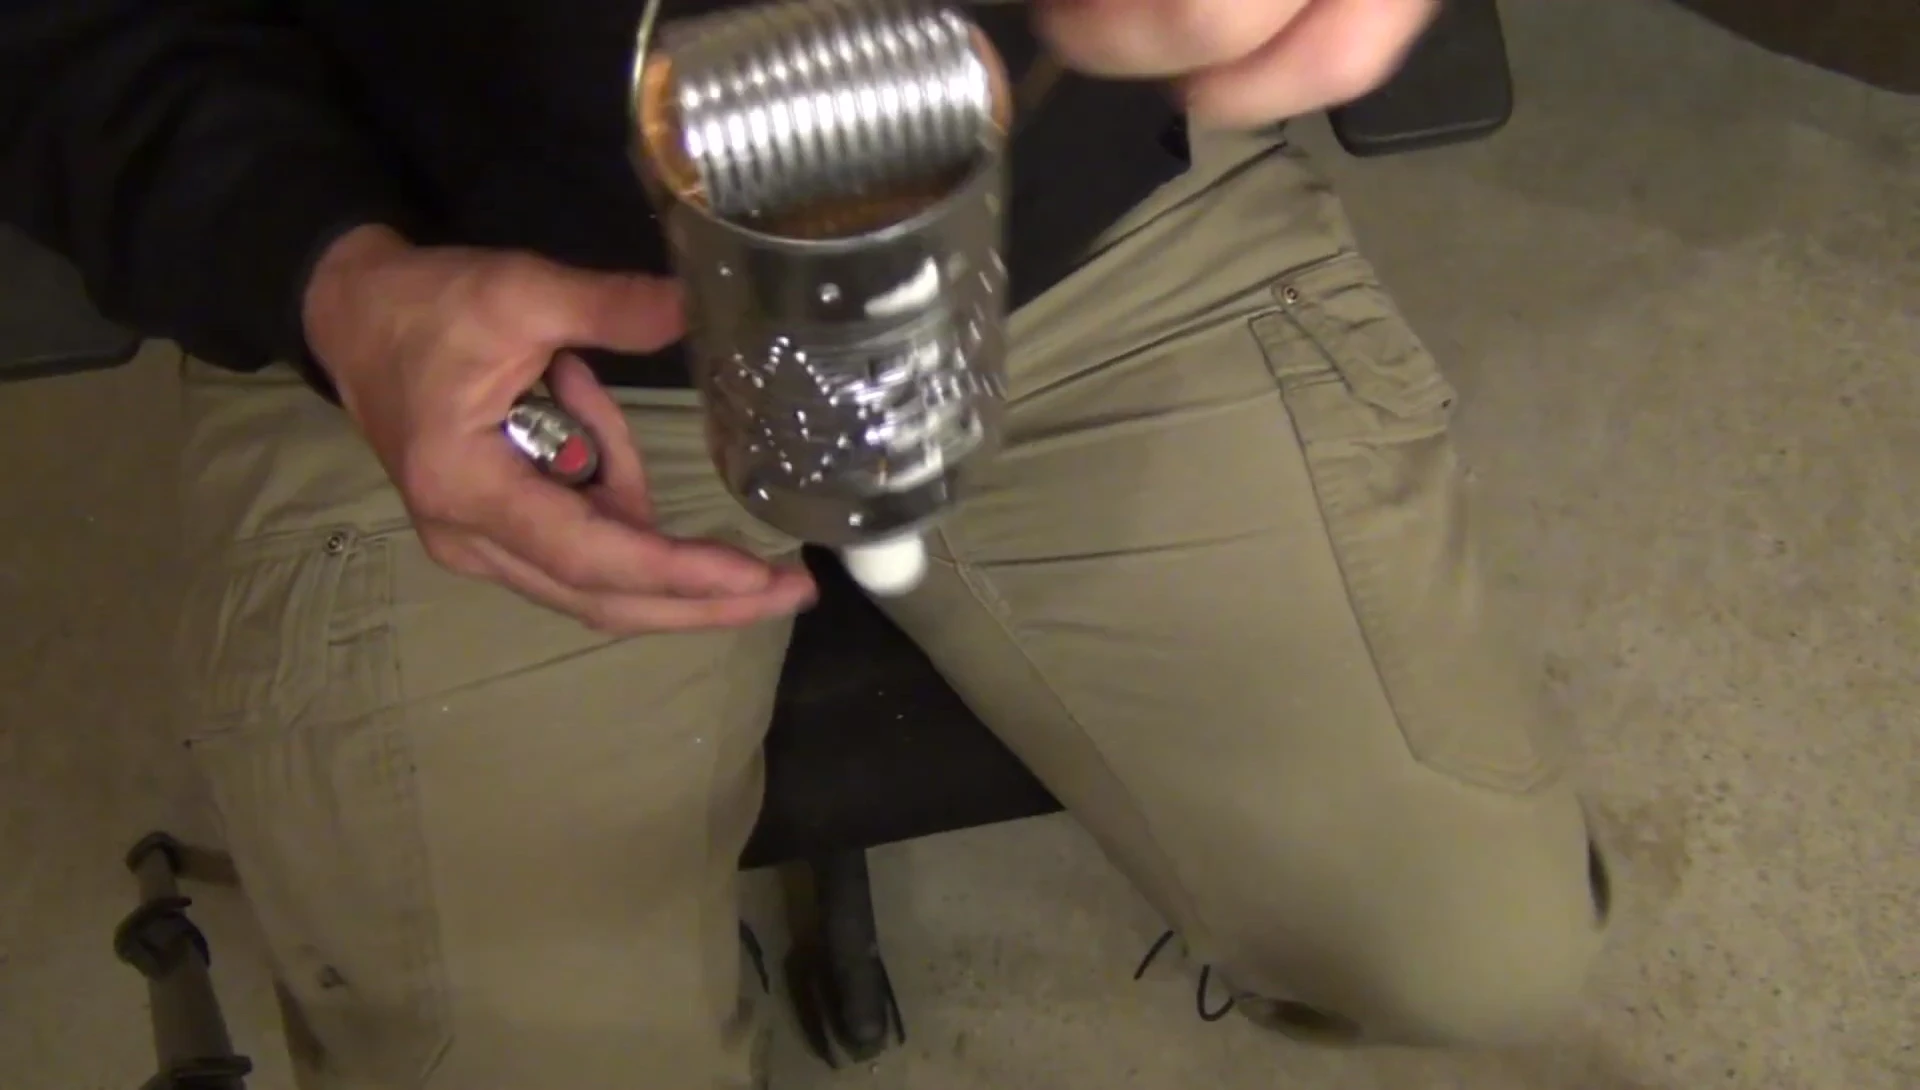
Carefully fit the top piece onto the lantern, ensuring it is securely held by friction. This top will prevent fingers from burning near the candle flame. Adjust the height of the candle by breaking it at the desired length, leaving a small portion of the wick exposed at the bottom for easy feeding as the candle burns.
Conclusion
This DIY pierced tin candle lantern is a unique and functional project that allows you to create a historically inspired, portable light source. The project combines simple tools, readily available materials, and straightforward techniques to create a visually appealing and practical piece.
The lantern's design is both attractive and functional, providing protection from the wind and preventing burns. The ability to easily adjust the candle's height as it burns adds to its usability. It's a great addition to any bushcraft or camping gear.