This guide provides a step-by-step walkthrough of setting up, taking down, and packing the Coleman Skydome 4-person tent. We'll cover each stage in detail, from unpacking the convenient carry bag to securing the rainfly and finally stowing everything away efficiently. Learn how to quickly and easily assemble this popular tent, maximizing your time outdoors and minimizing frustrating fumbles. This comprehensive guide includes helpful tips and tricks to streamline the entire process, ensuring you're ready for your next camping adventure in minimal time.Whether you're a seasoned camper or a first-timer, understanding the proper techniques for setting up and taking down your tent is crucial for a smooth and enjoyable camping experience. This guide offers clear instructions and time estimates to manage your expectations and improve your efficiency. We’ll cover assembling the poles, securing the tent body and rainfly, and using the stakes effectively. Finally, we'll detail the packing process, offering advice on achieving a compact and organized storage for easy transport.
Pros And Cons
- Relatively easy setup (9.5 minutes)
- Includes carry bag, gear loft, rain fly, stakes, and foot mat.
- Takedown and packing can take approximately 10 minutes without expanding the bag.
- Tight fit when repacking; may require expanding the bag.
Read more: 5 Best Tent Stakes with Loops for Secure Camping
Unpacking and Pole Assembly
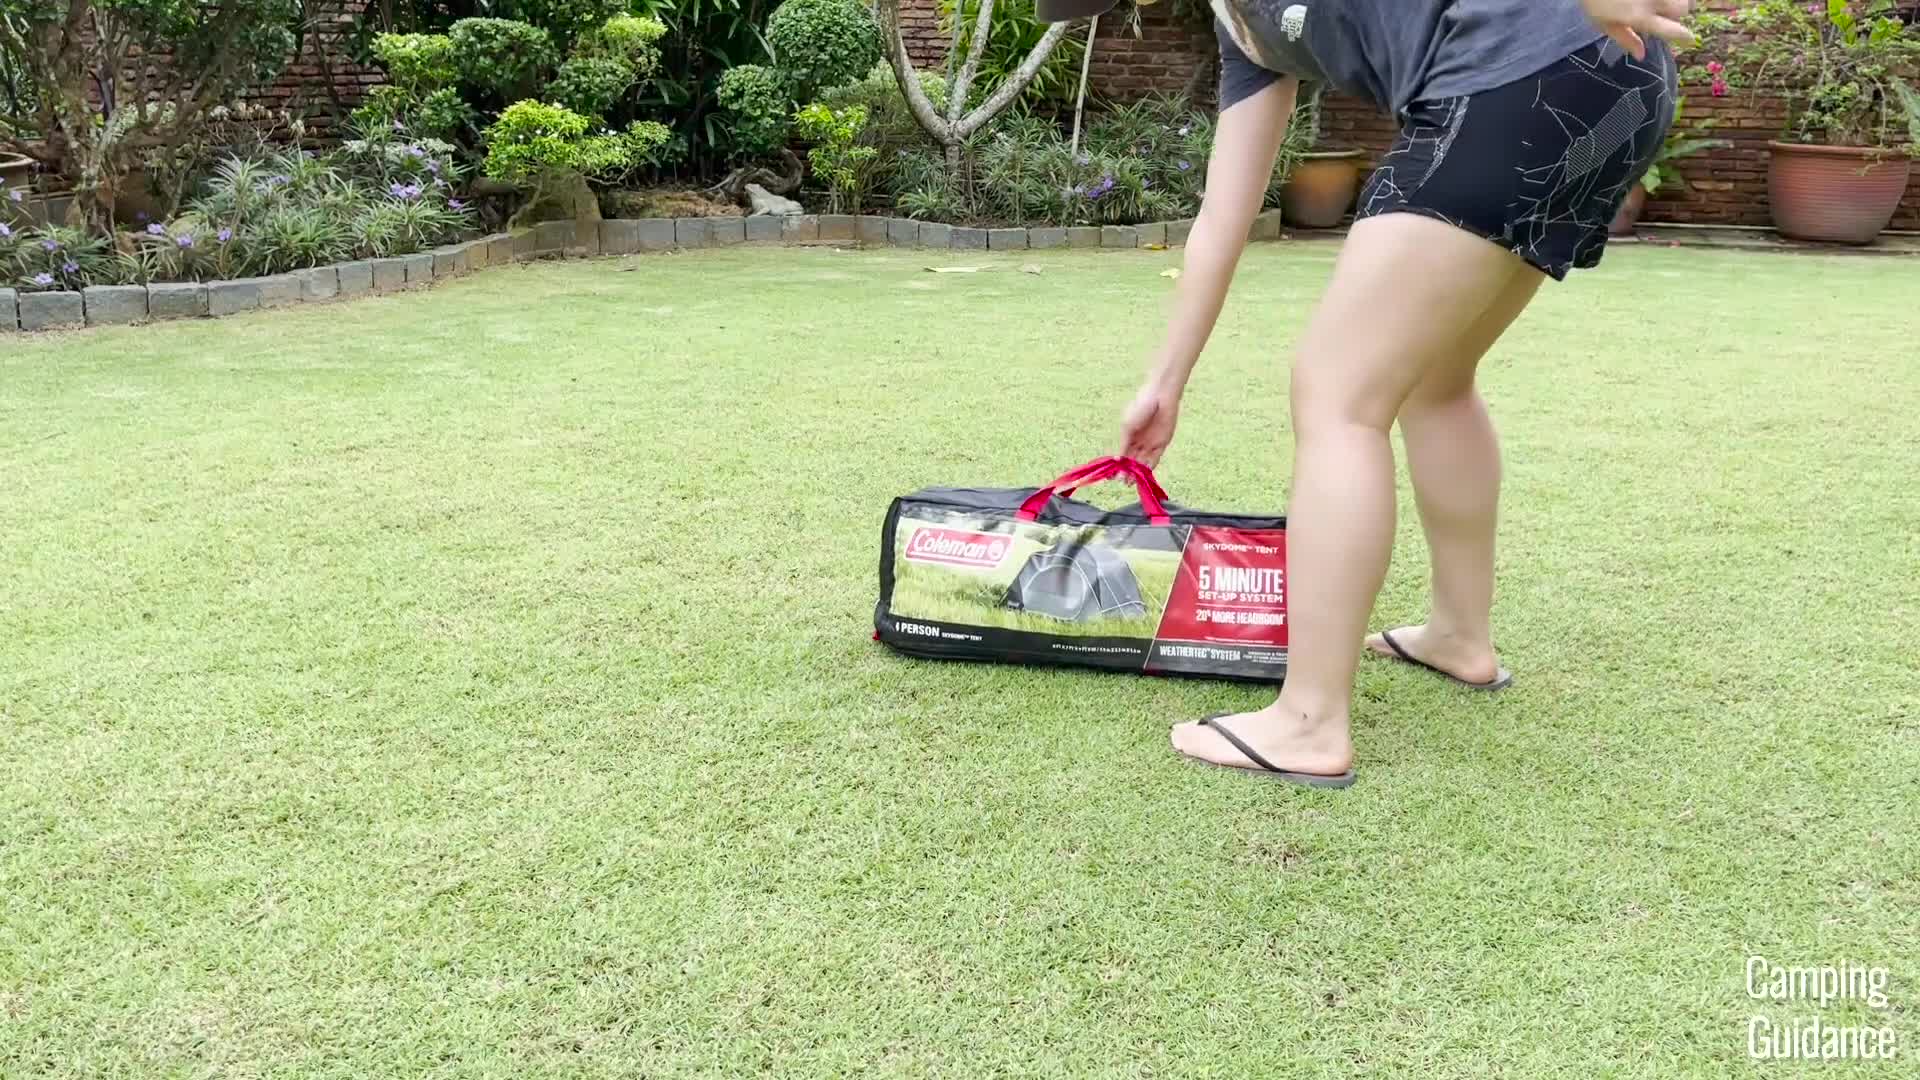
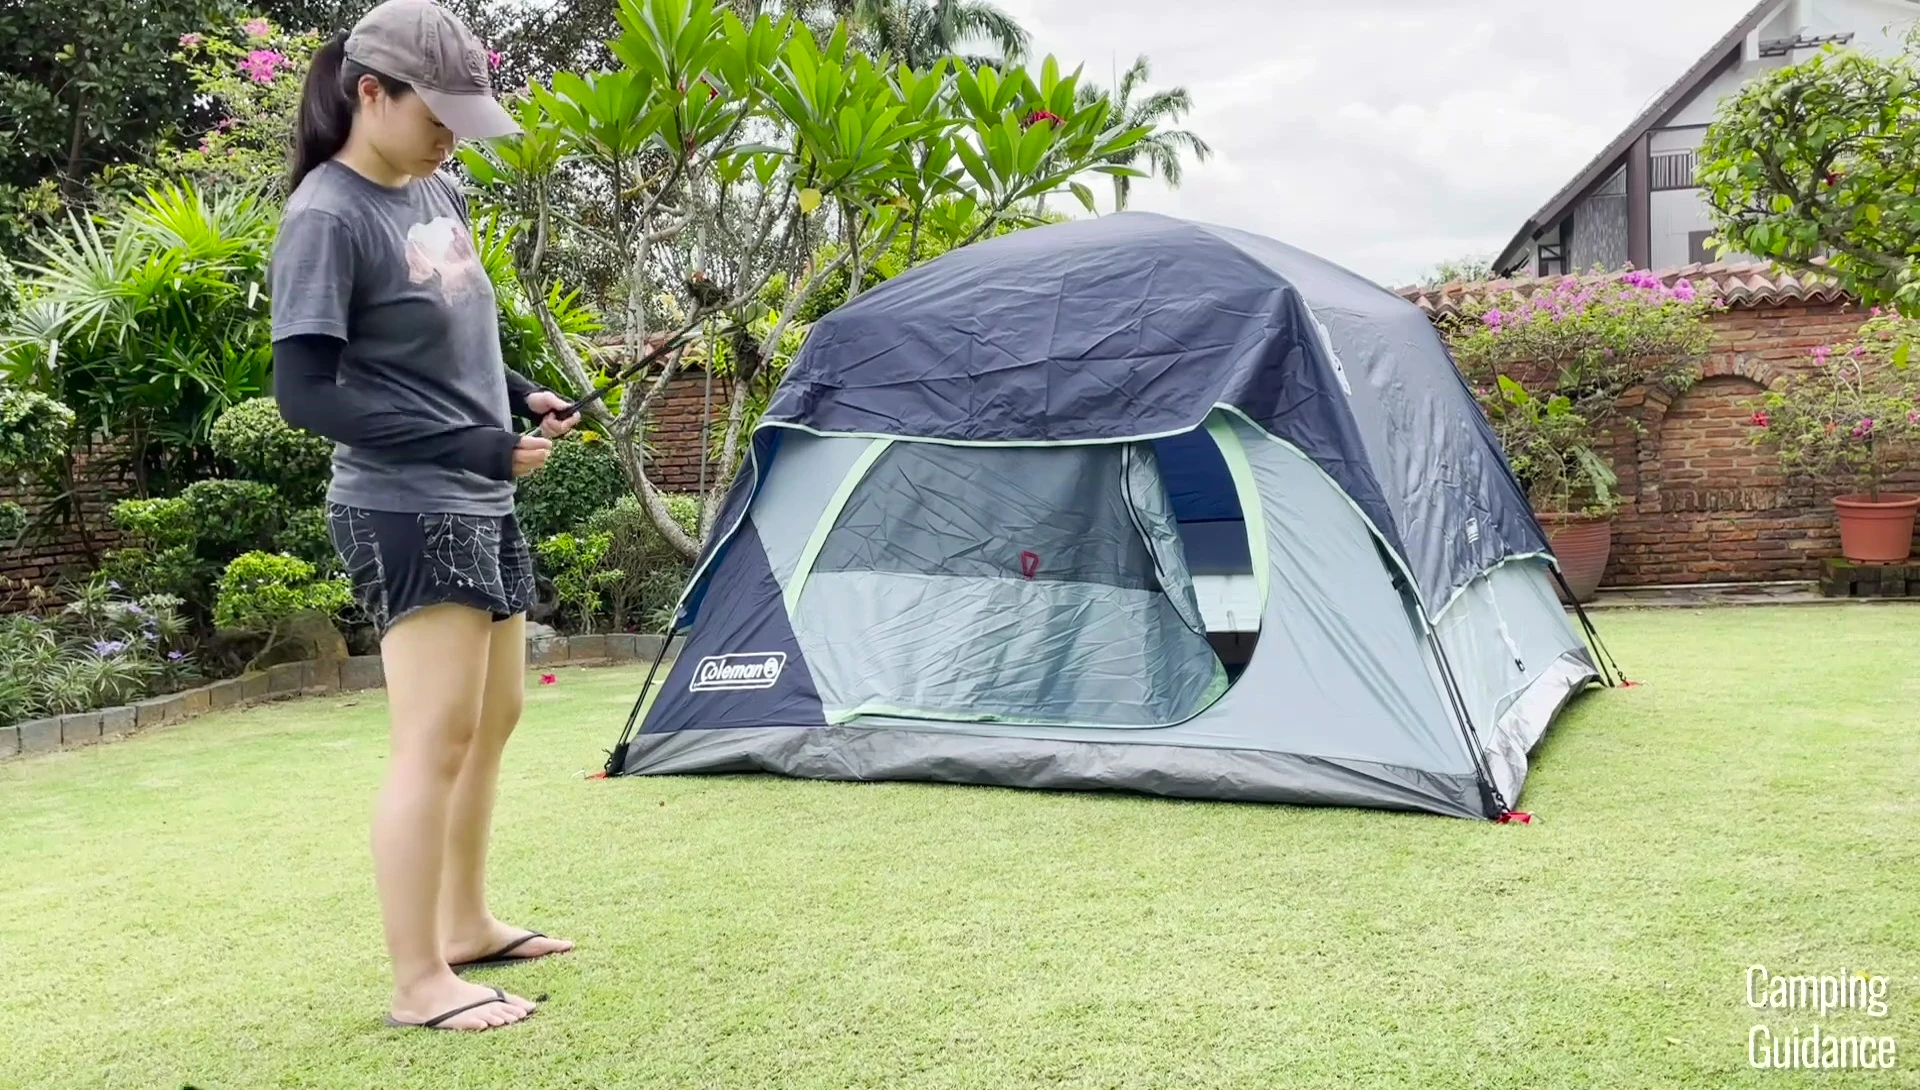
The Coleman Skydome 4-person tent arrives in a convenient carry bag. Inside, you'll find the tent body with pre-attached poles, a rain fly, stakes, a rain fly pole, and a footprint. Begin by laying the tent body on the ground.
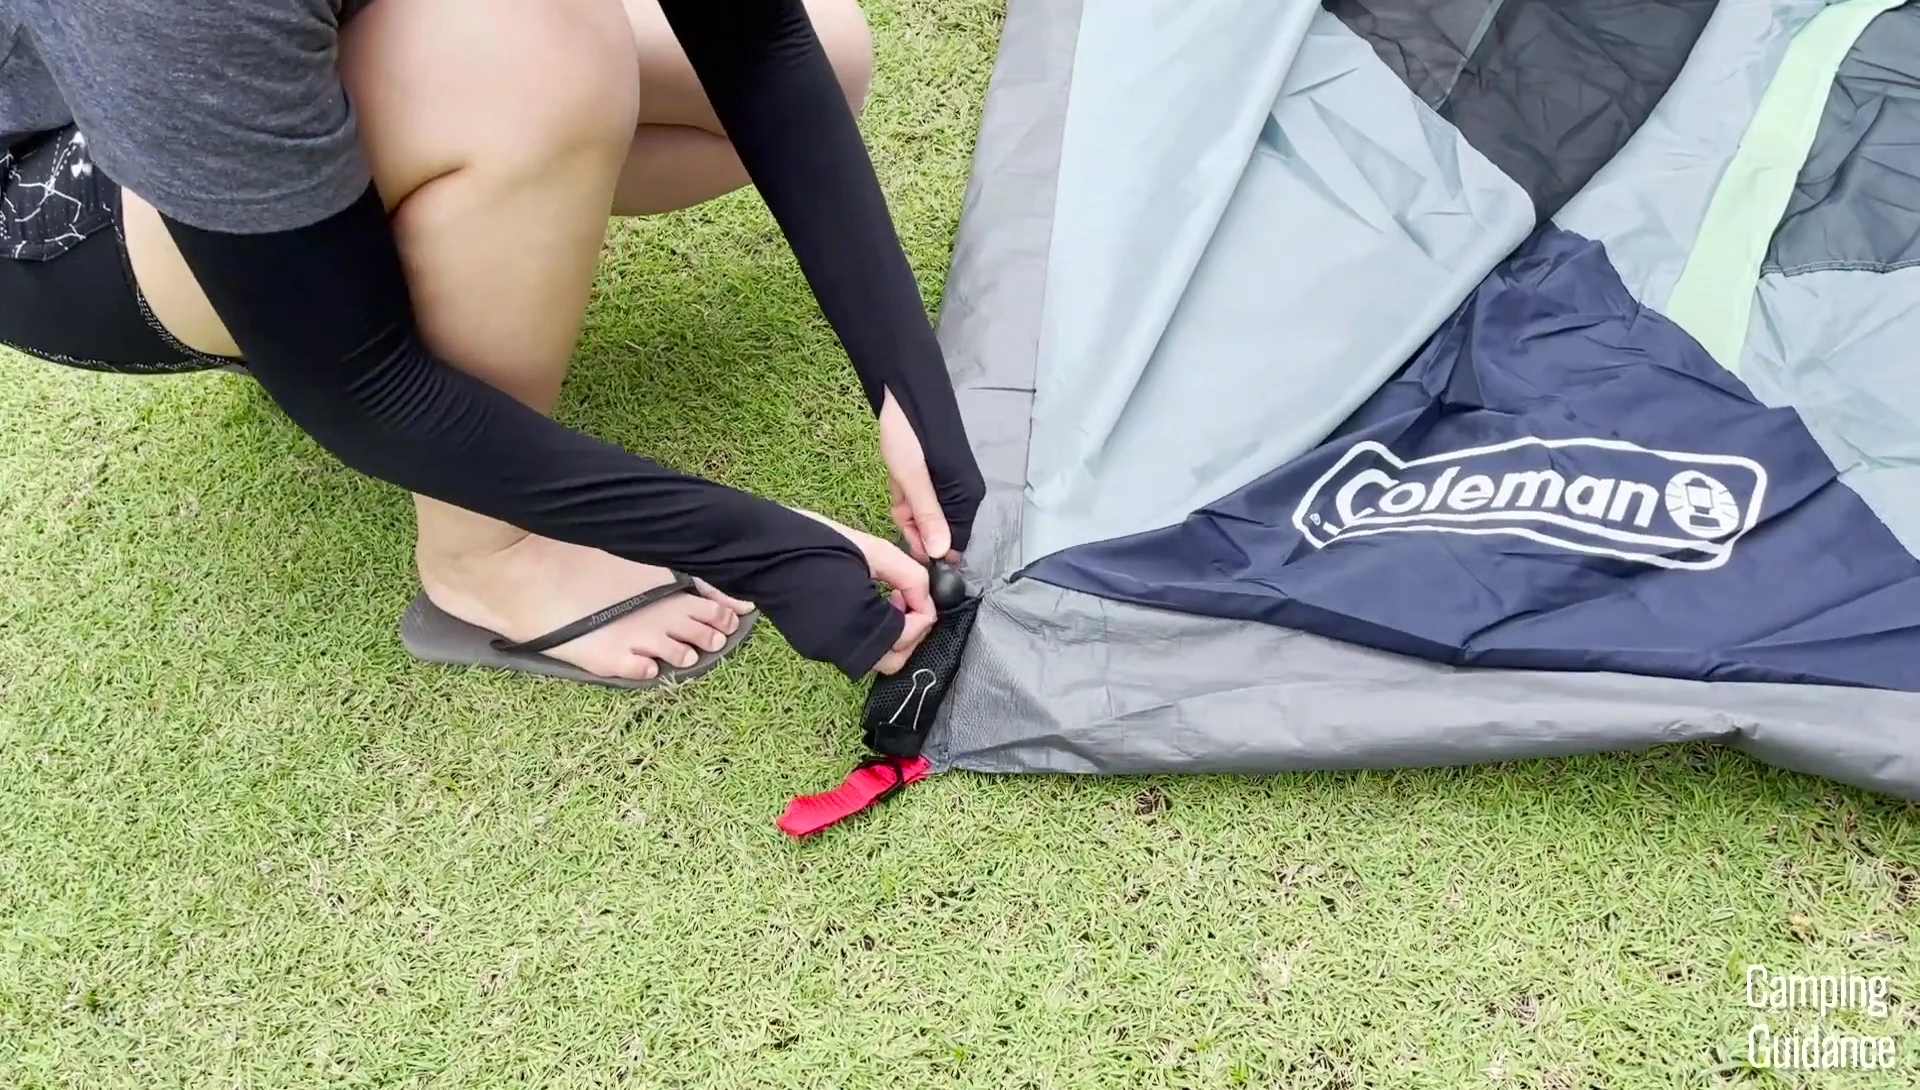
Locate the black fiberglass poles at the back of the tent. Detach them from the velcro straps. Each pole has a small black ball at one end.

Insert these balls into the small black pockets on the tent's bathtub floor. These pockets have openings at the top. Repeat this process for the second pole.
Tent Assembly and Pole Connections
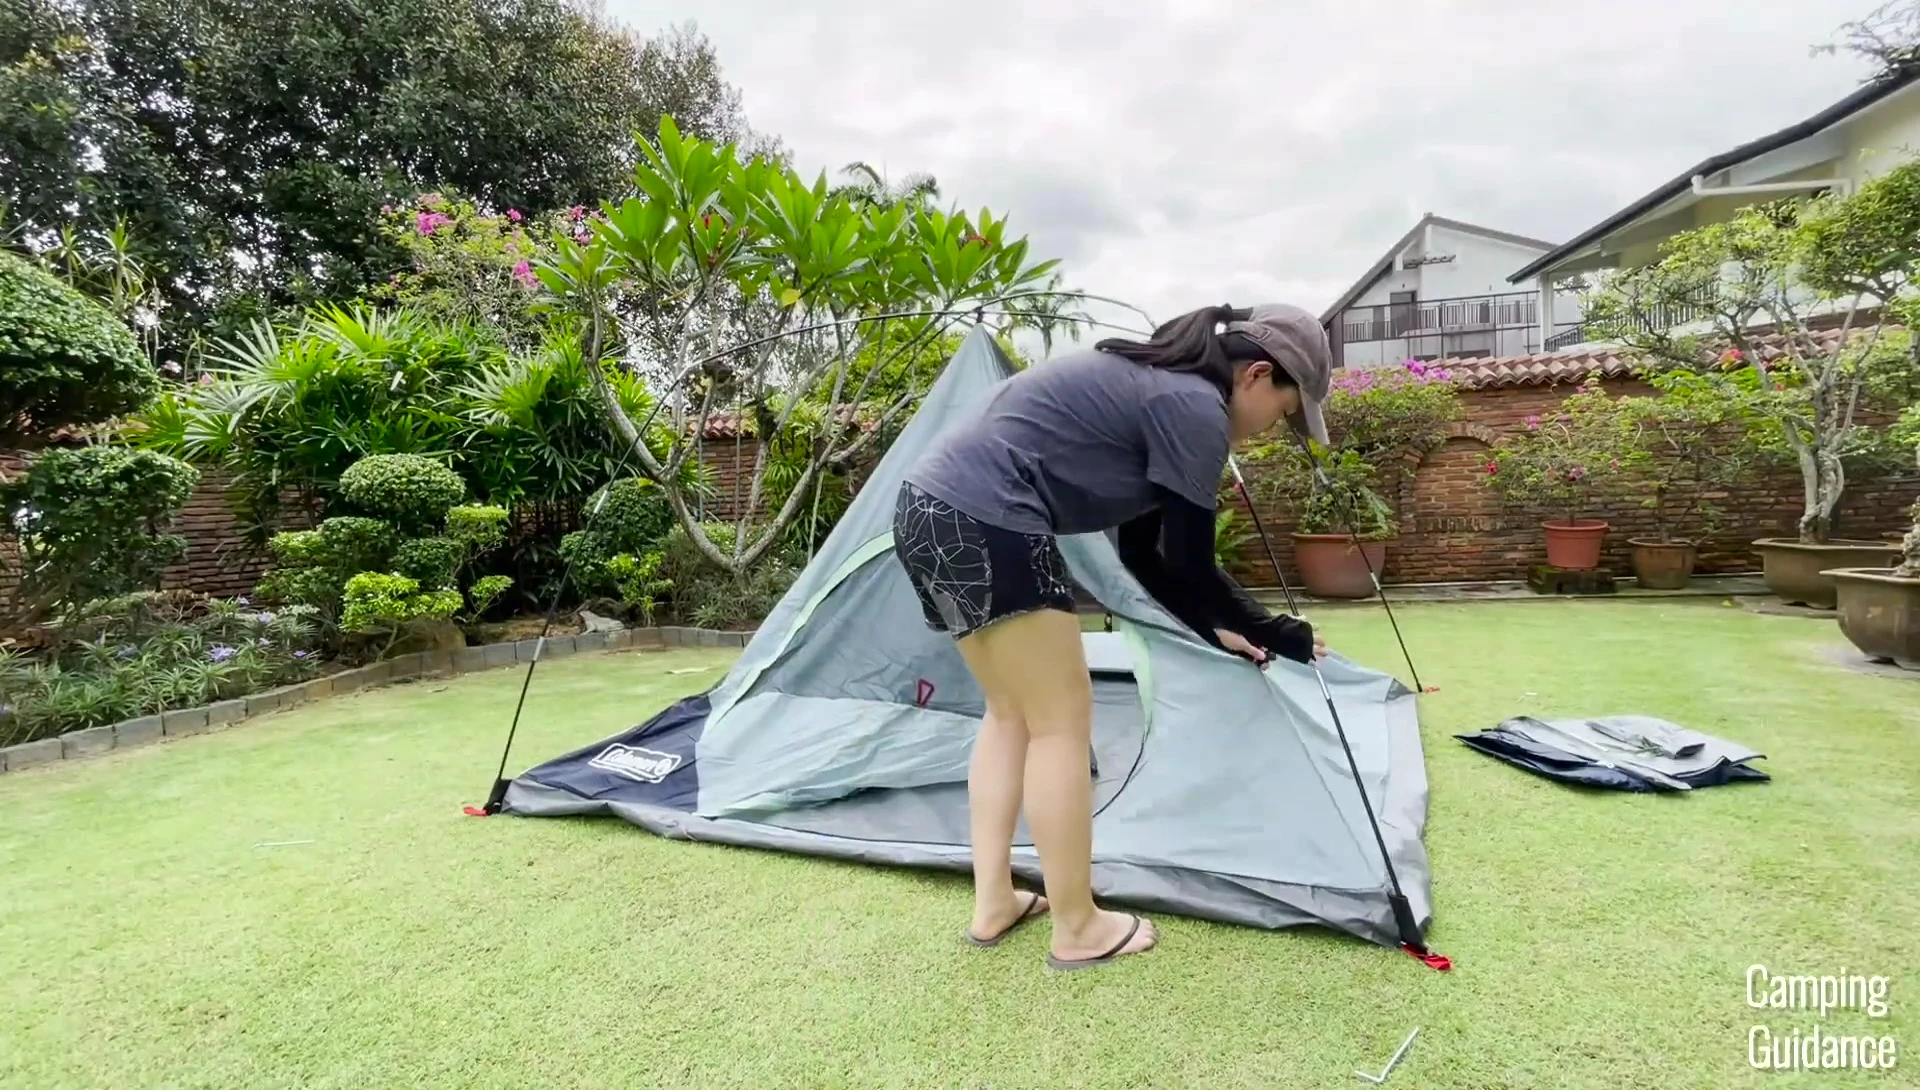
Once the poles are partially assembled, they won't stand yet. Pick up one pole, step onto the tent body, and lift the other until they crisscross at the top.
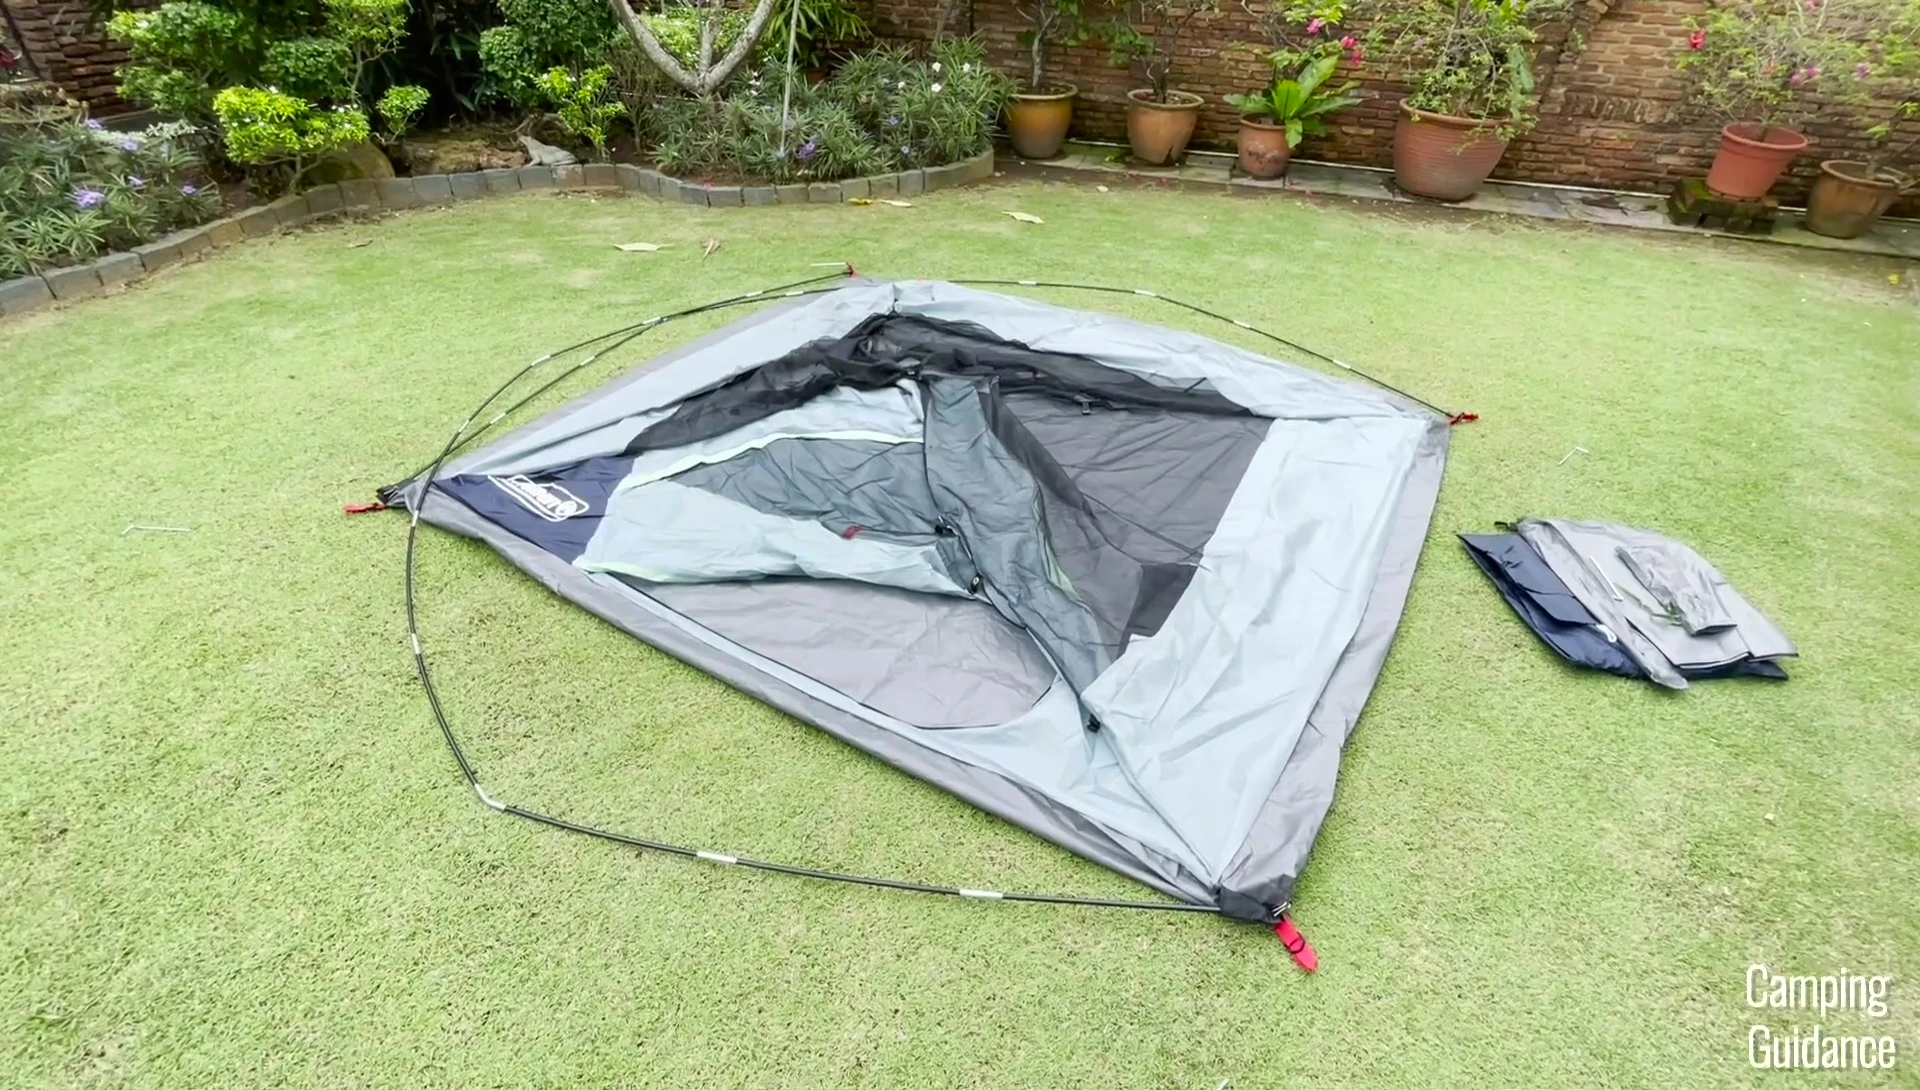
Use the center pole clips to connect the poles. Clip one to each pole, aiming for the middle of each fiberglass pole for optimal stability and even tent shape.
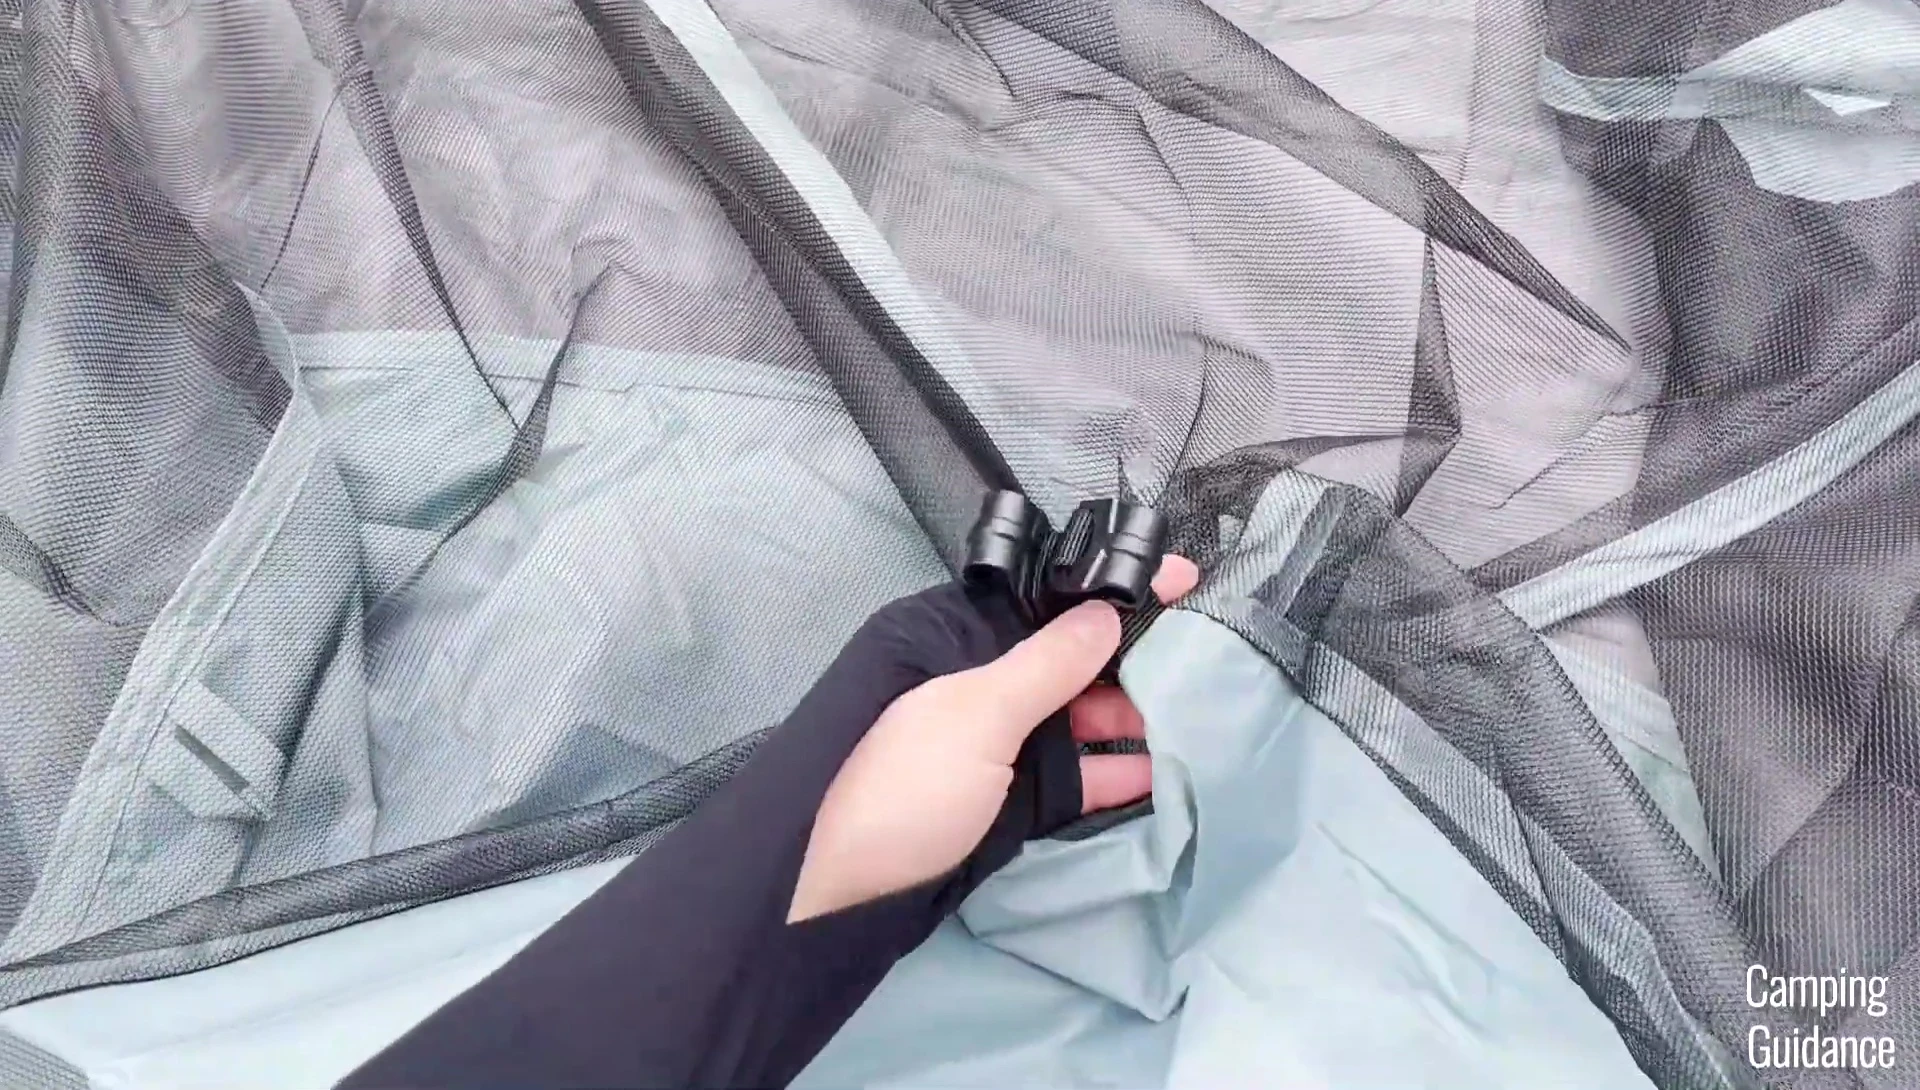
Attach the remaining pole clips to the fiberglass poles. There are eight clips at the front, four on each side, and six more at the back.
Staking and Rainfly Attachment
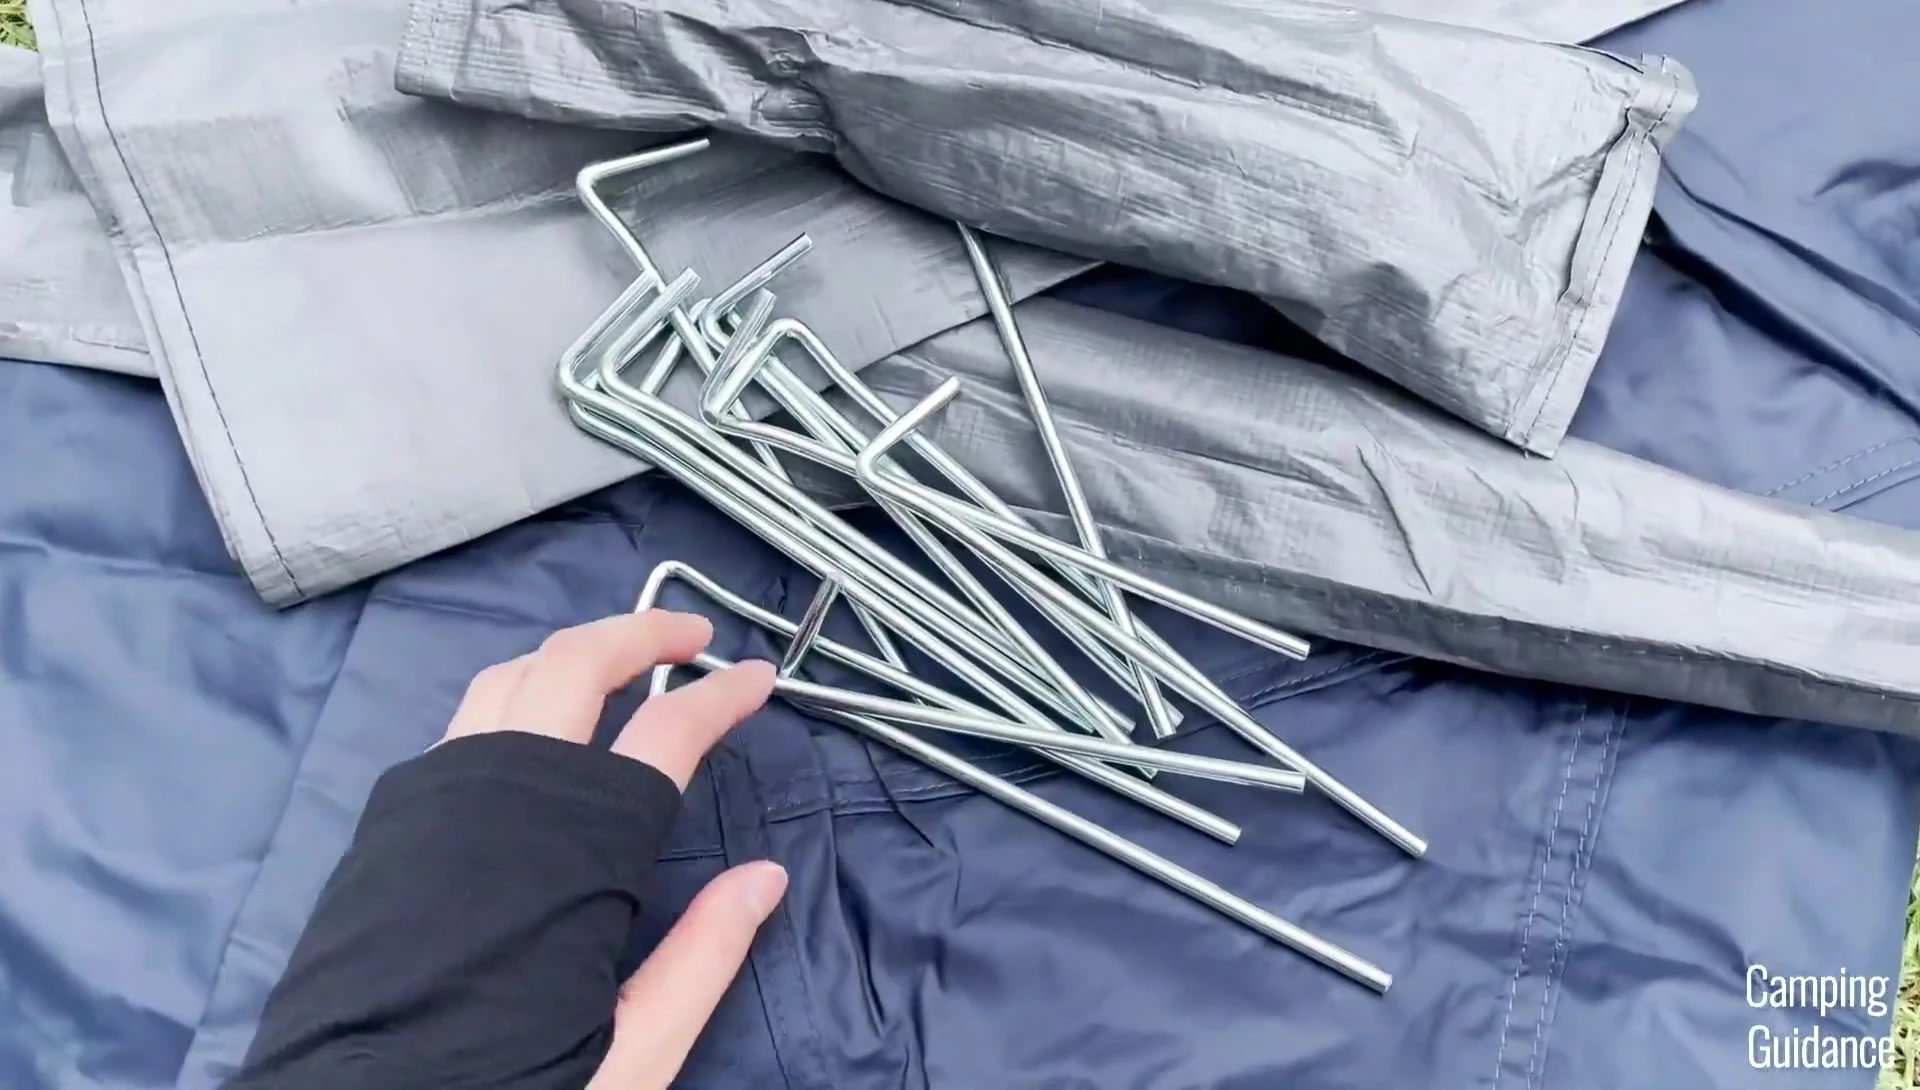
Use the steel stakes to secure the tent body. Place two stakes at the back and two at the front, using the red webbing loops for easier insertion.
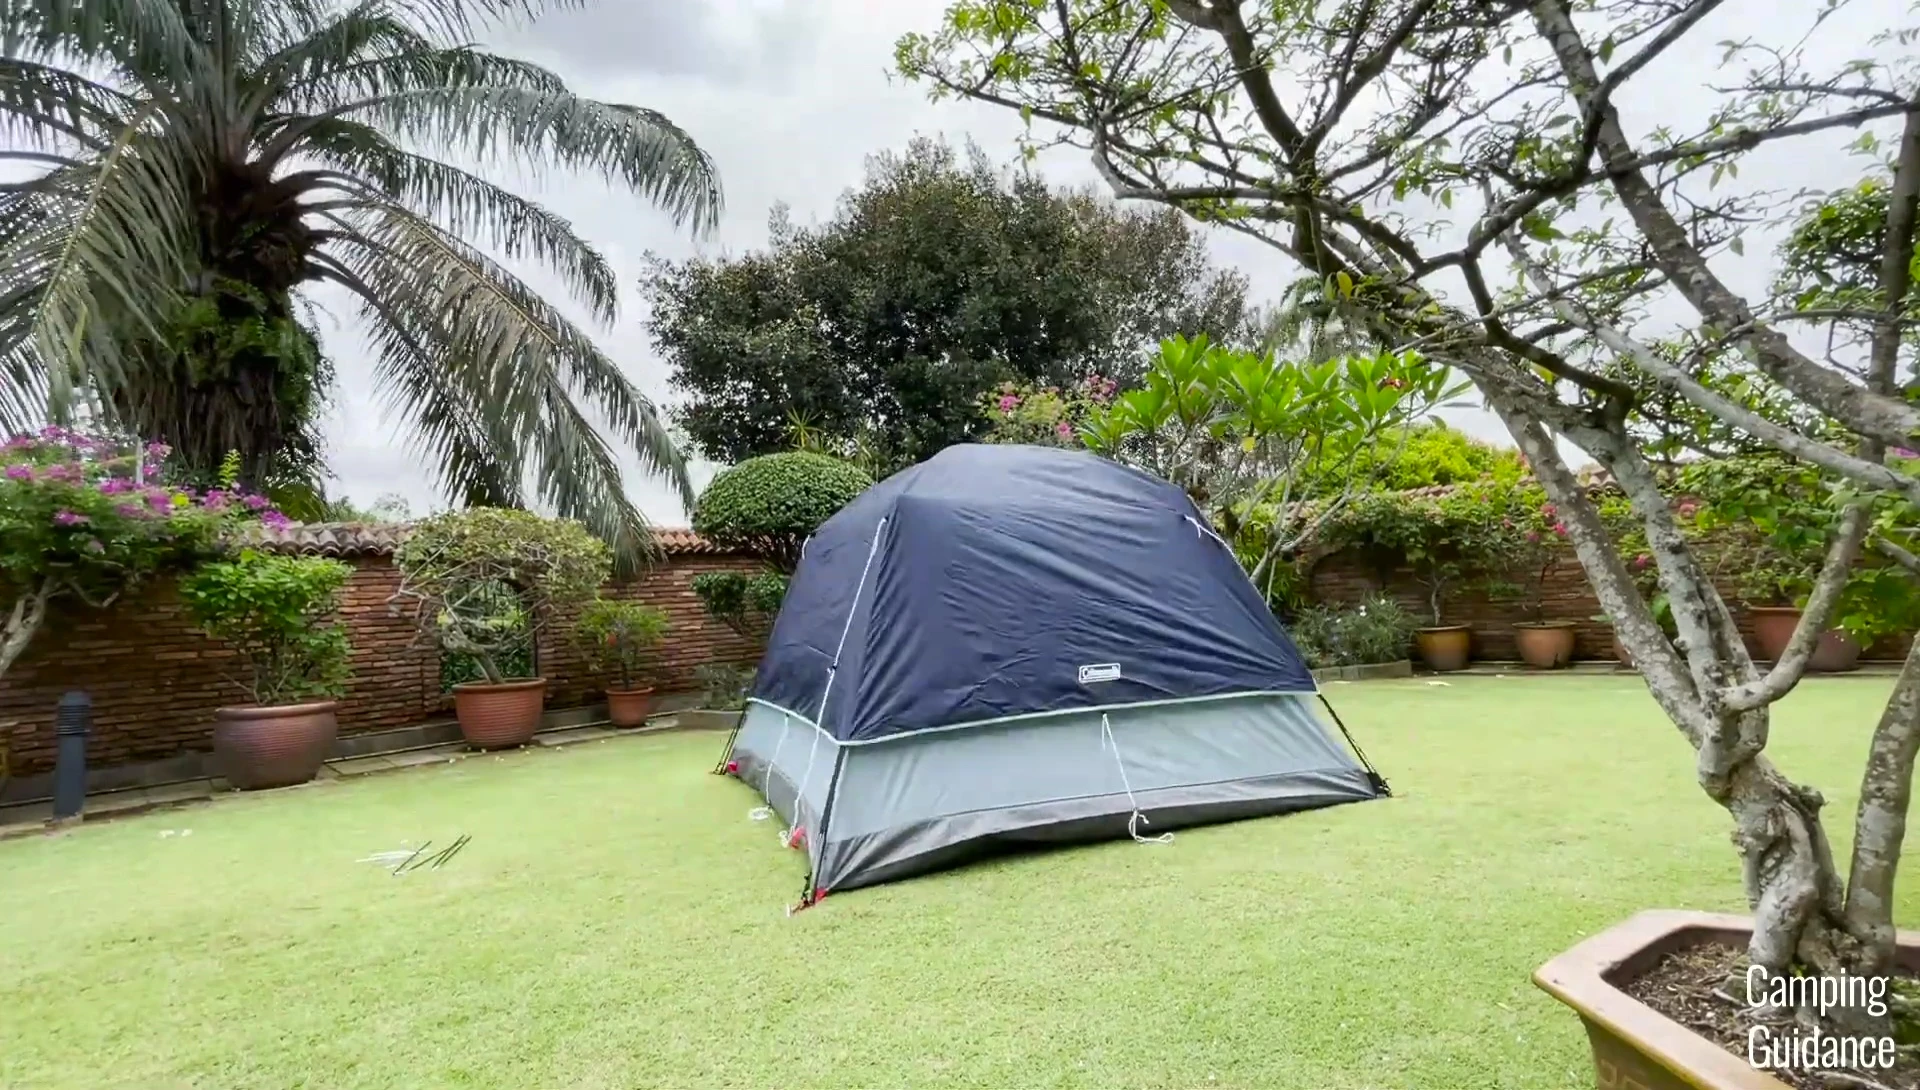
Drape the rain fly over the tent, ensuring the Coleman logos align with the tent's width. The rain fly is shorter at the front, over the door.
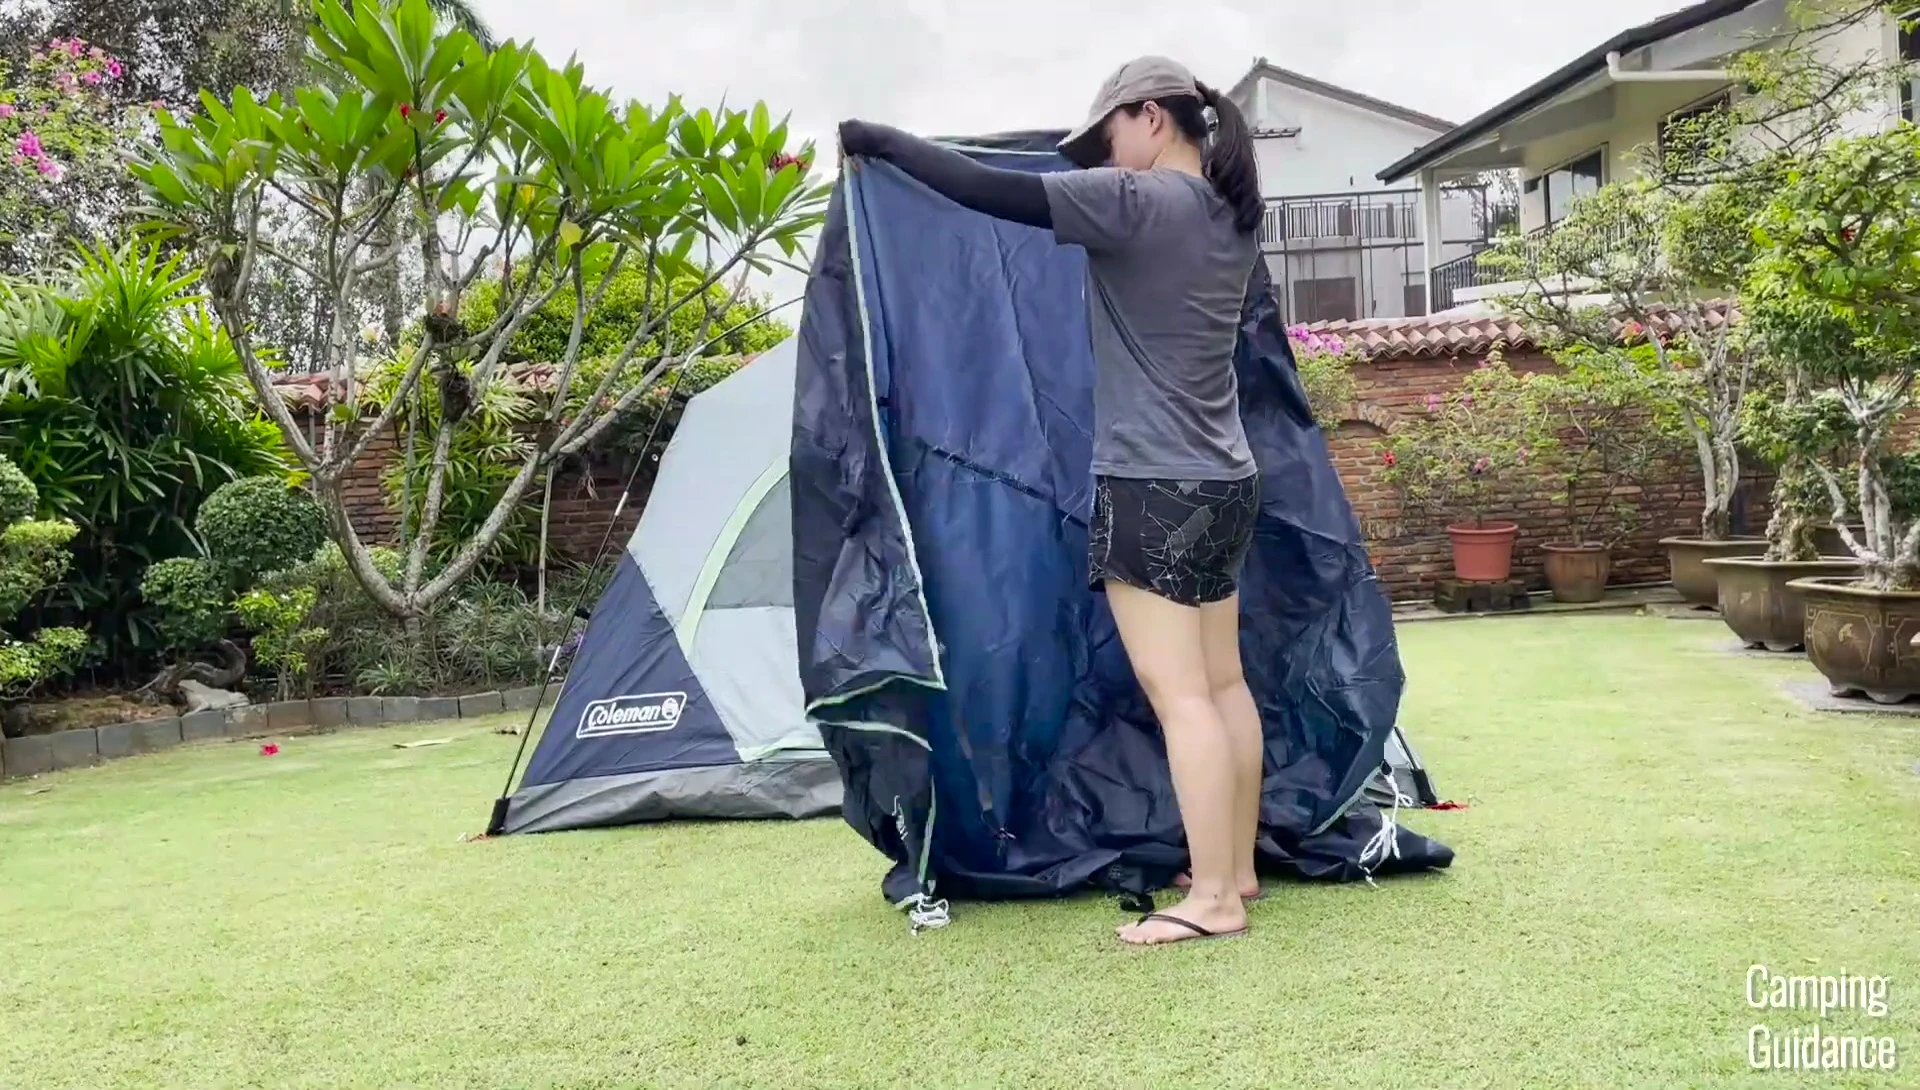
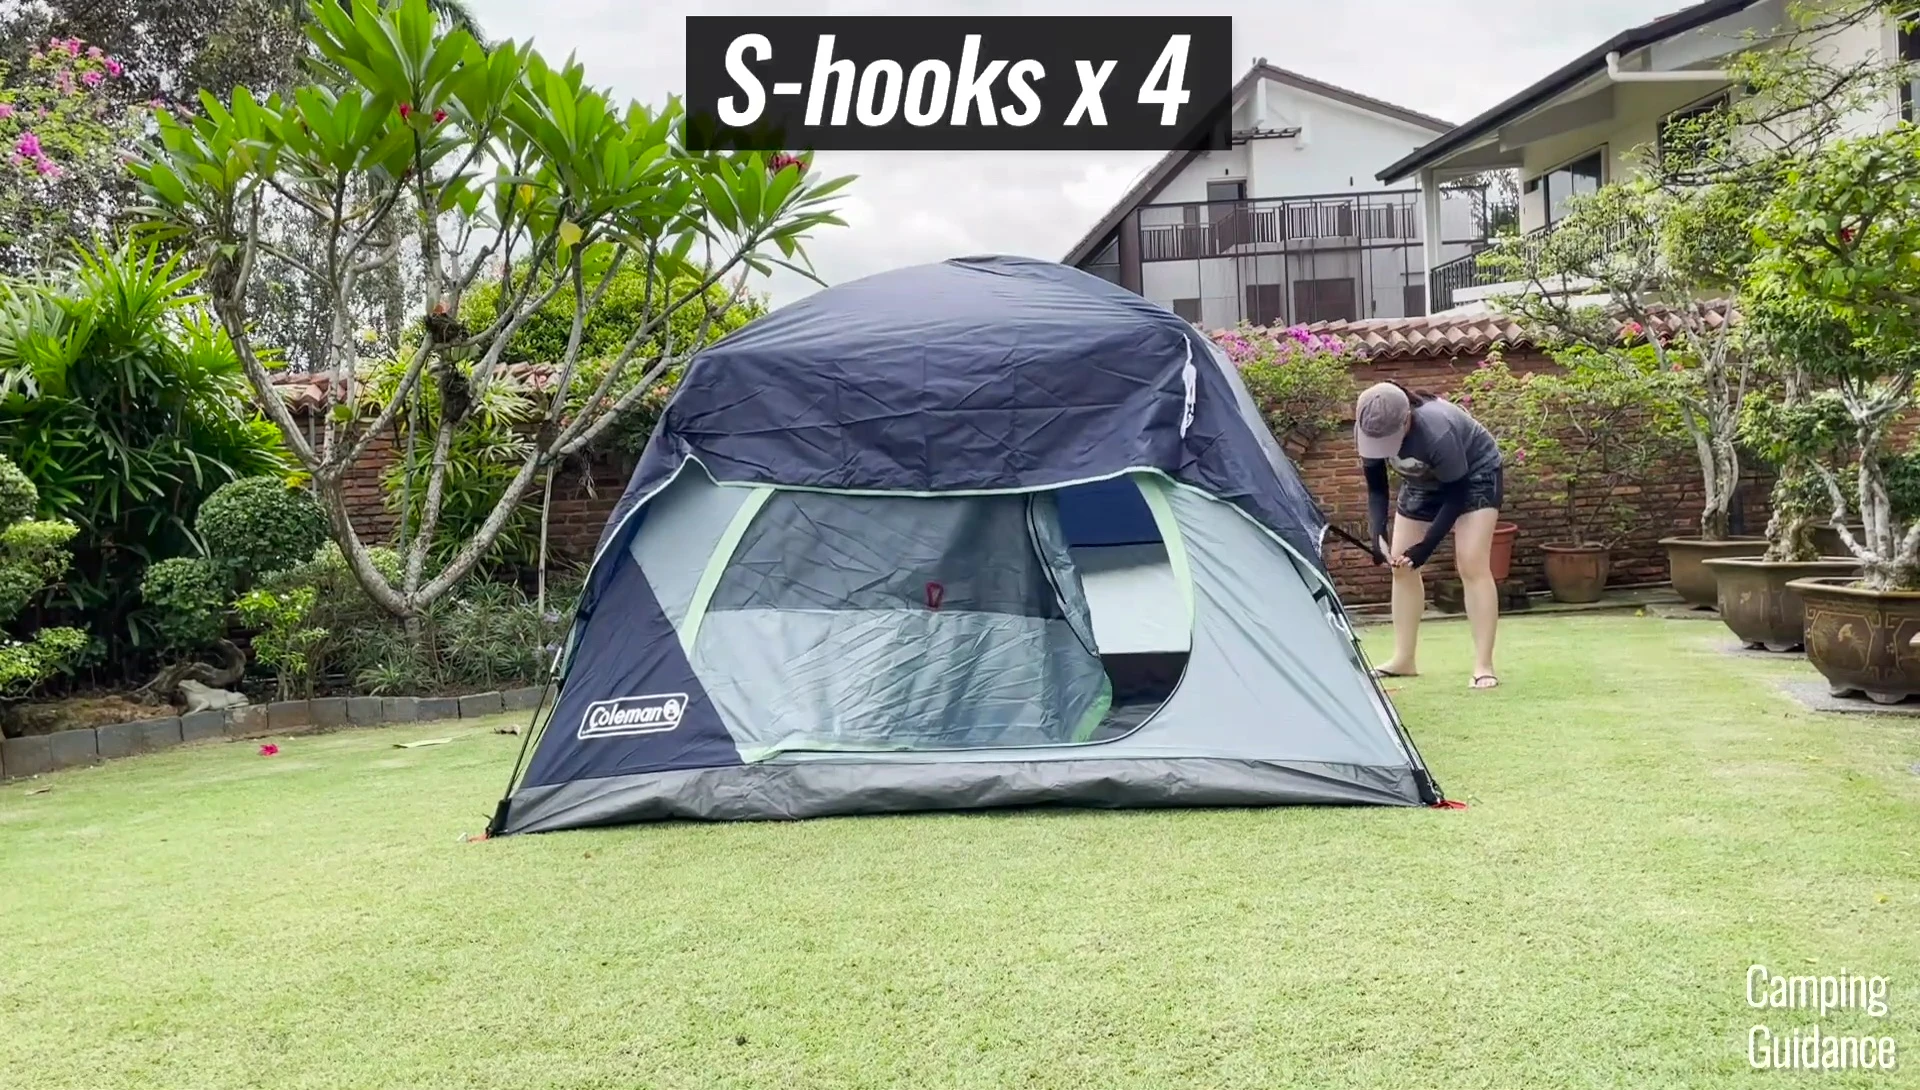
Use the S-hooks on the rain fly to attach to the black loops on the red webbing at the corners. Secure the velcro attachments on the underside of the rain fly to the fiberglass poles for a better fit.
Rainfly Pole and Final Setup
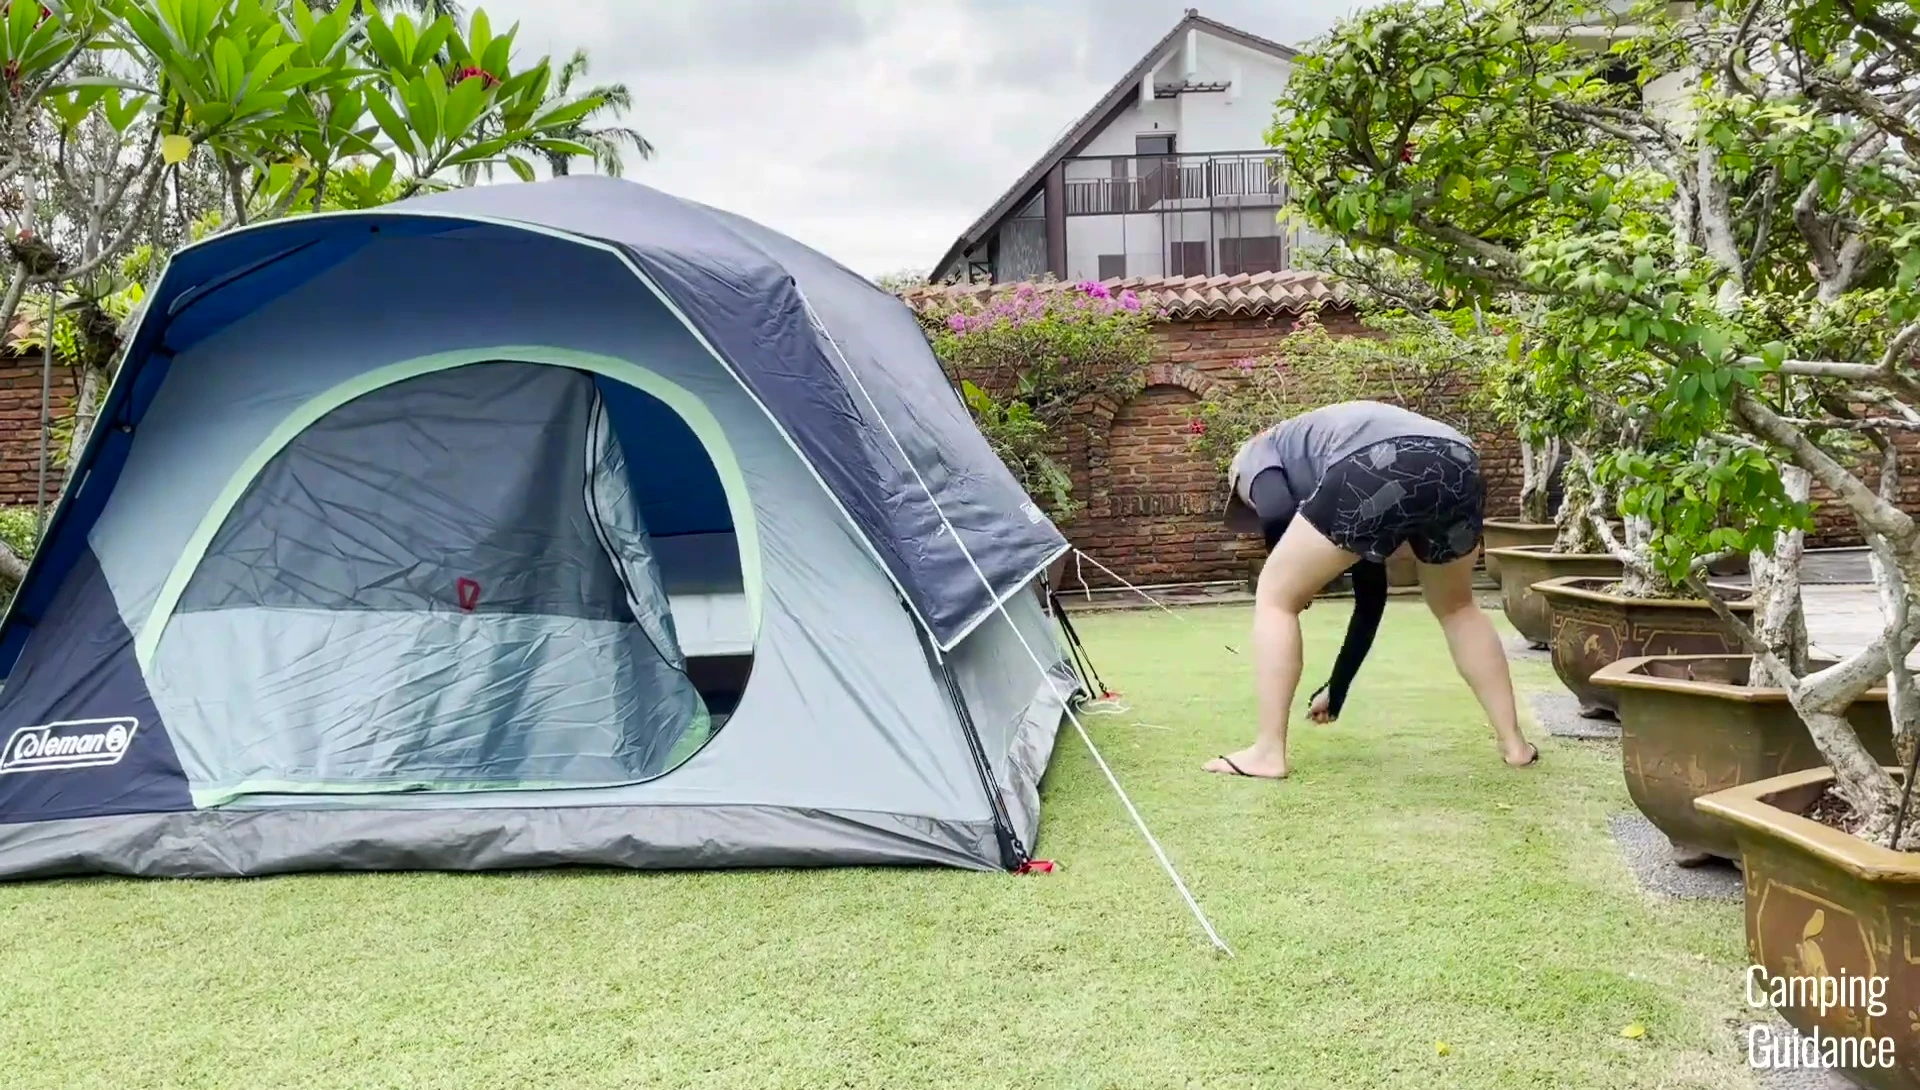
Assemble the rain fly pole (from a separate carry case) and insert it into the sleeve at the door. Secure each end of the pole into rings on pole clips.
Use seven more stakes to secure the rain fly along the tent's guidelines. Two additional stakes are provided for the optional footprint.
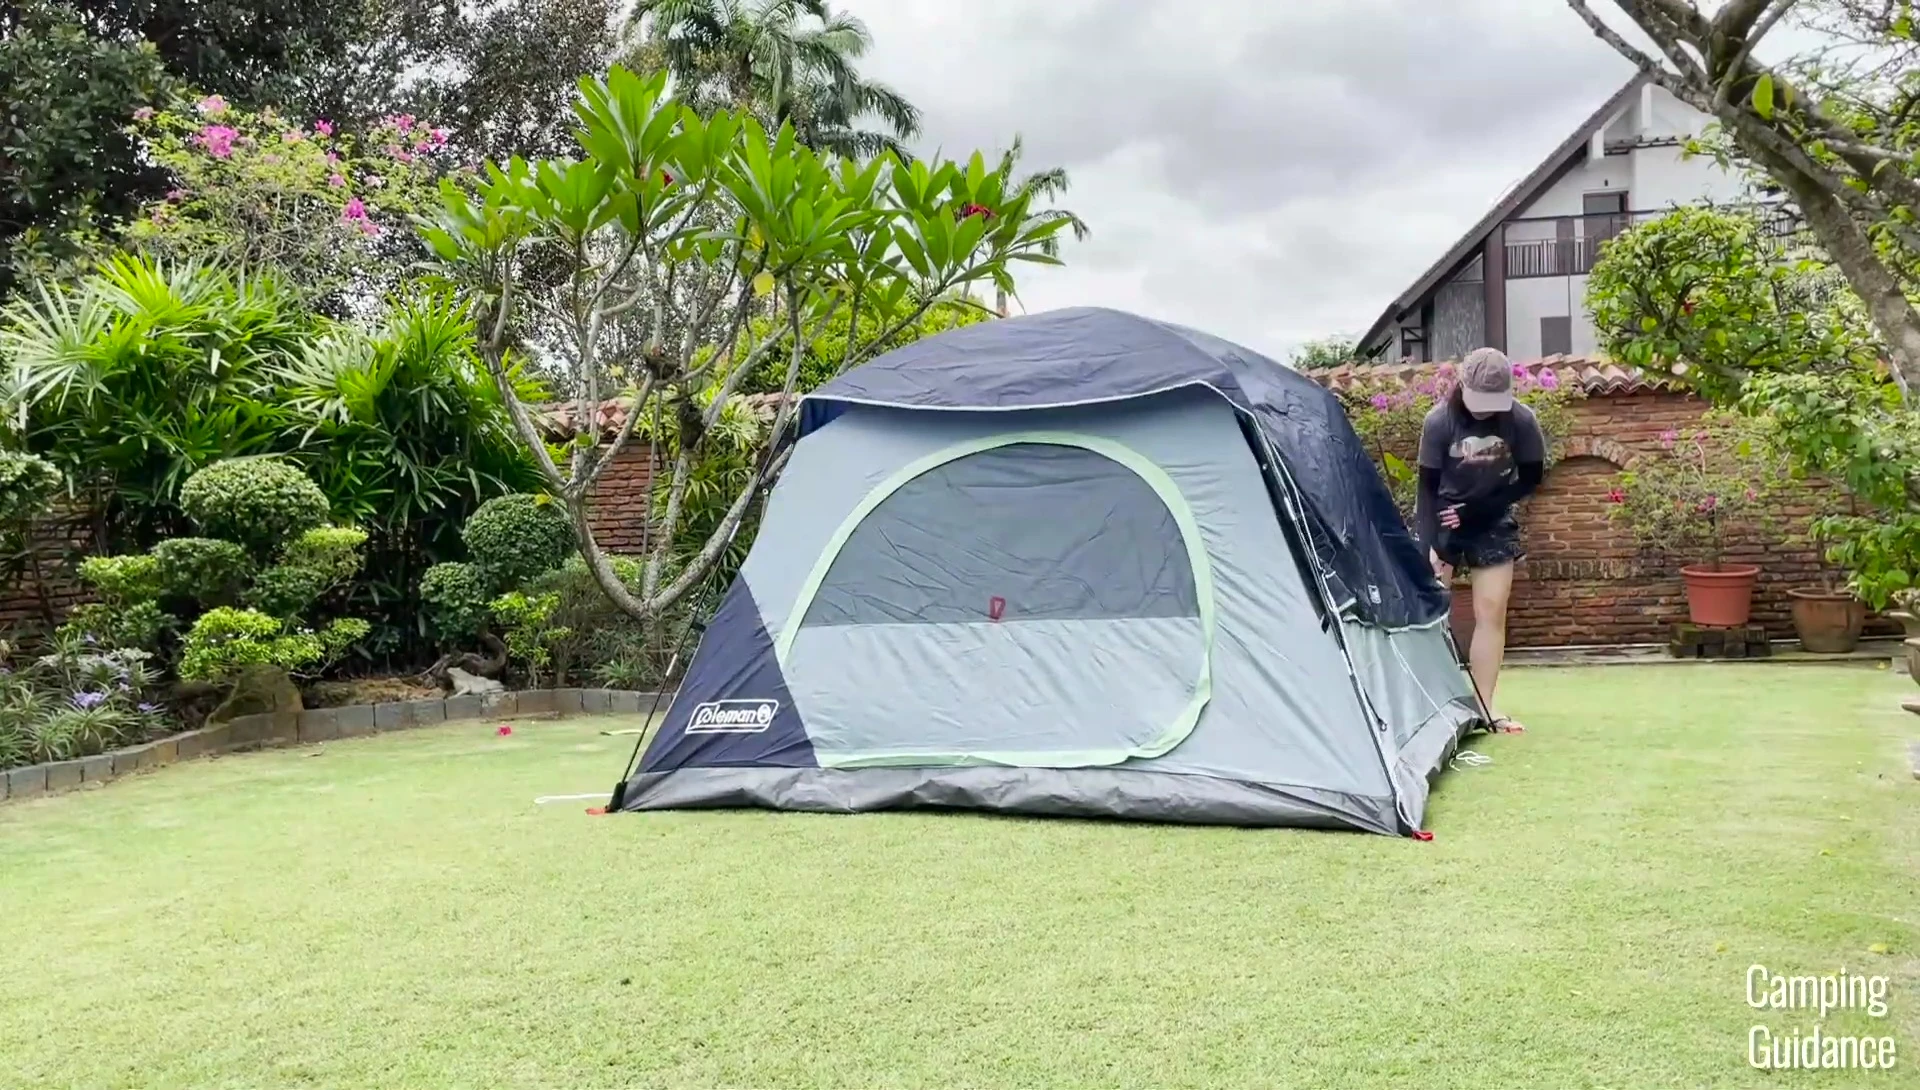
The entire setup process took approximately 9.5 minutes.
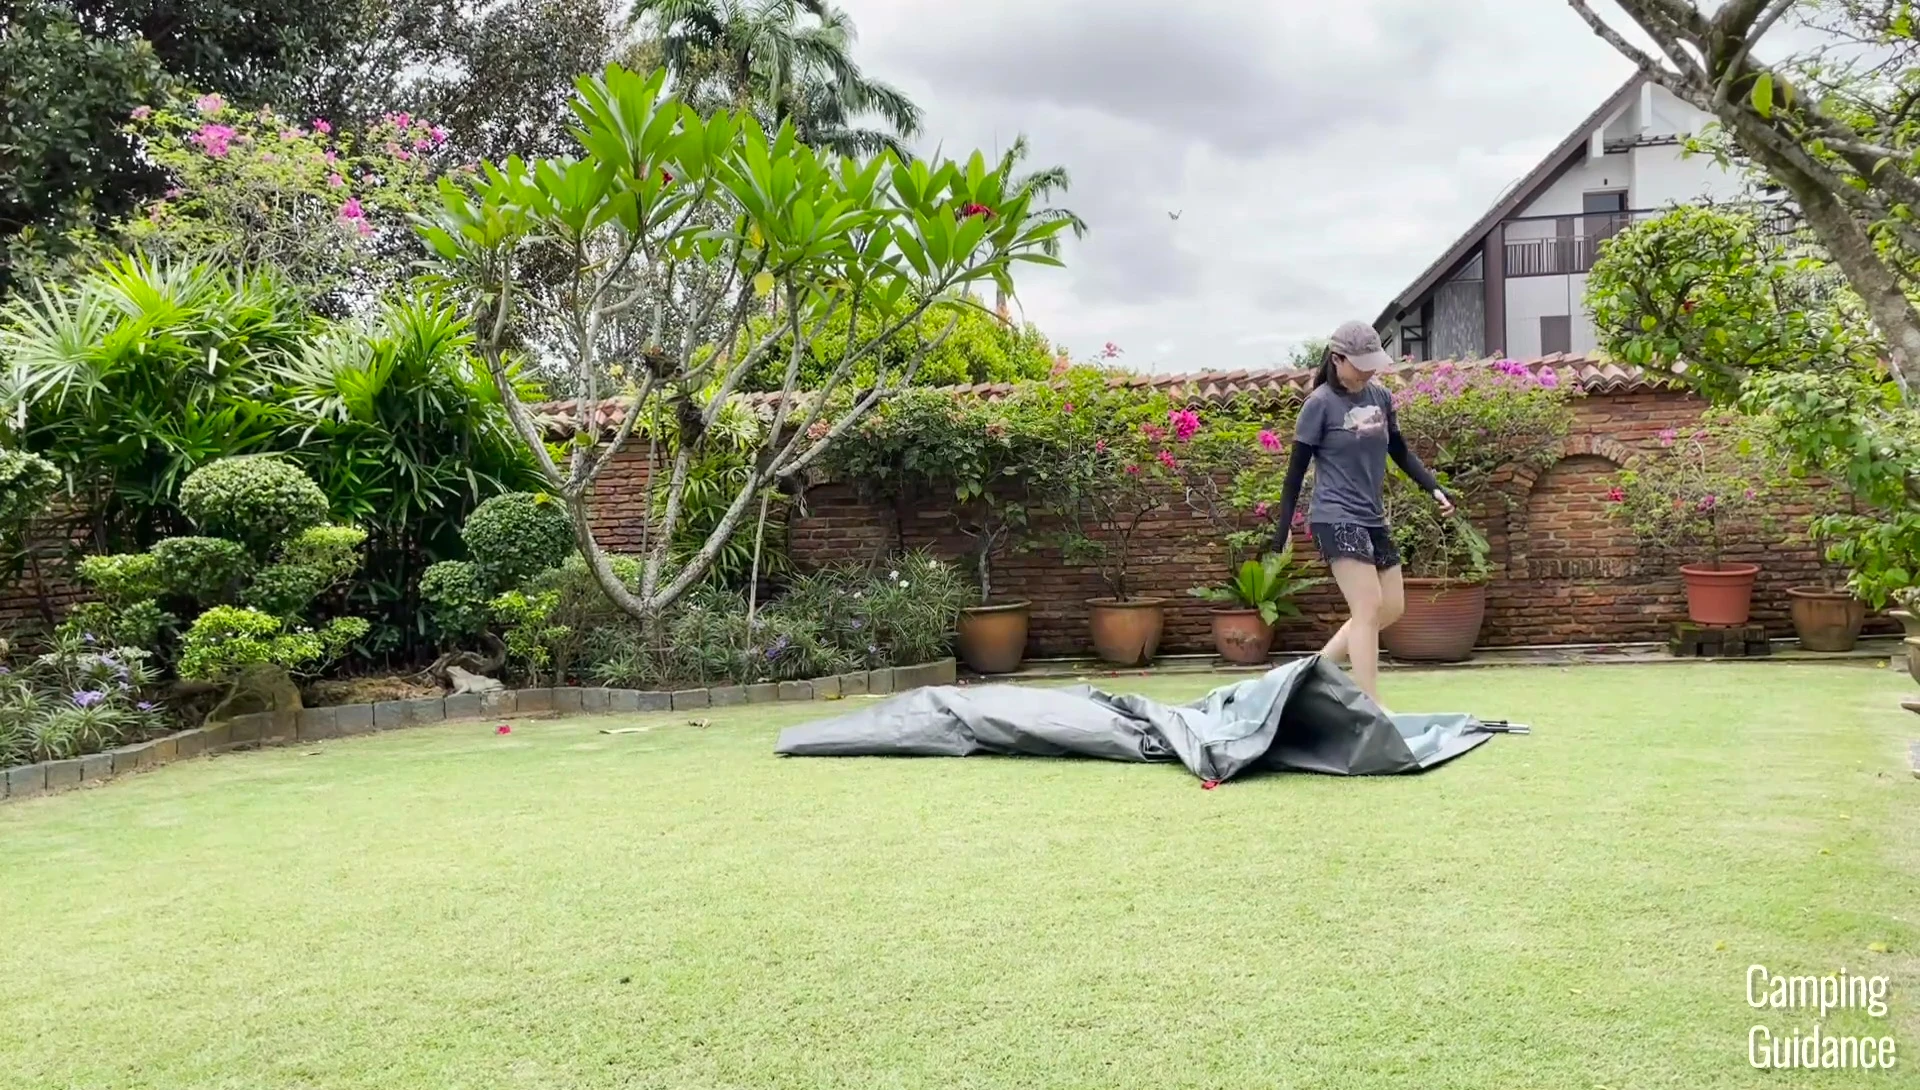
Takedown and Packing
Takedown is the reverse of setup. It took approximately 10 minutes, though this could be reduced by expanding the carry bag.
Fold the tent body in half lengthwise twice, then in half widthwise (keeping the poles together), and roll it up starting with the poles.
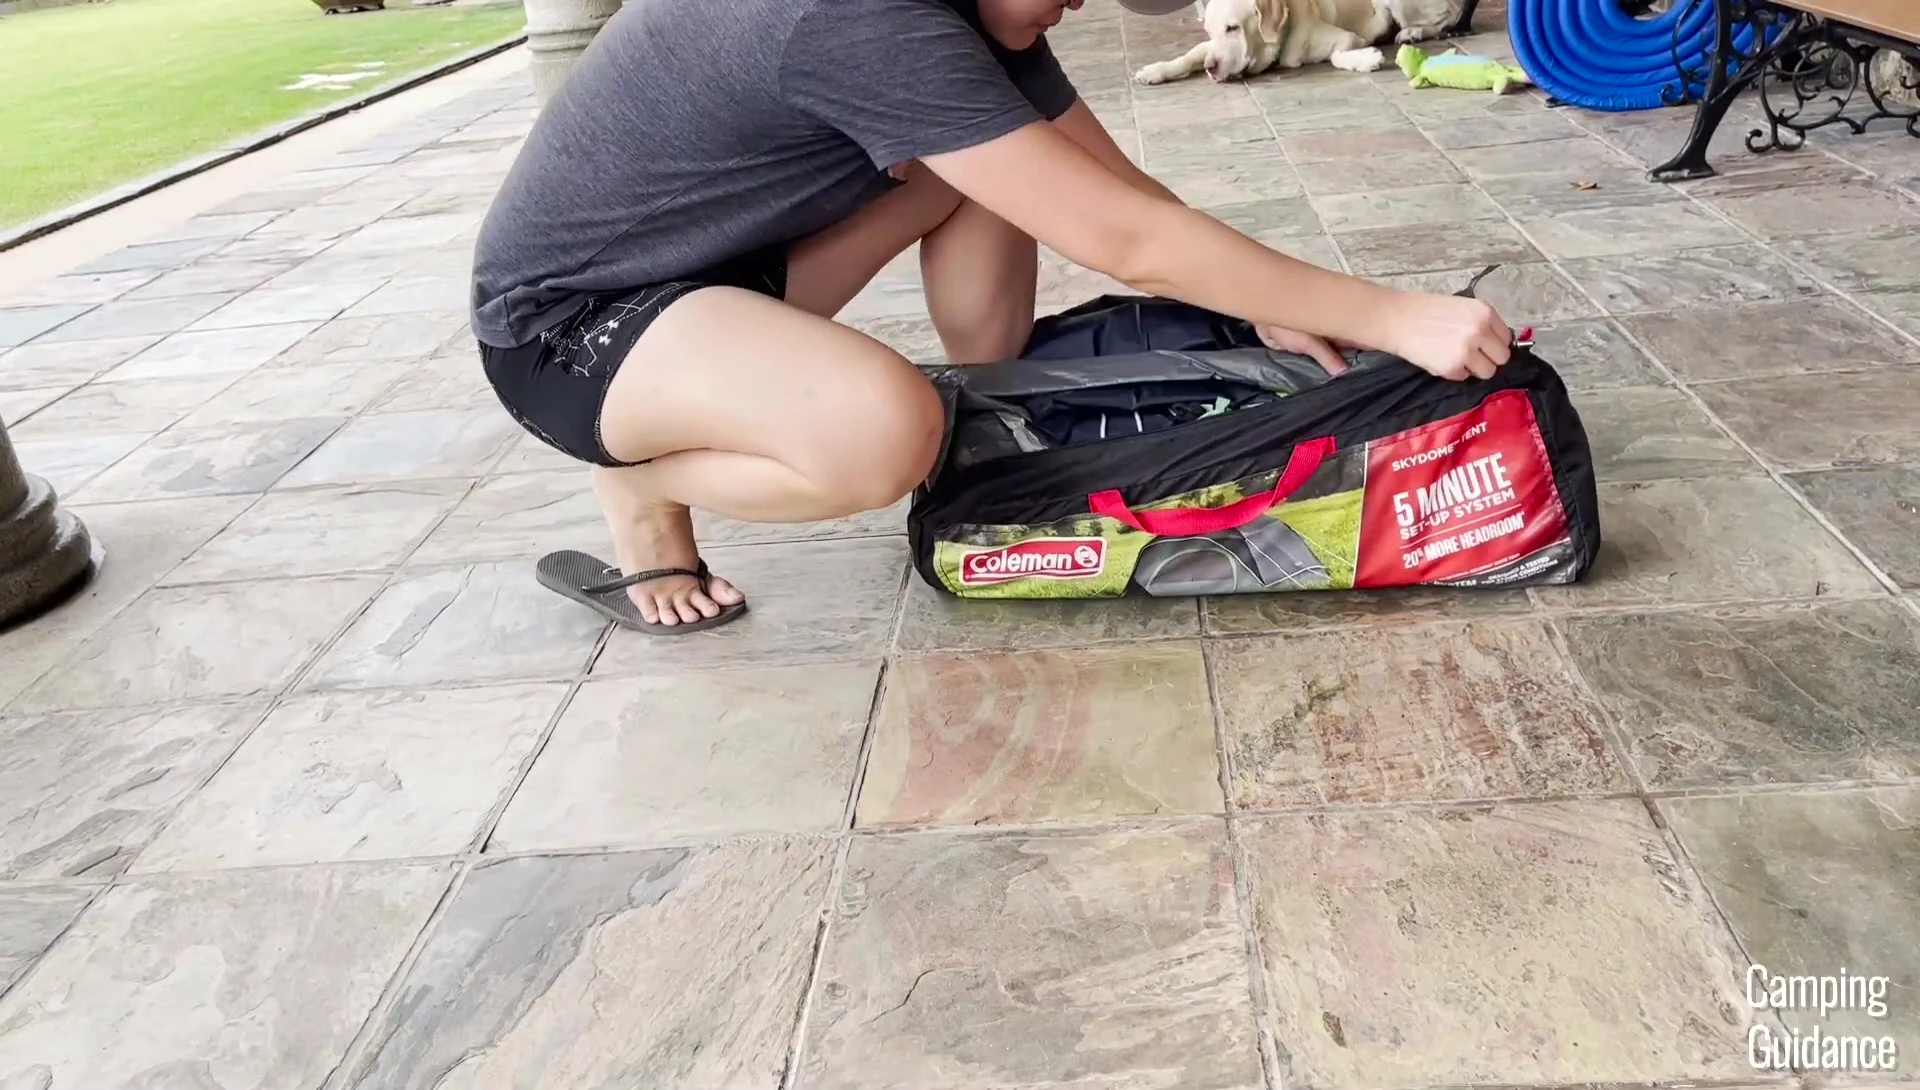
Fold the rain fly several times and pack it, along with the poles, stakes, and footprint, into the carry bag. The pack can be quite tight.
Conclusion
The Coleman Skydome 4-person tent is relatively easy to set up and take down once you understand the steps. The setup and takedown processes are well-explained in the video, making it a manageable task for most users.
The included rain fly provides added weather protection, and the design offers good stability. While packing can be a bit tight, it's manageable with practice. Overall, the tent seems suitable for camping trips for up to four people.
For added information, the video includes links to rain test and review videos of the same tent model. This is helpful to gauge performance under various conditions.