Ripped tarp? Don't despair! A damaged tarp tent, whether from a rogue branch, harsh weather, or simply wear and tear, can significantly impact your outdoor adventures. Replacing a whole tarp is expensive and inconvenient, but thankfully, permanent patching is a viable and surprisingly straightforward solution. Investing a little time and effort in repairing your tarp can extend its lifespan considerably, saving you money and ensuring you're prepared for your next camping trip or outdoor project. A well-patched tarp is almost as good as new, providing reliable shelter for years to come.
This guide will walk you through a proven method for permanently patching your tarp tent, ensuring a durable and weather-resistant repair. From selecting the right materials to mastering the application technique, we'll cover every step needed to get your tarp back in top condition. Let's dive into the detailed, step-by-step process and get that tarp fixed!
Preparation and Safety Guidelines
- SIL nylon scrap
- Silicone sealant
- Rubbing alcohol (optional)
- Putty knife or credit card
- Tape
- Always work in a well-ventilated area when using solvents or adhesives. Inhaling fumes can be harmful.
- Use caution when working with sharp objects like knives or scissors. Cut away from yourself and use a cutting mat if possible.
- Ensure the tarp is completely dry before applying any patch or adhesive. Moisture will compromise the bond.
Step-by-Step Instructions
Prepare the Patch
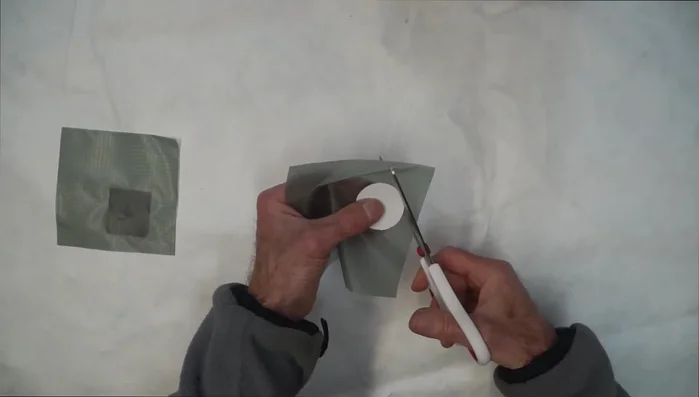
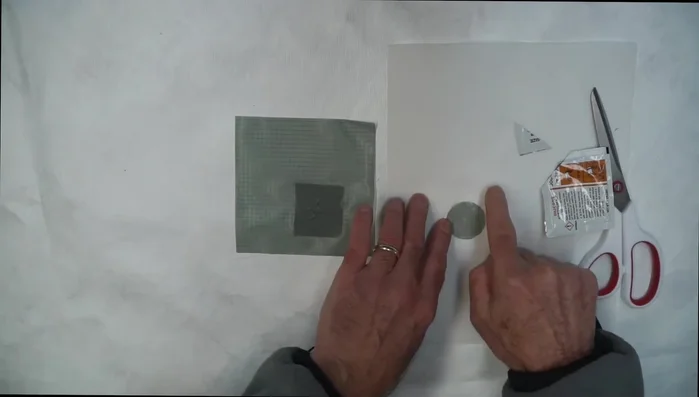
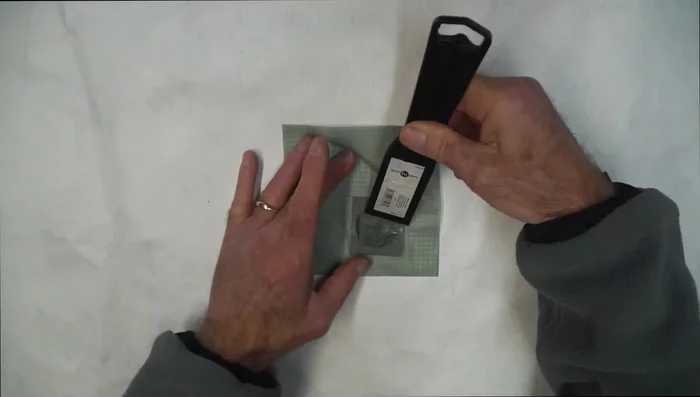
- Cut a patch of SIL nylon slightly larger than the hole, ensuring rounded edges to prevent snagging.
- Clean the area around the hole with rubbing alcohol to improve silicone adhesion.
- Apply tape to the back of the patch to prevent wrinkling during application.

Prepare the Patch Apply the Patch
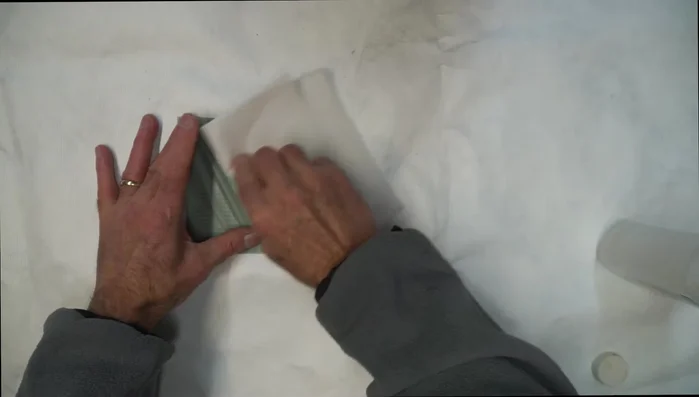
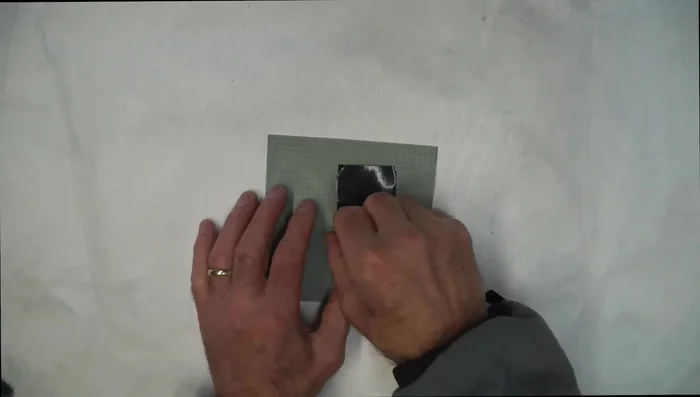
- Apply silicone to the patch and carefully position it over the hole, patching from the inside or outside (or both).
- Use a putty knife or credit card to smooth out excess silicone and press the patch firmly.
Apply the Patch Cure and Finish
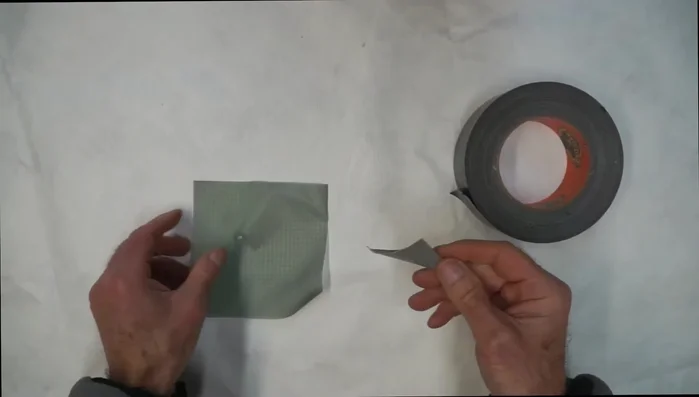
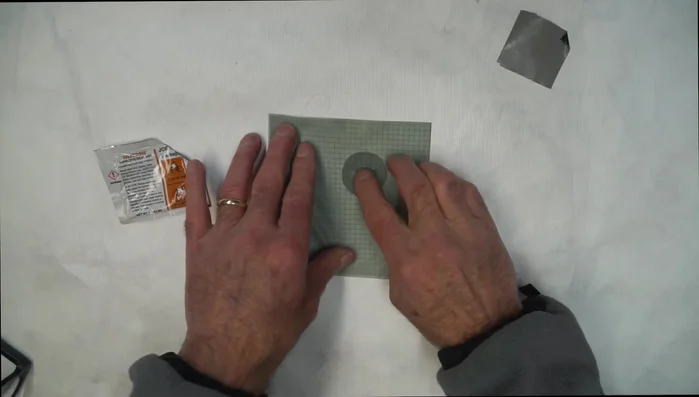
- Allow the patch to dry for 24 hours before removing the tape.
- If necessary, apply a small amount of silicone to any frayed edges after tape removal.
Cure and Finish
Tips
- Rounded edges on the patch prevent snagging.
- Rubbing alcohol isn't strictly necessary but helps silicone adhere better.
- Tape on the back of the patch prevents wrinkling.
- Patching from both inside and outside ensures a more durable repair.