Tarps: lightweight, versatile, and surprisingly effective shelters. Forget bulky tents; embrace the minimalist freedom of tarp camping! Whether you're a seasoned backpacker seeking ultralight options or a novice looking for a budget-friendly alternative, mastering the art of tarp shelter construction unlocks a world of outdoor adventure. From simple lean-tos to more complex designs, a tarp offers unparalleled adaptability to diverse terrain and weather conditions, all while significantly reducing your pack weight. The right tarp setup can mean the difference between a comfortable night's sleep and a soggy, miserable experience.
This guide explores eight essential tarp shelters, each offering a unique blend of simplicity and effectiveness. We’ll delve into the nuances of each design, examining the pros and cons to help you choose the perfect shelter for your needs. Ready to learn how to transform a simple piece of waterproof fabric into a reliable haven? Then let's get started with our step-by-step setup guide, covering everything from choosing your location to securing your tarp against the elements.
Safety Guidelines
- Always prioritize proper tarp selection based on weather conditions. A lightweight tarp might suffice for mild weather, but a heavier-duty one is crucial for rain, wind, or snow.
- Ensure secure anchoring points. Improperly secured tarps can collapse in bad weather, leading to injury or gear damage. Use strong stakes or trees and adjust tension regularly.
- Never sleep directly under a tarp without adequate insulation from the ground. Cold ground can significantly lower body temperature, even in mild weather. Use a sleeping pad or other ground insulation.
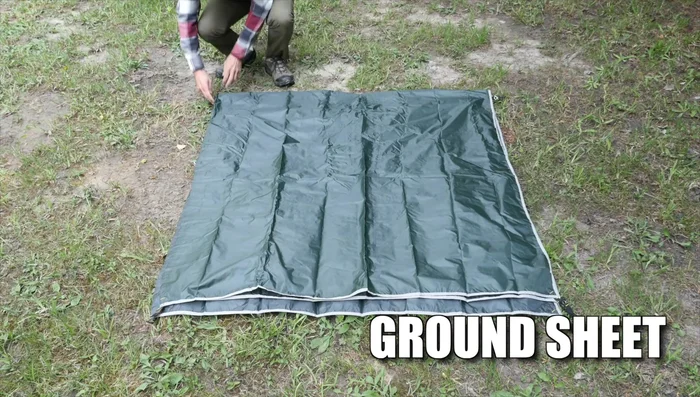
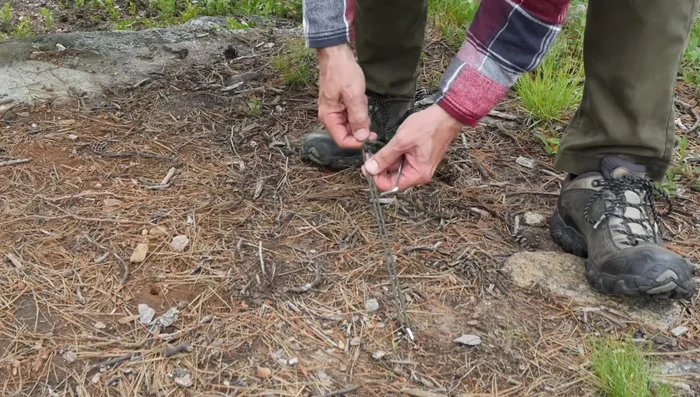
Methods: Ground Sheet
Tools Needed
Step-by-Step Instructions
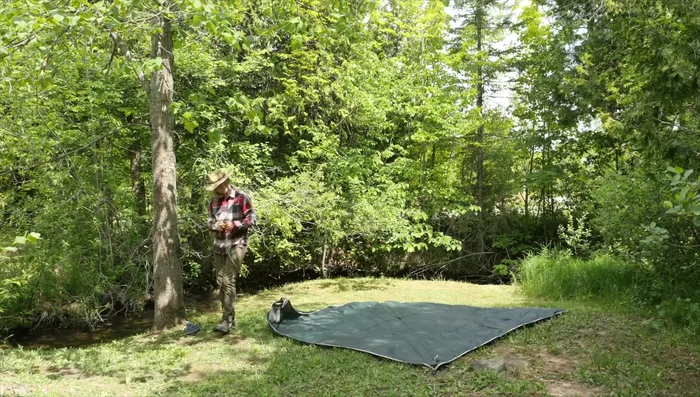
Ground Sheet Placement
- Lay the tarp on the ground.

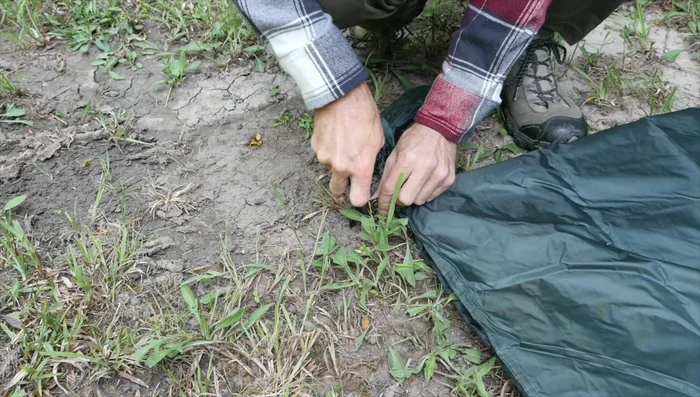
Ground Sheet Placement Securing the Ground Sheet
- Stake it down if needed to prevent it from blowing away.
Securing the Ground Sheet
Tips
- Use it to prevent dampness and heat loss.
- Use it as a seat, sleeping surface, or even a makeshift blanket.
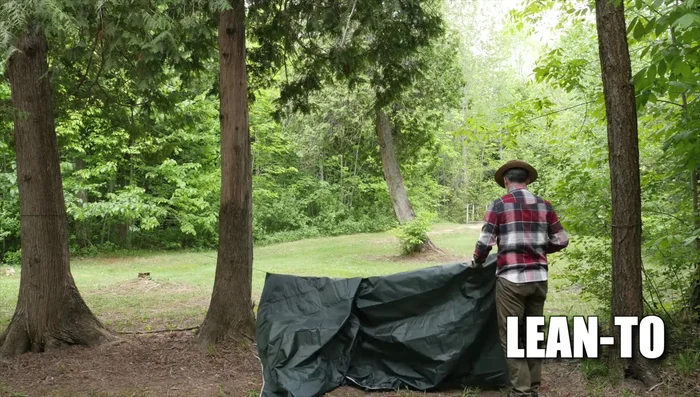
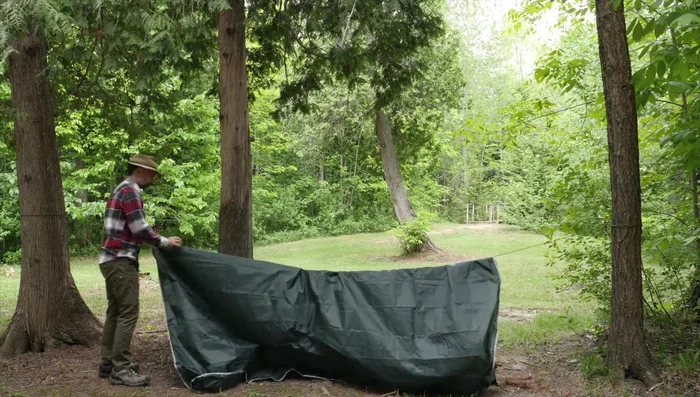
Methods: Simple Lean-to
Tools Needed
Step-by-Step Instructions
Attaching the Tarp to the Ridge Line
- Secure one edge of the tarp to a ridge line.
Attaching the Tarp to the Ridge Line Securing the Tarp to the Ground
- Secure the other edge to the ground.
Securing the Tarp to the Ground
Tips
- Fold the tarp over the ridge line and secure it with a knot or toggle.
- Suitable for sun, wind, and rain protection.
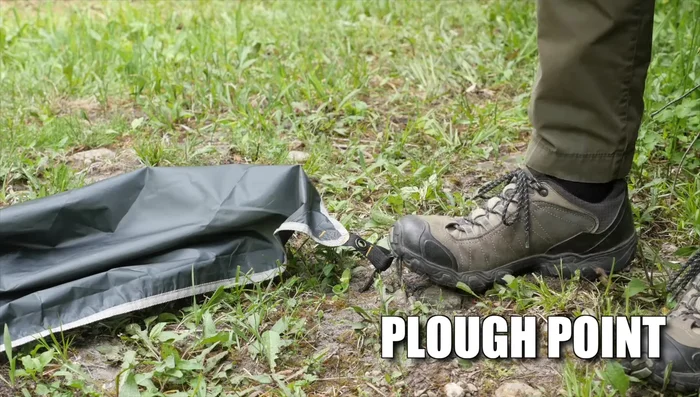
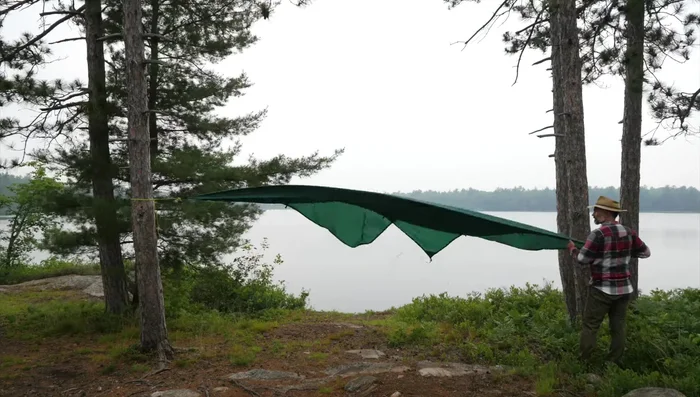
Methods: Plow Point
Tools Needed
Step-by-Step Instructions
Secure One Corner
- Peg down one corner of the tarp.
Secure One Corner Attach and Hoist
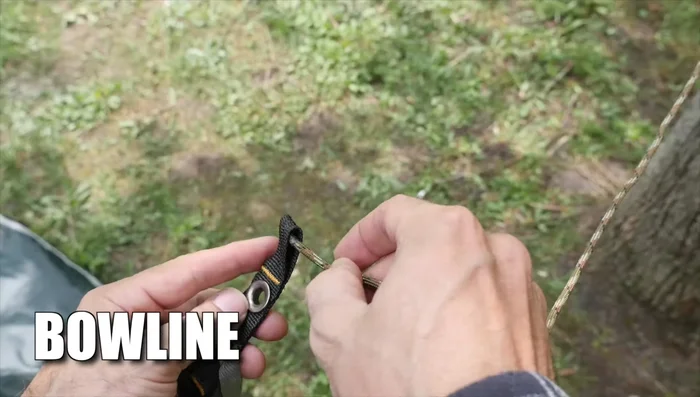
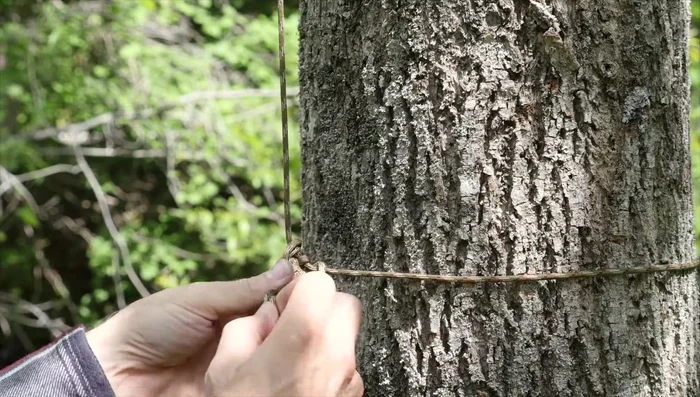
- Tie cordage to the opposite corner (using a Bowline knot).
- Throw the other end of the cord over a tree branch (using a monkey's fist knot for weight).
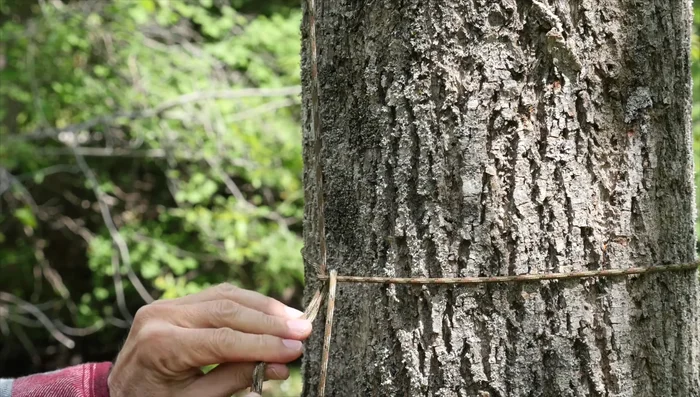
- Hoist up the tarp and tie off to the tree trunk.
Attach and Hoist Secure Remaining Corners
- Peg down the remaining two corners.
Secure Remaining Corners
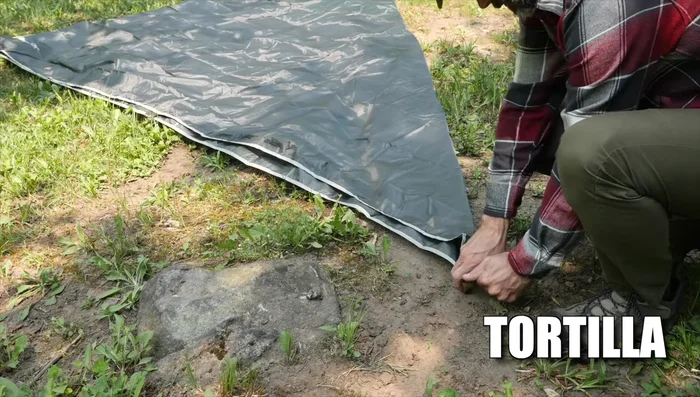
Methods: Tortilla Tarp Shelter
Tools Needed
Step-by-Step Instructions
Prepare the Tarp
- Fold the tarp diagonally.
Prepare the Tarp Secure the Base
- Peg down three corners.
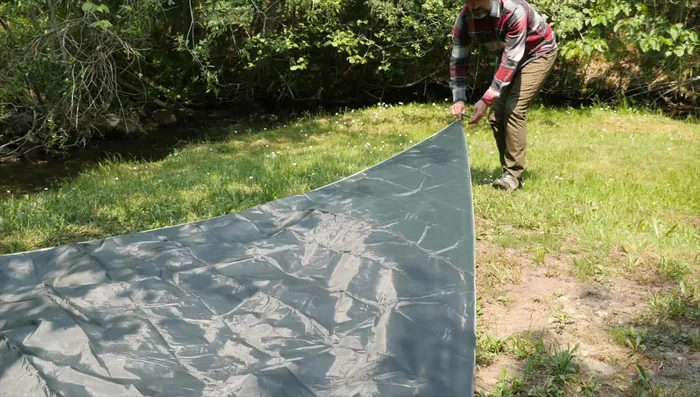
Secure the Base Create the Peak
- Hoist up the remaining corner to create a peak.
Create the Peak
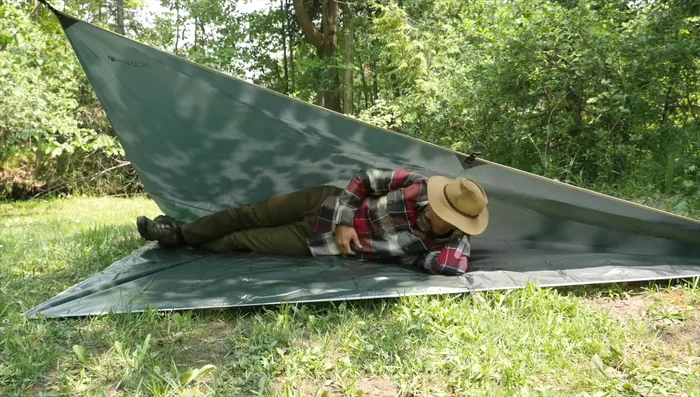
Tips
- Add height by propping up the center with a stick.
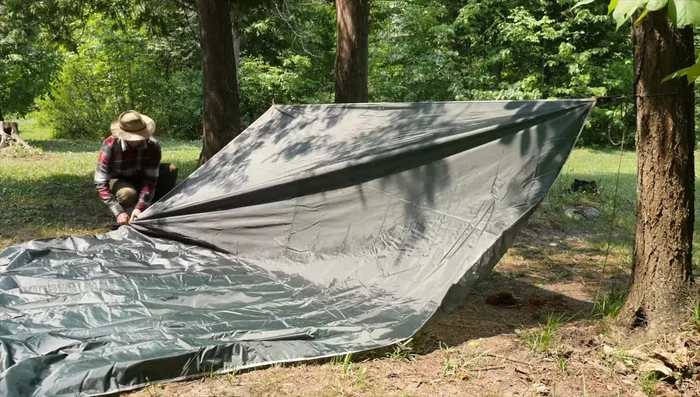
Methods: Envelope Tarp Shelter
Tools Needed
Step-by-Step Instructions
Securing the Base
- Attach one edge of the tarp to the ground using stakes.
Securing the Base Creating the Peak
- Pass stakes through loops at the middle point of the tarp.
Creating the Peak Completing the Shelter
- Pass the remaining half of the tarp under the lean-to and stake it down.
Completing the Shelter
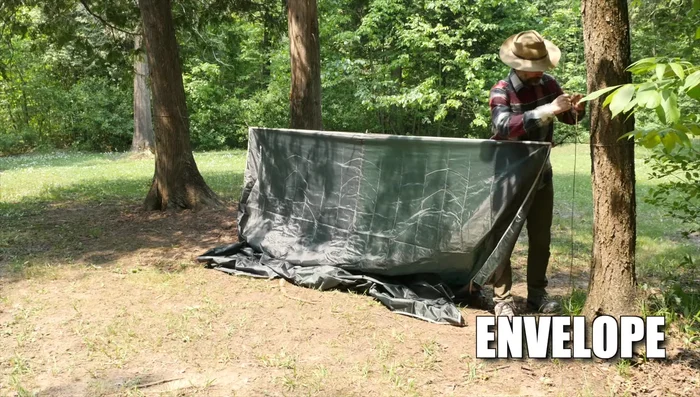
Tips
- Add height by using a stick in the center.
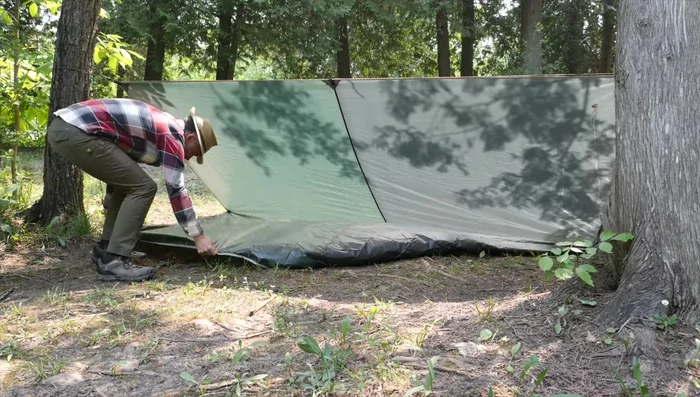
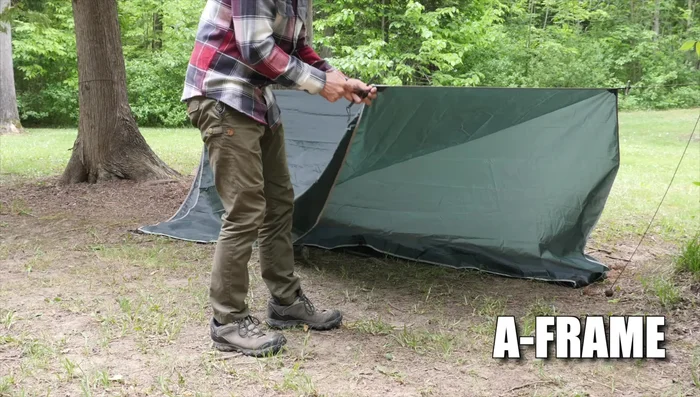
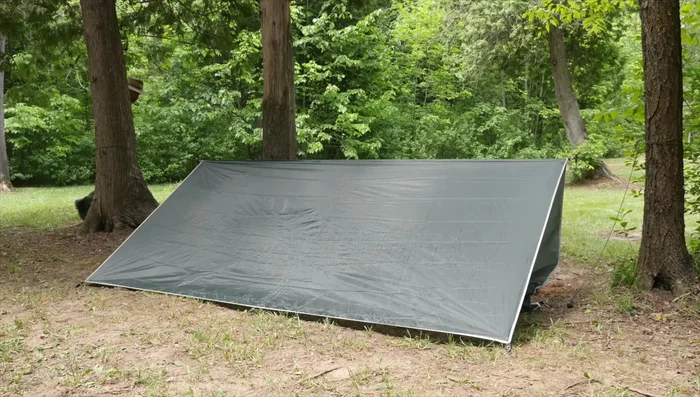
Methods: A-Frame Shelter
Tools Needed
Step-by-Step Instructions
Creating the Basic A-Frame
- Drape the tarp over the ridge line at the halfway point.
Creating the Basic A-Frame Securing the Tarp
- Secure the tarp to the cordage and adjust tension.
Securing the Tarp Anchoring the Shelter
- Stake off the bottom corners.
Anchoring the Shelter
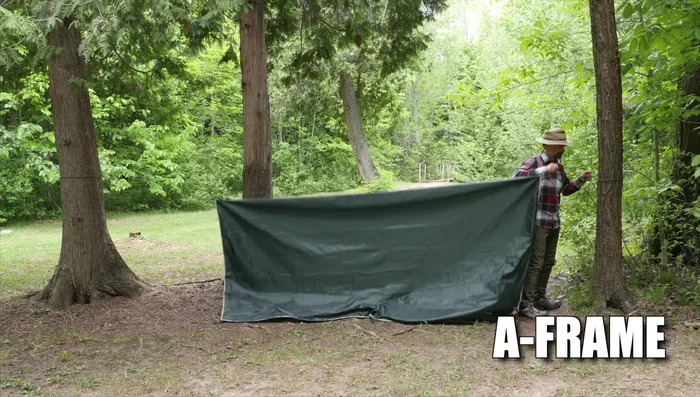
Tips
- Adapt to obstacles by adjusting stake placement or using alternative tie-off methods.
Methods: Diamond Fly Tarp Shelter
Tools Needed
Step-by-Step Instructions
Initial Setup: Creating the Diamond Base
- Tie opposing corners of the tarp to two trees using Bolin and hitch knots.
Initial Setup: Creating the Diamond Base Securing the Remaining Corners
- Stake or tie down the other two corners.
Securing the Remaining Corners
Tips
- Use a midshipman's hitch instead of a taut-line hitch if worried about slippage.
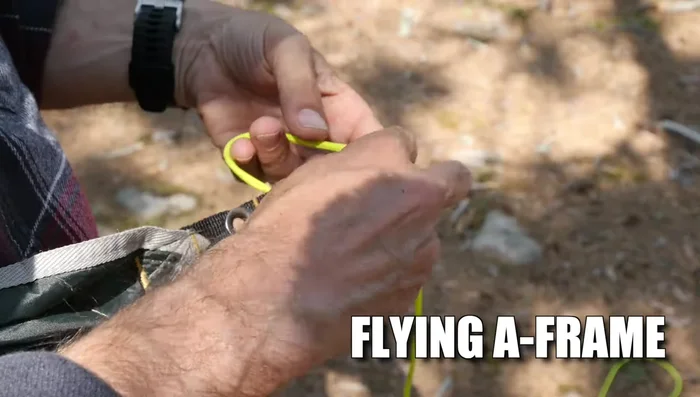
Methods: Flying A-Frame Shelter
Tools Needed
Step-by-Step Instructions
Setup the Ridge Line
- Tie the ridge line to trees.
Setup the Ridge Line Secure the Tarp
- Secure the four corners of the tarp using Bolin and taut-line hitches with stakes.
Secure the Tarp Add Guy Lines for Stability
- Run guy lines out at a 45° angle from each corner.
Add Guy Lines for Stability
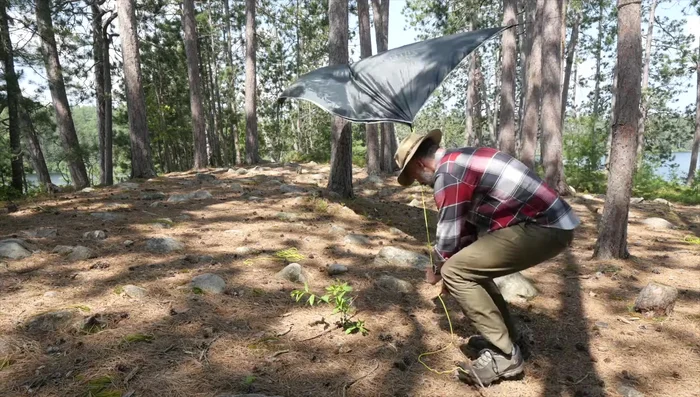
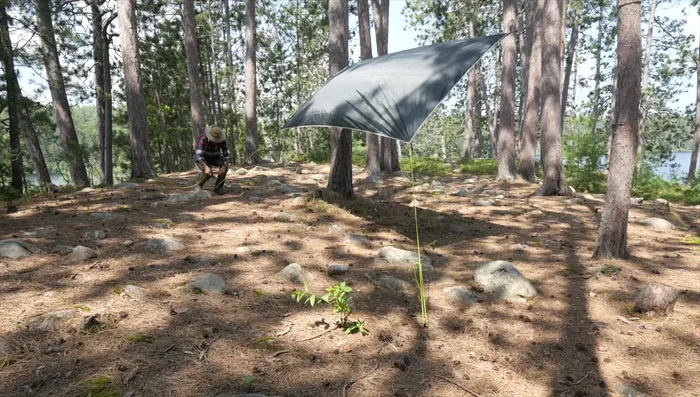
Tips
- Add height using extending poles or sticks for better headroom.
Read more: 3 Genius Ways to Hang a Tarp Between Trees (No Limbs Needed!)