Driving a recreational vehicle (RV) offers unparalleled freedom, allowing you to explore vast landscapes and enjoy the open road. However, ensuring optimal visibility is crucial for safety, especially during nighttime journeys. Poorly adjusted headlights can significantly reduce your nighttime visibility, increasing the risk of accidents and compromising your safety and the safety of others. Effective headlight alignment is paramount, not just for seeing better, but for being seen. Improperly aimed headlights can blind oncoming drivers, creating dangerous situations.
This ultimate guide will walk you through the process of adjusting your RV headlights, ensuring perfect aim and maximizing your nighttime driving safety. We'll cover everything from identifying the adjustment screws to understanding the proper aiming techniques, providing a step-by-step process to achieve perfectly aligned headlights. Let's get started and illuminate the road ahead!
Preparation and Safety Guidelines
- Tape measure
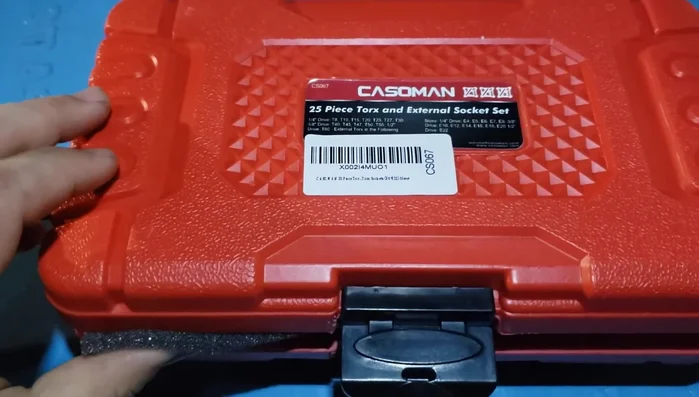
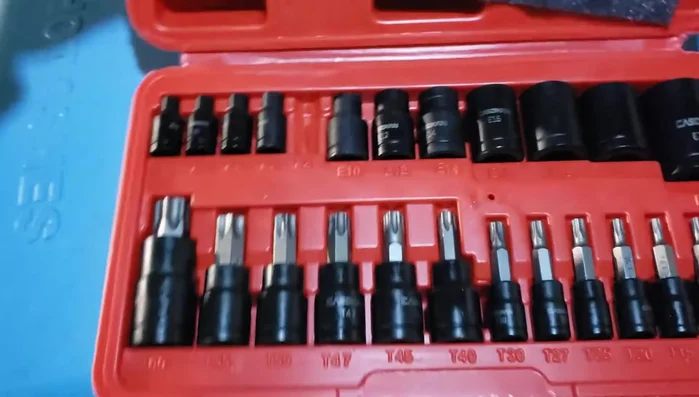
- Torx set (E8 female socket recommended)
- Long extension
- Adapter (3/8 socket)
- Headlamp (optional)
- Always adjust headlights on a level surface to ensure accurate aim. Uneven ground will lead to inaccurate adjustments.
- Never look directly into the headlights during adjustment. The bright light can temporarily blind you.
- If you are uncomfortable adjusting your RV headlights yourself, consult a professional mechanic. Incorrect adjustment can impair visibility and be dangerous.
Step-by-Step Instructions
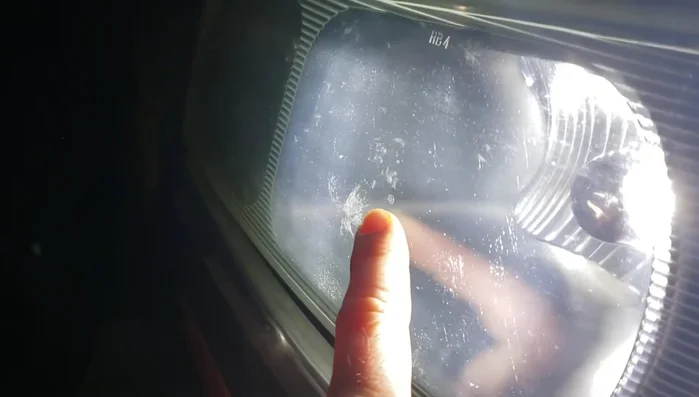
Determine Headlight Center and Height
- Locate the center point of your headlight. There's usually a small dot or plus symbol.
- 41 inches)

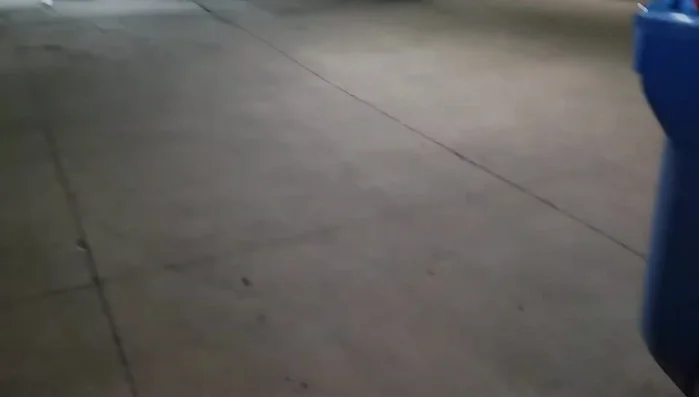
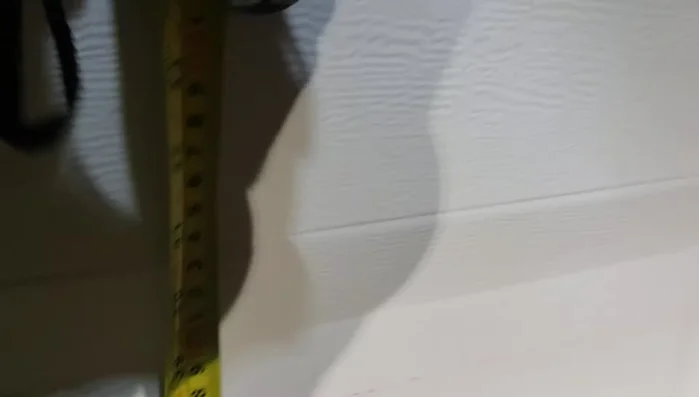
Determine Headlight Center and Height Set Up Measurement Point
- Position your RV approximately 20-25 feet from a wall or garage door.
- Mark the measured height (from step 2) on the wall. Ideally, aim 3-4 inches below this mark.
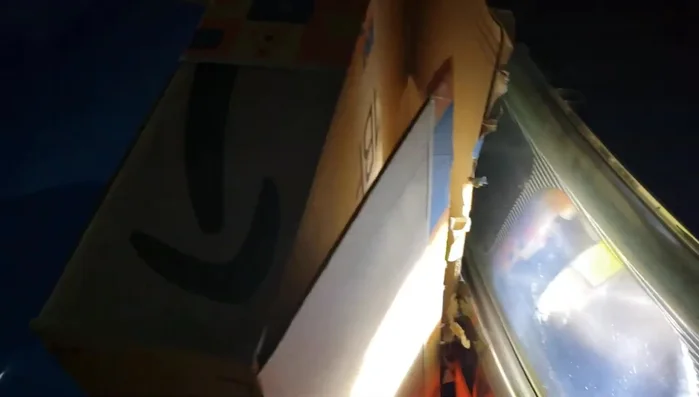
Set Up Measurement Point Assess Headlight Aim
- Turn on your headlights. Use a cardboard box or similar object to block one headlight at a time to better observe the beam pattern.
Assess Headlight Aim Locate and Adjust Headlight Screws
- Locate the adjustment screws (usually requires an E8 Torx socket and a long extension). These are typically located on the back of the headlight assembly.
- Adjust the screws to lower the beam until the brightest point is just below your target mark on the wall.
Locate and Adjust Headlight Screws Adjust Second Headlight
- Repeat steps 5-7 for the other headlight.
Adjust Second Headlight


Tips
- Adjust headlights when the RV is fully loaded (passengers, cargo, towing).
- Use an E8 Torx female socket for easier and safer adjustment.
- Remember that the passenger side headlight can be aimed slightly higher than the driver's side.