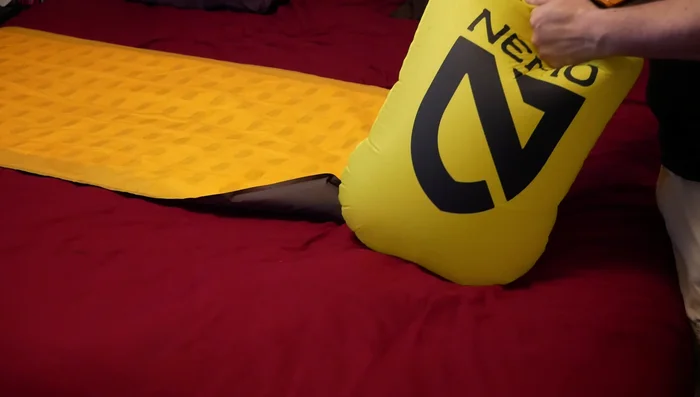
A leaky sleeping pad can quickly turn a peaceful night's sleep into a soggy, uncomfortable ordeal. Whether you're a seasoned camper or a weekend warrior, dealing with a puncture or tear in your inflatable mattress is a frustrating experience, especially when you're miles from civilization. The good news is that fixing a minor leak doesn't always require a specialized repair kit or hours of painstaking work. Often, a simple and readily available solution can get you back to comfortable slumber in a fraction of the time. Dealing with a deflated sleeping pad in the wilderness is never fun.
This article focuses on the fastest and easiest method for patching up that crucial piece of camping gear. We'll walk you through a straightforward, effective repair, requiring minimal tools and materials you likely already have on hand. Ready to get your sleeping pad back in top shape? Let's dive into the step-by-step process.
Preparation and Safety Guidelines
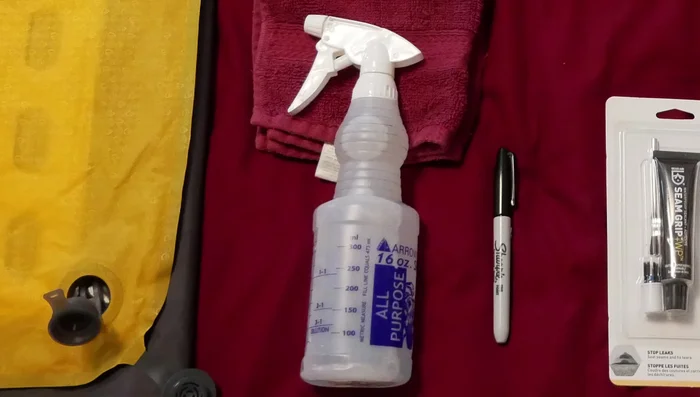
- Spray bottle
- Soapy water
- Pen
- Sealant
- Rubbing alcohol
- Rag
- Always work in a well-ventilated area when using any repair adhesives or sealants, as fumes can be harmful.
- Ensure the sleeping pad is completely dry before attempting any repair. Moisture will prevent the adhesive from bonding properly.
- If the leak is extensive or you are unsure about the repair process, consider contacting the manufacturer or purchasing a new sleeping pad for safety and reliability.
Step-by-Step Instructions
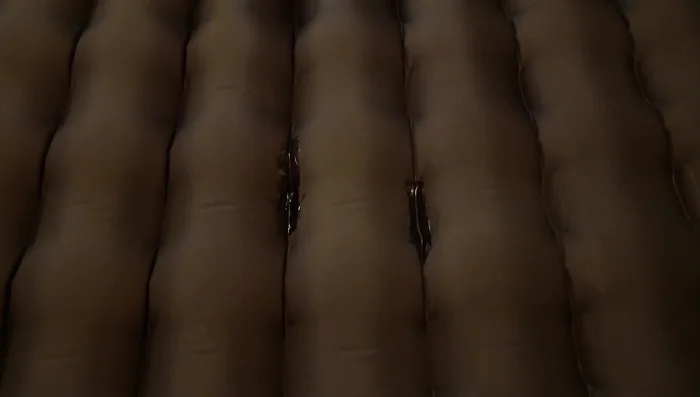
Locate the Leak(s)
- Inflate the pad and spray one side with soapy water. Look for bubbles indicating leaks.
- If leaks are small, apply pressure to make them more obvious. Flip and repeat.
- If soapy water test fails, submerge the pad in a bathtub, section by section, to find leaks.

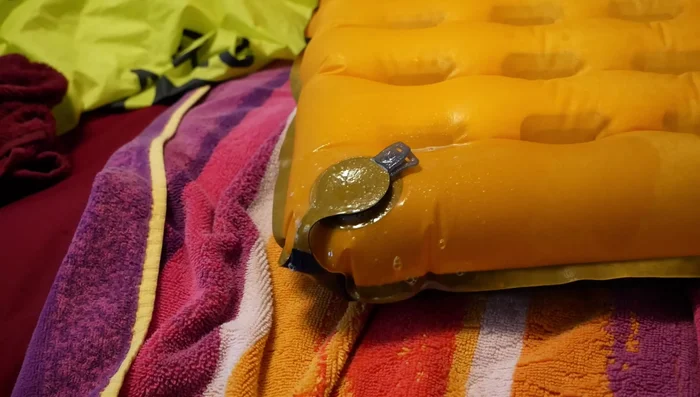
Locate the Leak(s) Check the Valve
- Check the valve for mechanical failure. If found, this might be easier to fix than small pinhole leaks.
Check the Valve Prepare for Repair
- soapy water, pen, sealant, rubbing alcohol, and a rag.
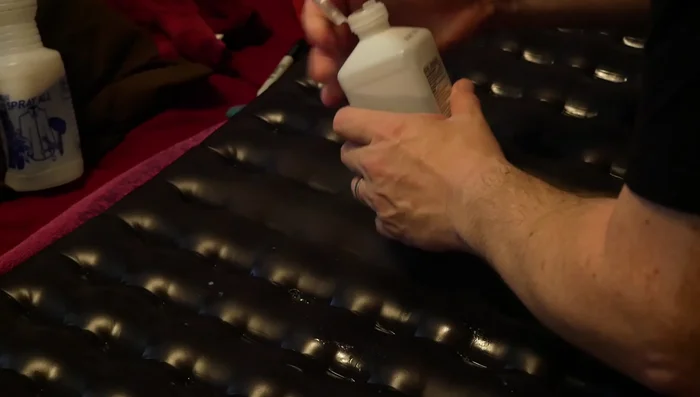
Prepare for Repair Seal the Leak(s)
- Dry the pad, clean leak areas with rubbing alcohol, and apply sealant to the leaks.
Seal the Leak(s) Allow to Cure
- Wait 8-10 hours for the sealant to cure.
Allow to Cure
Read more: How to Clean Your Therm-a-Rest NeoAir X-Lite Sleeping Pad: The Easiest Method
Tips
- If leaks are very small, you might need to apply pressure to the pad to make the leaks more obvious.
- Be careful not to inadvertently plug the leak while holding the pad underwater during the bathtub test.
- If the leaks are not very big you should not need to use the fabric patches that come with the sleep pad.