Camping trips are enhanced by being well-prepared, and one often-overlooked element is sturdy tent pegs. Commercial pegs can be expensive, and their disposal contributes to environmental waste. Why not create your own durable and eco-friendly tent pegs using readily available scrap wood? This simple guide will show you how to transform leftover lumber, branches, or even reclaimed wood into reliable tent pegs perfect for your next outdoor adventure. You'll discover how easy it is to craft practical and personalized equipment, saving money and reducing your environmental impact.
This project requires minimal tools and skill, making it perfect for beginners and seasoned DIY enthusiasts alike. From selecting the right type of wood to shaping and finishing your pegs, we'll guide you through every step of the process. Ready to get started? Let's dive into the step-by-step instructions and build those sturdy, homemade tent pegs!
Preparation and Safety Guidelines
- Scrap 2x4s
- Table saw
- Crosscut blade
- Ripping blade
- Miter gauge
- Square
- Tape measure
- Scroll saw
- Disk sander
- Safety glasses
- Dust mask
- Dust collection system
- Always ensure the wood is dry and free from splinters before use. Sanding is highly recommended to prevent injuries.
- Use appropriate safety glasses to protect your eyes from flying wood chips during cutting and sanding.
- Check the strength and stability of your homemade pegs before using them in your tent. Ensure they are long and strong enough to hold your tent securely in the ground, especially in windy conditions.
Step-by-Step Instructions
Prepare the Wood
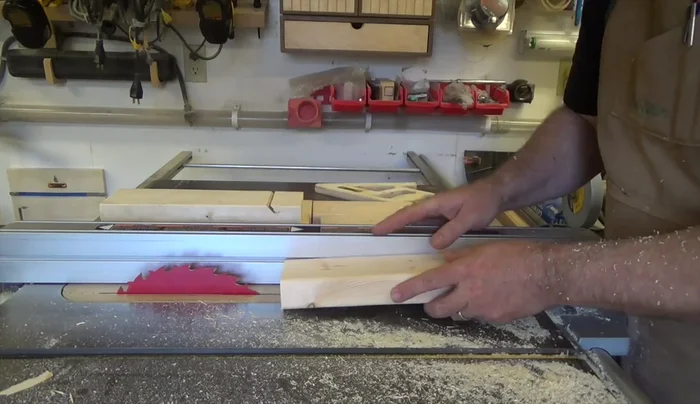
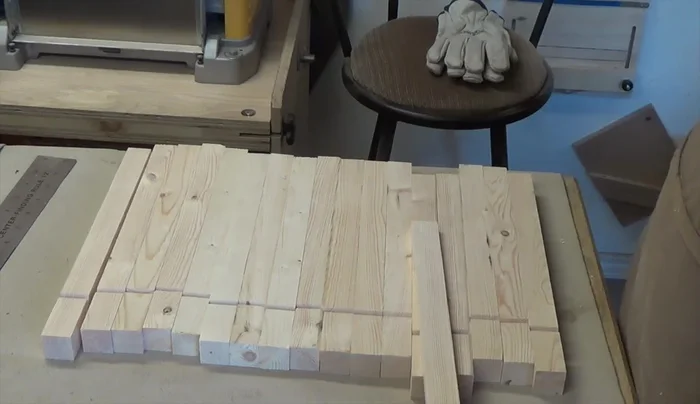
- Cut six pieces of scrap 2x4 to 12 inches in length.
- Replace the crosscut blade with a ripping blade, set at 90 degrees. Trim one edge of each 2x4 piece to create a flat surface.
- Set the fence to cut 1-inch thick pieces. Rip each 2x4 into three 1-inch thick pieces. Then, re-cut each piece so the curved edge is pointing towards the fence, making them square.

Prepare the Wood Create the Rope Notch
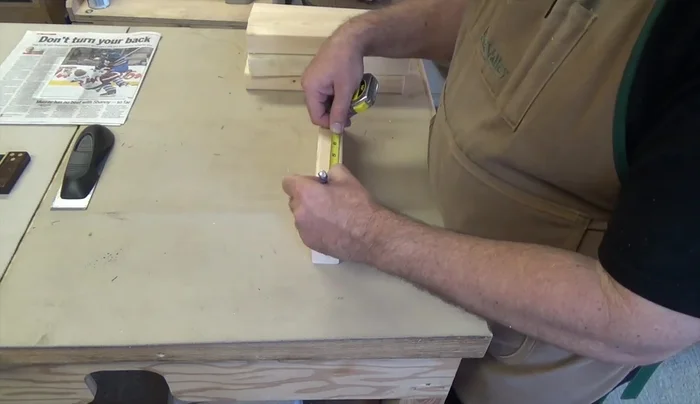
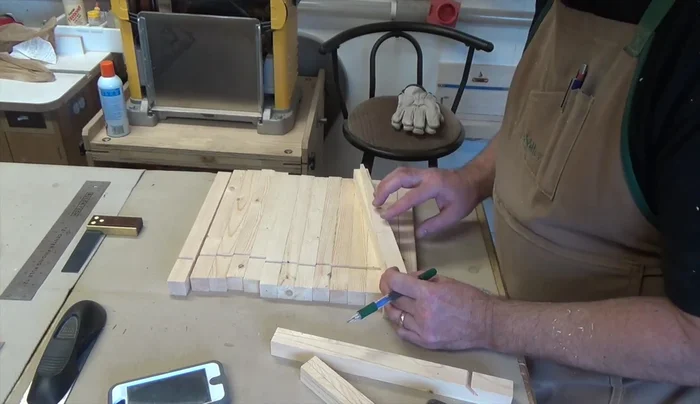
- On one end of one piece, measure down 2 inches and mark a line. Using a square, draw a line across the 2-inch mark.
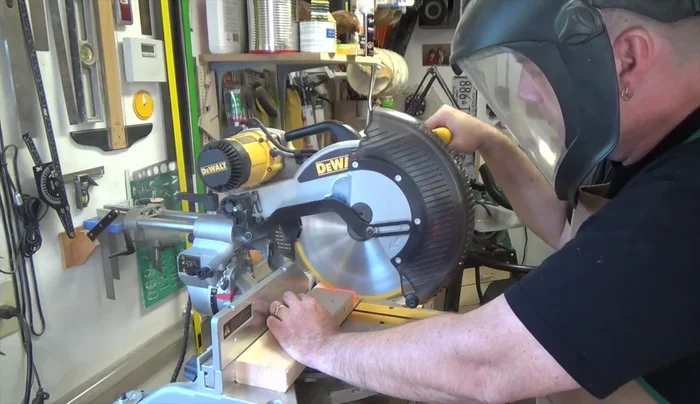
- At the table saw, set the crosscut blade at a 45-degree angle and a height of 1/2 inch. Position the 2-inch mark to line up with the first tooth of the blade.
- Cut a 45-degree notch at the marked 2-inch line. This will hold the tent rope. Adjust the stop to make the slot wide enough for your rope; it should be snug but not too tight.
Create the Rope Notch Create the Taper Template
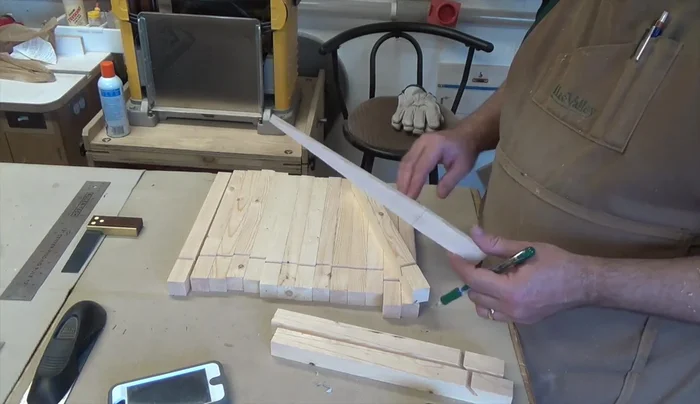
- On a scrap piece, measure 8 inches from one end. Mark a line. Measure 3/8 inch from each side at the bottom end and connect the points to the 8-inch mark to create a tapered shape.
Create the Taper Template Cut the Tapers
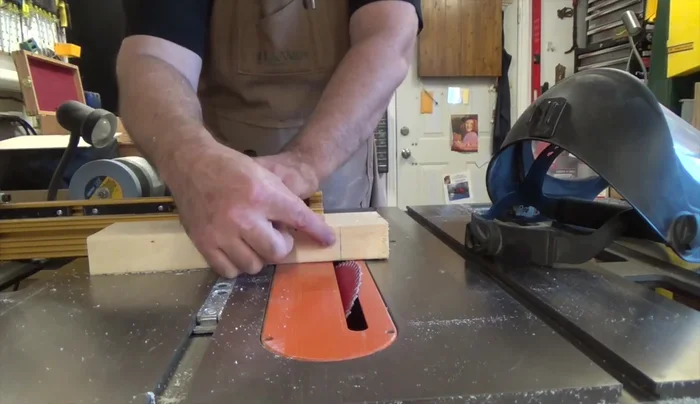
- Use the template to mark the taper on two opposite sides of each peg, ensuring the notch is at the top.
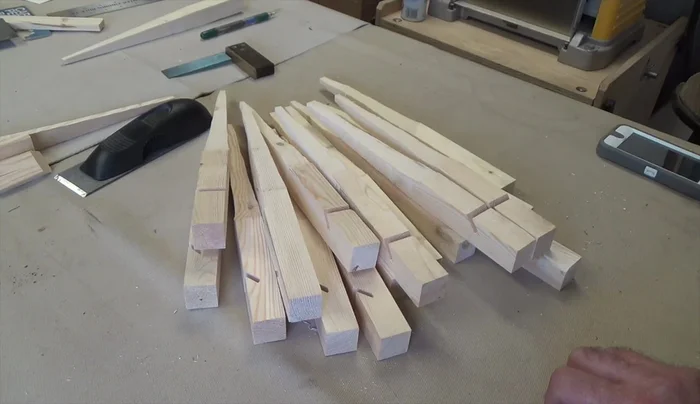
- Use a bandsaw to cut the taper using a compound cutting method (cut one side's profile, tape back together, rotate, then cut the other side).
Cut the Tapers Finish the Pegs
- Clean up the tapers using a disk sander.
Finish the Pegs

Read more: Ultimate Guide to Tarp & Tent Staking: Secure Your Shelter in Any Condition
Tips
- Wear appropriate safety gear (safety glasses, dust mask, and hearing protection).
- Use a dust collection system when sanding.